- Company Articles
- Products and Technology
- Installation And Maintenance
- How to Clean 0.8mm Stainless Steel Pipe: Maintaining Hygiene in Medical Racks

How to Clean 0.8mm Stainless Steel Pipe: Maintaining Hygiene in Medical Racks
Related Product
0.8mm Stainless Steel Pipe
Stainless steel pipe, lean pipe, diameter is 28mm, material is SS201 or SS304, SS201 is normally used in the market. It knows a KARAKURI, KAIZEN material for industrial plant to improve efficiency, save labor cost, standard management.
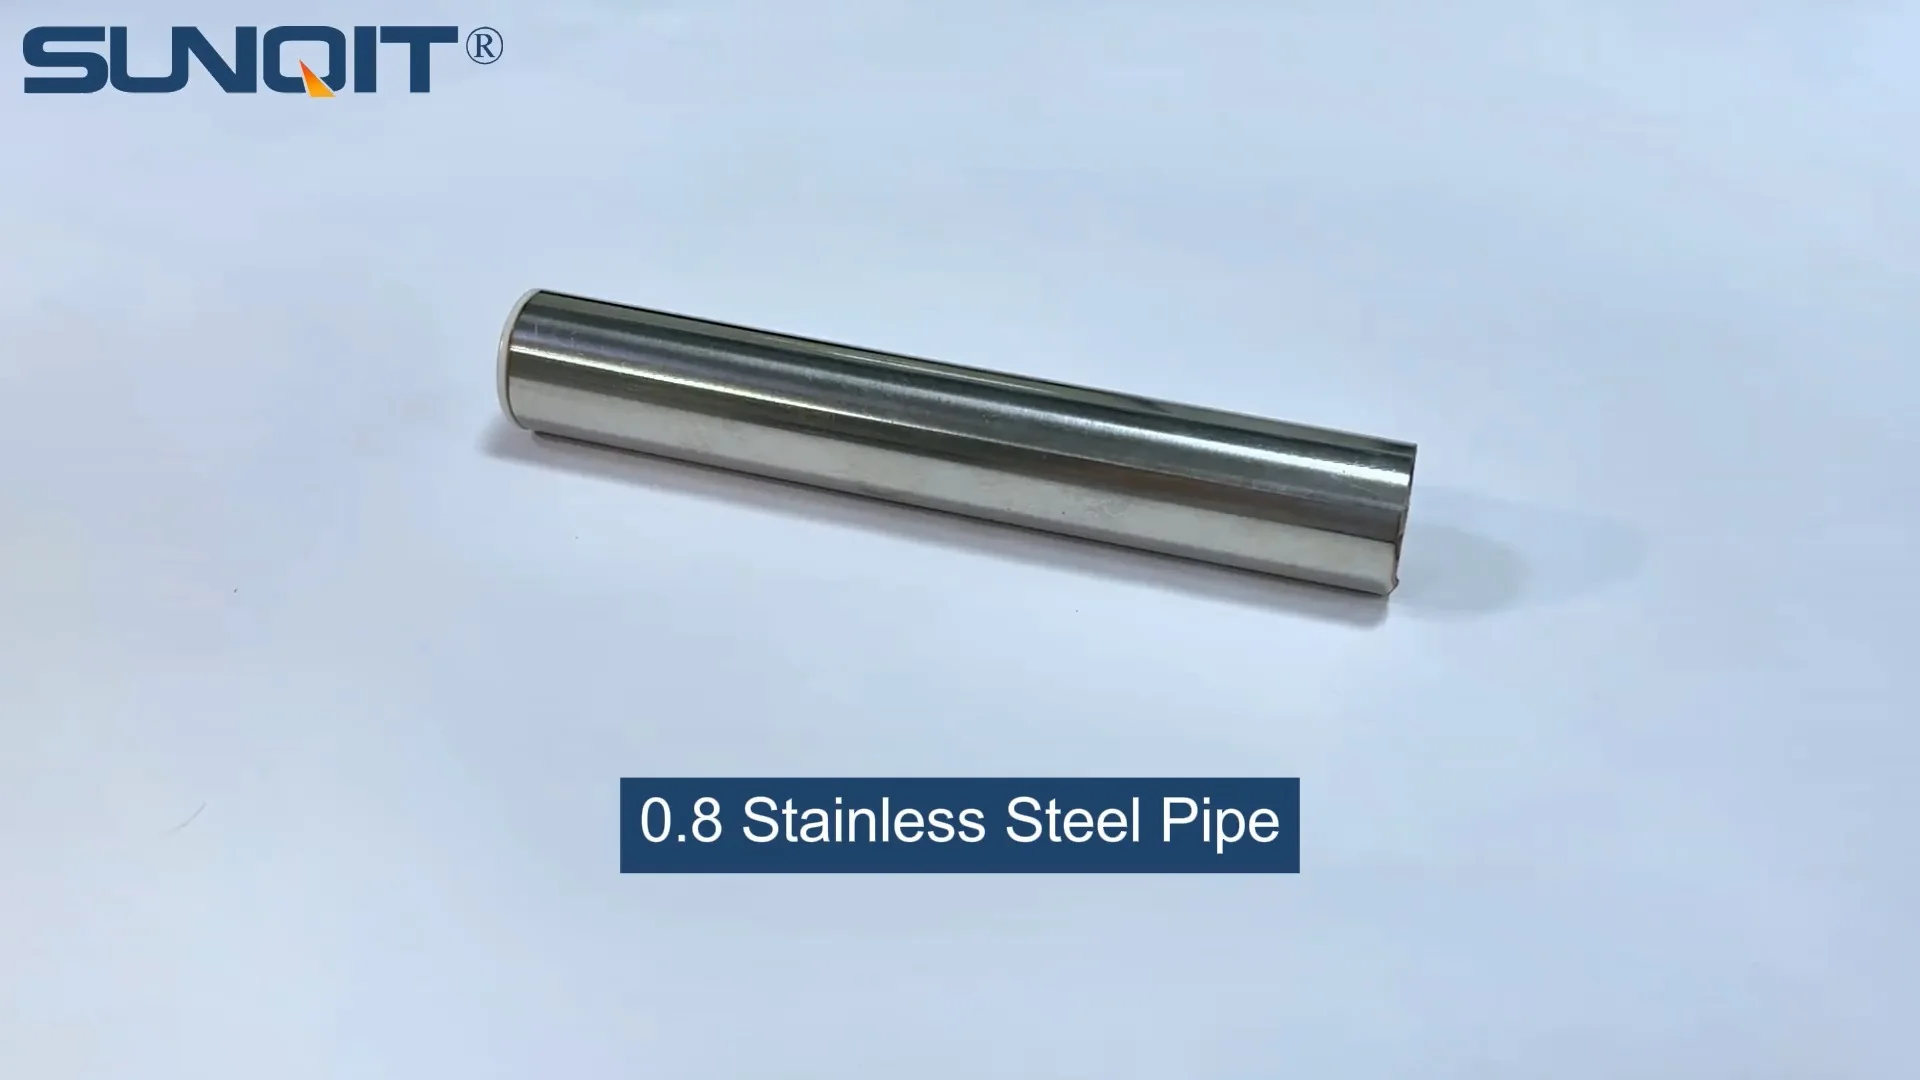
Walk into any hospital, clinic, or laboratory, and you'll notice a silent workhorse keeping things organized: stainless steel racks. From storing surgical instruments to holding medication vials, these racks are the backbone of medical workflows. At the heart of many of these racks lies the 0.8mm stainless steel pipe—a thin yet surprisingly durable component that balances strength and flexibility. But here's the thing: in medical settings, "clean" isn't just a preference; it's a matter of patient safety. A single overlooked smudge or hidden bacteria colony on these pipes could put lives at risk. So, how do you keep these 0.8mm stainless steel pipes spotless without damaging them? Let's dive in.
1. Understanding 0.8mm Stainless Steel Pipes: Why They Matter in Medical Racks
First, let's get to know the star of the show: the 0.8mm stainless steel pipe. You might be wondering, "Why 0.8mm? Why not thicker?" Great question. In medical environments, every inch of space and ounce of weight counts. Thicker pipes would make racks bulkier and harder to maneuver, especially when paired with caster wheels for mobility. At 0.8mm, these pipes strike a sweet spot—they're lightweight enough to keep racks movable but strong enough to support daily use, whether holding heavy instrument trays or stacks of medication boxes.
Most medical-grade stainless steel pipes fall under the "stainless steel pipe series," a category known for its corrosion resistance and biocompatibility. Many are made from 304 or 316 stainless steel. 304 is the workhorse, handling routine cleaning chemicals and resisting rust. 316, often called "marine grade," ups the ante with extra molybdenum, making it ideal for racks near sinks, autoclaves, or areas with frequent moisture. Both are non-porous, which is key—unlike porous materials, they don't trap bacteria, but that doesn't mean they're self-cleaning. Even the smoothest stainless steel surface can harbor germs in tiny scratches or crevices, especially if not cleaned properly.
These pipes aren't just standalone components, either. They're often part of larger setups: think workbench edges, roller track systems for sliding trays, or vertical racks with caster wheels for easy repositioning. In a busy ER, for example, a medication rack on caster wheels might need to be wheeled to different stations quickly. That mobility means the pipes are exposed to more dust, fingerprints, and even accidental spills—all reasons why a solid cleaning routine is non-negotiable.
Pro Tip: Check the manufacturer's specs for your stainless steel pipe series. Some 0.8mm pipes have a protective passive layer—a thin oxide film that fights corrosion. Harsh scrubbing or abrasive tools can wear this layer down, so gentle cleaning is a must.
2. The Stakes of Cleanliness: Why Medical Racks Can't Cut Corners
In medical settings, "clean" is defined by strict standards. Organizations like the CDC and WHO outline protocols for surface disinfection, and stainless steel racks are no exception. Here's why: bacteria like Staphylococcus aureus or Clostridium difficile can survive on stainless steel surfaces for days, even weeks, if not properly cleaned. A nurse grabbing an instrument from a dusty rack could unknowingly transfer germs to a patient, leading to infections that are costly and dangerous to treat.
But it's not just about bacteria. Medical racks often hold chemicals, reagents, or medications that can leave residues. A spilled antiseptic solution, for example, might dry into a sticky film on the pipes. Over time, these residues can attract dust, create a breeding ground for mold, or even react with the stainless steel, causing discoloration or pitting. And let's not forget visual cues—stained or smudged racks send a message to patients and staff that standards might be slipping elsewhere. In healthcare, trust is everything, and a clean environment builds that trust.
Another angle? Durability. Regular cleaning isn't just about hygiene—it's about extending the life of your racks. Without proper care, 0.8mm pipes can develop rust spots (especially if the passive layer is damaged) or weakened joints, leading to wobbly racks that risk tipping over. Replacing racks is expensive, and downtime during replacement disrupts workflows. So, in short, cleaning saves money, time, and lives.

3. Step-by-Step: How to Clean 0.8mm Stainless Steel Pipes (Without Damaging Them)
Now, let's get practical. Cleaning 0.8mm stainless steel pipes isn't rocket science, but it does require attention to detail. Here's a step-by-step guide to get it right every time.
Step 1: Gather Your Supplies (And Skip the Abrasives!)
Before you start, round up these tools. The key here is to avoid anything that could scratch the pipe: no steel wool, scouring pads, or harsh chemicals like bleach (yes, even bleach can damage the passive layer over time). Instead, opt for:
- Mild detergent: A pH-neutral dish soap or medical-grade surface cleaner (check the label for "stainless steel safe").
- Soft cloths: Microfiber is best—its tiny fibers trap dirt without scratching. Avoid paper towels, which can leave lint.
- Soft-bristled brushes: For crevices, like where pipes meet joints or roller track connectors. A toothbrush (new, unused!) works well for tight spots.
- Distilled water: Tap water with high mineral content can leave spots. Distilled water ensures a streak-free rinse.
- Rubbing alcohol (70% isopropyl): For disinfection after cleaning (more on this later).
- A bucket or spray bottle: To mix detergent and water.
Step 2: Pre-Clean: Wipe Away Loose Debris
Start by dry-wiping the pipes with a microfiber cloth. This removes dust, hair, or loose particles that could scratch the surface when you add water. Pay extra attention to areas around caster wheels (if your rack has them)—dust and dirt love to collect where the wheel meets the axle, and that grime can transfer to the pipe when the rack moves.
If there are stubborn dry residues, like dried-on saline or medication spills, gently blot them with a damp microfiber cloth first. Rubbing too hard here can push the residue into the pipe's surface, making it harder to remove later.
Step 3: Wash with Mild Detergent and Warm Water
Mix a few drops of mild detergent into a bucket of warm (not hot!) water. Dip your microfiber cloth into the solution, wring it out well (you want it damp, not soaking), and wipe the pipes in the direction of the grain. Wait—stainless steel has a grain? Yep! If you look closely, you'll see tiny lines running lengthwise. Wiping with the grain prevents scratches and ensures you're lifting dirt out of the grooves, not pushing it deeper.
For hard-to-reach areas, like where the pipe connects to a roller track or a workbench frame, use the soft-bristled brush. Dip the brush in the soapy water, then gently scrub the joint. Be careful not to bend the brush too hard—remember, 0.8mm pipes are thin, and excessive pressure could dent them, especially at connection points.
Step 4: Rinse Thoroughly with Distilled Water
Soapy residue is a magnet for dust, so don't skip rinsing! Dampen a clean microfiber cloth with distilled water and wipe down the pipes to remove all soap. If the rack is small enough, you can also spray it lightly with distilled water (using a spray bottle) and then wipe dry. For vertical racks, start at the top and work down to avoid drips staining lower pipes.
Step 5: Dry Immediately (Water Spots = Bacteria Havens)
Stainless steel loves water, but standing water? Not so much. Even distilled water can leave spots if it dries on the surface, and those spots can trap bacteria. Grab a dry microfiber cloth and buff the pipes until they're completely dry. You'll notice a nice shine when you're done—that's the passive layer doing its job, reflecting light and keeping germs at bay.
Step 6: Disinfect (Because Clean ≠ Sterile)
Cleaning removes dirt and most germs, but disinfection kills the remaining pathogens. For medical racks, this is non-negotiable. Moisten a new microfiber cloth with 70% isopropyl alcohol (avoid higher concentrations—they evaporate too quickly to kill germs effectively) and wipe down the pipes. Let the alcohol air-dry—no need to rinse. Alcohol is gentle on stainless steel and evaporates quickly, leaving no residue.
Pro tip: For racks in high-risk areas (like operating rooms), use a medical-grade disinfectant wipe instead. Just check the label to ensure it's safe for stainless steel—some wipes contain quaternary ammonium compounds (quats), which are effective and gentle.
Step 7: Inspect for Scratches or Damage
While the pipes are clean, take a minute to inspect them. Look for tiny scratches, dents, or discoloration. Even small scratches can harbor bacteria, so if you find any, buff them gently with a stainless steel polish (apply a small amount to a microfiber cloth and rub in the direction of the grain). For deeper scratches, contact the manufacturer—they may recommend a professional repair to avoid compromising the pipe's integrity.
Quick Checklist: After cleaning, run your hand along the pipe. It should feel smooth and dry, with no sticky spots or residue. If it feels tacky, repeat the rinse and dry steps—you missed some soap!

4. Tackling Common Challenges: Stains, Rust, and Hard-to-Reach Spots
Even with careful cleaning, you might run into a few roadblocks. Let's troubleshoot the most common ones.
Challenge 1: Water Spots (The Annoying Kind)
Hard water can leave white, chalky spots on stainless steel. If this happens, mix equal parts distilled water and white vinegar in a spray bottle. Spray the spots, let sit for 5 minutes, then wipe with a microfiber cloth. The vinegar's acidity dissolves mineral deposits without harming the pipe.
Challenge 2: Grease or Oil Residue (From Fingerprints or Oils)
Medical staff often have lotion or hand sanitizer on their hands, which can leave oily smudges on racks. For these, add a drop of mild detergent to a damp cloth and rub gently in a circular motion. Rinse with distilled water and dry—no need for harsh degreasers.
Challenge 3: Rust Spots (Rare, But Scary)
Stainless steel shouldn't rust, but if it does, it's usually due to contamination—like a steel tool scraping the pipe and leaving iron particles behind. To fix it, make a paste of baking soda and water, apply it to the rust spot, and let sit for 10 minutes. Gently scrub with a soft cloth, then rinse and dry. If the rust persists, it might be a sign the passive layer is damaged—contact the supplier for guidance.
Challenge 4: Roller Track and Joint Crevices (Dust Magnets)
Many racks use roller track systems to slide trays in and out. The tiny gaps between roller track connectors and pipes can trap dust and debris. For these, use a soft-bristled toothbrush dipped in soapy water to scrub the crevices. If the roller track is removable, take it apart (following the manufacturer's instructions) and clean each piece separately—this ensures you don't miss hidden dirt.
5. Lean System Principles: Making Cleaning Efficient (Because Time is Money in Healthcare)
In medical settings, time is always tight. Nurses and technicians don't have hours to spend cleaning racks. That's where "lean system" thinking comes in. Lean is all about streamlining processes, reducing waste, and making tasks repeatable. Here's how to apply it to stainless steel pipe cleaning:
Standardize the Process
Create a step-by-step cleaning checklist (like the one we outlined above) and post it near the racks. This ensures everyone—from new hires to seasoned staff—cleans the same way, every time. Include photos if needed (e.g., "this is what a properly dried pipe looks like").
Schedule Smartly
Not all racks need daily deep cleaning. Use a "lean" schedule based on use: high-touch racks (like medication carts) get daily wipe-downs, while low-use storage racks might only need weekly cleaning. Use a calendar or whiteboard to track when each rack was last cleaned—no more "I thought someone else did it" moments.
Optimize Tools and Storage
Store cleaning supplies near the racks—microfiber cloths, detergent, and disinfectant wipes in a labeled bin. This cuts down on time spent hunting for tools. If multiple racks share a caster wheel setup, keep a small toolkit nearby for quick adjustments (like tightening loose wheels) to prevent dirt buildup from wobbly movement.
Train the Team
Hold a 15-minute training session to demo the cleaning process. Let staff practice on a spare rack—muscle memory makes the task faster. Encourage feedback, too: if a nurse mentions that a certain roller track is always hard to clean, work together to find a solution (maybe a smaller brush or a different angle).
| Area/Rack Type | Daily Tasks | Weekly Tasks | Monthly Tasks |
|---|---|---|---|
| Medication carts (caster wheels) | Wipe pipes with disinfectant wipe; check caster wheels for debris | Deep clean with soapy water; lubricate caster wheel axles | Inspect for scratches; tighten loose joints |
| Instrument storage racks (roller track) | Wipe visible surfaces; clear roller track of debris | Clean roller track connectors with brush; disinfect entire rack | Polish minor scratches; check roller track alignment |
| Workbench edge pipes | Wipe with soapy water after use | Disinfect; check for food/drink spills | Inspect for dents from heavy equipment |
6. Long-Term Maintenance: Keeping Pipes Strong and Clean for Years
Cleaning is part of the equation, but long-term maintenance ensures your 0.8mm stainless steel pipes last. Here's how to extend their lifespan:
Lubricate Caster Wheels Regularly
If your rack has caster wheels, keep their axles lubricated with a few drops of silicone-based lubricant (avoid oil-based lubes, which attract dust). This prevents squeaking, reduces wear on the wheels, and keeps the rack rolling smoothly—less jostling means fewer scratches on the pipes.
Avoid Harsh Chemicals
Stay away from bleach, ammonia, or acidic cleaners (like hydrochloric acid). These can eat away at the passive layer, making the pipe prone to rust and staining. If you're unsure about a cleaner, test it on a small, hidden part of the pipe first—if it discolors or leaves a mark, don't use it.
Store Racks Properly When Not in Use
If a rack is out of commission (e.g., during a renovation), store it in a dry, covered area. Cover the pipes with a clean sheet to keep dust off, and elevate it slightly (using blocks or pallets) to prevent water damage from floor spills.
replace Worn Parts Promptly
Loose joints, cracked roller track guides, or wobbly caster wheels can all stress the 0.8mm pipes. replace these parts as soon as you notice wear—most suppliers (like your stainless steel pipe series provider) keep common accessories in stock, so you won't have to wait long for replacements.
7. The Bottom Line: Clean Pipes = Safer Patients
At the end of the day, cleaning 0.8mm stainless steel pipes in medical racks isn't just about keeping things shiny. It's about protecting patients, staff, and the integrity of your medical workflows. With the right tools, a little know-how, and a lean system to keep things efficient, you can ensure these pipes stay clean, durable, and ready to support the life-saving work happening around them.
So, the next time you wipe down a medical rack, remember: you're not just cleaning a pipe. You're upholding a standard of care that patients depend on. And that's a job worth doing right.