- Company Articles
- Products and Technology
- Installation And Maintenance
- How to Clean and Lubricate End Support for Roller Track Placon Mount with Wheel

How to Clean and Lubricate End Support for Roller Track Placon Mount with Wheel
Related Product
End Support for Roller Track Placon Mount with Wheel
End support for roller track placon mount with wheel,the special design with end wheel,make it with more flexible function for roller track and pipe connection and give more option for selection for building flow rack system.
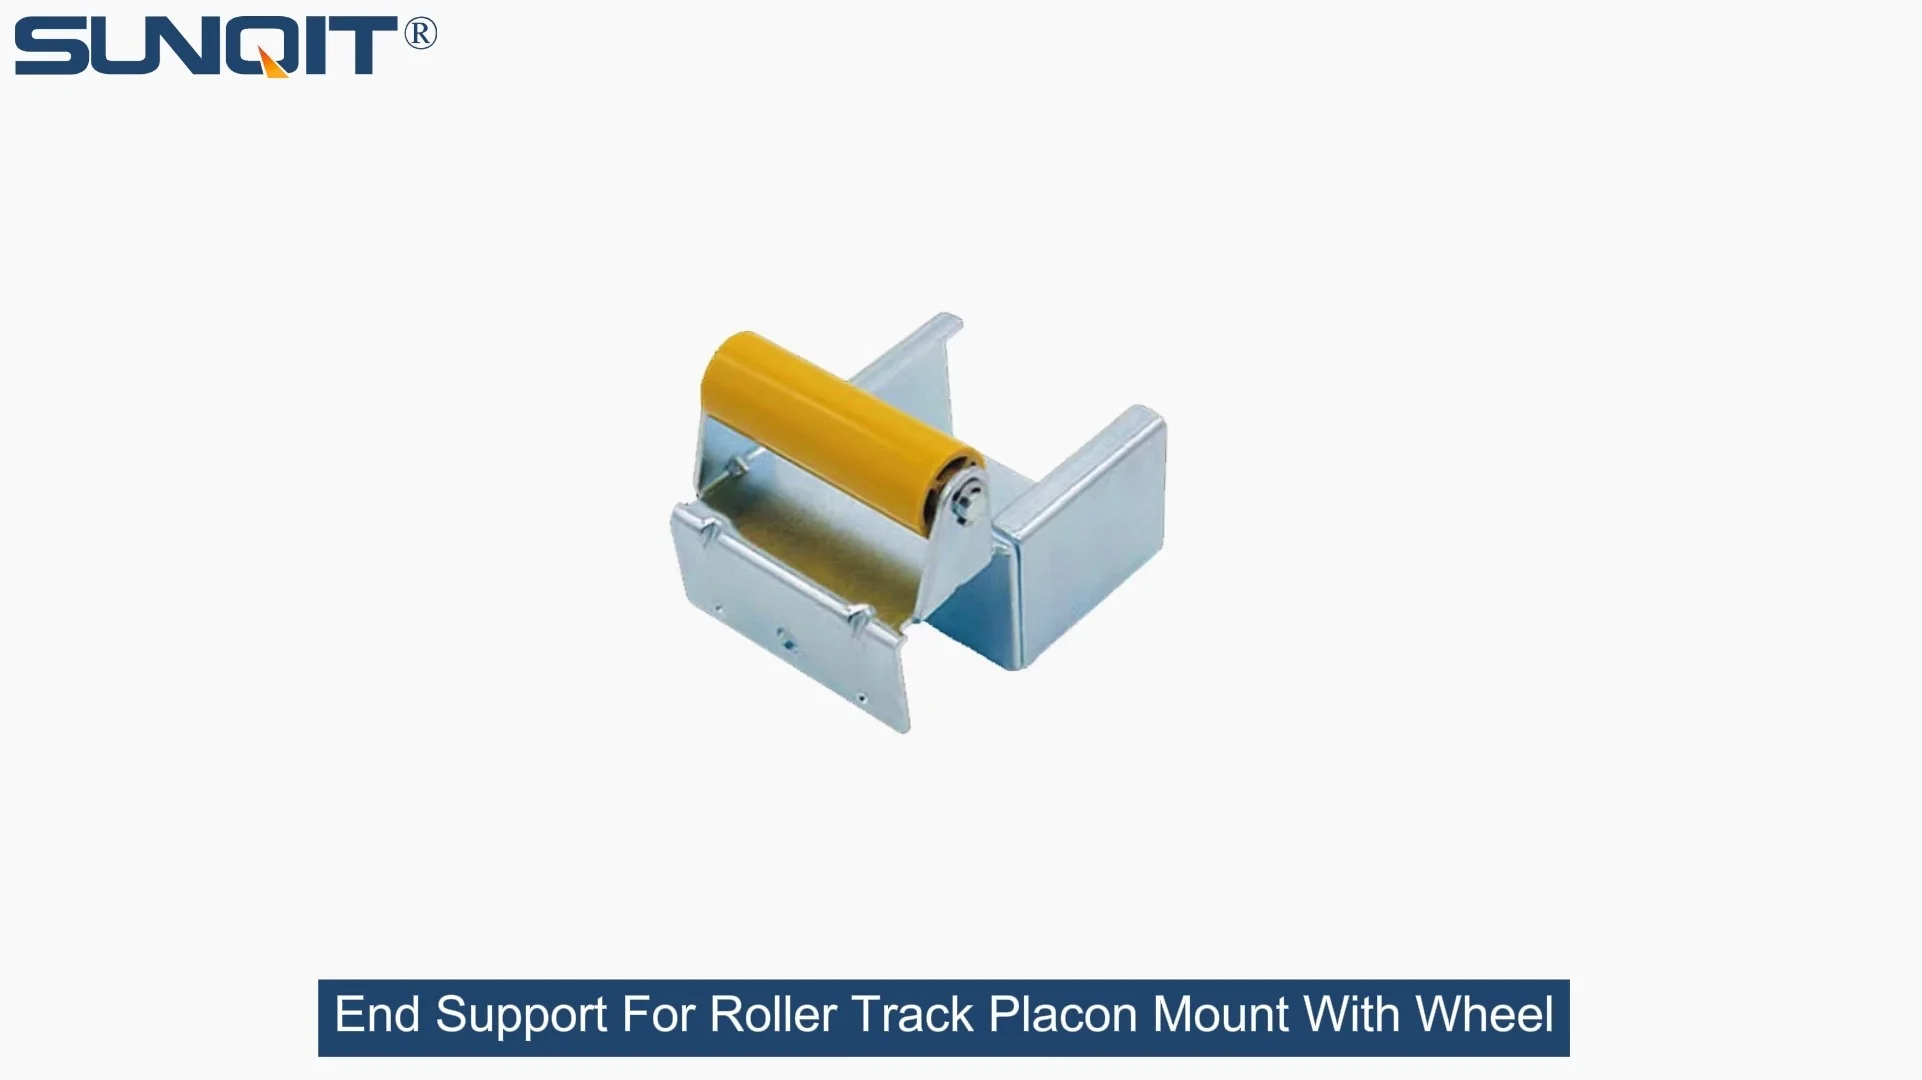
In the fast-paced world of manufacturing, every component counts. When your production line is running at full speed, the last thing you need is a small part causing big problems. One such unsung hero in your setup? The end support for roller track placon mount with wheel. This component keeps your roller track stable, ensures smooth material flow, and prevents jams that can bring your entire operation to a halt. But like any hardworking part, it needs regular care to perform its best. In this guide, we'll walk you through how to clean and lubricate this critical piece—step by step, with practical tips to keep your roller track in top shape.
Understanding the Role of End Support in Your Roller Track System
Before we dive into the "how," let's talk about the "why." Your roller track is the backbone of material handling in many production environments—moving parts from one station to the next, ensuring assembly lines stay efficient, and reducing manual labor. The end support for roller track placon mount with wheel is the anchor that holds the track in place. It absorbs vibrations, keeps the track aligned, and allows the wheels to rotate freely without wobbling. Over time, dust, debris, and wear can take a toll: wheels might start sticking, screws could loosen, or the support itself might become misaligned. Ignoring these issues can lead to slower production, damaged products, or even safety hazards. That's why regular cleaning and lubrication aren't just "maintenance tasks"—they're investments in your operation's reliability.
Tools and Materials You'll Need
Gathering your supplies first will save you time and frustration. Here's what you'll need:
- Microfiber cloths : For gentle cleaning without scratching surfaces.
- Soft-bristle brush : To dislodge dust and debris from crevices (a toothbrush works great for tight spots).
- Mild detergent : Mix a small amount with warm water for stubborn grime (avoid harsh chemicals that can damage plastic or metal).
- Compressed air can : For blowing out dust from hard-to-reach areas like wheel bearings.
- Food-grade silicone lubricant : The best choice for wheel axles—won't attract dust like oil-based lubricants and is safe for most materials.
- Adjustable wrench or screwdriver : To loosen/tighten screws on the roller track placon mount connector.
- Small container : For holding screws or small parts during disassembly (a cup or magnetic tray works well).
- Paper towels : For drying parts after cleaning.
Pro Tip:
Label small parts (like screws or washers) as you remove them. It might seem tedious, but it'll make reassembly a breeze—no more guessing which screw goes where!

Step 1: Safety First—Power Down and Prepare the Area
Never work on a moving roller track! Start by turning off the power to the section you're maintaining. If the track is part of a larger system, lock out the power source to prevent accidental startup. Next, clear the area around the end support: remove any products, tools, or debris that might get in your way. If the roller track is loaded with materials, gently move them to a temporary storage area—you don't want parts falling or getting damaged during cleaning.

Step 2: Disassemble the End Support (If Needed)
Depending on your roller track design, you may need to partially disassemble the end support to clean it properly. Here's how:
- Locate the roller track placon mount connector : This is the piece that attaches the end support to the main track. It's usually secured with 2-4 screws.
- Loosen the screws : Use your wrench or screwdriver to gently loosen (but not fully remove) the screws. If the screws are rusted or stuck, apply a tiny drop of lubricant and let it sit for 5 minutes—this will make turning easier.
- Detach the end support : Carefully lift the end support away from the track. If it's stuck, wiggle it gently side to side—don't force it, as this could bend the metal or damage the connector.
- Remove the wheel (if applicable) : Some end supports have a removable wheel. If yours does, check for a retaining clip or small screw holding it in place. Remove this, then slide the wheel off the axle.
Pro Tip:
Take a quick photo before disassembling! A picture will serve as a handy reference when putting everything back together—especially if you're new to this task.

Step 3: Deep Cleaning the End Support
Now it's time to get rid of the grime. Dust, oil, and even small product residues can build up on the end support and wheel, causing friction and slowing rotation. Follow these steps for a thorough clean:
3.1 Clean the Metal Frame
Wipe down the metal part of the end support with a microfiber cloth dampened with warm, soapy water. Focus on areas where dust tends to collect: around the screw holes, along the edges, and where the support meets the track. For stubborn spots (like dried oil or adhesive), use a soft-bristle brush to scrub gently—avoid steel wool or abrasive pads, which can scratch the metal and lead to rust later.
3.2 Clean the Wheel and Axle
The wheel is where most problems start, so give it extra attention:
- Remove loose debris : Use compressed air to blow out dust from the wheel bearings and around the axle. Hold the can 6-8 inches away to avoid damaging delicate parts.
- Wash the wheel : If the wheel is plastic or rubber, soak it in warm, soapy water for 10 minutes to loosen grime. Use a toothbrush to clean the grooves and the area around the axle hole. For metal wheels, skip soaking—just wipe with a damp cloth to prevent rust.
- Dry thoroughly : Pat all parts with a paper towel, then let them air-dry for 10-15 minutes. Moisture is the enemy here—even a small amount can cause rust or make lubricant less effective.
Step 4: Lubricating the End Support and Wheel
Clean parts are great, but they need lubrication to move smoothly. Here's how to do it right:
4.1 Choose the Right Lubricant
Stick with food-grade silicone lubricant for the wheel axle and moving parts. Why silicone? It's long-lasting, repels water, and won't attract dust and dirt like petroleum-based oils. Avoid WD-40 (it's a solvent, not a lubricant!) and heavy greases, which can gum up the works over time.
4.2 Apply Lubricant Sparingly
Less is more when it comes to lubrication. Here's how:
- Wheel axle : Put 1-2 drops of lubricant directly into the axle hole of the wheel. Slide the wheel back onto the axle and spin it gently—this spreads the lubricant evenly inside the bearing.
- Moving joints : If the end support has hinges or adjustable parts, apply a tiny drop of lubricant to the contact points. Wipe away excess with a cloth—you don't want it dripping onto the roller track or products.
- Screw threads : A light coating of lubricant on the screws of the roller track placon mount connector will make future disassembly easier and prevent rust.
Step 5: Reassemble and Test
Now it's time to put everything back together. Follow these steps to ensure a secure, functional end support:
- Reattach the wheel : Slide the wheel back onto the axle and secure it with the retaining clip or screw. Tighten just enough to hold it in place—over-tightening can restrict rotation.
- Align the end support : Position the end support back onto the roller track, making sure it lines up with the roller track placon mount connector. The support should sit flush with the track—no gaps or tilting.
- Tighten the screws : Screw the connector back into place, alternating between screws (like tightening a lug nut) to ensure even pressure. Don't over-tighten—this can strip the threads or warp the metal.
- Test the movement : Gently spin the wheel by hand. It should turn smoothly, with no grinding or sticking. Push a test part along the track—if it moves evenly without jamming, you're good to go!
Creating a Maintenance Schedule
One cleaning isn't enough—consistency is key. Use this table to build a maintenance routine that fits your production schedule:
| Maintenance Frequency | Tasks to Perform | Tools Needed | What to Check For |
|---|---|---|---|
| Daily | Visual inspection; wipe dust from end support and wheel | Microfiber cloth | Loose screws, visible debris, wheel alignment |
| Weekly | Deep clean (as above); check wheel rotation | Brush, mild detergent, compressed air | Sticking wheels, rust spots, loose roller track placon mount connector |
| Monthly | Lubricate axle and moving parts; tighten all screws | Silicone lubricant, wrench/screwdriver | Worn wheel tread, damaged connector, excessive play in the support |
Troubleshooting Common Issues
Even with regular maintenance, problems can pop up. Here's how to fix the most common ones:
Q: The wheel is still sticking after cleaning and lubricating. What's wrong?
A: Check the axle for bends or rust. If the axle is bent, it will cause the wheel to wobble and stick. You may need to replace the axle or the entire end support. Also, make sure the wheel isn't cracked—even a small crack can throw off rotation.
Q: I hear a grinding noise when the roller track is running. Could the end support be the cause?
A: Yes! Grinding often means metal-on-metal contact. Check if the end support is misaligned (pushing against the track) or if the wheel bearing is worn out. Tighten the roller track placon mount connector first—if the noise persists, replace the wheel bearing.
Q: The end support keeps coming loose. How can I prevent this?
A: Vibrations from the roller track can loosen screws over time. Use thread-locking fluid (like Loctite) on the screw threads—just a drop will keep them secure without making future removal impossible. Also, check if the roller track placon mount is damaged; a cracked connector won't hold screws tight.
Final Thoughts: Protecting Your Roller Track Investment
Your roller track system is more than just metal and wheels—it's the lifeline of your production line. By taking the time to clean and lubricate the end support for roller track placon mount with wheel, you're not just maintaining a part; you're ensuring your operation runs smoothly, reducing downtime, and extending the life of your equipment. Remember, lean manufacturing isn't just about efficiency—it's about sustainability and continuous improvement. Small, consistent efforts like this add up to big results: happier workers, faster production, and a more reliable operation.
So grab your cloth, lubricant, and brush, and give your end support the care it deserves. Your roller track (and your bottom line) will thank you.