- Company Articles
- Products and Technology
- Installation And Maintenance
- How to Clean and Maintain Roller Track Placon Mount Brackets in Dust-Prone Environments

How to Clean and Maintain Roller Track Placon Mount Brackets in Dust-Prone Environments
Related Product
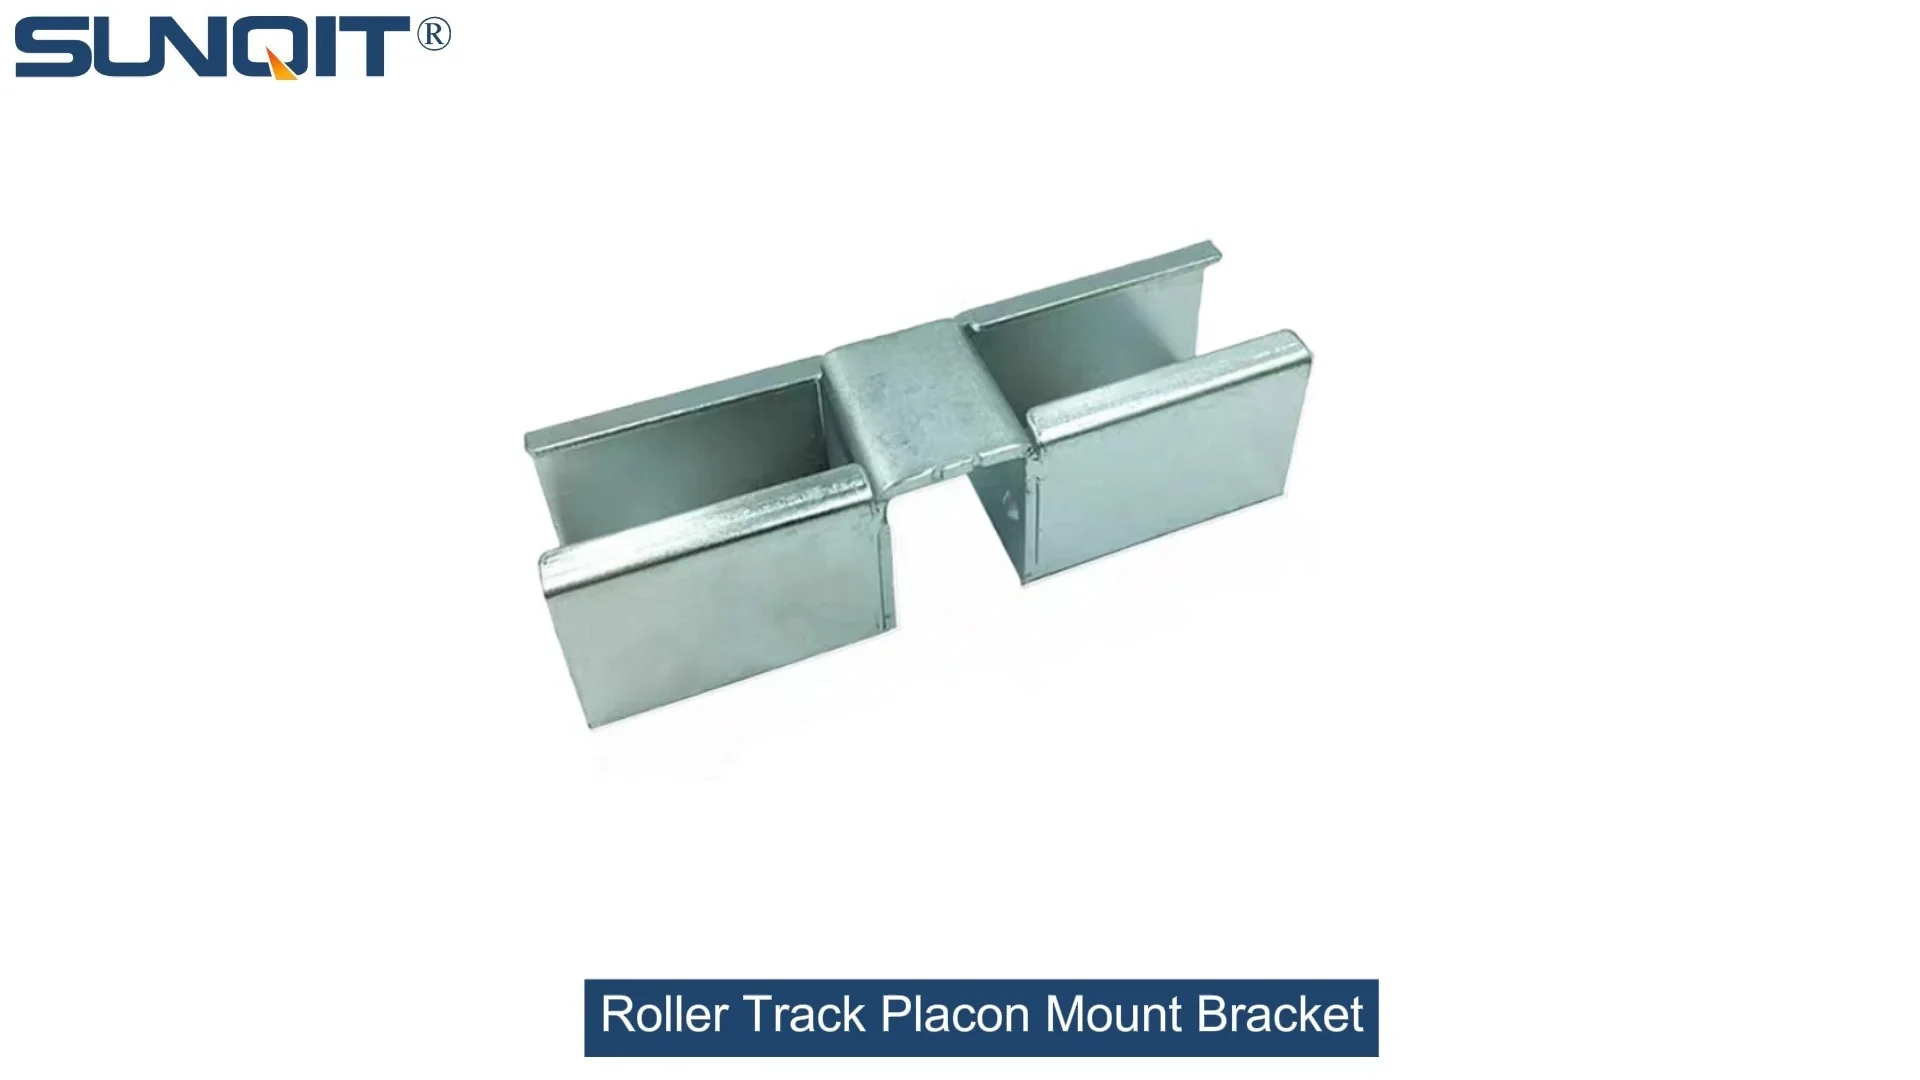
Roller Track Placon Mount Bracket
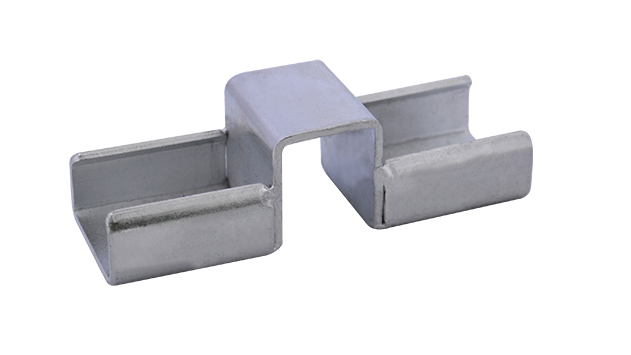
Roller track placon mount work as a connector for roller track and pipe or aluminum profile in rack syetem, it is a necessary parts in rack system which widely used in industrial plant and logistic,warehouse storage.
Ever walked through a busy manufacturing workshop and noticed how smoothly the roller tracks glide, moving parts from one station to another? Those tracks don't work alone—behind the scenes, roller track placon mount brackets are the unsung heroes holding everything together. But in dusty environments (think automotive plants, warehouses, or 3C assembly lines), these brackets take a beating. Dust, metal shavings, and grease build-up can turn your "smooth operator" tracks into clunky, slow-moving obstacles overnight.
Ignoring them isn't an option. A jammed bracket might delay production, scratch delicate parts, or even lead to costly repairs. The good news? With the right cleaning routine and a little TLC, you can keep these brackets (and your entire lean system) running like new. Let's dive into how to give your brackets the care they deserve—no fancy tools required, just some common sense and a few minutes of your time.
First Things First: Why These Brackets Matter
Before we grab the cleaning supplies, let's talk about why these brackets are worth your attention. Roller track placon mount brackets are the "joints" that connect roller tracks to aluminum profiles or lean pipes. They keep the track stable, aligned, and at the right height—critical for preventing (materials) from jamming or tipping. In dusty settings, even a thin layer of grime can:
- Create friction, making tracks slow or stuck
- Corrode metal parts (especially aluminum or steel brackets)
- Hide loose screws or cracks (a safety hazard!)
- Contaminate sensitive components (like ESD workbenches in electronics manufacturing)
Pro Tip: Think of your lean system as a team. The brackets are like the linemen in football—you might not notice them until they're not doing their job. Keep them happy, and the whole team wins.
Gather Your Tools: What You'll Need
You don't need a industrial cleaning crew for this. Most supplies are probably already in your workshop or janitorial closet:
- Soft-bristle brush (an old toothbrush works for tight spots!)
- Microfiber cloths (avoid paper towels—they leave lint)
- Compressed air can or air compressor (for blowing dust out of crevices)
- Mild detergent (dish soap diluted in water works great)
- White vinegar (natural degreaser for tough grime)
- Silicone-based lubricant (avoid oil-based lubes—they attract more dust)
- Small wrench or screwdriver (to tighten loose fasteners)
- Flashlight (to check hidden corners)
Step-by-Step: Daily Cleaning Routine (10 Minutes Max!)
Daily cleaning is like brushing your teeth—quick, simple, and prevents big problems later. Here's how to do it:
1 Power Down and Secure the Area
First, turn off any motorized conveyor systems and lock them out if possible. You don't want tracks moving while you're cleaning—safety first!
2 Dust the Surface with a Brush
Take your soft-bristle brush and gently sweep away loose dust from the bracket surfaces. Focus on the connection points where the bracket meets the aluminum profile and the roller track. Brush in the direction of the track to avoid pushing dust into crevices.
3 Blow Out Hidden Gunk
Use compressed air (hold the can 6-8 inches away) to blast dust from tight spots—like the gaps between the bracket and the plastic roller track guide rail, or around the mounting screws. This step is crucial for preventing dust from hardening into a paste later.
4 Wipe with a Damp Cloth
Dampen a microfiber cloth with diluted dish soap (1 part soap to 10 parts water) and wipe down the bracket. For greasy spots, add a drop of white vinegar to the cloth—this cuts through oil without damaging aluminum or plastic parts.
5 Dry Thoroughly
Use a dry microfiber cloth to wipe away moisture. Water left on metal brackets can lead to rust, especially in humid workshops. Pay extra attention to screw heads and joint areas.

Weekly Deep Dive: Checking for Wear and Tear
Daily cleaning keeps dust at bay, but once a week, take 15 minutes to inspect your brackets more closely. This is when you'll catch small issues before they become big headaches.
1 Check for Loose Screws
Over time, vibration from moving tracks can loosen bracket screws. Grab your wrench or screwdriver and gently tighten any that wiggle. Don't over-tighten—you could strip the threads in the aluminum profile!
2 Lubricate Moving Parts
Most placon mount brackets have small moving joints (like those connecting to roller tracks). Apply a tiny amount of silicone lubricant to these joints—just a drop or two. Wipe away excess lube to avoid attracting dust.
3 Inspect for Damage
Look for cracks, bent edges, or rust spots. Aluminum brackets are corrosion-resistant, but if the protective coating is scratched, rust can start. For small rust spots, gently sand with fine-grit sandpaper and apply a thin layer of clear nail polish to seal the area.

Troubleshooting Common Issues (Dust Edition)
Even with regular cleaning, dust can cause problems. Here's how to fix the most common bracket-related headaches:
| Problem | What's Happening (Dust to Blame!) | Quick Fix |
|---|---|---|
| Tracks are "sticky" or slow | Dust has built up between the bracket and track, creating friction | Use compressed air to blow out the gap, then wipe with vinegar-dampened cloth |
| Bracket feels loose even after tightening screws | Dust in the screw hole is preventing a tight fit | Remove the screw, blow out the hole with air, then re-tighten |
| Plastic parts (like guides) look dull or cracked | Abrasive dust has worn down the plastic surface | Polish with a small amount of furniture wax; replace if cracked |
| Metal brackets have white/greenish "fuzz" | Corrosion from dust + moisture (common in humid areas) | Scrub with a paste of baking soda and water; rinse and dry immediately |
Pro Hack: If your workshop is extra dusty (looking at you, metal fabrication shops!), try placing small felt pads under bracket feet. They catch dust before it reaches the joint areas.
Long-Term Protection: Keeping Dust at Bay
Prevention is better than cure. Here are a few simple ways to reduce dust build-up on your brackets:
- Add dust covers: For unused tracks or brackets near grinding stations, use temporary plastic covers (you can even repurpose old shower caps!)
- Improve ventilation: Better airflow means less dust settling on surfaces. Check if your workshop fans are directed to pull dust away from tracks.
- Train your team: Encourage operators to wipe down brackets at the end of their shift—small habits make a big difference!
- Choose the right materials: If you're installing new brackets, opt for aluminum profile brackets with smooth, non-porous surfaces—they're easier to clean than rough steel.
Your Brackets, Your Lean System, Your Success
At the end of the day, maintaining roller track placon mount brackets isn't just about cleaning—it's about respecting the hard work your lean system does. When these small but mighty parts are in top shape, your entire production line runs smoother, your team stays productive, and you avoid those "why is everything breaking today?!" moments.
Remember: A little time spent cleaning today saves hours of frustration (and cash!) tomorrow. So grab that brush, blow away the dust, and let your brackets get back to doing what they do best—keeping your manufacturing process lean, mean, and dust-free.
Now go give those brackets a pat on the back (after you clean them, of course!).