- Company Articles
- Products and Technology
- Product knowledge
- How to Cut 0.8mm Stainless Steel Pipe: Tools for Custom Lean Workstations

How to Cut 0.8mm Stainless Steel Pipe: Tools for Custom Lean Workstations
Related Product
0.8mm Stainless Steel Pipe
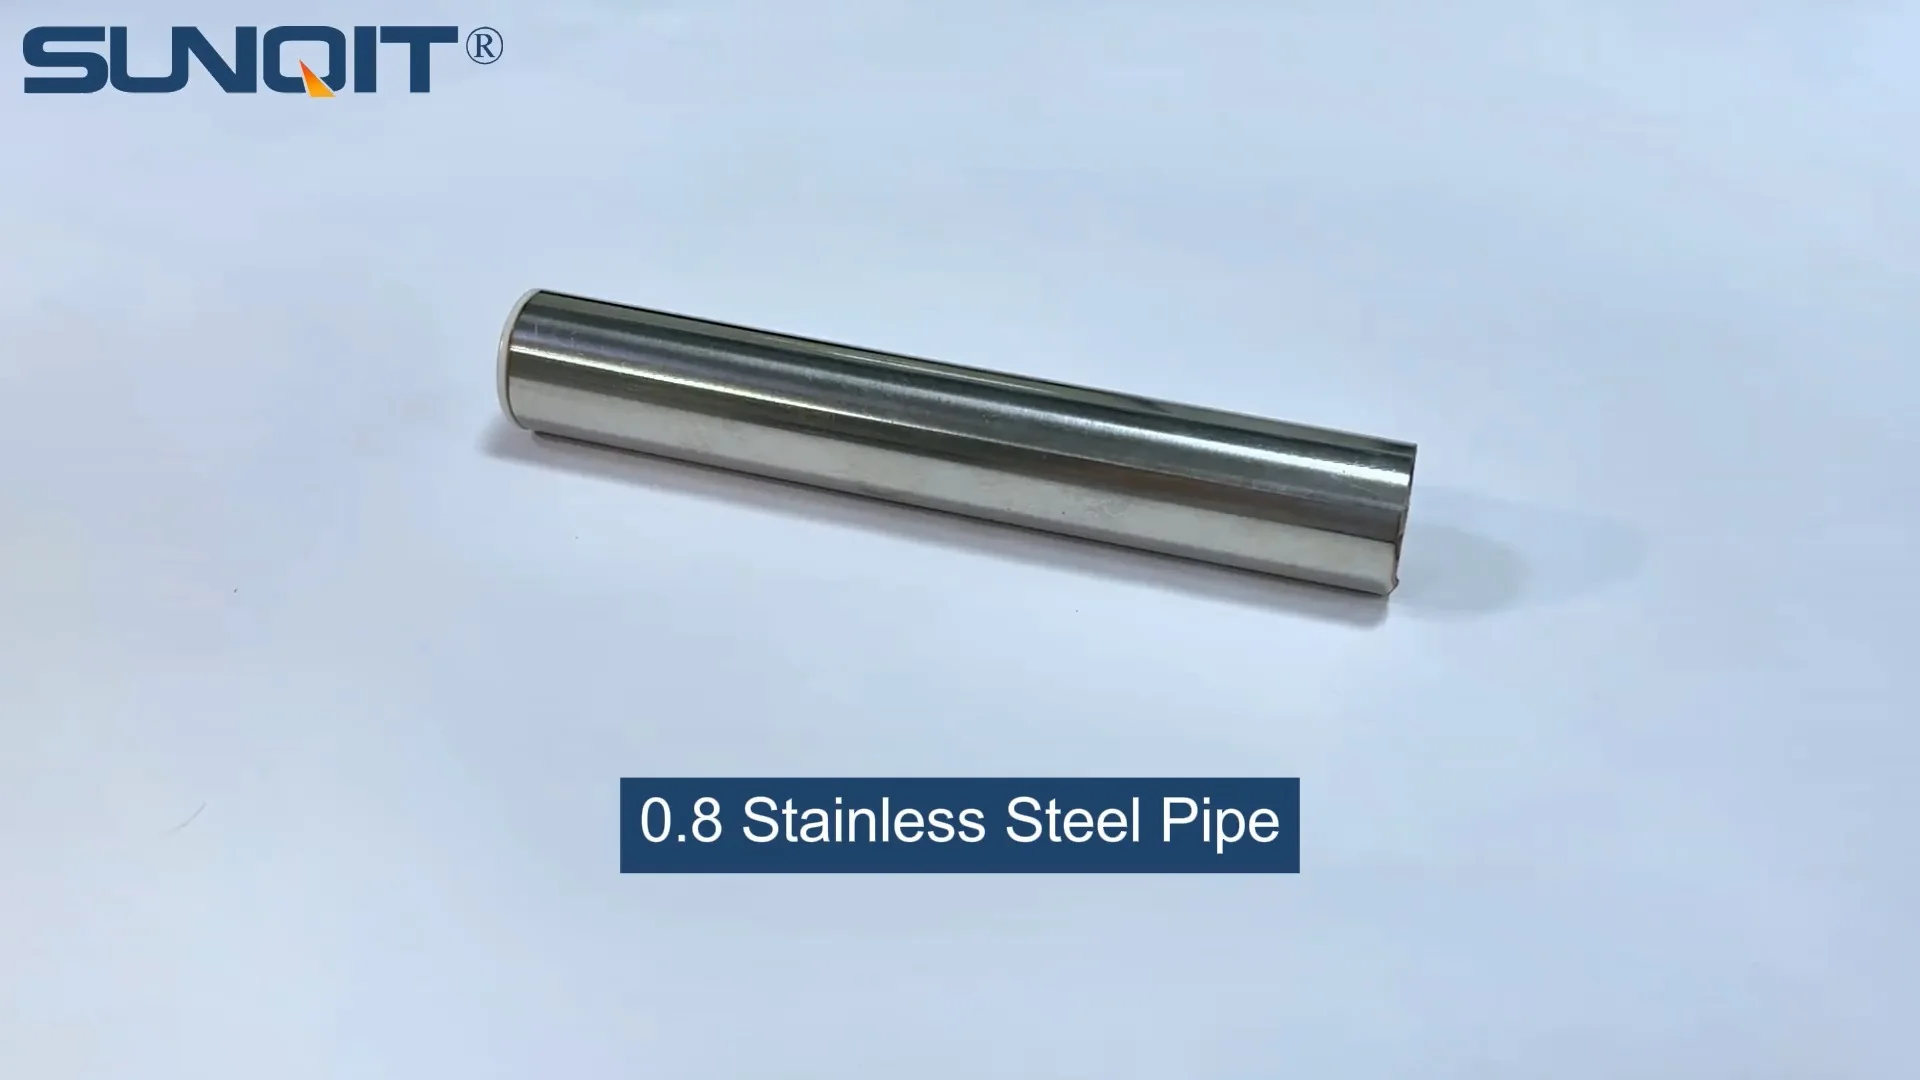
Stainless steel pipe, lean pipe, diameter is 28mm, material is SS201 or SS304, SS201 is normally used in the market. It knows a KARAKURI, KAIZEN material for industrial plant to improve efficiency, save labor cost, standard management.
Why Custom Lean Workstations Start with the Right Pipe
Walk into any efficient workshop or manufacturing floor, and you'll notice a common thread: workstations that feel like they were built *for* the people using them, not the other way around. That's the magic of lean workstations—they minimize waste, maximize comfort, and keep workflows moving like a well-oiled machine. And at the heart of many of these setups? Stainless steel pipes. Specifically, the 0.8mm stainless steel pipe, a lightweight yet surprisingly sturdy option from the stainless steel pipe series that's become a favorite for custom builds.
But here's the thing: off-the-shelf workstations rarely fit perfectly. Maybe your team needs a longer surface for assembling small parts, or a lower shelf for tools that's easier to reach. That's where cutting your own stainless steel pipe comes in. It lets you tailor every inch of your workstation to your needs. The problem? 0.8mm stainless steel is thin enough to be flexible but tough enough to resist clean cuts if you're using the wrong tools. Cut it poorly, and you'll end up with jagged edges, misaligned joints, or pipes that just won't fit together—turning your dream workstation into a frustrating puzzle.
In this guide, we're breaking down everything you need to know to cut 0.8mm stainless steel pipe cleanly, safely, and efficiently. Whether you're building a lean pipe workbench from scratch or modifying an existing setup, we'll cover the tools that work (and the ones that don't), step-by-step techniques, and pro tips to ensure your cuts are precise enough to fit seamlessly with lean pipe joints and other accessories. Let's dive in.
Understanding 0.8mm Stainless Steel Pipe: Why It's Tricky (and Worth It)
Before we grab the tools, let's talk about the material itself. 0.8mm stainless steel pipe is part of the stainless steel pipe series known for its balance of strength and versatility. At just 0.8mm thick, it's lighter than thicker steel pipes, making it easy to maneuver when building frames or shelves. But stainless steel is also naturally hard, with a smooth surface that can cause tools to slip if you're not careful. Add to that its thinness—cut too aggressively, and you might bend the pipe instead of cutting through it. Cut too slowly, and you'll create rough edges that make connecting to lean pipe joints a nightmare.
So why bother? Because when cut correctly, 0.8mm stainless steel pipe becomes a blank canvas. It's resistant to rust (critical for workshops where spills happen), easy to clean, and strong enough to support tools, parts, or even small equipment. Plus, it pairs perfectly with the modular (accessories) that make lean systems so adaptable—think casters for mobility, roller tracks for material flow, and brackets for shelves. In short, it's the backbone of a workstation that grows with your needs.

The Tools You Need: A Breakdown of What Works (and What Doesn't)
Not all cutting tools are created equal, especially when dealing with thin stainless steel. Using a dull hacksaw or a heavy-duty angle grinder meant for thicker metal can lead to mistakes. Below is a comparison of the best tools for cutting 0.8mm stainless steel pipe, along with their pros, cons, and ideal use cases.
| Tool Type | Pros | Cons | Best For |
|---|---|---|---|
| Manual Pipe Cutter (Ratchet Type) | Clean, burr-free cuts; minimal effort; portable | Limited to smaller diameters (up to 25mm); slow for multiple cuts | Single cuts or small projects; precise, straight lines |
| Electric Shear (Metal-Cutting) | Fast cuts; easy to control; low vibration | Requires power source; may leave minor burrs | Multiple cuts; curved or straight lines |
| Angle Grinder with Cut-Off Wheel | Quick; handles larger diameters; versatile for other tasks | High risk of slipping; creates sparks; rough edges common | Experienced users; thick-walled pipes (with caution) |
| Bench-Mounted Bandsaw | Most precise cuts; steady support; minimal effort | Not portable; requires setup space | Workshops with multiple projects; bulk cutting |
For most DIYers and small workshops, the manual ratchet pipe cutter or electric shear will be your best bets. They balance precision and ease of use, which is crucial when working with 0.8mm pipe. Let's take a closer look at how to use each.

Tool Deep Dive: How to Use Each Cutter Like a Pro
1. Manual Ratchet Pipe Cutter: The Precision Pick
If you're new to cutting stainless steel pipe, start here. Manual ratchet cutters are designed to clamp onto the pipe and slowly rotate, scoring the metal until it snaps cleanly. They're affordable (under $50 for a good model) and require almost no technical skill—just patience.
1 ** Secure the pipe.**Use a vice or clamp to hold the pipe steady. The more stable it is, the cleaner the cut. If you don't have a vice, rest the pipe on a flat surface and hold it firmly with one hand (but wear gloves—more on safety later!).
2 ** Mark your cut.**Use a tape measure and a fine-tipped marker to draw a straight line around the pipe. For extra precision, wrap a piece of masking tape around the pipe first—this gives the marker a clean surface to write on and peels off easily afterward.
3 ** Position the cutter.**Open the cutter jaws and place them on the pipe, aligning the blade with your marked line. Tighten the handle until the blade just touches the pipe—you don't need to crank it yet.
4 ** Rotate and tighten.**Spin the cutter around the pipe slowly. After each full rotation, tighten the handle *slightly* (a quarter-turn at most). The ratchet mechanism will click as you go, letting you apply pressure without straining your hands. Repeat until the pipe snaps. You'll feel it start to give—resist the urge to force it!
Safety Note:
Always wear work gloves to protect your hands from sharp edges, even before cutting. The pipe's edges can be surprisingly sharp, and the cutter's jaws can pinch if the pipe slips.
2. Electric Shear: The Speed Demon
For projects that require multiple cuts (like building a full lean pipe workbench with shelves and supports), an electric shear is a game-changer. These handheld tools use a reciprocating blade to slice through metal quickly, and they're much easier to control than angle grinders.
1 ** Choose the right blade.**Look for metal-cutting blades labeled for stainless steel—they have finer teeth (24-32 teeth per inch) that reduce tearing. Avoid blades meant for wood or plastic; they'll dull fast and leave ragged edges.
2 ** Mark and secure the pipe.**Same as with the manual cutter: mark your line, then clamp the pipe. Electric shears vibrate more than manual tools, so a loose pipe will lead to wobbly cuts.
3 ** Start slow.**Hold the shear with both hands, aligning the blade with the marked line. Let the blade make contact with the pipe before squeezing the trigger—this prevents the blade from jumping. Move the shear steadily along the line, letting the tool do the work. Don't force it; if it feels like it's bogging down, stop and check if the blade is dull.
4 ** Finish with care.**Near the end of the cut, slow down and let the blade complete the slice. Rushing here can bend the pipe or leave a jagged edge.
3. Angle Grinder: For the Experienced (With Caution)
Angle grinders are powerful tools, and while they can cut 0.8mm stainless steel pipe, they're not the best first choice. The high-speed wheel (up to 12,000 RPM) can easily catch on the thin metal, causing the pipe to spin or the grinder to jump. Save this for when you're comfortable with the material or need to make curved cuts.
If you do use an angle grinder, stick to a 1mm-thick cut-off wheel labeled for stainless steel. Wear eye protection, a dust mask, and hearing protection—sparks and metal dust fly everywhere. Secure the pipe with a vice, and cut at a 45-degree angle to the wheel, moving the grinder *away* from your body.
Step-by-Step: Cutting Your 0.8mm Stainless Steel Pipe
Now that you know your tools, let's walk through the full process from start to finish. We'll use the manual ratchet cutter here—it's the most accessible for beginners and produces the cleanest cuts for lean pipe joint fitting.
1 ** Gather your supplies.**You'll need: 0.8mm stainless steel pipe, measuring tape, marker, masking tape, manual ratchet cutter, vice or clamp, deburring tool (or fine sandpaper), and work gloves.
2 ** Measure twice, cut once.**It's a cliché for a reason! Measure the length you need, then measure again. Add an extra 1-2mm to account for any minor mistakes—you can always trim more later, but you can't add length back.
3 ** Mark the pipe.**Wrap masking tape around the pipe at your measured length, then draw a straight line on the tape using a marker and a square (or a straight edge). This ensures the line is perpendicular to the pipe, which is critical for fitting lean pipe joints later.
4 ** Secure the pipe in a vice.**Tighten the vice just enough to hold the pipe steady—over-tightening can bend it. Position the marked line just beyond the vice jaws so you have room to rotate the cutter.
5 ** Cut with the ratchet cutter.**Follow the steps above: position the cutter, rotate, and tighten gradually. You'll know you're almost done when the pipe starts to "give" under light pressure. Let it snap naturally—this avoids bending.
6 ** Deburr the edges.**Even the cleanest cut will leave small burrs (sharp metal bits) on the inside and outside of the pipe. Use a deburring tool (a small, handheld tool with a rotating blade) to smooth these out. If you don't have a deburring tool, fold a piece of 220-grit sandpaper in half and run it around the edges until they're smooth to the touch. This step is non-negotiable—burrs can tear gloves, damage lean pipe joints , or even cut hands during assembly.
7 ** Test the fit.**Slide a lean pipe joint onto the cut end to check if it fits. It should slide on easily but not wobble. If it's too tight, the cut might be uneven—use sandpaper to gently widen the opening. If it's too loose, you may have bent the pipe during cutting; try again with a new section.
From Cut Pipe to Functional Workstation: Building Your Lean Pipe Workbench
Once you've cut all your pipes, it's time to assemble them into a lean pipe workbench . This is where the magic happens—all those precise cuts come together into a workstation that works for *you*. Let's say you're building a basic workbench with a flat surface, a lower shelf, and casters for mobility. Here's how the cut pipes fit in:
Start with the frame: four vertical pipes (legs) cut to your desired height (usually 75-80cm for standing workbenches). Connect these with horizontal pipes at the top and bottom using lean pipe joints —90-degree fixed joints work best for corners. Then add cross-braces for stability (cut to length, of course). For the surface, you might use a plywood or metal top, secured to the frame with brackets. The lower shelf? More horizontal pipes, connected with T-joints to the legs.
The beauty of this system is how modular it is. Want to add a roller track for moving parts from one end to the other? Cut short pipes to support the track, then attach them to the frame with angle joints. Need a tool holder? Bend a section of pipe (using a pipe bender—another handy tool!) and secure it to the side with lean pipe joints . Every cut you made was a step toward a workstation that fits your workflow, not the other way around.
Troubleshooting: Common Mistakes and How to Fix Them
Even with the right tools, things can go wrong. Here are the most common issues and how to solve them:
Problem: The pipe bends instead of cutting. Solution: You're tightening the ratchet cutter too much too soon. Remember: slow, gradual turns are key. If the pipe starts to bend, loosen the cutter, straighten the pipe (gently!), and start over with lighter pressure.
Problem: The cut is uneven (not straight). Solution: Your marked line was off, or the pipe wasn't secured tightly enough. Always use a square to mark lines, and double-check that the pipe is clamped firmly before cutting. For minor unevenness, sand the edge until it's straight.
Problem: The lean pipe joint won't fit. Solution: Check for burrs first—they can block the joint. If deburring doesn't help, the cut might be slightly oval (common if the cutter was misaligned). Use sandpaper to gently round the edges until the joint slides on.
Problem: The pipe is too short after cutting. Solution: Oops—measure twice, cut once! To fix this, you can extend the pipe by adding a short section with a straight lean pipe joint , but this weakens the structure. It's better to cut a new pipe and learn from the mistake.
Final Thoughts: Your Workstation, Your Way
Cutting 0.8mm stainless steel pipe might seem intimidating at first, but with the right tools and a little patience, it's a skill anyone can learn. And the payoff? A lean pipe workbench (or any lean workstation) that fits your space, your team, and your workflow like a glove. No more awkward reaches, wasted space, or clunky setups—just a system that works *with* you.
Remember, the stainless steel pipe series is all about versatility, and 0.8mm pipe is the perfect canvas for customization. Whether you're building a single workbench or outfitting an entire workshop, the ability to cut and connect pipes gives you the freedom to adapt as your needs change. So grab your cutter, mark your lines, and start building—your efficient, custom workstation is waiting.