- Company Articles
- Products and Technology
- Product knowledge
- How to Cut 2.0mm Stainless Steel Pipe: Tools & Step-by-Step Guide

How to Cut 2.0mm Stainless Steel Pipe: Tools & Step-by-Step Guide
Related Product
2.0mm Stainless Steel Pipe
Stainless steel pipe, lean pipe, diameter is 28mm, material is SS201 or SS304, SS201 is normally used in the market. It knows a KARAKURI, KAIZEN material for industrial plant to improve efficiency, save labor cost, standard management.
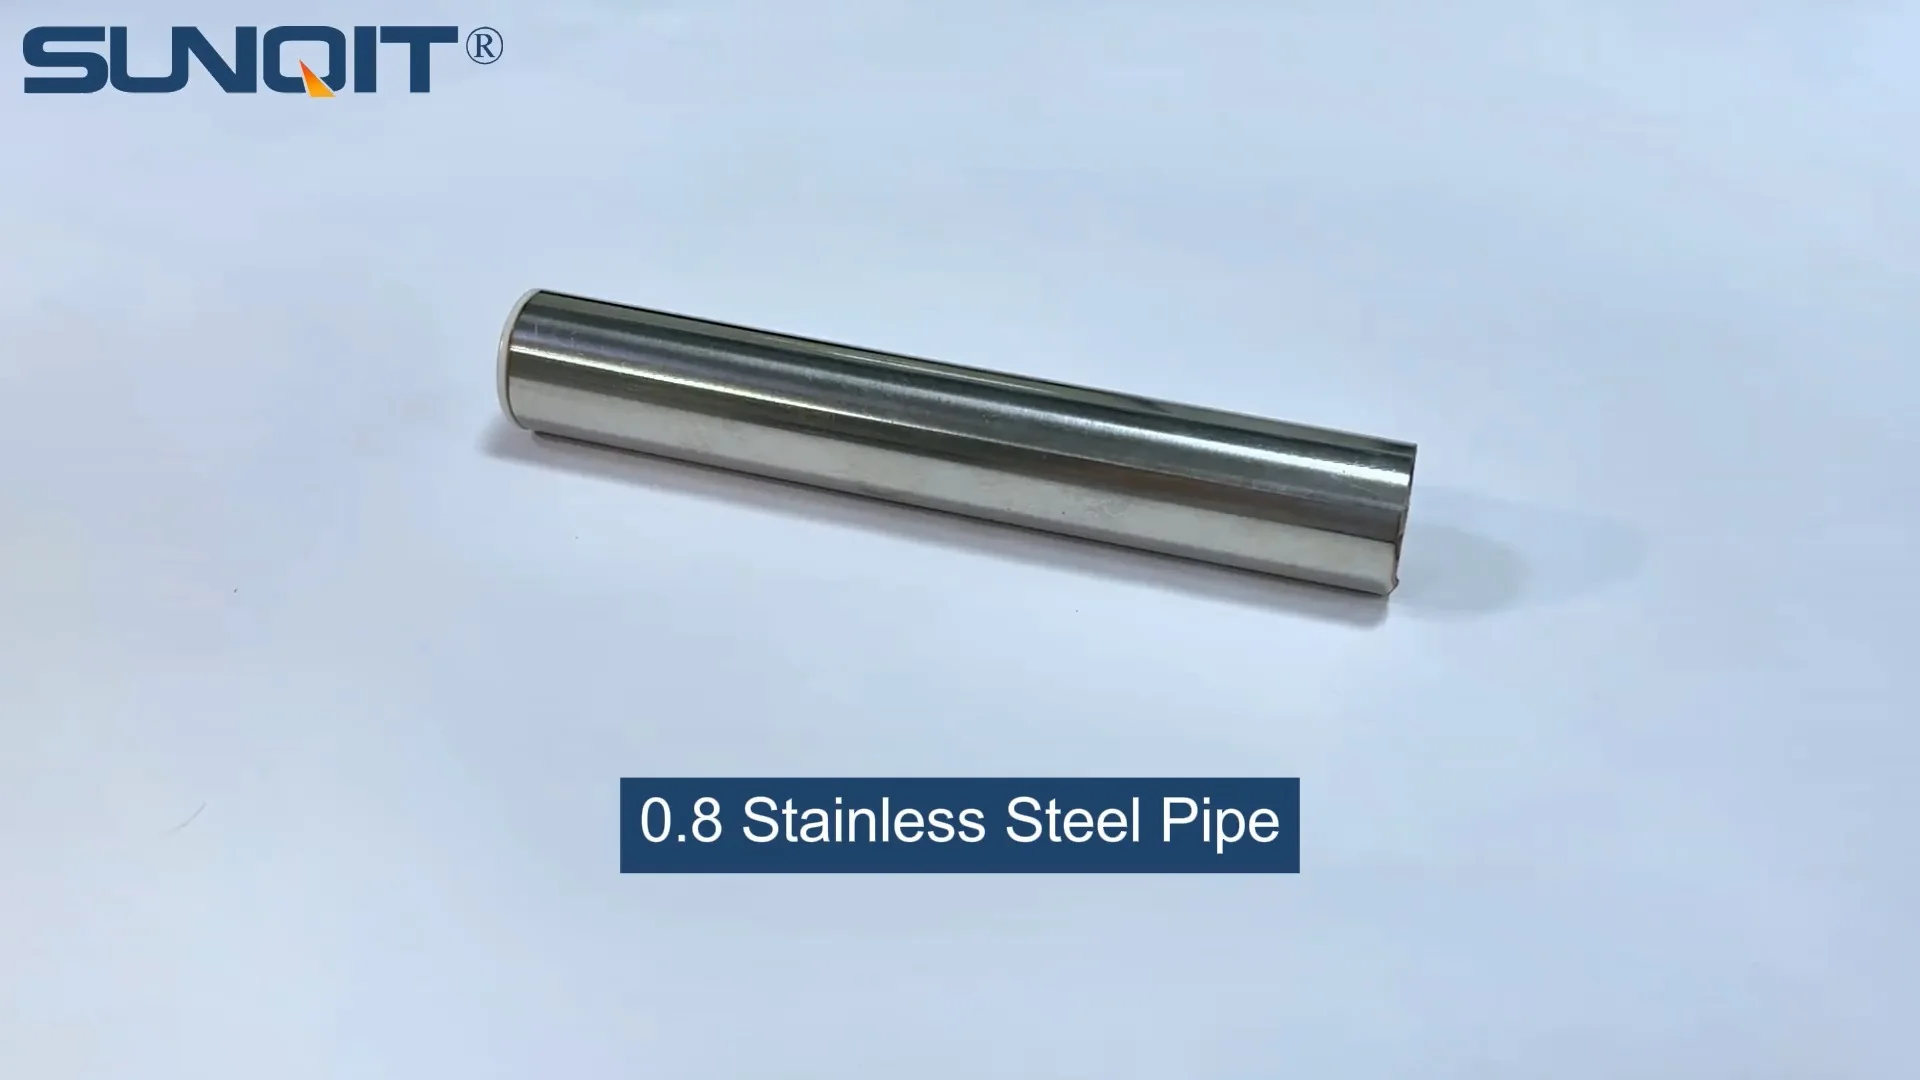
Cutting through stainless steel pipe might sound like a job for the pros, but with the right tools and a little patience, you can get clean, precise cuts even on 2.0mm thickness—no industrial workshop required. Whether you're building a custom workbench, assembling a material rack for your garage, or working on a lean system project, knowing how to cut stainless steel pipe series accurately is a skill that'll save you time, money, and frustration. In this guide, we'll walk through everything you need to know, from choosing the right tools to avoiding common mistakes. Let's dive in.
Why 2.0mm Stainless Steel Pipe? Understanding the Basics
First, let's talk about why 2.0mm stainless steel pipe is so widely used. It's the sweet spot between strength and flexibility—sturdy enough to support weight in structures like workbenches or turnover trolleys, yet thin enough to cut and shape without specialized heavy machinery. You'll find it in everything from manufacturing facilities (think lean system setups) to home DIY projects. And because it's stainless steel, it resists rust and corrosion, making it ideal for both indoor and outdoor use.
But here's the catch: stainless steel is tough. Unlike regular steel or aluminum, it's harder and more prone to work hardening (that's when the metal gets harder as you cut it, making the job even tougher). Cut it wrong, and you'll end up with jagged edges, bent pipes, or worse—damaged tools. That's why we're focusing on precision here. A clean cut isn't just about looks; it ensures your pipe fits perfectly with lean pipe joint connectors, sits flush on aluminum profile frames, and works safely in whatever structure you're building.
Pro Tip:
Always check the grade of your stainless steel pipe before cutting. Most 2.0mm pipes are 304 or 316 grade—304 is easier to cut, while 316 (marine grade) is harder but more corrosion-resistant. Adjust your tools and technique accordingly!
Tools You'll Need: Gearing Up for Success
You wouldn't paint a wall without a brush, right? Cutting stainless steel pipe is no different—having the right tools makes all the difference. Here's your shopping list (don't worry, you might already own some of these):
1. Measuring & Marking Tools
- Tape measure or ruler: For marking exact cut lengths. A metal ruler works better than plastic here—it won't flex.
- Marker or scribe: A permanent marker works for most cases, but a scribe (a sharp metal tool) is better for dark pipes—its mark won't rub off mid-cut.
- Square or angle finder: To ensure your cut line is perfectly straight. Nothing ruins a project faster than a crooked cut!
2. Cutting Tools (The Stars of the Show)
- Hacksaw with bi-metal blade: The budget-friendly option. Look for a blade with 24 teeth per inch (TPI)—finer teeth mean cleaner cuts on thin metal.
- Angle grinder with cutoff wheel: Fast and efficient for quick cuts. Use a metal-specific cutoff wheel (4.5-inch diameter works best for 2.0mm pipe).
- Manual pipe cutter (ratchet type): Ideal for super clean, burr-free cuts. Think of it like a can opener for pipes—slow but precise.
- Bandsaw (optional): If you're cutting multiple pipes, a bandsaw with a metal blade will save your arms. Great for batch projects!
3. Clamping & Support Tools
- Vise: Mount it to a workbench to hold the pipe steady. A 4-inch bench vise works for most 2.0mm pipes.
- C-clamps or bar clamps: For securing the pipe to a work surface if you don't have a vise. Pair them with a scrap piece of wood to avoid denting the pipe.
- Workbench: A sturdy surface is non-negotiable. Look for one with a flat top— aluminum profile workbenches are perfect because they're rigid and won't scratch easily.
- Caster wheels (optional): If your workbench has caster wheel attachments, lock them! You don't want the bench moving mid-cut.
4. Finishing Tools
- Deburring tool: A must-have to smooth sharp edges after cutting. Look for one with both internal and external blades.
- File (medium grit): For stubborn burrs the deburring tool misses.
- Sandpaper (120-240 grit): To polish the cut edge and remove any remaining metal shavings.
- Wire brush: For cleaning off metal dust and debris from the pipe surface.
5. Safety Gear (Don't Skip This!)
- Safety glasses or goggles: Metal shavings fly everywhere—protect your eyes!
- Work gloves: Thick leather or cut-resistant gloves (like Kevlar) to shield your hands from sharp edges and heat.
- Dust mask or respirator: Cutting stainless steel creates fine metal dust—inhaling it is bad news for your lungs.
- Ear protection: Angle grinders and bandsaws are loud—save your hearing with earmuffs or earplugs.
- Fire extinguisher: Keep one nearby if using power tools (sparks happen!).

Cutting Methods Compared: Which One's Right for You?
Not all cutting tools are created equal. Let's break down the pros and cons of each method for 2.0mm stainless steel pipe:
| Method | Best For | Skill Level | Time per Cut | Pros | Cons |
|---|---|---|---|---|---|
| Hacksaw | Small projects, tight spaces, no power | Beginner | 5-10 minutes | Cheap, portable, no electricity needed | Slow, tiring for multiple cuts, easy to wander off the line |
| Angle Grinder | Quick cuts, thick pipes, rough projects | Intermediate | 30-60 seconds | Fast, cuts through tough metal easily | Sparks, messy, requires steady hands |
| Manual Pipe Cutter | Clean, precise cuts, DIY projects | Beginner | 2-5 minutes | Burr-free cuts, minimal cleanup, quiet | Only works on pipes up to 2 inches diameter, slow for many cuts |
| Bandsaw | Batch cutting, repeated cuts | Intermediate | 1-2 minutes per cut | Consistent, low effort, great for accuracy | Expensive, not portable, needs setup space |
For most home users or small workshops, the angle grinder or manual pipe cutter will be your go-to. The hacksaw works in a pinch, but save it for when you don't have power tools handy. Let's focus on these three methods in the step-by-step guide.

Step-by-Step Guide: Cutting 2.0mm Stainless Steel Pipe
Step 1: Set Up Your Workspace
Start by clearing your workbench. Remove clutter, sweep up old sawdust, and make sure there's nothing flammable nearby (especially if using an angle grinder). If your workbench has caster wheel locks, engage them—you don't want the bench sliding mid-cut. Lay down a scrap piece of plywood or cardboard to catch metal shavings (they're sharp and hard to clean up!).
Safety First:
Open a window or turn on a fan if cutting indoors—metal dust is harmful to breathe. If you're using an angle grinder, do it outside if possible to avoid sparking a fire.
Step 2: Measure and Mark Your Cut
Measure twice, cut once—you've heard it before, but it's true! Use a tape measure to mark your desired length on the pipe. For straight cuts, hold a square against the pipe and draw a line around the circumference with a marker. If the line is uneven, your cut will be too. Pro tip: Wrap a piece of masking tape around the pipe first—this gives the marker a better surface to stick to, and you can peel it off later without leaving residue.
Double-check the mark! I once cut a pipe 2 inches too short because I misread the tape measure—don't be me. If you're cutting multiple pipes, stack them and mark all at once to save time (just make sure they're aligned!).
Step 3: Secure the Pipe
Now, clamp the pipe to your workbench. If using a vise, position the mark just above the vise jaws so the cut will be outside the clamp (this prevents the pipe from bending). Tighten the vise until the pipe doesn't wiggle—too loose, and it'll move; too tight, and you'll dent the pipe. If you're using C-clamps, place a scrap block of wood between the clamp and the pipe to distribute pressure evenly.
Pro Tip:
If your pipe is longer than your workbench, support the overhanging end with a sawhorse or stack of books. An unsupported pipe will vibrate and ruin your cut!
Step 4: Cut the Pipe (Choose Your Method)
Method A: Hacksaw
1.
Load the blade:
Install a bi-metal hacksaw blade with the teeth pointing forward (toward the handle). Tighten the blade until it's firm—no slack, but don't over-tighten (it'll snap!).
2.
Start the cut:
Hold the hacksaw at a 45-degree angle to the pipe. Use your thumb to guide the blade along the marked line. Start with slow, short strokes to score the pipe—this creates a groove to keep the blade on track.
3.
Keep going:
Once the groove is set, stand up straight and let your body weight do the work. Use long, smooth strokes (about 12-15 per second). Let the blade cut—don't press down hard; you'll dull the teeth faster.
4.
Finish carefully:
As you get close to the end, slow down. The last inch will bend if you rush—support the free end with your hand to prevent it from snapping off jaggedly.
Method B: Angle Grinder
1.
Put on PPE:
Safety glasses, gloves, dust mask, ear protection—no exceptions. Sparks will fly, and metal dust is everywhere.
2.
Install the cutoff wheel:
Make sure the wheel is tight and rated for metal (look for "stainless steel" on the label). Don't use a worn wheel—it can shatter!
3.
Position the grinder:
Hold the grinder with both hands, trigger finger off the switch. Let the wheel spin up to full speed before touching the pipe.
4.
Cut along the line:
Tilt the grinder slightly (about 15 degrees) and touch the wheel to the pipe at the mark. Move the grinder slowly along the line—don't force it. Keep the wheel perpendicular to the pipe to avoid binding.
5.
Let it cool:
Stainless steel heats up fast—pause every 10 seconds to let the pipe cool. If it's too hot to touch, it's too hot to keep cutting (this prevents warping).
Danger!
Never cut with the grinder above shoulder height—if it kicks back, you could lose control. And never cut a pipe that's hanging free—always secure it!
Method C: Manual Pipe Cutter
1.
Adjust the cutter:
Open the cutter jaws and place the pipe inside, aligning the blade with your mark. Tighten the knob until the blade just touches the pipe.
2.
Rotate and tighten:
Spin the cutter around the pipe 3-4 times, then tighten the knob a quarter turn. Repeat—rotate, tighten, rotate. The blade will slowly cut through the pipe like a cookie cutter.
3.
Finish the cut:
As you get close to the end, the pipe will start to bend. Loosen the cutter slightly and rotate gently to avoid crushing the pipe. It'll snap off cleanly when ready.
This method gives the cleanest cut with the least burrs—perfect if you're connecting the pipe to a lean pipe joint where a tight fit is crucial.
Step 5: Deburr and Clean Up
You're not done yet! Even the best cut leaves burrs—those sharp metal edges that'll cut your hands or prevent the pipe from fitting into joints. Grab a deburring tool and run it around the inside and outside of the cut. For stubborn burrs, use a file (move it away from your body—safety first!).
Next, sand the edge with 120-grit sandpaper to smooth it out, then switch to 240-grit for a polished finish. Finally, wipe the pipe with a rag to remove metal dust—you don't want that stuff getting into your eyes or lungs later.
Step 6: Test the Fit
Now, check if your cut pipe fits! Slide it into a lean pipe joint or hold it against your project frame. If it's too tight, you might need to sand the edge a bit more. If it's loose, measure again—you might have cut it at an angle. Remember, practice makes perfect—your first cut might not be perfect, but the second will be better.
Troubleshooting: Fixing Common Mistakes
Even pros make mistakes—here's how to fix them:
- Crooked cut: This usually happens because the pipe moved or you wandered off the line. Sand the edge to straighten it, or if it's really bad, cut a new piece. Next time, use a square and clamp tighter!
- Burrs everywhere: If deburring isn't working, try a rotary tool with a burr bit. For internal burrs, use a deburring tool with a bent tip to reach inside.
- Pipe warped: Overheating with an angle grinder is the culprit. Let the pipe cool between cuts, and avoid pressing too hard. If it's bent, gently straighten it with a rubber mallet (don't hit stainless steel with a metal hammer—it'll dent).
- Hacksaw blade stuck: This happens when the blade dulls or you pressed too hard. Reverse the blade and saw backward to free it, then replace the blade (dull blades cause more problems than they solve).
Putting It All Together: From Cut Pipe to Project
Now that you've got clean, cut pipes, what's next? Most people use 2.0mm stainless steel pipe in structures—think workbenches, material racks, or even custom shelving. Here's a quick example: To build a simple workbench frame, cut four pipes for the legs and four for the top rails. Connect them with lean pipe joint connectors (these snap on without welding!), then add an aluminum profile top for a sturdy work surface. Add caster wheel attachments to the legs, and you've got a mobile workbench—perfect for a garage or workshop!
Remember, the key to any project is precise cuts. A pipe that's cut straight will fit into joints easily, making your structure stronger and safer. And with the skills you've learned here, you can tackle any stainless steel pipe series project with confidence.
Final Thoughts: Cutting Stainless Steel Like a Pro
Cutting 2.0mm stainless steel pipe isn't rocket science, but it does require patience, the right tools, and respect for safety. Whether you're using a hacksaw, angle grinder, or pipe cutter, the steps are the same: measure, secure, cut, deburr, repeat. And don't forget—practice makes perfect. Your first cut might take 10 minutes; by your tenth, you'll be done in 2.
So, grab your tools, clamp that pipe, and start cutting. You've got this! And when your project is done, stand back and admire it—knowing you did it yourself feels pretty great.