- Company Articles
- Products and Technology
- Product knowledge
- How to Cut and Bend 1.0mm Stainless Steel Pipe for Custom Workstations

How to Cut and Bend 1.0mm Stainless Steel Pipe for Custom Workstations
Related Product
1.0mm Stainless Steel Pipe
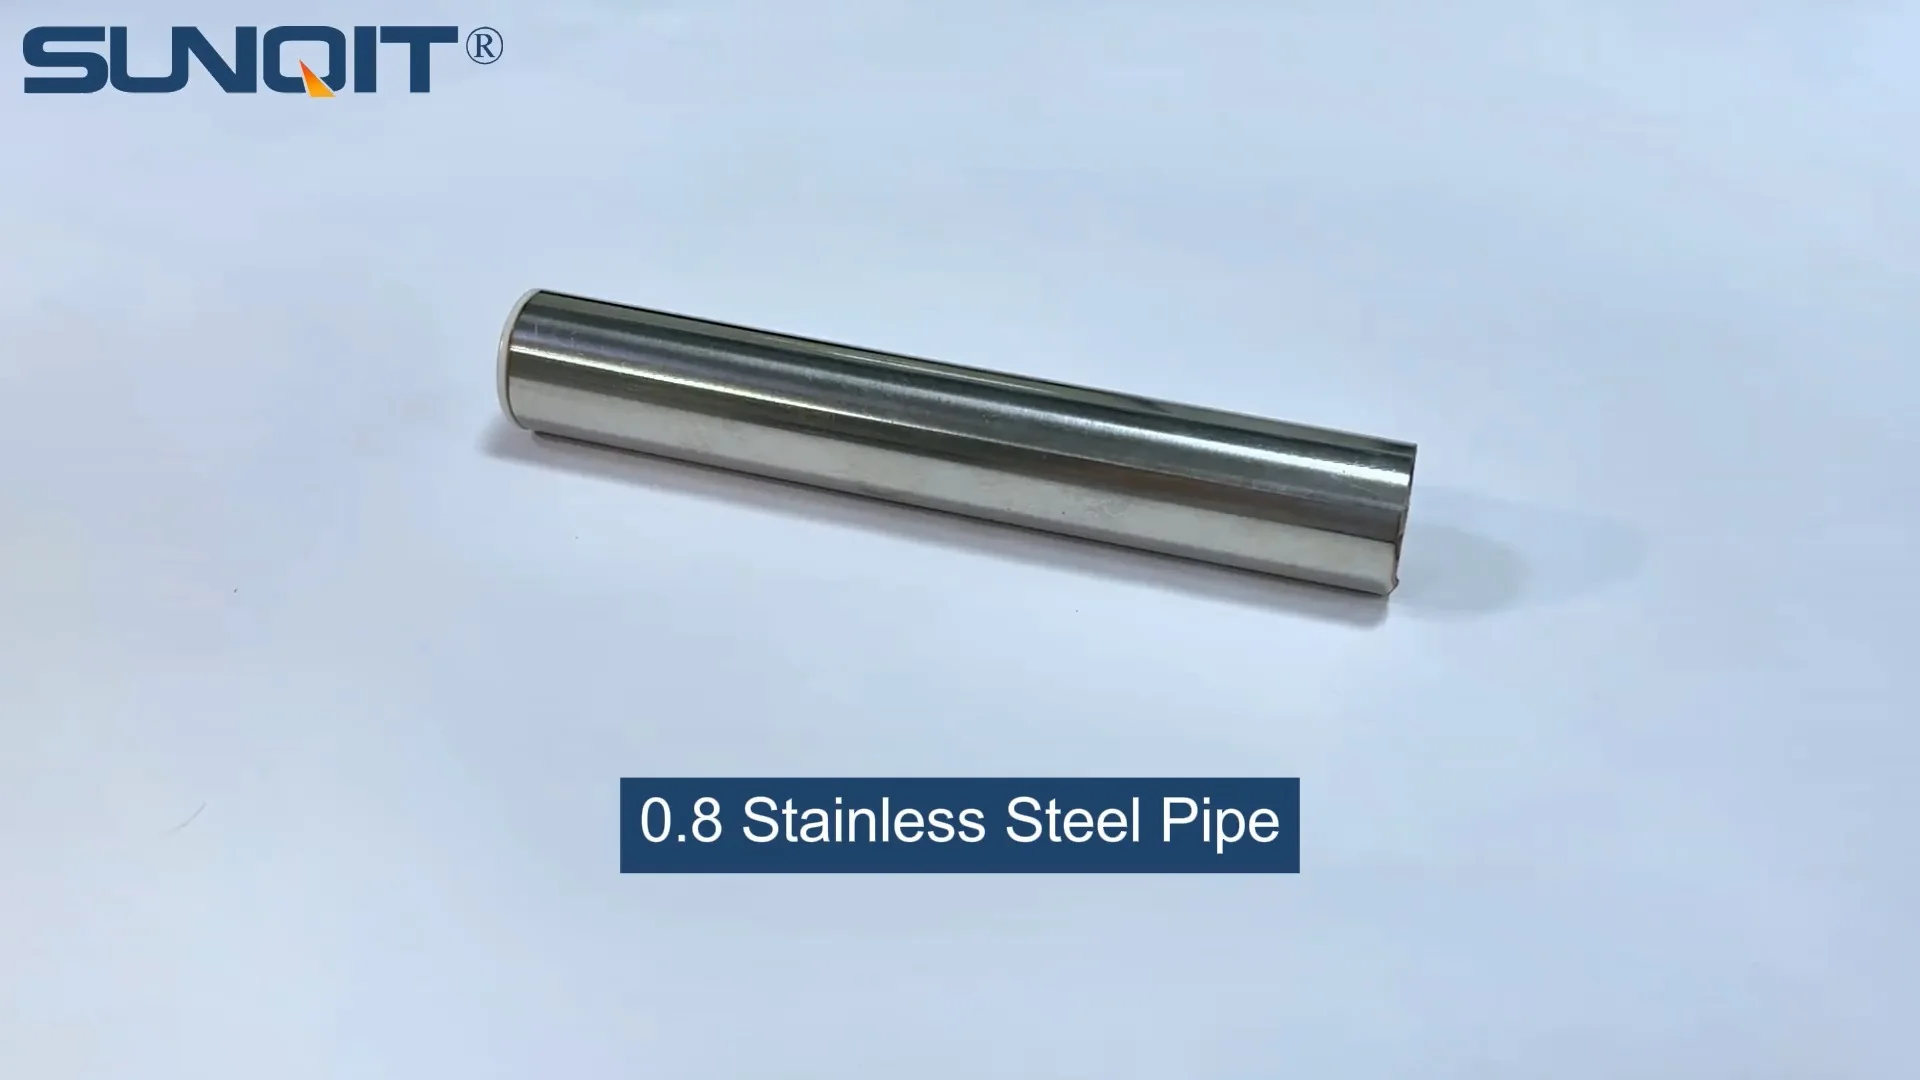
Stainless steel pipe, lean pipe, diameter is 28mm, material is SS201 or SS304, SS201 is normally used in the market. It knows a KARAKURI, KAIZEN material for industrial plant to improve efficiency, save labor cost, standard management.
Walk into any modern workshop, lab, or even a well-organized home garage these days, and you'll likely spot something common: workstations that look like they were built exactly for the space they're in. No more one-size-fits-all tables that waste space or lack the right height for your tasks. Custom workstations are on the rise, and for good reason—they boost efficiency, reduce clutter, and make even the most tedious tasks feel a little more manageable. And if you're thinking about building one yourself, there's a material that's been quietly stealing the spotlight: 1.0mm stainless steel pipe. Part of the versatile stainless steel pipe series , this thin yet tough material is a favorite among DIYers and professionals alike. It's corrosion-resistant, lightweight enough to handle without heavy machinery, and flexible enough to bend into just about any shape you need. Today, we're breaking down how to cut and bend this pipe to create your own custom workstation—no prior metalworking experience required.
Why 1.0mm Stainless Steel Pipe? Let's Start There
Before we dive into the "how," let's talk about the "why." Stainless steel has long been prized for its durability, but the 1.0mm thickness is a sweet spot for custom projects. Thicker pipes (like 2.0mm) can be tough to bend by hand, while thinner ones (0.8mm) might feel flimsy for structural parts. At 1.0mm, you get the best of both worlds: enough sturdiness to support tools, materials, or even a laptop, but enough give to shape into curves or angles without needing industrial equipment. Plus, being part of the stainless steel pipe series means it's designed to work with standard hardware—like the lean pipe joint —which makes assembly a breeze. No welding, no fancy adhesives; just simple, secure connections that you can take apart and reconfigure later if your needs change.
And let's not forget aesthetics. Stainless steel has a clean, modern look that fits in anywhere, from a sleek home office to a busy auto repair shop. It's easy to clean, resists rust (even in humid environments), and holds up to daily wear and tear. For a workstation that's going to see spills, scratches, or heavy use, that's a game-changer.
Gathering Your Tools and Materials: What You'll Need
Before you start cutting or bending, let's make sure you have everything on hand. This isn't a project that requires a fully stocked metal shop, but having the right tools will save you time and frustration. Here's your checklist:
Tools
- Measuring tape and straightedge: Accuracy is key—you don't want to cut a pipe too short and waste material.
- Marker or pencil: A fine-tipped permanent marker works best for marking cut lines; pencil can smudge, so go with something bold.
- Pipe cutter or hacksaw: For cutting the pipe. A pipe cutter (the kind with a rotating blade) gives cleaner, straighter cuts, but a hacksaw works if you're on a budget.
- Angle grinder (optional): Great for quick cuts or smoothing rough edges, but it's messy—only use this if you have good ventilation and a dust mask.
- Bench vice or pipe clamp: To secure the pipe while cutting or bending—never try to hold it with your hands!
- Manual pipe bender: Look for one designed for 1.0mm stainless steel (most small hand benders will work). This tool helps you make smooth, even bends without kinks.
- Sandpaper or file: To deburr the cut edges—sharp metal is no joke, and you'll want to smooth those down before assembling.
- Level: To ensure your workstation is straight and stable once assembled.
Materials
- 1.0mm stainless steel pipe: Available in various lengths (usually 1-6 meters) from hardware stores or suppliers. Measure your workstation design first to calculate how much you need—err on the side of extra, just in case.
- Lean pipe joints: These are the connectors that hold your pipe structure together. Pick a variety pack with elbow joints (90°), T-joints, and straight connectors to cover different angles.
- Workbench: A sturdy surface to work on—your kitchen table won't cut it (literally). A basic wooden or metal workbench with a flat top is perfect for securing the vice and laying out materials.
- Caster wheels (optional): If you want your workstation to be mobile, grab a set of 4 caster wheels with mounting plates. Look for ones with brakes to keep it steady when in use.
- Wooden or metal top (optional): Plywood, MDF, or a pre-cut metal sheet to serve as the workstation surface. Cut it to size once your pipe frame is built.
Pro Tip:
Stainless steel pipe can be slippery, so when marking cuts, wrap a small piece of masking tape around the pipe first—your marker will grip better, and the tape won't leave residue when peeled off.

Safety First: Don't Skip This Step
I know, safety talks can feel like a buzzkill, but trust me—you don't want to end up with a cut hand or metal dust in your eyes. Here's the non-negotiable gear and habits to keep in mind:
- Safety goggles: Metal shavings fly when cutting or sanding—even a tiny sliver in your eye can cause serious damage.
- Work gloves: Thick leather or cut-resistant gloves protect your hands from sharp edges and hot metal (if using power tools).
- Dust mask or respirator: Especially if using an angle grinder—stainless steel dust isn't something you want to breathe in.
- Well-ventilated area: If you're working indoors, open windows or use a fan to clear dust. Outdoors is ideal if weather permits.
- Secure your workspace: Make sure your workbench is stable (no wobbling!) and that the vice is tightly clamped to it. The pipe should never move while you're cutting or bending.
One last thing: Take your time. Rushing leads to mistakes, and mistakes with sharp tools lead to injuries. This project is about precision, not speed. Now, let's get to the fun part.

Step 1: Cutting the Pipe—Measure Twice, Cut Once
Cutting stainless steel pipe might sound intimidating, but with the right technique, it's surprisingly straightforward. The goal is a clean, straight cut with minimal burring (those rough edges that stick out). Let's break it down:
Step 1.1: Measure and Mark
Start by figuring out how long each pipe segment needs to be. Let's say you're building a simple workstation with a 120cm wide frame—you'll need two 120cm horizontal pipes for the top and bottom, and four 80cm vertical pipes for the legs. Write these measurements down to avoid confusion.
Lay the pipe flat on your workbench and use the measuring tape to mark the desired length. Hold the straightedge against the pipe to draw a straight line around the circumference—this ensures your cut is even all the way around. If you're new to this, mark a few extra lines 1-2mm apart to give yourself a margin for error.
Pro Tip:
If the pipe rolls around while marking, wedge a piece of wood under one end to prop it up, or use a pipe clamp to hold it in place temporarily.
Step 1.2: Choose Your Cutting Tool
Now, pick your weapon. For most DIYers, a pipe cutter is the easiest option. Here's how to use it:
- Open the pipe cutter and place it around the pipe, aligning the blade with your marked line.
- Tighten the cutter's handle until the blade just touches the pipe—don't crank it too hard yet.
- Rotate the cutter around the pipe, tightening the handle 1/4 turn after each full rotation. The blade will gradually score the pipe until it cuts through.
If you're using a hacksaw, clamp the pipe securely in the vice first—position the marked line just above the vice jaws so the pipe doesn't flex when you saw. Use long, smooth strokes with the hacksaw, letting the blade do the work (no need to press hard). Keep the saw blade perpendicular to the pipe to avoid a slanted cut.
For power tool lovers, an angle grinder with a metal-cutting disc works too. Secure the pipe in the vice, put on your goggles and dust mask, and slowly guide the grinder along the marked line. Go slow—angle grinders can easily jump, leading to uneven cuts. After cutting, let the pipe cool down before handling (the metal gets hot!).
Step 1.3: Deburr the Edges
No matter which tool you use, you'll end up with burrs on the cut edge. These are sharp and can prevent lean pipe joints from fitting properly, so they need to go. Grab your sandpaper (80-120 grit works best) or a file and gently sand the inside and outside edges of the cut until they're smooth to the touch. Run your finger along the edge—if it catches, keep sanding.
| Tool | Pros | Cons | Best For |
|---|---|---|---|
| Pipe Cutter | Clean, straight cuts; minimal burring; quiet | Slow for thick pipes (but 1.0mm is thin!) | Beginners; precision cuts |
| Hacksaw | Inexpensive; portable; no power needed | Requires more effort; easy to veer off line | Small projects; tight spaces |
| Angle Grinder | Fast; works for multiple cuts | Dusty; noisy; higher risk of uneven cuts | Experienced users; large projects |
Step 2: Bending the Pipe—Smooth Curves Without Kinks
Now that you have your straight pipe segments, it's time to add bends if your design calls for them. Maybe you want curved legs for a more modern look, or a gentle arc to wrap around a corner. 1.0mm stainless steel is flexible enough for small to medium bends (up to about 90°) with manual tools—no heat required.
Step 2.1: Choose the Right Bending Method
For most bends, a manual pipe bender is your best bet. These tools come in different sizes—make sure you get one that fits 1.0mm pipe (check the product label for compatibility). Here's how to use it:
- Slide the pipe into the bender's groove, aligning the point where you want the bend with the bender's "pivot" mark.
- Slowly pull the bender's handle to curve the pipe. Go little by little—bending too fast can cause kinks (those ugly dents that weaken the pipe).
- Check the angle with a protractor as you go. It's easier to bend a little more than to try to straighten an over-bent pipe.
If you don't have a pipe bender, you can use a vice and a bit of muscle. Clamp the pipe in the vice, leaving the section to be bent sticking out. Use a piece of scrap wood to protect the pipe from the vice jaws (to avoid scratches). Gently push down on the free end of the pipe, applying pressure gradually. This works best for small bends (30° or less)—anything more and you risk kinking.
Pro Tip:
To prevent kinks, fill the pipe with sand before bending. Cap the ends with tape, pour in dry sand, and tap the pipe to settle it. The sand supports the pipe from the inside, keeping it round.
Step 2.2: Fixing Mistakes
Oops—bent too far? Don't panic. For minor over-bends, gently tap the pipe with a rubber mallet while it's clamped in the vice. Go slow and check the angle often. If you get a kink, it's best to cut the pipe and start over—kinks weaken the metal and look unprofessional. Remember: practice makes perfect, so try bending a scrap piece first if you're nervous.
Step 3: Assembling with Lean Pipe Joints—Building Your Frame
Now comes the satisfying part: putting it all together. Lean pipe joints are designed to make assembly quick and tool-free (most snap or screw into place). Let's build our workstation frame as an example:
Step 3.1: Connect the Vertical and Horizontal Pipes
Take your four 80cm vertical leg pipes and two 120cm horizontal pipes. Attach a 90° lean pipe joint to each end of the horizontal pipes—these will connect to the vertical legs. Slide the joint onto the end of the horizontal pipe until it clicks into place (some joints have set screws; tighten those with a hex key for extra security).
Now, attach the vertical legs to the joints. Stand the frame upright and use a level to ensure the vertical pipes are straight and the horizontal pipes are level. If one leg is shorter, check if the cut was uneven—sand down the longer leg slightly to adjust.
Step 3.2: Add Stability with Cross-Bracing (Optional)
For extra stability (especially if you're adding a heavy top or caster wheels), add diagonal cross-braces. Cut two 100cm pipes and connect them between the vertical legs using T-joints or angle joints. This prevents the frame from wobbling side to side.
Step 3.3: Attach the Worktop
Once the frame is stable, add your worktop. If using plywood or MDF, place it on top of the horizontal pipes and secure it with screws (pre-drill holes to avoid splitting the wood). For a metal top, use metal brackets and bolts through the frame.
Step 4: Adding Extras—Caster Wheels, Roller Tracks, and More
Now that your basic frame is done, it's time to customize. Want to move the workstation around? Add caster wheels . Need to slide materials across the surface? Install a roller track. Here's how:
Adding Caster Wheels
Flip the frame upside down so the legs are in the air. Attach a caster wheel mounting plate to the bottom of each leg using screws or bolts (drill small holes through the pipe if needed). Screw the caster wheels into the mounting plates—make sure they're tight! Choose at least two wheels with brakes to keep the workstation from rolling away when in use.
Installing a Roller Track (Optional)
For a workstation used in a workshop, a roller track along the back edge can make moving tools or parts easier. Cut a short pipe segment and attach a roller track bracket (available at hardware stores) using lean pipe joints. Slide the roller track into the bracket and secure it—now you can glide items across the track with minimal effort.
Troubleshooting Common Issues
Even pros run into snags. Here's how to fix the most common problems:
- Uneven cuts: Use a file or sandpaper to smooth the edge. If the cut is drastically off, recut the pipe—better to waste a few cm than have a wobbly frame.
- Kinked bends: Prevention is key, but if you get a kink, cut the pipe just before the kink and start over. Kinks weaken the pipe, so don't try to use it.
- Loose joints: Check if the pipe ends are deburred—sharp edges can stop joints from seating. Sand the edges and push the joint on harder. If it still slips, use thread locker on set screws.
- Wobbly frame: Add cross-braces or check if all joints are tight. Uneven leg lengths can also cause wobbling—measure and sand as needed.
Final Thoughts: Your Custom Workstation, Built to Last
Congratulations—you've just built a custom workstation using 1.0mm stainless steel pipe, lean pipe joints, and a little elbow grease. What started as a pile of metal pipes is now a functional, durable space that fits your exact needs. And the best part? You can modify it later—add shelves, change the height, or reconfigure the frame using the same pipes and joints.
Whether you're using it for woodworking, crafting, or as a home office desk, this workstation is a testament to the versatility of the stainless steel pipe series. It's proof that with the right materials and a bit of patience, anyone can build something practical and personal. So go ahead—fire up that angle grinder, grab your pipe bender, and start creating. Your perfect workstation is waiting.