- Company Articles
- Products and Technology
- Product knowledge
- How to Cut and Customize Corrugated Aluminum Pipe for Specific Projects

How to Cut and Customize Corrugated Aluminum Pipe for Specific Projects
Related Product
Corrugated Aluminum Pipe
Product Description The slot side is 10mm which can work with a T sliding block for connection accessories Quick Detail Product name Corrugated Aluminum pipe model GLT28-T-3010A Material Science 6005-T6 thickness 1.7mm surface treatment anodic oxidat
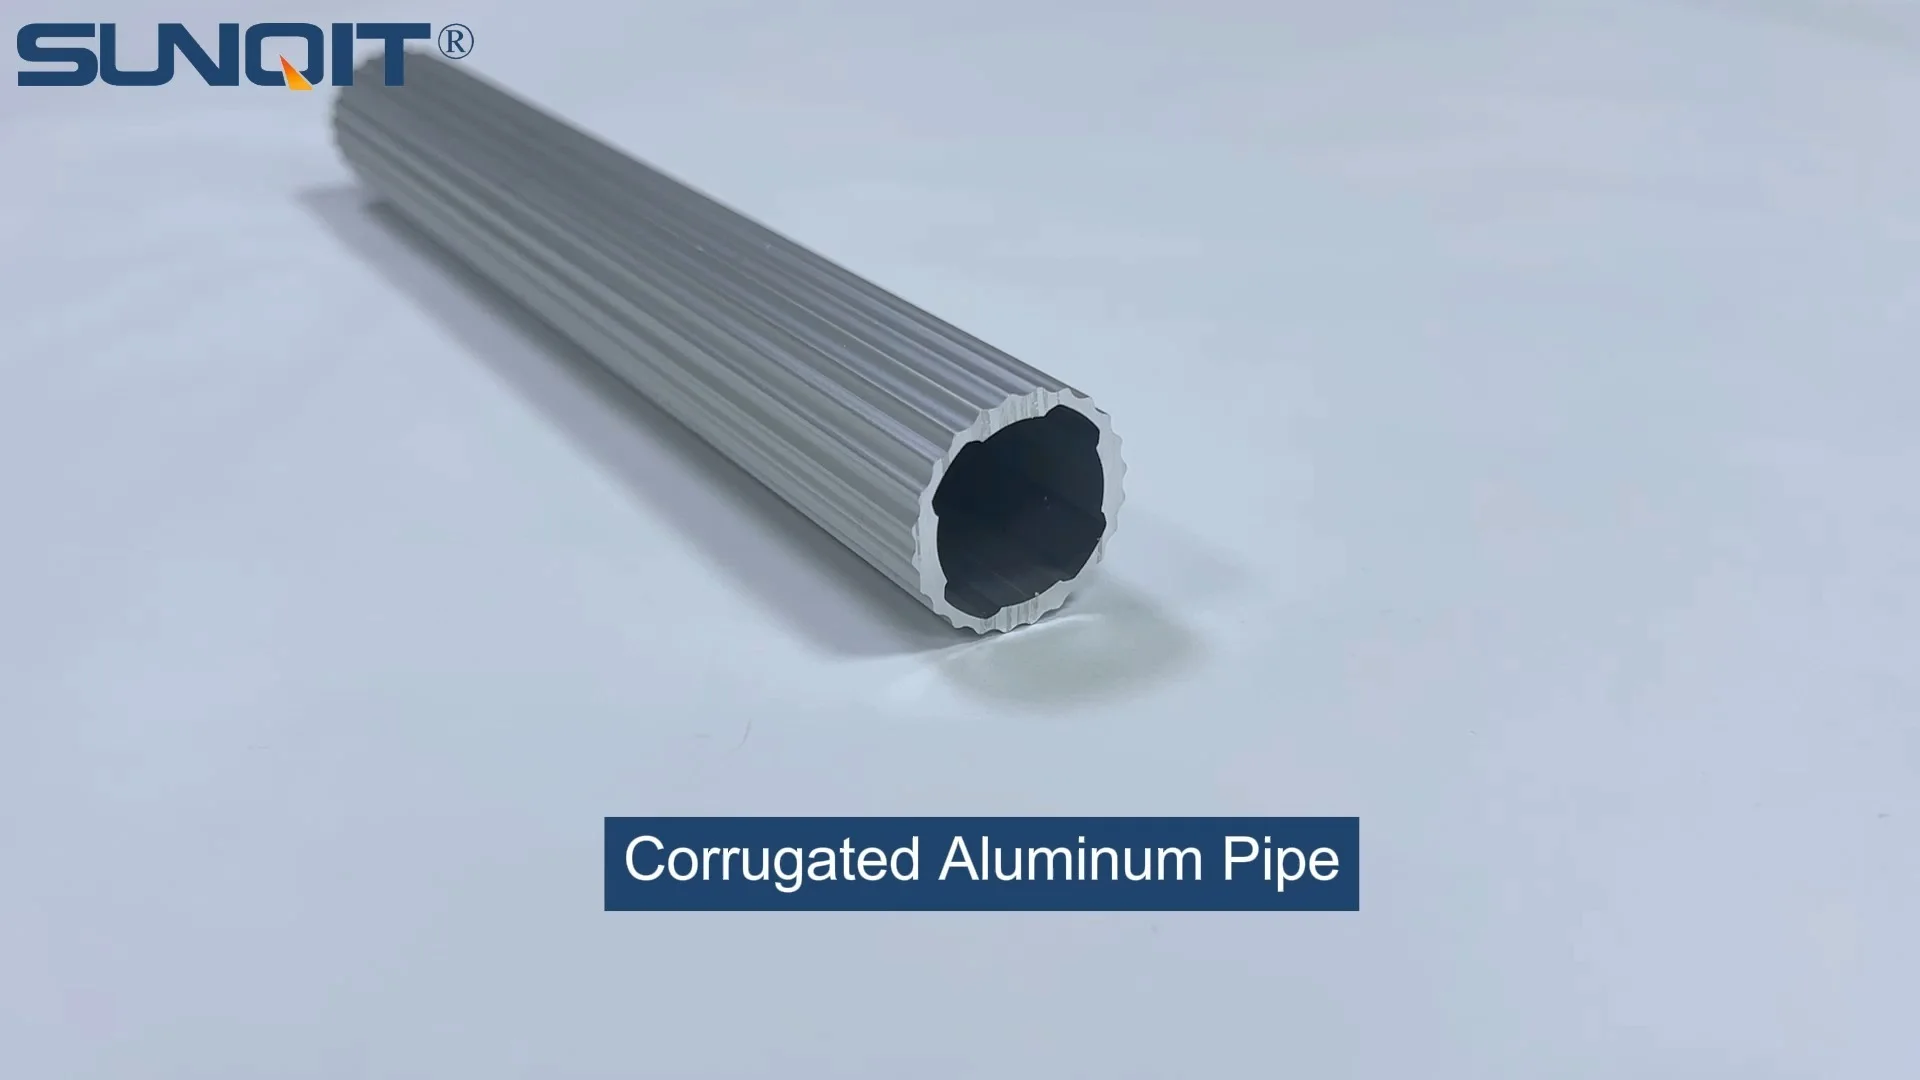
If you've ever walked through a busy workshop, a bustling warehouse, or even a well-organized garage, you've probably seen it: that lightweight, silver-gray tubing with a wavy, ridged exterior, holding up shelves, guiding materials along a production line, or forming the frame of a sturdy workbench. That's corrugated aluminum pipe—a unsung hero in the world of DIY projects, industrial setups, and lean system optimization. What makes it so special? Unlike rigid steel pipes or flimsy plastic alternatives, corrugated aluminum pipe strikes the perfect balance: it's strong enough to support heavy loads, flexible enough to bend into custom shapes, and lightweight enough to handle without specialized equipment. But here's the catch: most projects aren't one-size-fits-all. Maybe you need a 47-inch section for a custom shelf, or a curved segment to route materials around a corner, or a specific connection to link it with other components. That's where cutting and customizing come in. In this guide, we'll walk through everything you need to know to transform raw corrugated aluminum pipe into a tailored solution for your project—whether you're building a lean workbench, a flow rack, or something entirely unique.
Why Bother Customizing Corrugated Aluminum Pipe?
You might be thinking, "Can't I just buy pre-cut pipes or ready-made frames?" Sure, you could—but that's like buying a suit off the rack when you need a tailored fit. Off-the-shelf options work for generic setups, but when your project has specific dimensions, angles, or load requirements, customization isn't just nice to have—it's essential. Let's break it down:
Efficiency in Lean Systems: In lean manufacturing or workshop setups, every inch of space and every second of workflow counts. A corrugated aluminum pipe cut to exactly the right length eliminates wasted space; a custom bend ensures materials flow smoothly around obstacles; and properly placed connections (using aluminum pipe accessories) keep tools and supplies within arm's reach. It's not just about "making it fit"—it's about making it work better .
Cost Savings: Buying longer pipes and cutting them yourself is often cheaper than paying for pre-cut pieces, especially if you need multiple sizes. Plus, customization reduces waste—no more leftover scraps that end up in the trash. And since corrugated aluminum is reusable, you can repurpose cut pieces for future projects, stretching your budget even further.
Flexibility for Unique Projects: Maybe you're building a mobile cart for your garage, a plant stand with adjustable shelves, or a custom material rack for your 3D printer. These projects don't follow standard blueprints, and neither should your materials. Corrugated aluminum pipe's adaptability, paired with the right aluminum profile accessories, lets you design something that's as unique as your needs.
Gathering Your Tools and Materials
Before you start cutting, you'll need to round up a few essentials. Don't worry—you won't need a fully equipped metal shop. Most tools are basic, and many you might already have in your garage or toolbox. Here's what you'll need:
Tools for Cutting
- Measuring Tape and Straight Edge: Accuracy is key. A 25-foot measuring tape (with clear markings) and a rigid straight edge (like a metal ruler or a level) will help you mark straight, precise lines.
- Marker or Pencil: A permanent marker works best on aluminum—just make sure it's fine-tipped to avoid smudged lines. Avoid using ink that rubs off easily; you don't want your cut line to disappear halfway through the process.
- Clamps: To hold the pipe steady while cutting. C-clamps or bar clamps work well—aim for at least two, so you can secure both ends of the pipe to a workbench or sawhorse.
- Cutting Tool: Options here depend on your budget and the pipe's thickness. For thin-walled corrugated aluminum (most common for DIY and light industrial use), a hacksaw with a fine-tooth blade (32 teeth per inch) works. For larger projects or multiple cuts, a miter saw with an aluminum-cutting blade (carbide-tipped, 60-80 teeth) is faster and cleaner. If you're cutting curves, a jigsaw with a metal-cutting blade (variable speed) will do the trick.
- Deburring Tool or Sandpaper: After cutting, aluminum leaves sharp, jagged edges. A deburring tool (a small hand tool with a rotating blade) quickly removes burrs, while 120-grit sandpaper smooths out rough spots.
Materials for Customization
Once your pipe is cut, you'll need to connect, secure, or modify it. This is where aluminum pipe accessories and aluminum profile accessories come into play—they're the "glue" that turns cut pipes into functional structures. Here are the basics:
- Aluminum Pipe Clamps: These are used to join two pipes at angles (90°, 45°, or custom) or to attach pipes to walls, workbenches, or other surfaces. Look for clamps with rubberized grips to prevent slipping and scratching the pipe's surface.
- Joints and Connectors: From simple straight couplers (to extend pipe length) to T-joints (for branching) and elbow joints (for corners), these come in various materials (aluminum or plastic) and sizes. Match the connector size to your pipe's outer diameter (OD) for a snug fit.
- End Caps: If your pipe is open-ended (like on a shelf or rack), end caps cover sharp edges and give a clean, finished look. They're often push-fit or secured with a small screw.
- Adhesives or Fasteners (Optional): For permanent connections, you might use aluminum-compatible epoxy. For temporary setups, zip ties or self-tapping screws (with a pilot hole to avoid cracking the pipe) work well.
Pro Tip: Always test-fit accessories before securing them permanently. Corrugated aluminum pipe has ridges, so some connectors might fit tighter than others—you don't want to glue or clamp something only to realize it's misaligned!

Step-by-Step: Cutting Corrugated Aluminum Pipe
Cutting aluminum might sound intimidating, but with the right tools and a steady hand, it's surprisingly straightforward. Follow these steps for clean, accurate cuts every time.
Step 1: Measure Twice, Mark Once
This old carpenter's adage exists for a reason: a mistake here ruins the whole pipe. Start by measuring the length you need. Use a measuring tape to find your desired length, then mark the pipe with a marker. To ensure the line is straight (especially important for straight cuts), place a straight edge (ruler, level, or even a long piece of wood) along the pipe, aligning it with your mark. Trace along the edge with the marker—this gives you a crisp, straight line to follow.
For corrugated pipes, pay attention to the ridges: mark on a flat part of the ridge (not in the valley) to avoid the marker smudging or the cutting tool slipping. If you're cutting multiple pipes to the same length, use the first cut pipe as a template for the others—this saves time and ensures consistency.
Step 2: Secure the Pipe
Never try to cut a pipe while holding it in your hand—it will wiggle, leading to uneven cuts or worse, injury. Instead, clamp the pipe to a stable surface (workbench, sawhorse, or even a sturdy table) using two clamps: one near the cut line (to prevent movement during cutting) and one at the opposite end (to keep the pipe from shifting). Make sure the cut line extends beyond the edge of the workbench so the saw blade doesn't hit the surface.
If you're using a miter saw, place the pipe in the saw's clamp, aligning the marked line with the blade. Double-check the alignment before cutting—even a 1° misalignment can throw off your project.
Step 3: Cut the Pipe
The cutting method depends on your tool. Let's break down the most common options:
| Tool | Best For | How to Do It | Pros | Cons |
|---|---|---|---|---|
| Hacksaw | Thin-walled pipes, occasional cuts | Hold the hacksaw at a 45° angle to the pipe. Start with slow, short strokes to score the line, then increase speed. Let the blade do the work—don't press hard, as this can bend the pipe or break the blade. | Cheap, portable, no power needed | Slow for multiple cuts; requires steady hand |
| Miter Saw | Straight cuts, multiple pipes, thick walls | Set the saw to 0° (for straight cuts) or your desired angle. Turn on the saw, let the blade reach full speed, then slowly lower it into the pipe. Keep the pipe clamped tight to avoid vibration. | Fast, precise, clean cuts | Expensive; not portable; overkill for small projects |
| Jigsaw | Curved cuts, notches, or tight spaces | Set the jigsaw to medium speed. Start by drilling a pilot hole near the edge of the cut line (for interior cuts), then insert the blade. Follow the marked line, moving the saw slowly around curves. | Flexible for shapes; works in tight spaces | Can leave rough edges; requires steady hand for curves |
Step 4: Deburr and Smooth the Edges
No matter how careful you are, cutting aluminum leaves burrs—tiny metal shards that are sharp enough to cut skin or catch on gloves. Grab your deburring tool: hold it at a 45° angle to the cut edge, and spin it around the inner and outer circumference of the pipe. This removes most burrs in seconds. For any remaining rough spots, sand the edge with 120-grit sandpaper, moving in a circular motion. Wipe the pipe with a dry cloth to remove metal dust—you're now ready to customize!
Customization Techniques: Bending, Joining, and Accessorizing
Cutting gets you the right length, but customization is where the pipe truly becomes yours. Let's dive into three key techniques: bending (for curves), joining (to connect pipes), and accessorizing (to add functionality).
Bending Corrugated Aluminum Pipe
Corrugated aluminum pipe is more flexible than solid aluminum, but it still requires care to avoid kinking or cracking. For gentle curves (like a 90° bend over 12 inches), you can bend it by hand—just go slow and apply even pressure. For tighter bends or precise angles, use a pipe bender (manual or hydraulic). Here's how:
- Mark the Bend Point: Measure where the bend should start and mark it on the pipe. If you're bending to a specific angle (e.g., 45°), use a protractor to mark the desired angle on the workbench.
- Fill the Pipe (Optional): To prevent the pipe from collapsing during bending, fill it with sand, then cap both ends. The sand supports the inner walls, keeping the corrugations intact.
- Use the Bender: Place the pipe in the bender, aligning the mark with the bender's pivot point. Slowly apply pressure to the handle, stopping to check the angle periodically. Over-bending is easier to fix than under-bending, so aim for a slightly larger angle, then gently straighten if needed.
Joining Pipes with Aluminum Pipe Accessories
Whether you're building a frame, a shelf, or a rack, joining pipes is the next step. Aluminum pipe accessories like clamps, joints, and couplers make this simple. Here are the most common connections:
Straight Couplers: To extend a pipe's length, slide a straight coupler over the ends of two pipes. For a permanent bond, apply epoxy to the pipe ends before inserting. For temporary setups, use a coupler with set screws (tighten them with a hex key to secure the pipes).
Elbow Joints: For 90° or 45° corners, elbow joints are your friend. Slide each pipe into the joint's ends, then secure with set screws or clamps. If the joint feels loose, wrap a strip of Teflon tape around the pipe ends before inserting—it adds friction and tightens the fit.
Aluminum Pipe Clamps: These are ideal for attaching pipes to surfaces (like a workbench leg to a tabletop) or for joining pipes at odd angles (e.g., 60°). Place the clamp around both pipes, align them to the desired angle, then tighten the bolts. Look for clamps with adjustable jaws to fit different pipe diameters.
Accessorizing for Functionality
Now that your pipes are cut, bent, and joined, it's time to add the extras that make your project useful. Aluminum profile accessories (designed to work with aluminum pipes and profiles) are perfect for this. Here are a few ideas:
- Wheels/Casters: Attach locking casters to the bottom of a pipe frame to turn it into a mobile cart. Use caster mounting plates (from aluminum profile accessories) to secure the casters to the pipe ends.
- Shelves: Cut plywood or aluminum sheets to size, then use shelf brackets (attached with pipe clamps) to mount them between two vertical pipes. For extra support, add a crossbar halfway up the vertical pipes.
- Tool Hooks: Screw small metal hooks into pipe clamps, then attach the clamps to a horizontal pipe. Now you have a place to hang tools, cables, or hoses.
- Label Holders: For lean systems or warehouses, attach label holders (from aluminum profile accessories) to pipes to mark shelves, bins, or workstations. This keeps everything organized and easy to find.
Real-World Example: Building a Custom Lean Flow Rack
To put it all together, let's walk through a practical project: a lean flow rack for a small workshop. Flow racks use gravity to feed materials (like boxes or parts) to the front, reducing the need to reach or bend. Here's how to build one with corrugated aluminum pipe, aluminum pipe accessories, and lean pipe and accessories (like roller tracks):
- Plan the Dimensions: The rack will be 4 feet long, 2 feet deep, and 3 feet tall, with three shelves. Each shelf will slant downward (5°) to let materials slide forward.
- Cut the Pipes: Cut four vertical pipes (3 feet each) for the legs, four horizontal pipes (4 feet each) for the top and bottom frames, and six crossbars (2 feet each) for the shelves. Use a miter saw for straight, clean cuts.
- Build the Frame: Join the vertical and horizontal pipes with 90° elbow joints to form a rectangle at the top and bottom. Add diagonal braces (cut to 2.5 feet) using 45° joints for stability.
- Add Shelves: Attach crossbars between the vertical pipes at 1 foot and 2 feet from the bottom. Tilt the crossbars slightly (5°) by using longer pipe clamps on one side. Secure roller tracks (from lean pipe and accessories) to the crossbars—these let materials slide forward.
- Accessorize: Add end caps to the vertical pipes, label holders to each shelf, and locking casters to the bottom for mobility.
The result? A custom flow rack that fits perfectly in the workshop, holds 50+ pounds per shelf, and makes materials easy to access. And because it's built with corrugated aluminum pipe and aluminum pipe accessories, it's lightweight enough to move but sturdy enough to last for years.
Troubleshooting Common Issues
Even with careful planning, things can go wrong. Here's how to fix the most common problems:
- Uneven Cuts: If the cut is crooked, use a file or sandpaper to trim the high spots. For misalignment, recut the pipe—better to waste an inch than have a wobbly frame.
- Burrs After Cutting: A deburring tool should remove most burrs, but if any remain, use a utility knife to them off. Sharp edges are dangerous, so don't skip this step!
- Loose Joints: If a joint slips, check if the pipe is the right size for the connector (too small = loose). Wrap Teflon tape around the pipe end, or add a drop of epoxy to secure it.
- Kinked Pipe During Bending: If the pipe collapses at the bend, it's usually because you bent it too quickly or didn't support the inner walls. Cut out the kinked section and try again, using sand filling for support.
Final Thoughts: Customization = Control
At the end of the day, cutting and customizing corrugated aluminum pipe is about taking control of your project. It lets you design around your space, your needs, and your budget—no compromises. With the right tools, a little patience, and the help of aluminum pipe accessories and aluminum profile accessories, you can turn a simple tube into a solution that's as unique as your project. So grab your measuring tape, clamp down that pipe, and start cutting—your perfect setup is just a few cuts away.