- Company Articles
- Products and Technology
- Installation And Maintenance
- How to Cut Plastic Pipe Sleeves to Size: Tips for Precision in Lean Pipe System Design

How to Cut Plastic Pipe Sleeves to Size: Tips for Precision in Lean Pipe System Design
Related Product
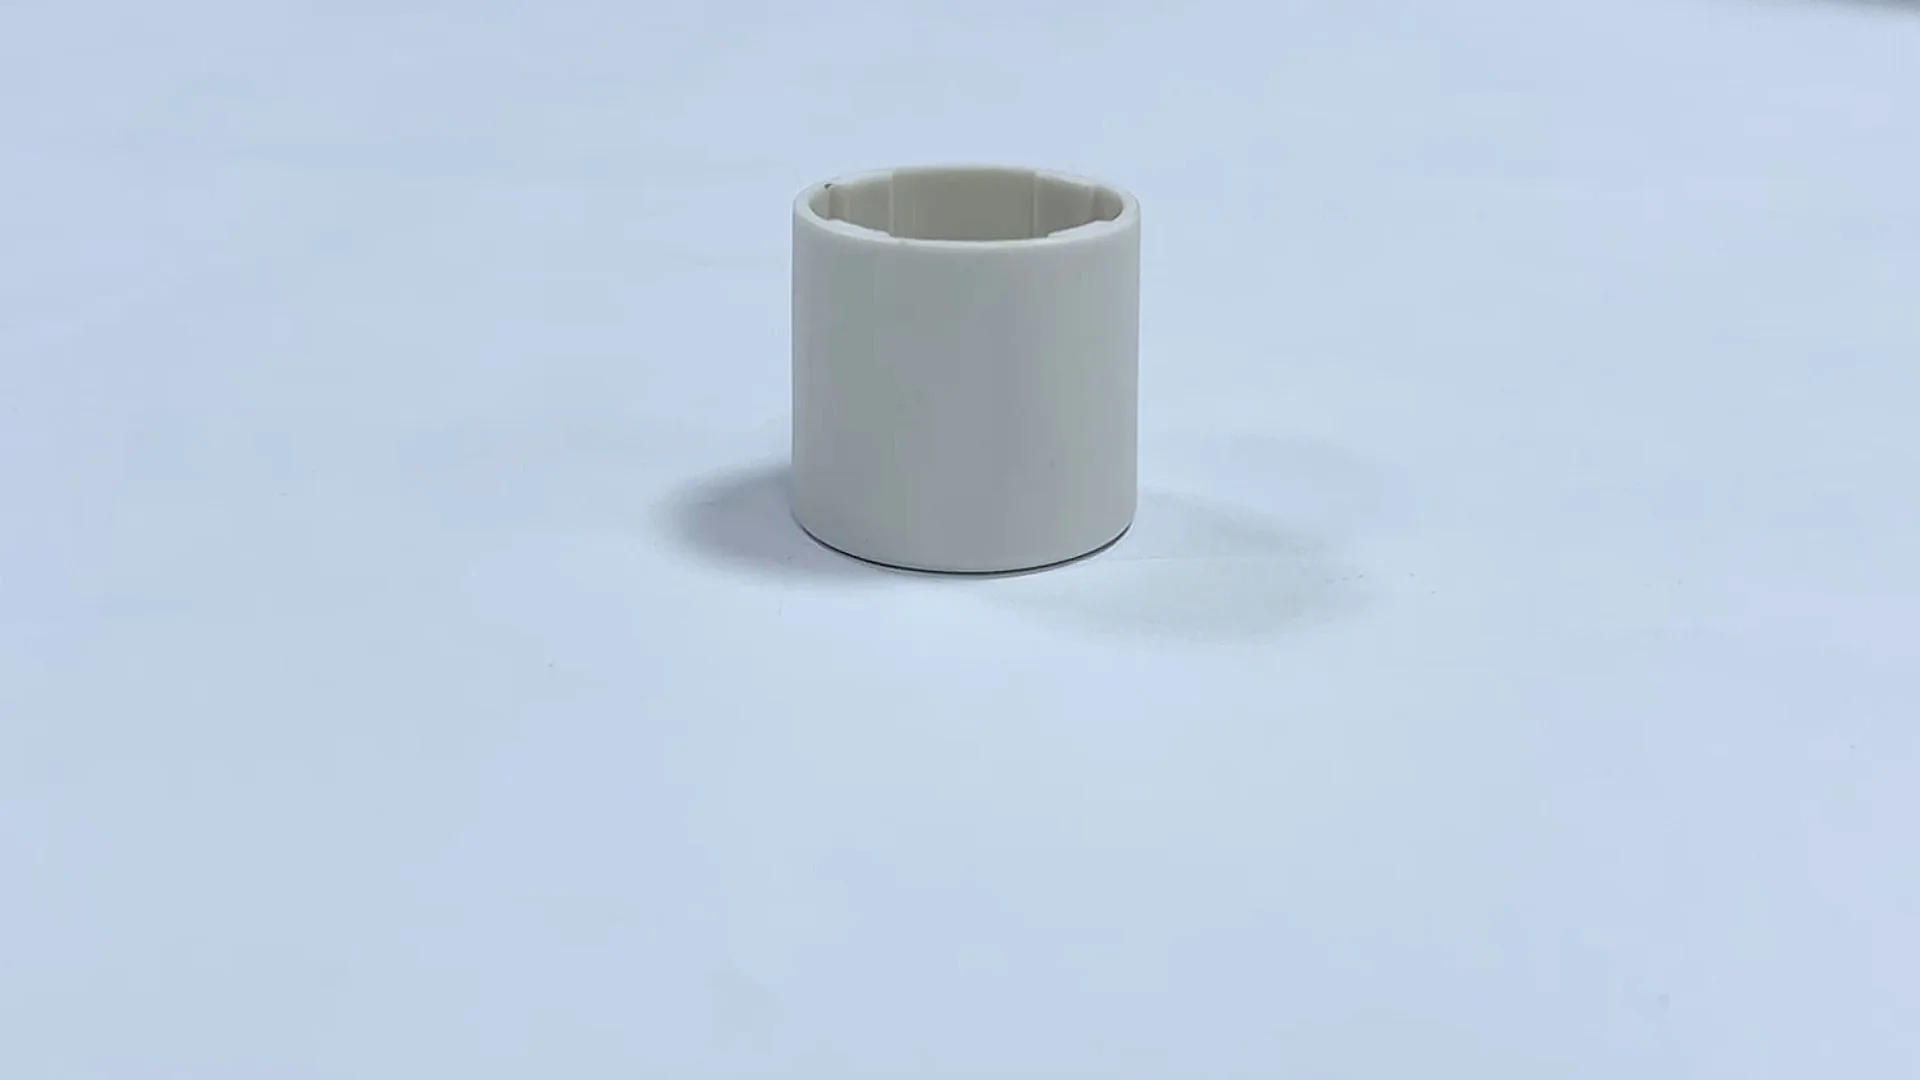
Plastic Pipe Sleeve
Plastic pipe sleeve to cover dia 28MM aluminum pipe end to contact with ground.
If you've ever stood in front of a half-assembled lean pipe workbench, squinting at a plastic pipe sleeve that just won't fit right, you know the frustration. That tiny tube—seemingly simple—holds the power to make or break the stability of your entire setup. Whether you're building a flow rack for your warehouse, a custom conveyor system, or a sleek aluminum profile workbench, cutting plastic pipe sleeves with precision isn't just a "nice-to-have"—it's the backbone of a functional, efficient lean system. In this guide, we'll walk through why these sleeves matter, the tools you need, and a step-by-step process to cut them like a pro. Because in lean manufacturing, "close enough" never is.
Why Plastic Pipe Sleeves Are the Unsung Heroes of Lean Systems
Let's start with the basics: What even is a plastic pipe sleeve, and why should you care about cutting it correctly? In lean pipe systems—those modular setups built with lean pipe, aluminum profile, and a mix of joints and accessories—plastic sleeves act as the quiet connectors. They slide over lean pipe or aluminum tube, creating a snug buffer between pipes and joints, reducing friction, and ensuring a tight, wobble-free fit. Think of them as the "shock absorbers" of your workbench or material rack: without them, metal-on-metal contact can loosen joints over time, leading to unstable structures that slow down production and risk workplace accidents.
But their role goes beyond just stability. A well-cut sleeve ensures that every component—from the lean pipe joint to the caster wheel—lines up perfectly. Imagine building a flow rack B (3 row and 3 floor) with sleeves that are 2mm too long on one side. Suddenly, the shelves tilt, materials slide off, and your "lean" system becomes a bottleneck. Or picture an ESD workstation where misaligned sleeves create gaps, compromising the static-dissipative properties critical for electronics assembly. Precision here isn't about perfectionism; it's about preserving the integrity of the entire lean solution.
Tools You'll Need: Your Precision Cutting Arsenal
You wouldn't build a house with a butter knife, and you shouldn't cut plastic pipe sleeves with whatever's lying around your toolbox. The right tools make clean, accurate cuts inevitable—not lucky. Here's what you'll need, organized by purpose:
| Tool | Why You Need It | Pro Tip |
|---|---|---|
| Measuring Tape (1m/3ft minimum) | For pinpoint length measurements—down to the millimeter. | Opt for a tape with a locking mechanism to avoid "drifting" measurements. |
| Plastic Pipe Cutter (ratchet-style) | Delivers clean, straight cuts on most standard plastic sleeves (up to 20mm thick). | Choose a cutter with replaceable blades—dull blades crush sleeves instead of cutting them. |
| Hacksaw with Fine-Tooth Blade (24-32 teeth per inch) | Ideal for thicker sleeves, angled cuts, or when a pipe cutter can't reach (e.g., in tight spaces). | Wrap masking tape around the blade to reduce friction and prevent melting plastic. |
| Deburring Tool (manual or electric) | Removes sharp, ragged edges left by cutting—critical for safety and proper joint fit. | Look for a tool with both internal and external deburring heads to cover all edges. |
| Straightedge (metal ruler or carpenter's square) | Ensures your cut line is perfectly perpendicular to the sleeve's axis—no slanted cuts. | A 30cm aluminum ruler works best; it won't bend like plastic. |
| Vice or Clamp | Secures the sleeve during cutting, so it doesn't slip and ruin your line. | Line the vice jaws with rubber pads to avoid crushing or scratching the plastic. |
| Marker/Pencil + Masking Tape | Marks the cut line clearly. Masking tape prevents the marker from smudging on smooth plastic. | Use a fine-tipped permanent marker—thick lines lead to "eyeballing" mistakes. |
Pro Tool Hack: The "Poor Man's Pipe Cutter"
If you're in a pinch and don't have a pipe cutter, wrap a piece of string soaked in rubbing alcohol around the sleeve at your mark, then pull it back and forth quickly. The friction melts the plastic cleanly—slow, but effective for thin sleeves (0.8mm or 1.0mm pe coated lean pipe sleeves work best here).

Step-by-Step: Cutting Plastic Pipe Sleeves Like a Lean System Pro
Now that you've got your tools, let's dive into the process. I've refined this method over years of building lean systems—from small workbenches to large-scale conveyor setups—and it's never failed me. Follow these steps, and you'll avoid the "measure once, cut twice" headache.
Step 1: Measure Twice (or Three Times)—Cut Once
Start by figuring out the exact length you need. This sounds obvious, but I've seen too many people skip this step, assuming they can "eye it." Don't be that person. Grab your measuring tape and:
- Check the design specs: If you're building from a blueprint (e.g., workbench E with single deck), the sleeve length is usually listed. For custom setups, measure the distance between the two joints the sleeve will connect. Add 1mm to the length to account for any compression when tightening joints—better safe than short.
- Mark the length on the sleeve: Wrap a strip of masking tape around the sleeve (this helps the marker adhere). Use your straightedge to align the ruler with the sleeve's end, then draw a straight line across the tape. Double-check the measurement from the end of the sleeve to the line—if it's off by even 1mm, erase and redraw.
"Tip: If you're cutting multiple sleeves to the same length, use the first cut sleeve as a template for the rest. This ensures consistency, especially important for symmetrical setups like a turnover trolley with four identical legs."
Step 2: Secure the Sleeve—No Slipping Allowed
A loose sleeve is a crooked cut waiting to happen. Clamp the sleeve in a vice or use a C-clamp to secure it to your workbench. Position the cut line just above the vice jaws so the part you're cutting off hangs free—this prevents the sleeve from bending during the cut. If you're using a vice, tighten it gently but firmly: too tight, and you'll crush the plastic; too loose, and it slides.
Step 3: Choose Your Cutting Method—Pipe Cutter or Hacksaw?
Now, the moment of truth: cutting. Which tool you use depends on the sleeve's thickness and your cut type.
For pipe cutters (best for straight, clean cuts on sleeves up to 20mm thick): Open the cutter jaws and position them around the sleeve, aligning the blade with your marked line. Squeeze the handles to make initial contact, then rotate the cutter around the sleeve, tightening the jaws slightly with each rotation. The blade will score the plastic gradually—keep going until it cuts through. Avoid forcing it; let the blade do the work to prevent cracking.
For hacksaws (best for thick sleeves or angled cuts): Hold the hacksaw at a 90-degree angle to the sleeve, aligning the blade with the mark. Start with slow, short strokes to score the plastic, then increase speed. Let the weight of the saw guide you—pressing too hard can bend the blade and wander off the line. If the plastic starts melting (you'll see a white, stringy residue), pause and let it cool—melting clogs the blade and makes the cut uneven.
Step 4: Deburr—Your Fingers (and Joints) Will Thank You
You've made the cut—great! Now, flip the sleeve over. Notice the sharp, ragged edges inside and out? That's "burr," and it's Public Enemy #1. A burr can slice your hand when handling the sleeve, and it prevents the sleeve from sliding smoothly into joints. Grab your deburring tool:
- External burr: Run the tool's external blade around the cut edge, applying light pressure. You'll feel the burr shave off.
- Internal burr: insert the internal deburring head into the sleeve and twist it gently. This removes any plastic that's folded inward.
- Finish with fine-grit sandpaper (220-grit) for a smooth, polished edge—especially important for ESD workstations, where rough edges can damage sensitive components.
Step 5: Test the Fit—Better Now Than on the Assembly Line
Don't assume the cut is good until you test it. Slide the sleeve onto a scrap piece of lean pipe or aluminum tube, then attach a lean pipe joint. Does it fit snugly, with no gaps or wobble? If it's too tight, the sleeve might be slightly crushed—use sandpaper to gently widen the opening. If it's too loose, you cut it too long (oops). In that case, you'll need to trim a tiny bit more off—remember, measure again before cutting!

Common Mistakes That Ruin Lean Pipe Sleeves (and How to Avoid Them)
Even with the right tools, it's easy to slip up. Here are the mistakes I see most often—and how to steer clear:
- Mistake #1: Ignoring the "squish factor" of plastic. Plastic pipe sleeves (especially pe coated lean pipe sleeves) compress slightly when joints are tightened. If you cut them exactly to the measured length, they'll end up too short once assembled. Fix: Add 1-2mm to your measurement to account for compression.
- Mistake #2: Using a dull pipe cutter blade. A dull blade doesn't cut—it crushes. This leaves jagged edges and deforms the sleeve's shape. Fix: replace blades after every 20-30 cuts, or sooner if you notice the cutter "slipping" instead of biting into the plastic.
- Mistake #3: Cutting freehand (no straightedge). Your hand isn't a laser—even if you "eyeball" the line, the cut will likely slant. Fix: Always use a straightedge to mark the line, and keep the cutter/hacksaw aligned with it during the cut.
- Mistake #4: Skipping the deburring step. Sharp burrs aren't just dangerous—they catch on joints, making assembly frustrating and damaging components over time. Fix: Dedicate 30 seconds to deburring every sleeve; it's non-negotiable.
- Mistake #5: Rushing through measurements for "identical" sleeves. It's tempting to cut 10 sleeves at once without measuring each, but plastic sleeves can vary slightly in diameter (thanks to manufacturing tolerances). A sleeve that's 1mm shorter than the others can throw off an entire workbench's balance. Fix: Measure and mark each sleeve individually, even if they're supposed to be the same length.

Advanced Tips for Complex Lean Pipe Designs
Once you've mastered straight cuts, you might tackle more complex projects—like angled sleeves for a sloped flow rack or custom-length sleeves for an aluminum profile workbench with non-standard dimensions. Here's how to level up:
Cutting Angled Sleeves (for Sloped Flow Racks or Conveyors)
Flow racks and conveyors often require sleeves cut at 15°, 30°, or 45° angles to create a downward slope for gravity-fed material flow. For this, use a miter box—a simple tool with pre-marked angle slots. Clamp the sleeve in the miter box, align your cut line with the desired angle slot, and saw along the slot. For precision, mark the angle on both sides of the sleeve and connect the dots with a straightedge before cutting.
Matching Sleeves to Aluminum Profile Dimensions
Aluminum profile systems (like 2020 or 3030 national standard profiles) have specific groove widths and wall thicknesses. When building a workbench with aluminum guide rail A or B, your plastic sleeves need to align with these profiles to avoid gaps. Measure the distance from the profile's edge to the joint hole, then cut the sleeve to that exact length. Test-fit with the profile and joint before final assembly—aluminum doesn't bend, so there's no room for error.
Cutting Sleeves for Curved Structures
Some lean systems, like circular material racks or curved conveyors, use flexible lean pipe with sleeves cut to varying lengths. For gentle curves, cut sleeves 1-2mm shorter on the inner arc than the outer arc—this allows the pipe to bend slightly without buckling. For tighter curves, consider using shorter sleeves (2-3cm long) spaced evenly to allow flexibility.
Final Thoughts: Precision = Profit in Lean Systems
Cutting plastic pipe sleeves might seem like a small part of building a lean system, but it's the details that turn a rickety workbench into a production powerhouse. Every millimeter of precision reduces waste, speeds up assembly, and ensures your lean pipe workbench, flow rack, or ESD workstation lasts for years—without costly rework or replacements.
So grab your measuring tape, secure that sleeve, and cut with confidence. Remember: in lean manufacturing, the goal is to make every component work as hard as possible. A well-cut plastic pipe sleeve might not grab headlines, but it's the quiet hero that keeps your system flowing—just like it should.