- Company Articles
- Products and Technology
- Product knowledge
- How to Cut T Slot Aluminum Pipe: Tools and Safety Tips

How to Cut T Slot Aluminum Pipe: Tools and Safety Tips
Related Product
T Slot Aluminum Pipe
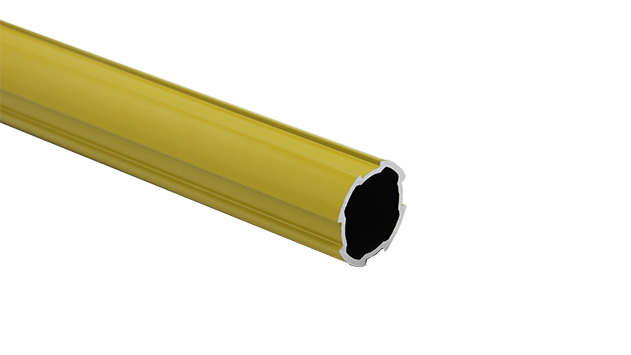
Aluminum pipe, it is used for workbench, flow rack,hand trolley assemble work with advantage of flexible and durable, yellow color makes it more attactive as a caution remind.
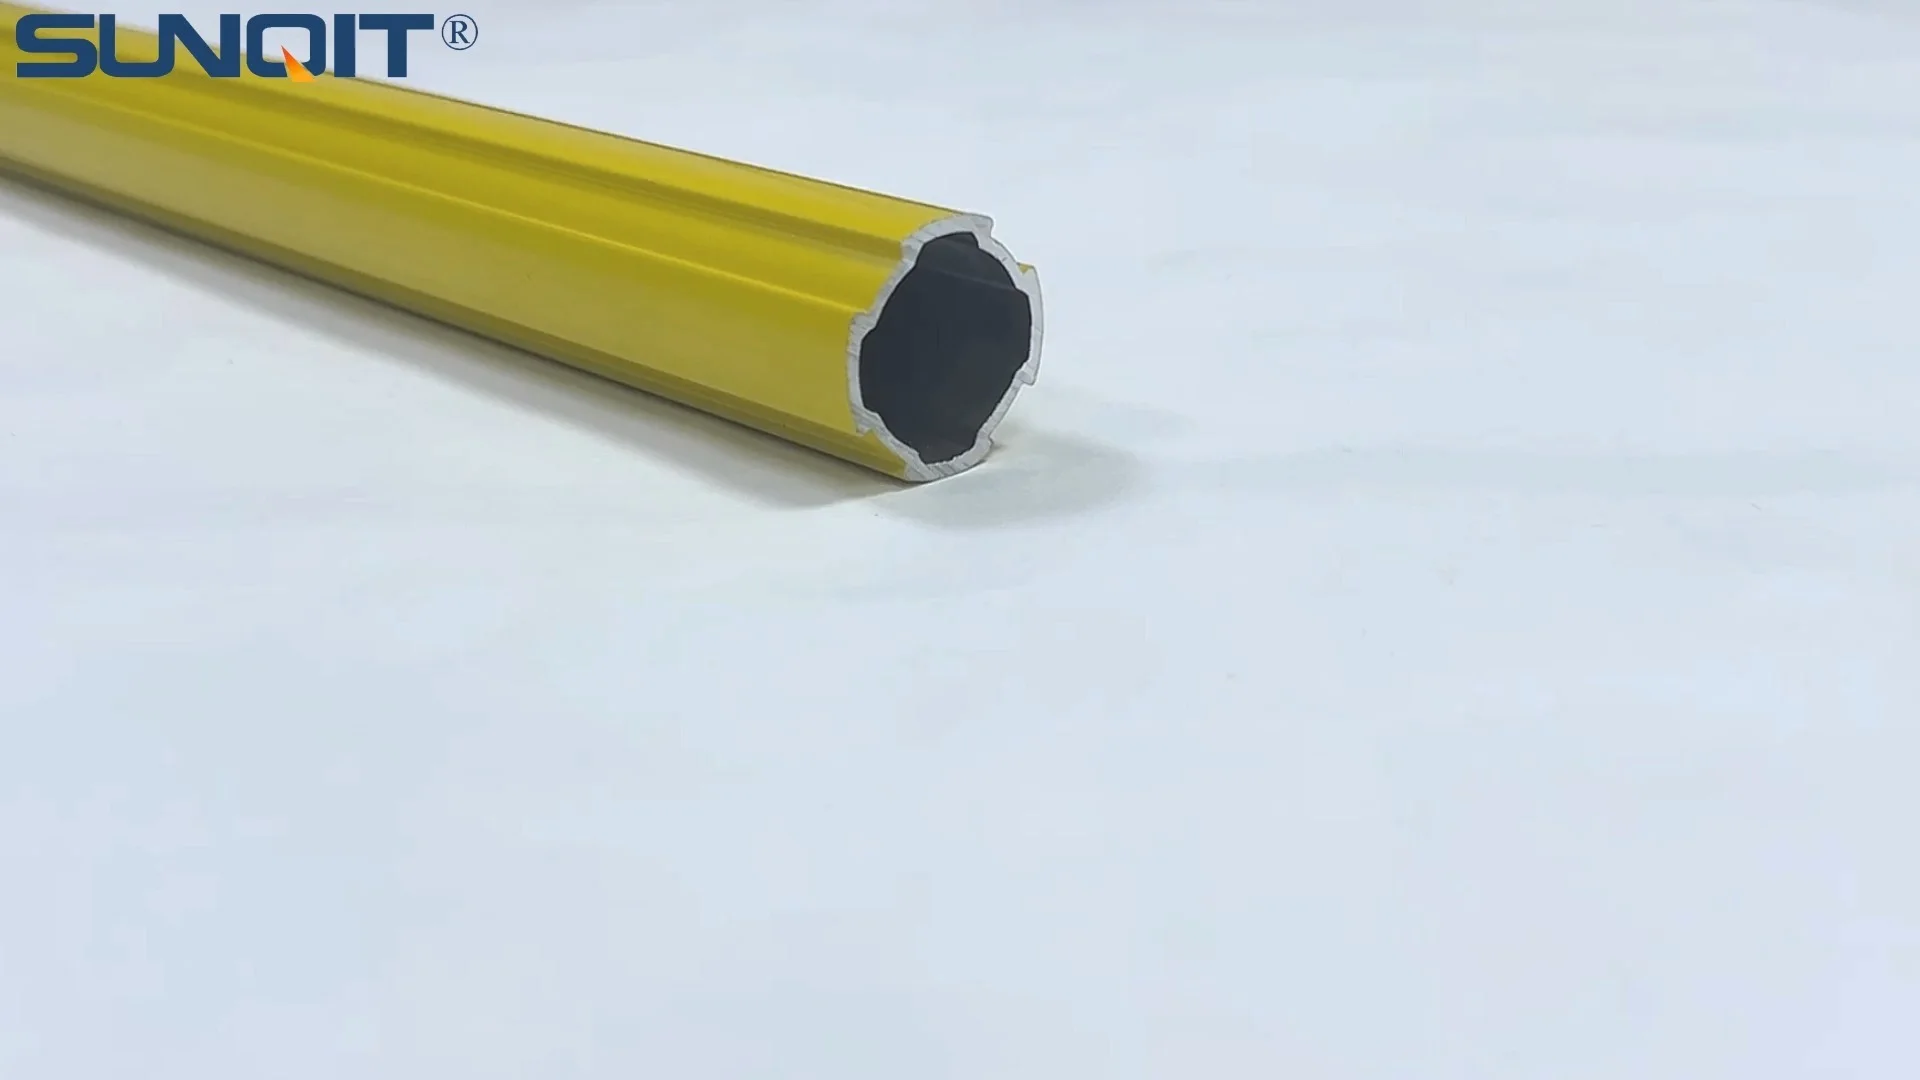
If you've ever wandered through a hardware store or scrolled through DIY project forums, you've probably come across T slot aluminum pipe. It's that sleek, silver (or sometimes colored) metal tubing with neat T-shaped grooves running along its length—and for good reason, it's become a darling of makers, hobbyists, and professionals alike. Whether you're building a custom workbench, a shelving unit, a 3D printer frame, or even industrial workstations, T slot aluminum pipe (a type of aluminum extrusion profile) offers unbeatable versatility. Its magic lies in those T slots: they let you slide in aluminum profile accessories like brackets, connectors, and fasteners, making assembly a breeze—no welding or drilling required. But here's the catch: to make those projects shine, you need to cut the pipe to precise lengths. A wonky cut can throw off your entire build, leaving gaps, misaligned slots, or wobbly structures. So today, let's dive into everything you need to know to cut T slot aluminum pipe cleanly, safely, and like a pro.
Why T Slot Aluminum Pipe Matters
Before we get our hands dirty, let's talk about why this material is worth the effort. T slot aluminum pipe is part of the broader family of aluminum extrusion profiles—metal shapes formed by pushing heated aluminum through a die to create consistent, complex cross-sections. Unlike solid metal rods or generic pipes, T slot designs are engineered for modularity. Imagine building a bookshelf where you can rearrange shelves in seconds, or a workbench that grows with your needs—all thanks to those slots and compatible aluminum pipe accessories. It's strong (stronger than plastic, lighter than steel), corrosion-resistant, and surprisingly affordable for the flexibility it offers. But to unlock that potential, you need to master the basics: cutting it straight, clean, and to the right length. Let's start with the tools you'll need.
Gathering Your Tools: What You'll Need to Get Started
Cutting aluminum isn't like slicing through butter—you need the right gear to avoid frustration (and mistakes). Let's break down the essentials, from measuring to cutting to cleaning up.
Measuring Tools: The "Measure Twice, Cut Once" Rule
I'll say it again: measure twice, cut once. There's no undoing a bad cut, especially with aluminum, which can be pricey. Here's what you'll need:
- Tape Measure: A 25-foot retractable tape with a lockable blade works best. Look for one with clear markings in inches and centimeters—you don't want to squint mid-project.
- Square: A metal speed square or framing square is non-negotiable for marking straight, 90-degree lines. Hold it flush against the pipe's edge to draw a crisp cut line—no more "eyeballing" angles.
- Marker: A fine-tip permanent marker (like a Sharpie) or a metal-specific marker. Avoid pencil—it smudges too easily on smooth aluminum. Bonus tip: If the pipe is shiny, scuff the surface lightly with sandpaper first so the marker sticks.
Clamps: Your Pipe's Best Friend
Ever tried cutting a wiggly pipe? It's like trying to cut a noodle with scissors—messy, uneven, and frustrating. Clamps keep the aluminum profile steady, so your cut stays straight. Here are the go-tos:
- C-Clamps: Great for small to medium pipes. Position them on either side of the cut line to hold the pipe flat against your workbench.
- Bar Clamps: Longer and more powerful, these are ideal for 6-foot+ aluminum extrusion profiles. They span wider work surfaces and apply even pressure without bending the pipe.
- Pipe Clamps: Designed specifically for round or cylindrical pipes, though they work on square T slot aluminum too. The padded jaws prevent scratches—important if you're working with finished or anodized pipe.
Pro tip: Always clamp the pipe to a sturdy workbench or sawhorse. A flimsy surface will vibrate, ruining your cut and risking injury.
Cutting Tools: Choosing Your Weapon
Aluminum is softer than steel but harder than wood, so not every saw will work. Using the wrong tool can leave jagged edges, bend the pipe, or even damage the saw. Let's break down your options, from budget-friendly hand tools to power tools for heavy-duty jobs.
| Tool | Best For | Difficulty Level (1-5) | Blade Type | Key Tips |
|---|---|---|---|---|
| Hacksaw | Small projects, tight spaces, no power access | 3/5 (requires arm strength) | 18-24 TPI carbide-tipped blade | Use slow, steady strokes; let the blade do the work |
| Miter Saw | Multiple cuts, precise angles (0-45 degrees) | 2/5 (most automated) | 60-80 TPI aluminum-specific blade | Use a stop block for consistent lengths; wear hearing protection |
| Circular Saw | Long straight cuts, thick aluminum profiles | 3/5 (needs steady hands) | 40-60 TPI carbide-tipped blade | Clamp a straightedge as a guide; cut on the waste side of the line |
| Jigsaw | Curved cuts, tight corners, or thin pipes | 4/5 (easy to veer off line) | 24-32 TPI fine-tooth blade | Turn off orbital action; cut at low speed |
Hacksaw: The Old-School Workhorse
If you're on a budget or only need to cut a few short pieces, a hacksaw is your friend. I've used one to cut 1-inch aluminum profile pieces for a small shelf project, and while it took some elbow grease, the results were clean. Here's how to make it work: First, swap out the standard blade for a carbide-tipped one with 18-24 teeth per inch (TPI). More teeth mean smoother cuts—avoid coarse blades (14 TPI or lower), which will tear the aluminum. Next, mount the blade so the teeth point forward (they cut on the push stroke). Clamp the pipe tightly, then position the saw at a 45-degree angle to the cut line. Start slow: let the blade's weight do the work, and resist the urge to push hard—this bends the blade and leads to wavy cuts. Take breaks if your arm gets tired; a steady pace beats rushing.
Miter Saw: Precision for Batch Cuts
For projects with multiple identical cuts (like 10 shelf supports for a bookcase), a miter saw is a game-changer. I recently used one to cut 20 pieces of aluminum extrusion profile for a workshop bench, and the stop block feature alone saved me 30 minutes of measuring. Here's the setup: First, install an aluminum-specific blade—look for 60-80 TPI, carbide-tipped, and labeled "non-ferrous metals" (aluminum is non-ferrous; steel is ferrous). Adjust the saw to 0 degrees for straight cuts, then place the pipe in the miter gauge, aligning your mark with the blade. Clamp the pipe (most miter saws have built-in clamps), put on hearing protection (these saws are loud!), and pull the trigger. Let the blade reach full speed before lowering it into the pipe, and cut slowly—rushing can cause the blade to grab and kick back. Pro tip: Cut just to the waste side of your mark (the side you're throwing away) to leave room for cleanup.
Circular Saw: Speed for Long Cuts
Need to cut a 12-foot aluminum profile for a greenhouse frame? A circular saw with a guide is your best bet. I once tried to freehand a long cut with a circular saw and ended up with a line that looked like a rollercoaster—never again. Here's the fix: Clamp a straightedge (a long, flat board) to the pipe, aligning its edge with your cut line. This acts as a fence for the saw's base plate, keeping it straight. Use a 40-60 TPI carbide blade, and set the saw's depth so the blade extends 1/4 inch below the pipe. Hold the saw firmly with both hands, start the motor, and guide it along the straightedge—let the blade do the cutting, and don't force it. Cut in a well-lit area, and keep your body to the side of the blade (not directly behind it) to avoid flying chips.
Jigsaw: For Curves and Tight Spots
Jigsaws are the rebels of the cutting world—great for curves, but they can handle straight cuts too if you're patient. I used one to cut a custom-shaped bracket from a thin aluminum profile sheet, and with the right blade, it worked like a charm. For T slot pipe, go with a fine-tooth (24-32 TPI) carbide blade labeled for metal. Turn off the orbital action (this makes the blade move in a straight line, not an up-and-down "orbit"), and set the speed to low—high speeds generate heat, which can melt the aluminum and gum up the blade. Clamp the pipe securely, then start cutting at the edge, keeping the blade aligned with your mark. Take it slow around curves, and if the blade starts to wander, stop and adjust—don't force it back on track.
Step-by-Step: Cutting T Slot Aluminum Pipe Like a Pro
Now that you've got your tools ready, let's walk through the process from start to finish. I'll use a miter saw as the example here (it's the most common for precision cuts), but the steps adapt easily to other tools.
Step 1: Measure (and Measure Again)
I can't stress this enough: measure twice, cut once. Aluminum extrusion profiles aren't cheap, and a mistake means wasted material (and money). Let's say you need a 24-inch piece for a shelf. Grab your tape measure, extend it along the pipe, and mark 24 inches with your marker. Then double-check: hold the tape measure at the end of the pipe, ensure it's flat, and verify the mark is exactly at 24 inches. If you're cutting multiple pieces, measure and mark each one individually—pipes can have slight variations in length, even from the same batch.
Step 2: Mark the Cut Line
A blurry or crooked mark leads to a blurry or crooked cut. Use a square to draw a straight line across the pipe: hold the square's edge flush against the pipe, aligning the 90-degree corner with your measurement mark. Then run your marker along the square's straight edge—this gives you a crisp, perpendicular line. For extra precision, mark the line on all four sides of the pipe (top, bottom, and both sides) and connect them with a straightedge—this helps keep the saw on track, especially if the pipe rotates slightly during cutting.
Step 3: Secure the Pipe
Even the best saw won't save you if the pipe moves mid-cut. Clamp it tightly to your workbench or miter saw's base. For a miter saw, place the pipe in the gauge, aligning the cut line with the blade. Use the saw's built-in clamps (or add a bar clamp if needed) to hold it in place—wiggle the pipe gently to test; it shouldn't budge. If you're using a circular saw or hacksaw, clamp the pipe to a workbench so the cut line hangs over the edge (this prevents the bench from getting cut too). Avoid clamping directly on the T slots—this can bend or damage them. Instead, clamp on the smooth edges or use scrap wood as a buffer.
Step 4: Cut Slowly and Steadily
With the pipe secured, it's time to cut. For a miter saw: Put on safety glasses and hearing protection, then pull the trigger. Let the blade spin up to full speed (this takes 2-3 seconds), then lower it slowly into the pipe. Keep pressure consistent—don't jam the blade down or lift up mid-cut. Let the blade glide through the aluminum; you'll hear a smooth, buzzing sound (if it sounds like grinding or chattering, stop—your blade might be dull or misaligned). Once the blade cuts through, release the trigger and wait for it to stop spinning before lifting it. For a hacksaw: Start with short, shallow strokes to score the pipe along the mark, then deepen the cut with longer strokes. Keep the saw at a consistent angle, and let the blade's teeth do the work.
Step 5: Deburr the Edges
You're not done yet! Aluminum has a nasty habit of leaving sharp, ragged burrs along the cut edge—these can slice your hands, catch on gloves, or prevent aluminum profile accessories from sliding into the T slots. Grab a deburring tool (a small hand tool with a rotating blade) and run it along the inside and outside edges of the cut. For tight spots (like the T slots), use a triangle file or sandpaper (80-120 grit). I like to finish with a quick pass of fine sandpaper (220 grit) to smooth any remaining roughness—this makes the pipe feel professional and prevents snags during assembly.
Step 6: Check Your Work
Hold the cut piece up to your square—does the edge line up perfectly with the square's 90-degree angle? If it's off by more than 1/16 inch, you might need to recut or sand the edge straight. Measure the length again to ensure it's exactly what you needed. If all looks good, give yourself a pat on the back—you've just cut T slot aluminum pipe like a pro!

Safety First: Protecting Yourself and Your Workspace
Cutting metal—even soft aluminum—comes with risks. I've seen friends skip safety gear and end up with aluminum chips in their eyes or blisters from unsteady tools. Don't be that person. Here's what you need to stay safe:
PPE: Your First Line of Defense
- Safety Glasses: Non-negotiable. Aluminum chips fly at high speeds, and even a tiny one can scratch your cornea. Wear ANSI Z87.1-rated glasses—they're shatterproof.
- Gloves: Cut-resistant gloves (like nitrile or leather) protect your hands from burrs and sharp edges. Avoid loose fabric gloves—they can get caught in saw blades.
- Hearing Protection: Power tools (miter saws, circular saws) hit 90-110 decibels—loud enough to damage hearing over time. Use earmuffs or earplugs.
- Dust Mask: Aluminum dust is fine and can irritate your lungs. A basic N95 mask works for small projects; for larger jobs, use a respirator.
Workspace Safety
Your work area matters just as much as your gear. Clear clutter: Move tools, cords, and scrap wood out of the way to avoid tripping. Secure loose rugs or mats—you don't want to slip while cutting. If you're using power tools, check cords for frays or damage, and plug them into a grounded outlet. Keep a fire extinguisher nearby (aluminum doesn't burn, but sparks from the saw can ignite paper, sawdust, or oily rags). And work in a well-ventilated space—open windows or use a fan to blow dust away from your face.
Tool Smarts
Even the safest tools can be dangerous if misused. Never bypass safety guards (like the blade guard on a circular saw)—they're there to stop chips and prevent kickback. Keep blades sharp: Dull blades require more force, increasing the risk of binding and kickback. If a tool feels "off" (vibrating excessively, making strange noises), stop using it immediately and check for loose parts or damaged blades. And never leave a running tool unattended—turn it off, wait for the blade to stop, and unplug it before walking away.

Troubleshooting: Fixing Common Cutting Mistakes
Even with the best prep, things can go wrong. Let's troubleshoot the most common issues and how to fix them.
Problem: Uneven or Wavy Cuts
If your cut looks like a rollercoaster track, the culprit is usually loose clamping or an unsteady hand. Solution: Re-clamp the pipe tighter—use two clamps (one on each side of the cut) for extra stability. If using a circular saw, add a straightedge guide. For hacksaw users: Slow down and focus on keeping the saw perpendicular to the pipe. Practice on scrap pieces first to get the feel.
Problem: Chipping or Jagged Edges
Aluminum extrusion profile can chip if the blade is too coarse or you cut too fast. Solution: Switch to a higher TPI blade (24-32 TPI for hacksaws/jigsaws, 60-80 for miter/circular saws). Cut at half speed—this gives the blade time to slice cleanly instead of tearing the metal. If chipping happens near the T slot, place a piece of masking tape over the slot before cutting—the tape holds the aluminum together, reducing splintering.
Problem: Blade Binding (Getting Stuck)
If the saw blade jams mid-cut, stop immediately—forcing it can break the blade or kick the pipe. Solution: Turn off the tool, release pressure, and check if the pipe shifted. Re-clamp it, then restart the cut, moving more slowly. If binding happens repeatedly, the blade may be dull or the pipe may be warped—replace the blade or try a different piece of pipe.
Final Thoughts: You've Got This!
Cutting T slot aluminum pipe might seem intimidating at first, but with the right tools, a little patience, and these tips, you'll be making clean, straight cuts in no time. Remember: measure twice, cut once; clamp tightly; wear your PPE; and don't skip deburring. Whether you're a seasoned maker or a first-time DIYer, the key is practice—grab some scrap aluminum profile pieces, experiment with different tools, and learn what works for you. And when you're done, step back and admire your handiwork: a perfectly cut piece of T slot aluminum pipe, ready to become part of something awesome. So go ahead—grab your saw, put on those safety glasses, and start building. The only limit is your imagination (and maybe how many aluminum pipe accessories you can fit in your cart).