- Company Articles
- Products and Technology
- Installation And Maintenance
- How to Ensure Proper Alignment When Using Two Way Aluminum Pipe Joints

How to Ensure Proper Alignment When Using Two Way Aluminum Pipe Joints
Related Product
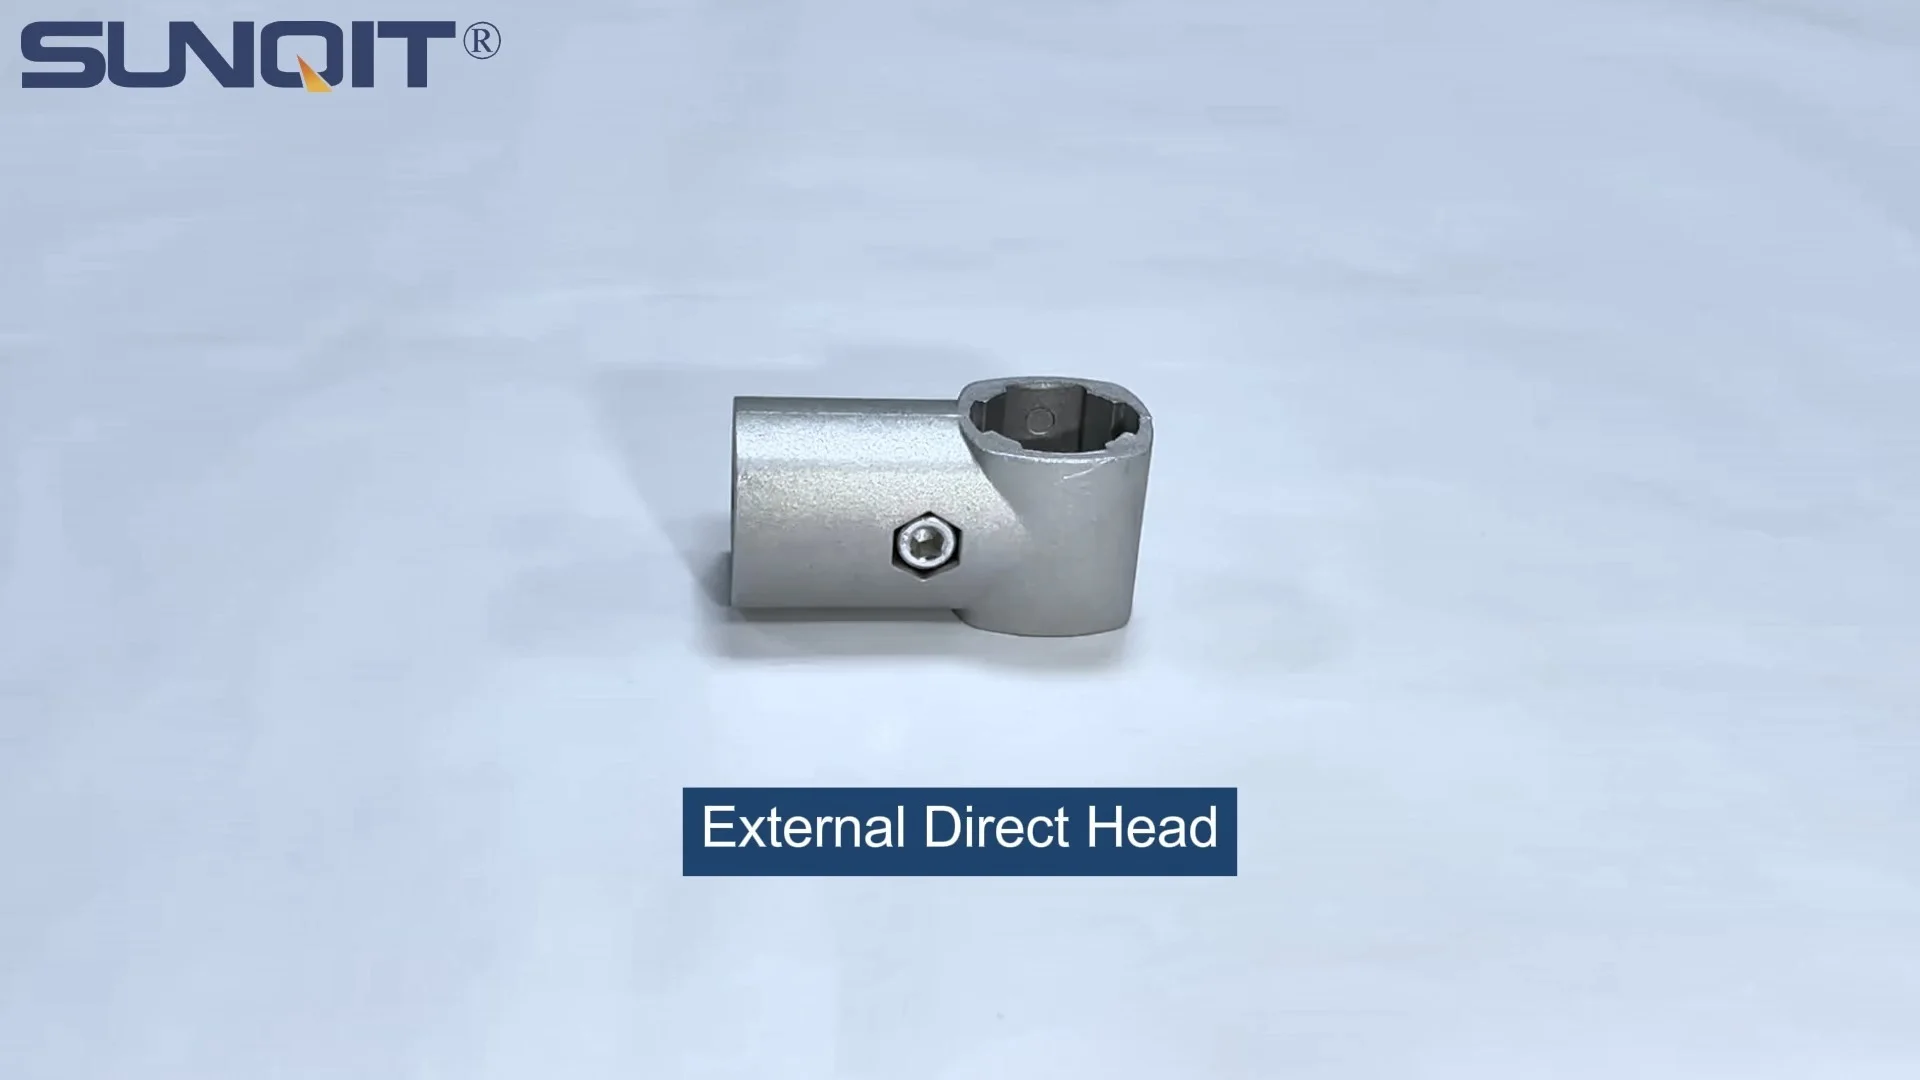
Two Way Aluminum Pipe Joint
Aluminum 2 way pipe joint for 28mm aluminum pipe connection in 2 direction.
If you've ever spent hours assembling a shelving unit or workbench only to find it wobbles, sags, or just doesn't quite fit right, you know the frustration of poor alignment. In the world of aluminum pipe systems—whether you're building an aluminum workbench, a material rack, or a production line—alignment isn't just about looks. It's about functionality, safety, and the longevity of your setup. And at the heart of that alignment? The humble two way aluminum pipe joint. These small but mighty connectors are the unsung heroes that hold your aluminum profile structures together, and getting them aligned correctly can make or break your project.
Understanding the Two Way Aluminum Pipe Joint: More Than Just a Connector
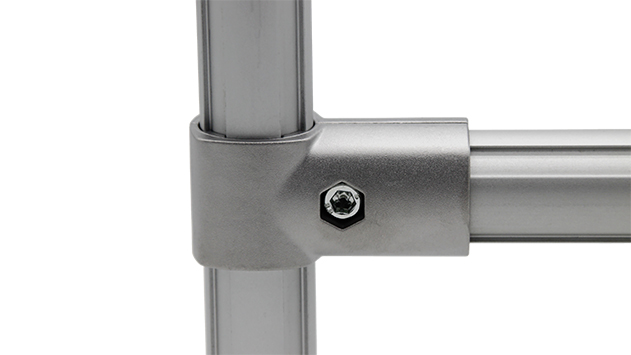
Before we dive into alignment, let's take a minute to appreciate what a two way aluminum pipe joint actually does. Unlike rigid welds or one-size-fits-all fasteners, these joints are designed to connect two aluminum pipes at a fixed angle (usually 90 degrees, though some are adjustable) while allowing for a small degree of flexibility during assembly. Think of them as the "elbows" of your aluminum pipe system—they direct the flow of your structure, whether you're branching off a vertical support to a horizontal shelf or connecting the legs of an aluminum workbench.
What makes them unique is their compatibility with aluminum pipe accessories. Most two way joints come with pre-drilled holes that align with the T-slots on aluminum profiles, using bolts or screws to secure the connection. Some even have rubber gaskets or friction pads to prevent slippage once tightened. But here's the catch: that flexibility during assembly can also be a double-edged sword. If you rush the process, it's easy to nudge the joint slightly off-kilter, leading to misalignment that snowballs as you add more pipes and profiles.
Common Alignment Issues: What Goes Wrong (and Why)
Even seasoned builders run into alignment problems with two way joints. Let's break down the most frequent culprits:
| Alignment Issue | Why It Happens | Impact |
|---|---|---|
| Misaligned Bolt Holes | Rushing to tighten bolts before ensuring the joint is flush with the pipe ends. | Stress on the joint, stripped threads, or pipes that sit at a slight angle. |
| Loose Joint Connections | Under-tightening screws or using worn-out aluminum pipe accessories (like stripped bolts). | Wobbly structures, pipes that shift over time, and increased noise during use. |
| Uneven Pipe Lengths | Cutting pipes slightly off-length or not measuring from the joint's center point. | Asymmetrical shelves or workbenches that tilt to one side. |
| Ignoring the Base Surface | Assembling on an uneven floor or workbench without leveling first. | Entire structure leans, putting extra pressure on joints and causing pipes to bend. |
Take the example of building an aluminum workbench. Imagine you're attaching the front and back legs to the side rails using two way joints. If one joint is even 1/8 inch off-center, the entire bench top might sit unevenly. Over time, that small misalignment could lead to the top warping, tools sliding off, or even the legs giving way under heavy loads. Not exactly ideal for a workspace where precision matters.
Step-by-Step: How to Align Two Way Aluminum Pipe Joints Like a Pro
Now that we know what can go wrong, let's walk through the process of aligning two way joints correctly. This method works for everything from small projects (like a desktop organizer) to larger setups (like a production line roller track support structure). The key is to take it slow and check your work at every step.
1. Start with a Level Base (Yes, This Includes Your Workbench!)
Before you even pick up a joint, make sure your assembly surface is level. If you're building an aluminum workbench, this means checking that the floor or the table you're working on isn't sloped. A quick pass with a spirit level can save you hours of frustration later. If the surface is uneven, use shims or adjustable feet (another handy aluminum pipe accessory) to compensate. Remember: garbage in, garbage out—if your starting point is wonky, your entire structure will be too.
2. Dry-Fit First, Tighten Later
Dry-fitting is non-negotiable. This means connecting the two way joint to your aluminum pipes without fully tightening the bolts . Slide the joint onto the ends of the pipes, aligning the holes with the T-slots on the aluminum profile. At this stage, the joint should be loose enough to wiggle slightly—this is intentional. The goal is to get a feel for how the pipes sit relative to each other before locking them in place.
3. Use Reference Points to Check Straightness
Once dry-fitted, step back and visually inspect the alignment. Are the pipes straight, or do they curve slightly? A simple way to check is to use a straightedge (like a long aluminum profile or a yardstick) along the length of the connected pipes. If there's a gap between the straightedge and the pipe, the joint is misaligned. For vertical pipes, hold a plumb bob (or a weighted string) next to the pipe—if the pipe doesn't run parallel to the string, adjust the joint until it does.
4. Tighten in Stages (And Don't Overdo It)
Here's a pro tip: tighten the bolts on your two way joint in stages, not all at once. Start by hand-screwing each bolt until it's snug, then use a hex key to give each one a quarter-turn. Go back and forth between bolts to ensure even pressure—this prevents the joint from twisting as you tighten. And resist the urge to crank down as hard as possible! Over-tightening can strip the threads on the aluminum profile or warp the joint itself, making future adjustments impossible.
5. Test for Stability (Shake It Like You Mean It)
Once tightened, give your structure a gentle shake. A properly aligned two way joint should feel solid, with no creaking or movement. If the pipes wobble, loosen the bolts slightly and recheck your straightness. Sometimes, even a 1-millimeter adjustment is all it takes to fix the issue. For larger setups, like a roller track system, you can also roll a test weight (like a small box) along the track—if it veers to one side, chances are a two way joint in the support structure is out of alignment.

Tools You'll Need: No Fancy Equipment Required
You don't need a workshop full of tools to align two way joints. Here's what's essential:
- A spirit level (digital or bubble—either works, but digital is easier for precise readings).
- A tape measure (for checking pipe lengths and distances between joints).
- Hex keys (the size depends on your aluminum pipe accessories—most use M5 or M6 bolts).
- A rubber mallet (for gently tapping joints into place without damaging the aluminum).
- A straightedge (a 4-foot aluminum profile works perfectly here).
Optional but helpful: A carpenter's square for ensuring 90-degree angles, and a set of feeler gauges to check for gaps between joints and pipes.

Real-World Example: Aligning Joints for an Aluminum Workbench
Let's put this all into practice with a common project: building a simple aluminum workbench with a 4-foot by 2-foot top, supported by four vertical legs and two horizontal stretchers (the bars that connect the legs for stability). The two way joints here will connect the stretchers to the legs, and the legs to the tabletop frame.
Start by cutting your aluminum profiles to length: four 30-inch legs, four 24-inch stretchers (two for the front, two for the back), and four 48-inch frame rails (for the tabletop). Dry-fit the legs and stretchers first: each leg gets a two way joint at the top and bottom, connecting to the front and back stretchers. After dry-fitting, lay the frame on a level floor and check with a spirit level—are the stretchers perfectly horizontal? If one side dips, loosen the joints and tap the higher leg down with a rubber mallet until the level reads flat. Tighten the joints in stages, then add the tabletop rails. Repeat the process, checking that the rails are straight and parallel. By the time you add the workbench top, the entire structure should sit solidly, with no rocking or unevenness.
The result? An aluminum workbench that not only looks professional but can handle heavy tools, materials, and daily use—all because the two way joints were aligned with care.
Maintenance: Keeping Your Joints Aligned Over Time
Alignment isn't a one-and-done task. Over time, vibrations from use, temperature changes (aluminum expands and contracts slightly), and even accidental bumps can loosen joints. Make it a habit to inspect your aluminum pipe structures every few months. Check for loose bolts, and tighten them if needed. If a joint feels wobbly despite tight bolts, inspect the aluminum pipe accessories—maybe the bolt threads are stripped, or the joint itself is worn. Replacing a worn two way joint is cheaper than rebuilding an entire structure, so don't ignore the signs.
Final Thoughts: Alignment as a Habit, Not a Chore
At the end of the day, aligning two way aluminum pipe joints is about patience and attention to detail. It might take a few extra minutes during assembly, but those minutes pay off in a structure that's safe, sturdy, and built to last. Whether you're a hobbyist building a garage workbench or a manufacturer setting up a production line with roller tracks and material racks, remember: every well-aligned joint is a step toward a better, more efficient workspace.
So the next time you pick up a two way aluminum pipe joint, take a breath, dry-fit first, and check your level. Your future self (and your aluminum profile structure) will thank you.