- Company Articles
- Products and Technology
- Installation And Maintenance
- How to Fix Scratches on Chrome-Plated Vertical Lean Pipe Joints

How to Fix Scratches on Chrome-Plated Vertical Lean Pipe Joints
Related Product
Vertical Lean Pipe Joint
Vertical lean pipe joint is used for 28mm lean pipe fixed on ground and keep it stable.
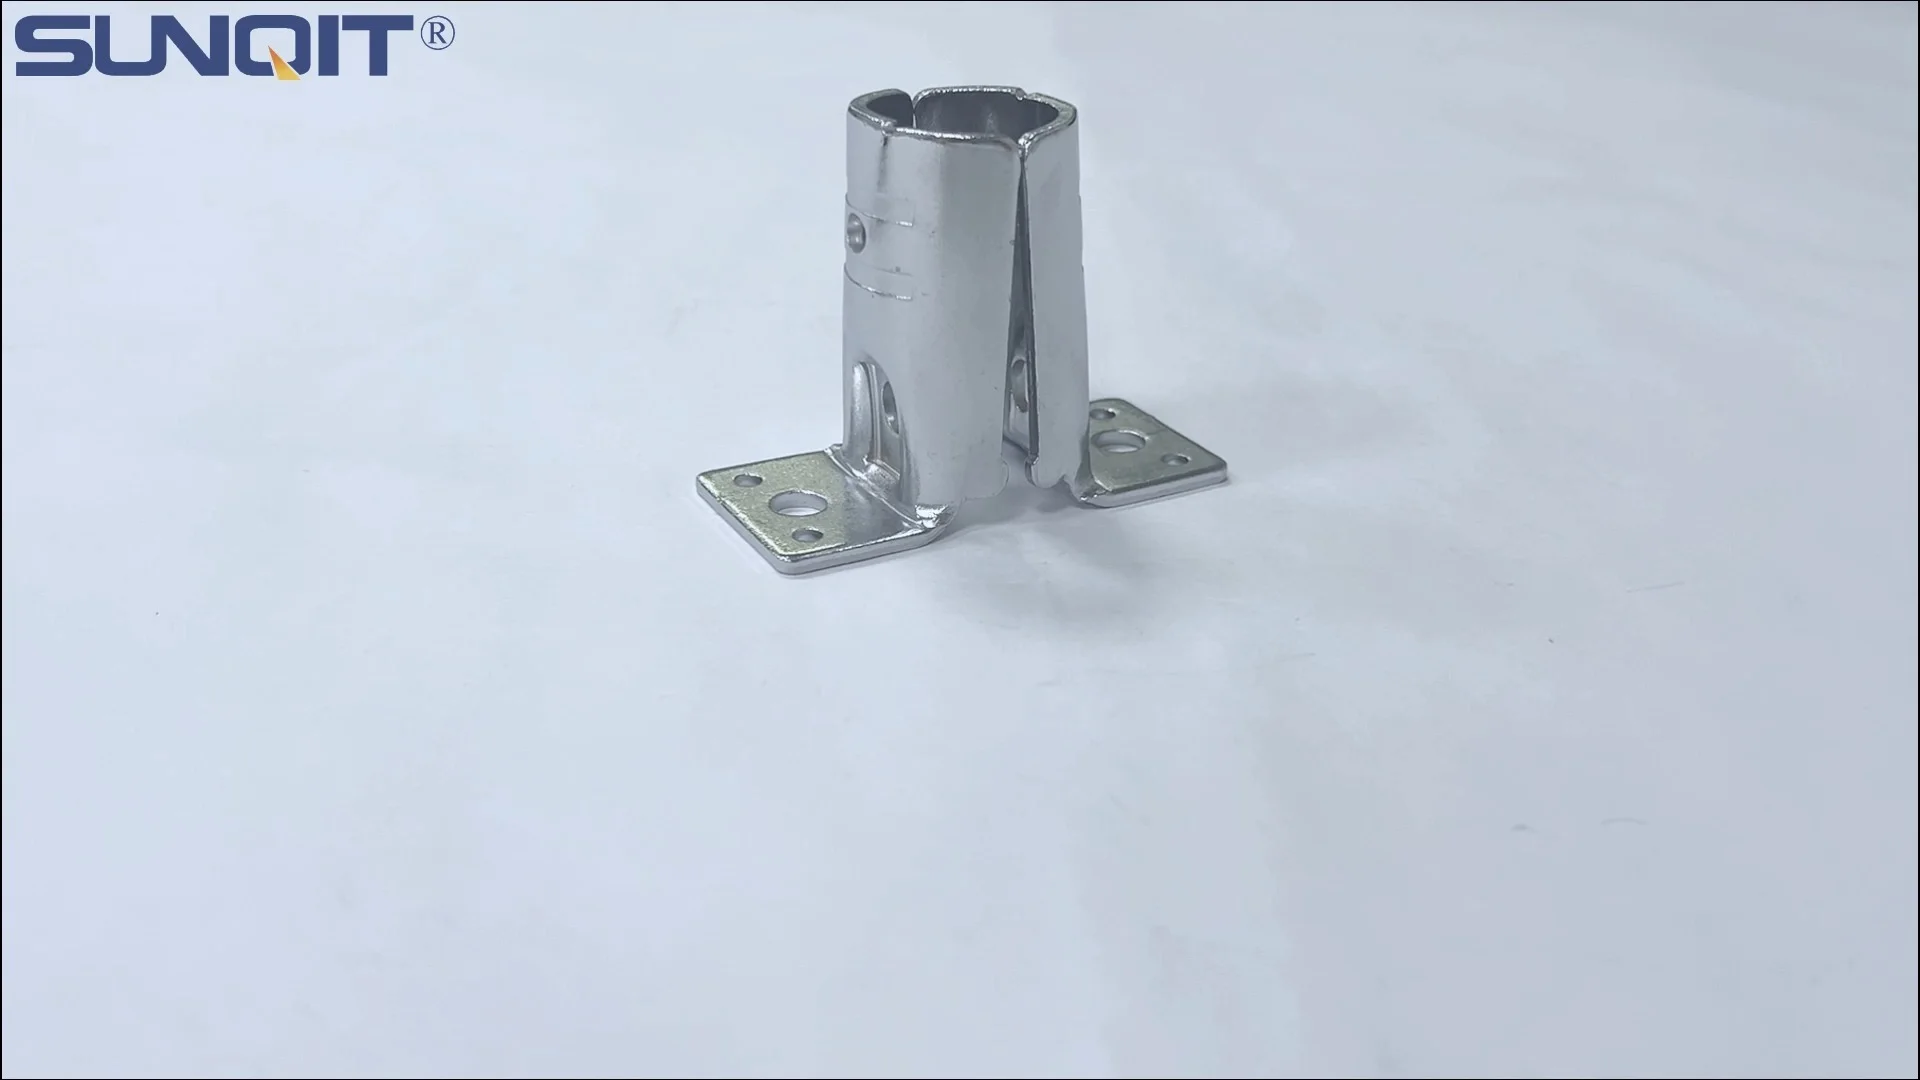
It's Monday morning, and you're gearing up for a busy day on the production floor. Your trusty lean pipe workbench, a stalwart in your lean system, stands ready—but as you adjust a tool on its surface, you notice something off. The chrome-plated vertical lean pipe joint that holds the frame together has a fresh set of scratches, marring its once-sleek finish. At first glance, they might seem trivial, but anyone who's worked with lean systems knows: small details like this can snowball into bigger issues if left unaddressed.
Chrome-plated vertical lean pipe joints are more than just connectors; they're the unsung heroes of efficient workflows. Found in everything from assembly line workbenches to material racks, these joints keep your lean system stable, durable, and visually cohesive. Scratches, however, aren't just an eyesore—they can chip away at the chrome plating, exposing the underlying metal to moisture, grease, and corrosion. Over time, that tiny scratch could turn into rust, weakening the joint and putting your entire setup at risk. But fear not: with the right tools and a little patience, you can repair those scratches and restore your joint to its former glory. Let's dive in.
Why Chrome-Plated Vertical Lean Pipe Joints Deserve Your Attention
Before we jump into repairs, let's take a moment to appreciate why these joints matter. Chrome plating isn't just for shine—it's a functional choice. The chrome layer acts as a barrier, shielding the metal beneath from scratches, fingerprints, and the daily wear of a bustling production environment. In lean systems, where organization and efficiency are king, a clean, unmarred workspace sends a message: this team cares about quality, down to the smallest detail.
Think about your lean pipe workbench. It's where your team assembles products, sorts materials, and collaborates. A scratched joint might not stop the workflow today, but over time, it can become a distraction. When employees notice neglected equipment, it subtly erodes pride in their workspace—and pride is a silent driver of productivity. Plus, if the scratch deepens, you might end up replacing the joint entirely, which costs time and money better spent elsewhere. Fixing scratches early isn't just maintenance; it's an investment in your team's morale and your bottom line.
Know Your Enemy: Minor vs. Deep Scratches
Not all scratches are created equal. Before grabbing your tools, take a close look at the damage. This will determine your repair strategy.
Minor Surface Scratches
These are the most common—and easiest to fix. Minor scratches are shallow, affecting only the top layer of chrome. You can tell it's minor if you run your finger over the scratch and don't feel a groove (or barely feel one). They often look like faint white or gray lines, caused by things like a tool brushing against the joint, a cart bumping into it, or even a stray cleaning cloth with debris trapped in its fibers. These scratches haven't pierced the chrome plating, so the metal underneath is still protected.
Deep Scratches
Deep scratches are another beast. These are the ones that catch your fingernail when you run it over them—you can feel a distinct groove. They might appear darker, sometimes even showing hints of the metal beneath the chrome. Deep scratches happen when something heavy or sharp (like a dropped wrench, a misaligned roller track, or a metal edge) digs into the joint. The danger here is that the chrome plating is compromised, leaving the metal exposed to the elements. If left untreated, moisture and chemicals from the production floor can seep in, leading to rust and corrosion. Deep scratches require more care, but they're still repairable with the right approach.

Gathering Your Tools: What You'll Need
Repairing scratches doesn't require a fully stocked workshop, but having the right tools on hand will make the process smoother and more effective. Here's your checklist:
- Microfiber cloths: Soft and lint-free—avoid paper towels, which can scratch further.
- Mild detergent: For cleaning the joint before repair (dish soap works well).
- Isopropyl alcohol (70% or higher): To degrease the area after washing—grease can interfere with polish or paint adhesion.
- Rubbing compound (fine-grit): For buffing out minor scratches (look for "chrome-safe" formulas).
- Chrome polish: To restore shine after repairing minor scratches.
- Sandpaper (400-grit, 800-grit, 1200-grit): For smoothing deep scratches (start coarse, then fine).
- Chrome-specific primer: Helps paint adhere to metal (skip if using polish for minor scratches).
- Chrome spray paint (high-quality): For covering deep scratches (look for "metallic chrome" or "mirror finish").
- Clear coat spray: Adds a protective layer over painted repairs to prevent chipping.
- Masking tape: To protect surrounding areas (like the workbench surface or adjacent joints) from paint overspray.
- Gloves and safety glasses: Protect your hands from chemicals and your eyes from sanding dust.
Pro tip: If you're unsure about a product (like rubbing compound or paint), test it on a hidden part of the joint first (if possible) to ensure it doesn't discolor the chrome. Better safe than sorry!

Step-by-Step Repair Guide
Now, let's roll up our sleeves and fix those scratches. We'll break it down by scratch type for clarity.
Step 1: Clean the Joint Thoroughly (For Both Scratch Types)
No repair works well on a dirty surface. Start by cleaning the chrome-plated vertical lean pipe joint to remove dirt, grease, and debris. Here's how:
- Mix a few drops of mild detergent with warm water in a bowl.
- Dip a microfiber cloth into the soapy water, wring it out, and gently wipe the scratched area. Use circular motions to lift dirt.
- Rinse the cloth with clean water, wring, and wipe the joint again to remove soap residue.
- Dampen a new microfiber cloth with isopropyl alcohol and wipe the joint to degrease. Let it air dry completely (about 5-10 minutes).
Why this matters: Grease or dirt trapped in the scratch will prevent polish or paint from adhering, leading to patchy results. Take your time here—cleaning is the foundation of a good repair.
Step 2: Repair Minor Scratches
For shallow, surface-level scratches, rubbing compound and chrome polish will be your best friends. Here's the process:
- Apply a small amount of fine-grit rubbing compound to a clean microfiber cloth (about the size of a dime).
- Gently buff the scratch in small, circular motions. Apply light pressure—you don't want to wear away more chrome! Buff for 30-60 seconds, then wipe away excess compound with a clean part of the cloth.
- Check the scratch. If it's still visible, repeat step 2 with a bit more compound. Most minor scratches fade after 1-2 rounds of buffing.
- Once the scratch is gone, apply a pea-sized amount of chrome polish to a new microfiber cloth.
- Buff the entire joint (not just the repaired area) in circular motions to restore shine and blend the repair into the surrounding chrome. Wipe away excess polish with a clean cloth.
Result: The scratch should be nearly invisible, and the joint will look as good as new. The polish adds a protective layer, helping prevent future scratches.
Step 3: Repair Deep Scratches
Deep scratches need a little more elbow grease (and paint). Follow these steps carefully:
- Sand the scratch: Start with 400-grit sandpaper. Wrap the sandpaper around a small block (or your finger, for better control) and gently sand the scratch in one direction (not circular). Keep the sandpaper wet by dipping it in water occasionally—this reduces dust and prevents scratching the surrounding chrome. Sand until the edges of the scratch are smooth (you should no longer feel a groove with your finger).
- Switch to finer sandpaper: Move to 800-grit, then 1200-grit sandpaper, repeating the wet-sanding process. This smooths the area further, preparing it for paint.
- Clean again: Wipe the sanded area with a damp microfiber cloth to remove dust, then degrease with isopropyl alcohol. Let dry completely.
- Mask off surrounding areas: Use masking tape to cover the workbench surface, adjacent joints, or any part of the lean system you don't want painted. Leave only the sanded scratch area exposed.
- Apply primer: Shake the chrome primer can for 1-2 minutes, then hold it 6-8 inches from the joint. Apply a thin, even coat of primer to the sanded area. Let it dry for 15-20 minutes (check the can for exact drying times).
- Apply chrome paint: Shake the chrome spray paint can thoroughly. Hold it 6-8 inches from the joint and apply a light, even coat. Avoid heavy coats—they can drip. Let dry for 10-15 minutes, then apply a second thin coat. Let the final coat dry for at least 1 hour.
- Add clear coat: To protect the paint, apply a thin coat of clear coat spray. Let it dry for 24 hours (yes, full 24 hours!) before using the workbench.
Pro tip: Work in a well-ventilated area when painting, and avoid painting on humid or windy days—moisture and dust can ruin the finish.
| Scratch Type | Tools Needed | Time Required | Pros | Cons |
|---|---|---|---|---|
| Minor | Microfiber cloths, mild detergent, isopropyl alcohol, rubbing compound, chrome polish | 15-30 minutes | Quick, no paint needed, preserves original chrome finish | Only works on surface scratches; may need re-buffing after heavy use |
| Deep | All minor tools + sandpaper (400/800/1200-grit), primer, chrome paint, clear coat, masking tape | 2-3 hours (plus 24 hours drying time) | Fixes exposed metal, prevents rust, long-lasting | Time-consuming; paint may not perfectly match original chrome |

Testing the Repair: Did It Work?
After repairing, you'll want to make sure the fix holds up. Here's how to test:
- Smoothness check: Run your finger over the repaired area. It should feel as smooth as the surrounding chrome (no bumps or rough spots).
- Adhesion test: Gently rub a damp microfiber cloth over the repair. If you're using polish, the cloth should stay clean. If you painted, no paint should rub off.
- Long-term monitor: Keep an eye on the joint for a week. For deep scratches, check for rust—if none forms, the primer and paint did their job.
If the repair fails (e.g., paint chips or the scratch reappears), don't panic! For minor scratches, try buffing again with more compound. For deep scratches, sand the area lightly, clean, and repaint with thinner coats.
Preventing Future Scratches: Keep Your Joints Shiny
The best repair is the one you never have to do. Here are simple ways to keep your chrome-plated vertical lean pipe joints scratch-free:
- Add corner guards: Stick adhesive-backed corner guards (available at most hardware stores) to high-impact areas of the joint. They absorb bumps from carts or tools.
- Train your team: A quick chat about handling tools and materials near the workbench goes a long way. Remind everyone to avoid dragging heavy items across the lean system.
- Clean regularly: Wipe down joints with a soft microfiber cloth weekly to remove dust and fingerprints. Avoid abrasive cleaners or scouring pads—they're scratch magnets.
- Maintain casters and roller tracks: If your lean system includes trolleys with caster wheels or roller tracks, keep them well-lubricated and aligned. Wobbly wheels or misaligned tracks can bump into joints, causing scratches.
- Inspect monthly: Make a habit of checking joints during your regular lean system maintenance. Catching scratches early makes repairs faster and easier.
When to replace Instead of Repair
Sometimes, a scratch is a sign of bigger problems. replace the chrome-plated vertical lean pipe joint if:
- The joint is bent, cracked, or loose (structural damage can't be fixed with polish or paint).
- The scratch has caused pitting (small holes in the metal)—this means corrosion has already set in.
- Repairs keep failing, even after multiple attempts (the chrome plating may be worn thin).
Luckily, lean pipe joint suppliers offer replacement joints at affordable prices, and swapping one out is a quick job with basic tools. Think of it as upgrading your lean system's foundation—better to replace a faulty joint than risk a workbench collapse.
Wrapping Up: Small Scratches, Big Impact
Fixing scratches on chrome-plated vertical lean pipe joints might seem like a small task, but it's a powerful act of care for your lean system. A scratch-free joint isn't just about aesthetics—it's about maintaining the efficiency, safety, and pride that make lean systems work. Whether you're buffing out a minor mark or painting over a deep groove, you're investing in the longevity of your workspace and the well-being of your team.
So the next time you spot a scratch, grab your microfiber cloth and rubbing compound (or sandpaper and paint) and get to work. Your lean pipe workbench—and your team—will thank you. After all, in lean manufacturing, every detail counts. And now, you're ready to tackle the smallest ones with confidence.