- Company Articles
- Products and Technology
- Installation And Maintenance
- How to Install 60 Steel Roller Track Small Wheels: Step-by-Step Guide

How to Install 60 Steel Roller Track Small Wheels: Step-by-Step Guide
Related Product
60 Steel Roller Track Small Wheel
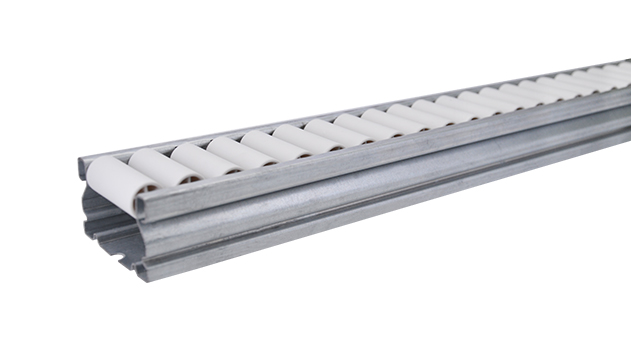
Modular system roller tracks aluminum gravity roller tracks are an excellent solution for transporting materials within industrial environments, warehouses and distribution centres.
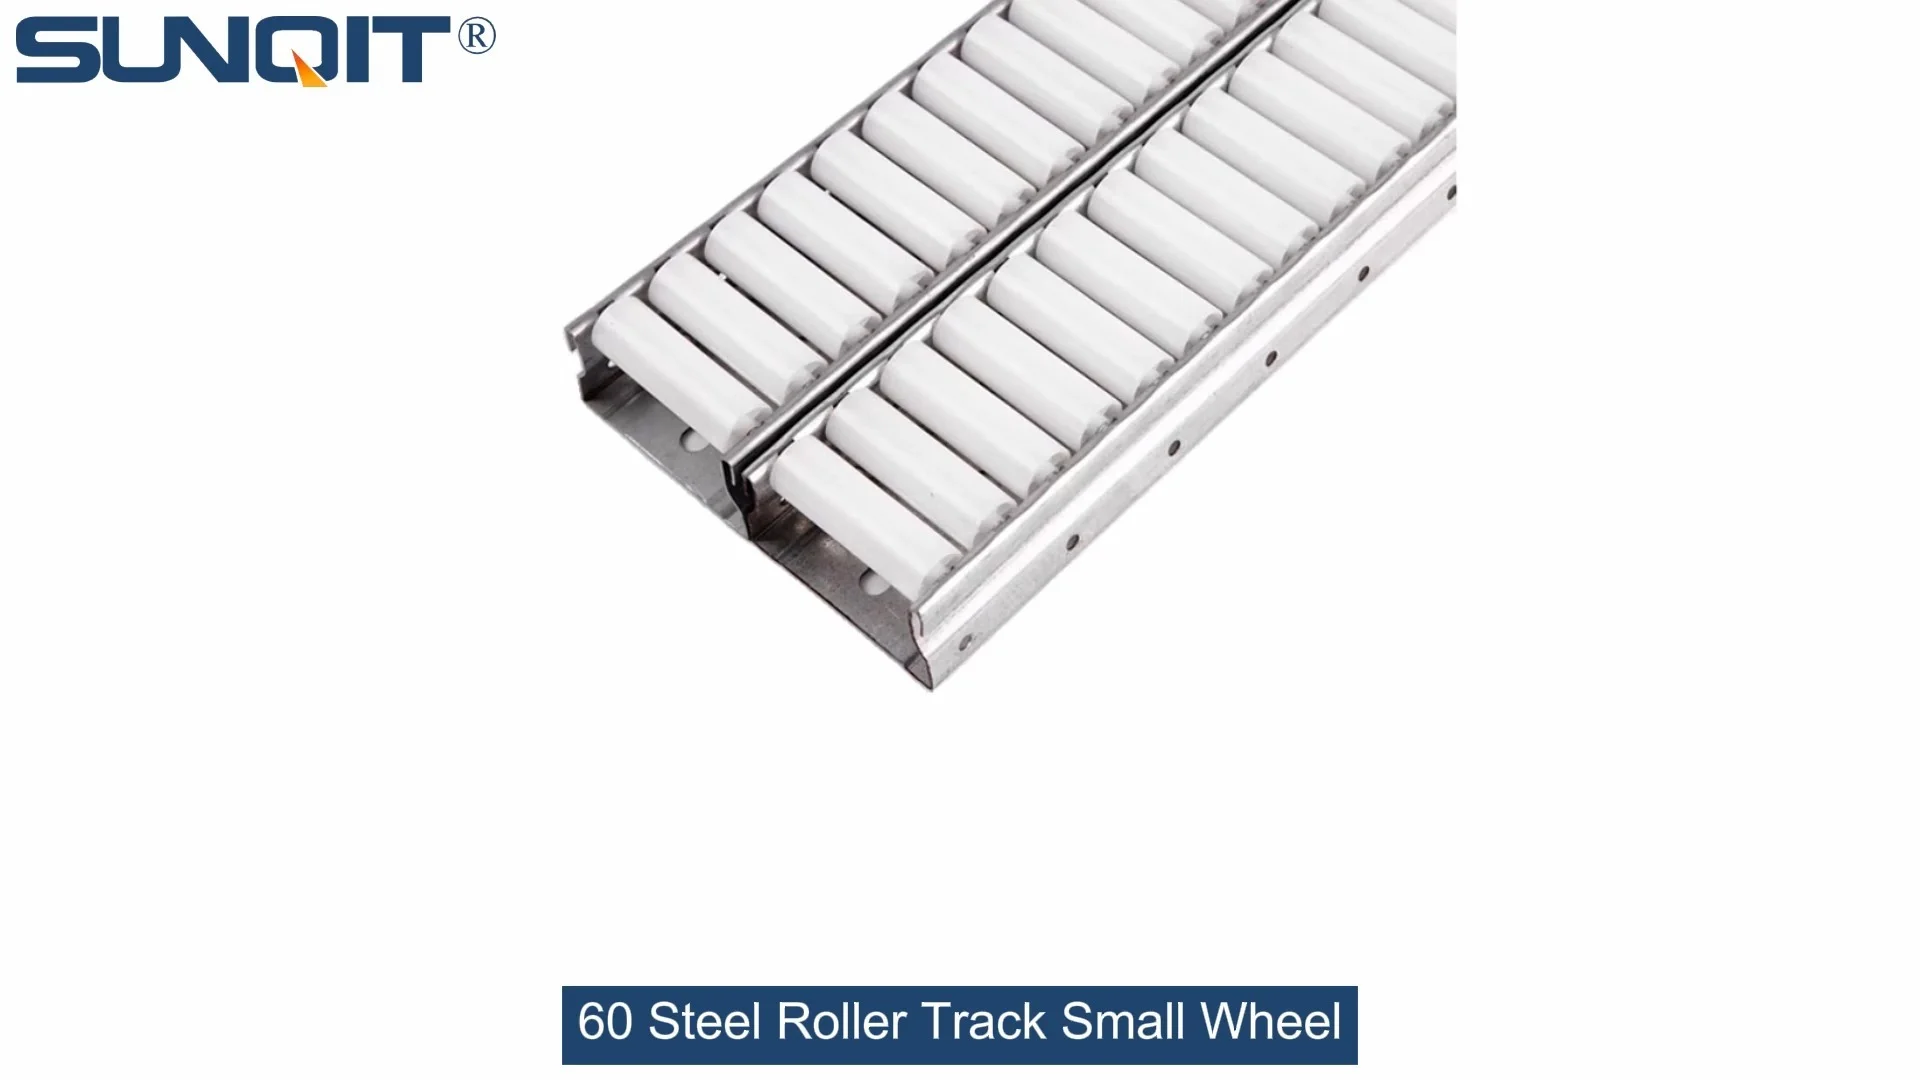
If you've ever worked in a warehouse, factory, or any space where moving materials efficiently matters, you know how crucial smooth roller tracks are. 60 Steel Roller Track Small Wheels are a tiny but mighty component that keeps things rolling—literally. Whether you're setting up a new conveyor line, upgrading a lean system, or building a custom material handling solution, getting these wheels installed right is key to keeping your operations running without hiccups. In this guide, we'll walk you through every step, from unboxing your parts to testing the final setup, so you can get your roller track up and running in no time.
Before we dive in, let's talk about why these wheels matter. They're part of a larger lean system that focuses on reducing waste and improving flow—two things every business cares about. When installed correctly, 60 Steel Roller Track Small Wheels help goods glide smoothly along the conveyor, cutting down on manual effort and speeding up processes. Plus, using the right roller track accessories ensures that your setup is durable and long-lasting, so you won't have to fix it every other week.
Pre-Installation Preparation: Gather Your Tools & Materials
First things first—you need to have all the right tools and materials on hand. Nothing slows down an installation like running to the hardware store mid-project. Let's list out what you'll need:
Tools Required
- Adjustable wrench (or socket set, depending on bolt sizes)
- Phillips-head screwdriver (and flat-head, just in case)
- Spirit level (to ensure everything is straight)
- Tape measure (for precise spacing)
- Rubber mallet (to gently tap components into place without damaging them)
- Cleaning cloth (to wipe down parts before installation)
Materials Needed
Make sure you have all these components from your lean pipe supplier before starting:
| Component Name | Quantity (Depends on Your Setup) | Notes |
|---|---|---|
| 60 Steel Roller Track Small Wheels | As per your track length | Check for any dents or scratches |
| Roller Track (the main track frame) | 1 or more sections | Ensure it's the correct length for your space |
| Roller Track Connectors | 1 per track joint | Used to link multiple track sections |
| Mounting Bolts & Nuts | 4-6 per track section | Choose corrosion-resistant ones for durability |
| Washers | Same as bolts | Prevents bolts from loosening over time |
| Leveling Feet (optional) | 4-6 per frame | For uneven surfaces |
Pro Tip: Lay out all your components on a clean, flat surface before starting. This helps you count everything and spot any missing or damaged parts early. If something's wrong, reach out to your lean pipe supplier right away—better to fix it now than during installation.
Step-by-Step Installation Guide
Now that you have everything ready, let's get to the installation. Follow these steps carefully, and you'll have a fully functional roller track in no time.
Step 1: Unpack & Inspect All Components
Take each component out of its packaging and inspect it closely. Look for any signs of damage—like bent wheel axles, cracked track sections, or missing parts. Even small dents in the 60 Steel Roller Track Small Wheels can cause them to stick later, so it's important to catch these issues now. If you find any damaged items, contact your supplier immediately for replacements.
Once you've inspected everything, wipe down the roller track and wheels with a clean cloth to remove any dust or debris. This might seem like a small step, but it prevents dirt from getting stuck in the wheel bearings, which can slow them down over time.
Step 2: Prepare the Mounting Surface
The surface where you install your roller track needs to be flat and stable. If you're mounting it on a conveyor frame, workbench, or shelf, make sure the structure is sturdy enough to hold the weight of your materials. Use a spirit level to check the surface—even a slight tilt can cause items to roll unevenly or get stuck.
If the surface is uneven, you might need to use leveling feet. Attach them to the bottom of your frame (if applicable) and adjust them until the surface is perfectly level. This step is crucial for the long-term performance of your roller track, so don't skip it!
Step 3: Attach Wheel Holders to the Roller Track
Most 60 Steel Roller Track Small Wheels come with pre-attached axles, but some might require you to insert the axles into the track first. Check your product manual to see how your wheels are designed. If you need to insert axles:
- Slide each axle into the designated slots on the roller track. Make sure they're pushed all the way in—you shouldn't be able to pull them out easily.
- Use a rubber mallet to gently tap the axles into place if they're tight. Avoid using a metal hammer, as this can damage the axles or track.
If the wheels already have axles, skip to the next step. For tracks that use separate wheel holders, attach the holders to the track using the provided screws or bolts. Tighten them just enough to hold the holders in place—you can adjust the alignment later.
Step 4: Install the 60 Steel Roller Track Small Wheels
Now it's time to put the wheels on! Take each wheel and slide it onto the axle. Make sure it's centered and spins freely. If the wheel is too tight, you can add a washer between the wheel and the track to create more space. Once the wheel is in place, secure it with a nut. Don't tighten the nut all the way yet—you want the wheel to rotate smoothly, so leave a little slack. You can adjust the tightness later during testing.
Repeat this process for all the wheels on your track. Take your time here—each wheel needs to be installed correctly to ensure the track works properly. If you're working with a long track, it might help to work from one end to the other to stay organized.
Step 5: Align & Connect Roller Track Sections
If you're using multiple roller track sections, now is the time to connect them. Take your roller track connectors and attach them to the ends of the track sections. Make sure the sections are aligned perfectly—even a small gap between them can cause items to get stuck. Use a spirit level to check that the connected track is straight both horizontally and vertically.
Once the sections are aligned, tighten the connector bolts. Be careful not to over-tighten them, as this can warp the track. A good rule of thumb is to tighten until the connector is secure, then give it a quarter turn more. This ensures a tight fit without damaging the track.
Step 6: Secure the Track to the Mounting Surface
Now it's time to attach the entire roller track to your frame or workbench. Place the track on the mounting surface and use a tape measure to ensure it's positioned correctly. Mark the spots where you'll drill holes (if needed) or where the bolts will go.
If your track has pre-drilled holes, align them with the holes on your frame. insert the bolts through the track and frame, then add washers and nuts. Tighten the bolts gradually, working from one end to the other, to keep the track aligned. Check the level again after tightening—sometimes the pressure from the bolts can shift the track slightly.
Step 7: Test the Roller Track & Adjust as Needed
The final step is to test your roller track! Grab a sample item that's similar in size and weight to what you'll be moving on the track. Place it at one end and let it roll down. Observe how it moves:
- Does it roll smoothly without getting stuck?
- Does it stay centered on the track?
- Is the speed consistent?
If the item gets stuck, check the wheels in that area. Maybe the nut is too tight, or there's debris in the wheel. Loosen the nut a little or clean the wheel, then test again. If the item veers to one side, adjust the alignment of the track or the wheel holders until it rolls straight.
Once everything is working perfectly, go back and tighten all the nuts and bolts one more time. This ensures that nothing comes loose during use.
Post-Installation Checks: Make Sure It's Durable & Safe
After installation, it's important to do a final check to ensure your roller track is safe and durable. Here's what to look for:
- All bolts and nuts are tight (but not over-tightened).
- Every wheel spins freely without resistance.
- The track is level and straight.
- There are no sharp edges or protruding parts that could cause injury.
If you're using the track in a high-traffic area, consider doing a load test. Place the maximum weight you expect to move on the track and see if it holds up. This helps you catch any weak points before they become a problem.

Maintenance Tips: Keep Your Roller Track Running Smoothly
Installing your roller track is just the beginning—you need to maintain it to keep it working well. Here are some simple tips:
- Clean the track and wheels regularly: Wipe down the track with a damp cloth to remove dust and debris. For the wheels, use a brush to get rid of any dirt stuck in the bearings.
- Lubricate the wheels: Every few months, apply a small amount of lubricant (like silicone spray) to the wheel bearings. This keeps them spinning smoothly and prevents rust.
- Check for loose bolts: Tighten any loose bolts or nuts you find during your regular checks. This prevents the track from shifting or falling apart.
- replace worn wheels: If a wheel is cracked, bent, or doesn't spin freely, replace it immediately. Worn wheels can slow down your operations and cause other issues.
Common Troubleshooting: Fix Issues Fast
Even with the best installation, problems can pop up. Here are some common issues and how to fix them:
Issue 1: Wheels Are Stuck or Not Spinning
Possible causes: Dirt in the bearings, over-tightened nuts, or bent axles. Solution: Clean the wheels with a brush, loosen the nuts a little, or replace bent axles.
Issue 2: Items Roll Unevenly or Veer Off Track
Possible causes: Track is not level, wheels are misaligned, or the mounting surface is uneven. Solution: Adjust the leveling feet, realign the wheel holders, or fix the mounting surface.
Issue 3: Track Sections Are Separating
Possible causes: Connectors are loose or damaged. Solution: Tighten the connector bolts or replace damaged connectors.
Conclusion: Enjoy Your Smooth-Running Roller Track
Installing 60 Steel Roller Track Small Wheels might seem daunting at first, but with the right tools, materials, and steps, it's a straightforward process. By following this guide, you've set up a roller track that's part of an efficient lean system, helping your business reduce waste and improve flow. Remember, the key to a long-lasting setup is using quality components from a reliable lean pipe supplier and maintaining it regularly.
Now that your roller track is installed, you can focus on what matters most—growing your business and keeping your operations running smoothly. Whether you're moving parts along a conveyor, organizing materials in a warehouse, or building a custom workstation, your new roller track will be a valuable addition to your setup. Happy rolling!