- Company Articles
- Products and Technology
- Installation And Maintenance
- How to Install a Five Way Straight Lean Pipe Joint: Step-by-Step Guide

How to Install a Five Way Straight Lean Pipe Joint: Step-by-Step Guide
Related Product
Five Way Straight Lean Pipe Joint
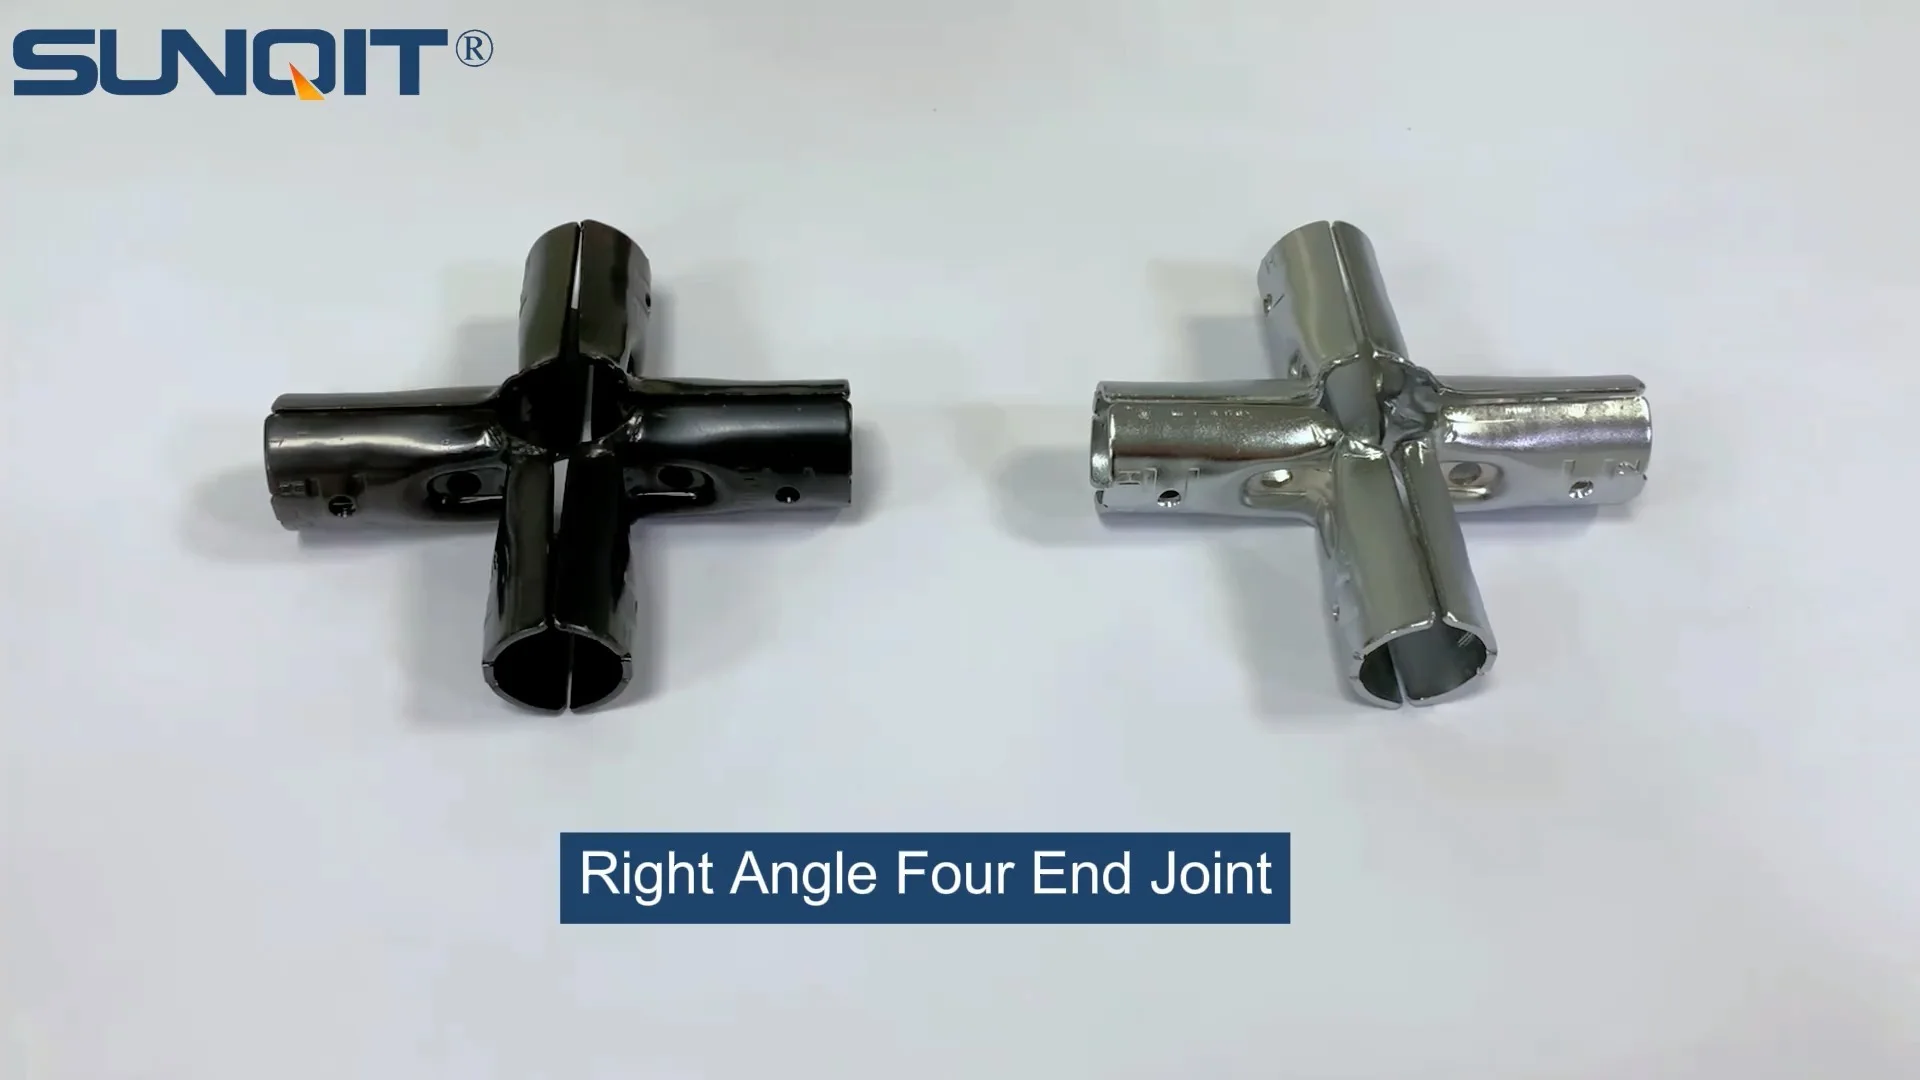
Five way straight lean pipe joint, for 5 pcs 28mm lean pipe connect in straight angle,which used widely in workbench, flow rack, hand trolley frame connection.
If you've ever walked through a well-organized factory floor, a bustling warehouse, or a streamlined workshop, you've probably noticed those sleek, modular structures—workbenches that adjust to any task, flow racks that glide materials smoothly, or turnover trolleys that move heavy loads with ease. Behind that efficiency often lies a simple yet powerful component: the lean pipe joint. Today, we're diving into one of the most versatile members of this family: the five way straight lean pipe joint. Whether you're a seasoned facility manager, a small business owner building your first production line, or a DIY enthusiast looking to upgrade your workspace, installing this joint correctly is key to building durable, flexible lean systems. Let's break it down, step by step.
What Is a Five Way Straight Lean Pipe Joint, Anyway?
Before we grab our tools, let's make sure we're on the same page. A five way straight lean pipe joint is a connector designed to link multiple lean pipes at once, creating stable, multi-directional structures. As the name suggests, it has five connection points—typically four in a straight line and one perpendicular, though designs can vary slightly by manufacturer. Think of it as the "hub" that turns simple aluminum or steel pipes into complex, functional setups like workbenches, material racks, or conveyor supports.
Why does this matter? In lean manufacturing, flexibility is everything. A single five way joint lets you reconfigure your workspace in hours instead of days, adapting to new projects, changing production needs, or seasonal demands. It's the backbone of a lean system, turning basic pipes and accessories into tools that reduce waste, save time, and keep your team moving efficiently.
Tools and Materials You'll Need
Before you start, let's gather your supplies. Having everything within arm's reach will save you from mid-installation trips to the toolbox (we've all been there). Here's what you'll need:
| Tools | Materials | Safety Gear |
|---|---|---|
| Hex key (size depends on joint bolts—usually 4mm or 5mm) | Five way straight lean pipe joint | Work gloves (to protect hands from sharp edges) |
| Measuring tape or ruler | Lean pipes (aluminum or steel, cut to your desired length) | Safety glasses (in case of loose debris) |
| Level (to ensure straightness) | Lean pipe and accessories (e.g., end caps, clamps, or foot bases) | Non-slip shoes (to steady yourself while working) |
| Rubber mallet (for gentle adjustments) | Optional: Thread locker (to prevent bolts from loosening over time) | |
| Marker or pencil (for marking pipe positions) |
Pro tip: Double-check that your lean pipes are compatible with the joint. Most five way joints work with standard 28mm diameter pipes, but if you're using aluminum lean pipe or stainless steel pipe series, confirm the size matches to avoid wobbly connections later.

Step 1: Prepare Your Workspace
Why this step matters: A cluttered workspace is a recipe for mistakes—misaligned pipes, lost tools, or even accidents. Taking 5 minutes to clear the area will make the entire process smoother.
Start by finding a flat, stable surface. If you're building a floor-standing structure (like a material rack or workbench), work directly on the ground. For wall-mounted setups, use a sturdy table or sawhorses to elevate the project. Sweep away dust, debris, or loose screws—you don't want a stray bolt rolling underfoot while you're balancing a pipe. Lay out all your materials: the five way joint, pipes, and accessories should be within easy reach. If you're working with a team, assign someone to hold pipes steady while you tighten bolts—two pairs of hands make alignment much easier!

Step 2: Inspect the Joint and Pipes
Why this step matters: Even a small defect can weaken your structure. A cracked joint or bent pipe might look minor now, but under daily use, it could lead to instability or collapse.
Take a close look at the five way joint first. Check for cracks, dents, or stripped threads in the bolt holes—these are red flags. Next, inspect your lean pipes: they should be straight (no bends or kinks), and the ends should be smooth (no sharp edges that could cut hands or damage the joint). If you're using aluminum lean pipe, make sure the surface is free of deep scratches, which can weaken the material over time. If any part looks damaged, replace it before proceeding—better safe than sorry!

Step 3: Mark Pipe Positions
Why this step matters: Precision here prevents headaches later. Misaligned pipes can throw off the entire structure, making it wobbly or uneven—especially if you're building something like a workbench that needs to support tools or materials.
Decide how you want to arrange your pipes. For example, if you're building a simple material rack, you might have three vertical pipes and two horizontal pipes connected by the five way joint. Use your measuring tape to mark where each pipe will enter the joint. Let's say you want horizontal pipes to extend 24 inches from the joint—measure 24 inches from the end of each pipe and mark it with a pencil. This mark will help you line up the pipe so it sits at the right depth in the joint. Pro tip: If your joint has depth stops (small ridges inside the pipe sockets), the mark should align with the top of the joint when the pipe is fully inserted.
Step 4: insert Pipes into the Joint
Why this step matters: Proper insertion ensures the joint can distribute weight evenly across all pipes, preventing stress on a single connection point.
Start with one pipe at a time to avoid confusion. Hold the five way joint steady with one hand, and slide the first pipe into one of the sockets until your pencil mark lines up with the joint's edge. If the pipe feels tight, don't force it—gently twist it back and forth while pushing to avoid damaging the joint or pipe. Repeat this for the remaining pipes, making sure each one is inserted to the same depth (your marks will help here). For example, if you're using the joint to connect two horizontal and three vertical pipes, insert the horizontal ones first (they'll act as a base), then add the vertical ones once the horizontal alignment is set. If a pipe is too loose in the socket, check if you're using the right pipe diameter—most five way joints are designed for standard 28mm pipes, but if you're using a smaller aluminum pipe (like 20mm), you'll need an adapter.
Step 5: Tighten the Bolts
Why this step matters: Tight bolts keep the structure stable, but over-tightening can strip threads or crack the joint. Balance is key!
Each socket on the five way joint has a bolt that secures the pipe in place. Using your hex key, start by hand-tightening each bolt—this lets you adjust pipes if needed before fully securing them. Once all pipes are roughly aligned, use the hex key to tighten each bolt a little at a time, moving in a "star" pattern (like tightening lug nuts on a car). This ensures even pressure across the joint, preventing it from warping. How tight is tight enough? You'll feel resistance, and the pipe should no longer spin or slide in the socket. If you're using thread locker, apply a small drop to the bolt threads before tightening—it'll keep the bolt from loosening due to vibrations in busy work environments. Avoid using power tools here—they're easy to overdo, and hand-tightening gives you better control.
Step 6: Check Alignment with a Level
Why this step matters: A crooked structure isn't just unsightly—it can cause materials to slide off a workbench or put extra strain on certain joints, leading to premature wear.
Place your level on top of horizontal pipes and along vertical pipes. If the bubble isn't centered, gently tap the pipes with a rubber mallet to adjust (never use a steel hammer—you might dent the pipe or crack the joint). If you need to loosen a bolt slightly to realign, do so, then retighten once the level shows straight. For example, if you're building a workbench, the top surface must be level to keep tools from rolling off. Take your time here—even a small adjustment can make a big difference in stability.
Step 7: Test Stability
Why this step matters: Testing ensures the joint can handle real-world use, not just looks good on paper.
Give the structure a gentle shake—if it wobbles, check for loose bolts or misaligned pipes. For heavier setups (like a material rack b with 3 rows and 3 floors), place a few boxes or tools on it to simulate daily use. If a pipe shifts or a bolt creaks, stop and retighten. It's better to catch these issues now than after you've fully assembled the system. Remember: lean systems are built to be tough, but they rely on proper installation to perform at their best.
Step 8: Integrate into Your Lean System
Why this step matters: The five way joint is rarely the final piece—it's part of a larger puzzle. Integrating it correctly ensures your entire setup works seamlessly.
Now that your five way joint is installed, connect it to the rest of your lean system. If you're building a workbench, attach the joint to vertical foot bases to keep it stable on the floor. For a flow rack, add roller track and accessories to the horizontal pipes to create a smooth material flow. If you're using aluminum profile, secure the joint to the profile using brackets or clamps. Take a step back and visualize how the joint fits into the bigger picture: Is it supporting the weight it needs to? Does it allow for easy access to materials? If not, don't hesitate to reconfigure—one of the best things about lean pipe systems is their flexibility. You can add, remove, or adjust pipes and joints as your needs change.
Troubleshooting Common Issues
Even with careful installation, things can go wrong. Here are solutions to the most common problems:
- Pipes won't fit into the joint: Check if the pipes are the right diameter. Most five way joints are for 28mm pipes—if you're using smaller aluminum pipe (e.g., 20mm), use an adapter. If the pipe is bent, replace it.
- Joint feels wobbly after tightening: Make sure all pipes are inserted to the same depth. If one pipe is shallower than the others, it won't support weight evenly. Retighten bolts in a star pattern.
- Bolts keep loosening: Apply thread locker to the bolt threads. If threads are stripped, replace the joint—stripped threads can't hold tension safely.
- Structure leans to one side: Use a level to check vertical pipes—they might be misaligned. Loosen bolts, adjust pipes, and retighten.
Maintenance Tips to Keep Your Joint Working
Your five way joint is built to last, but a little care goes a long way:
– Regular checks: Every few weeks, give the bolts a quick tighten with your hex key—vibrations from machinery or heavy use can loosen them over time.
– Cleanliness: Wipe down the joint and pipes with a dry cloth to remove dust or grease, which can weaken grip. For aluminum pipe, avoid harsh chemicals that might corrode the surface.
– replace when needed: If you notice cracks, stripped threads, or bent sockets, replace the joint immediately. A damaged joint is a safety hazard.
Final Thoughts
Installing a five way straight lean pipe joint might seem small, but it's a skill that unlocks endless possibilities for your workspace. Whether you're building a simple workbench or a complex flow rack, the key is patience: take time to align pipes, tighten bolts evenly, and test stability. With the right tools and these steps, you'll create a lean system that adapts to your needs, reduces waste, and keeps your team working efficiently.
Remember, lean manufacturing isn't just about tools—it's about thinking smarter. A well-installed five way joint is more than a connector; it's a building block for a workspace that grows with you. So grab your pipes, your joint, and get building—your more efficient future starts now.