- Company Articles
- Products and Technology
- Installation And Maintenance
- How to Install a Multi-Angle Fixed Aluminum Joint: Step-by-Step Guide

How to Install a Multi-Angle Fixed Aluminum Joint: Step-by-Step Guide
Related Product
Multi-angle Fixed Aluminum Joint
Aluminum joint pipe connection for two pipe connection and work in mutiple angle.
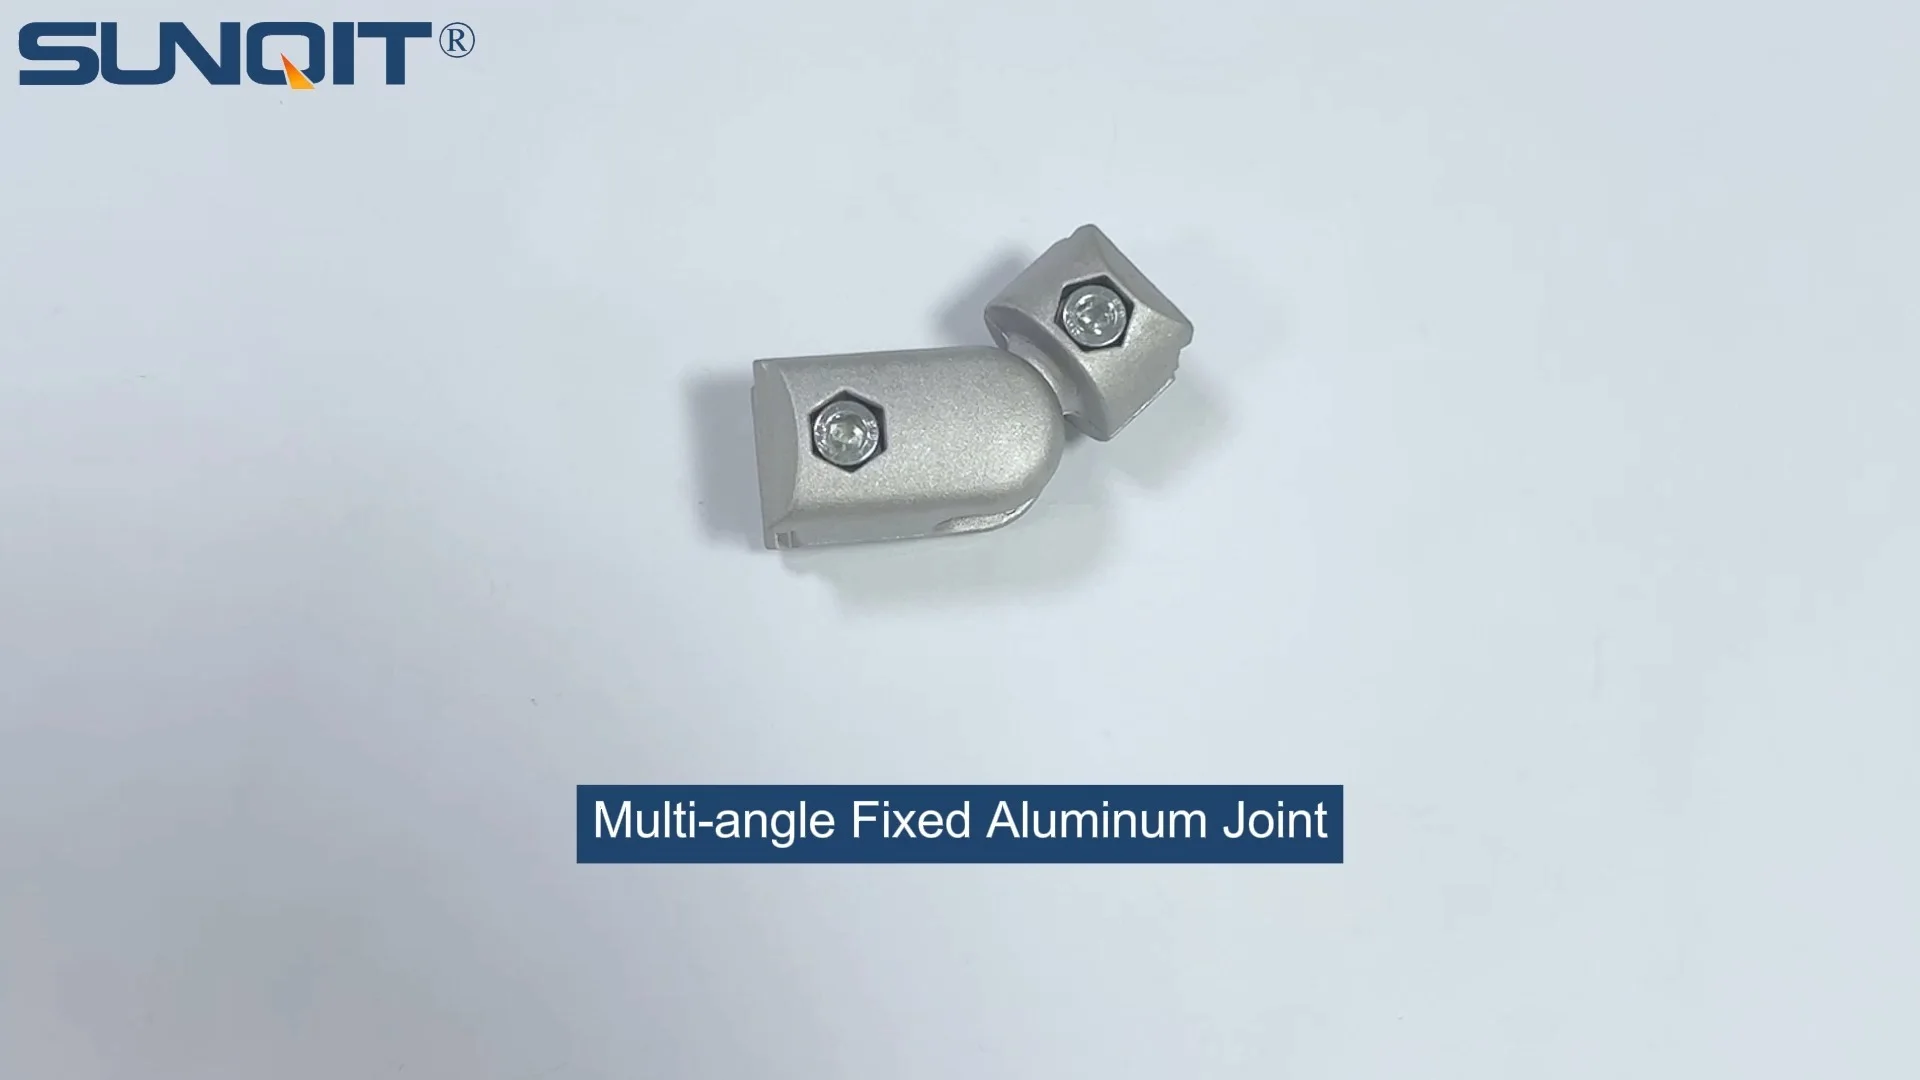
If you've ever walked through a well-organized workshop, a bustling factory floor, or even a sleek home garage setup, you've probably seen the backbone of modern workspace efficiency: aluminum profile structures. These versatile aluminum rails, with their T-slot grooves and modular design, are the building blocks of everything from workbenches to material racks. But what holds these profiles together, especially when you need to create angles—90 degrees for a corner, 45 degrees for a sloped shelf, or 135 degrees for a custom rack? That's where the multi-angle fixed aluminum joint comes in. This unassuming but powerful piece of hardware is the secret to turning basic aluminum pipes into sturdy, functional structures. In this guide, we'll walk through installing one step by step, so you can stop struggling with misaligned joints and start building with confidence.
Why Multi-Angle Fixed Aluminum Joints Matter
Before we dive into the "how," let's talk about the "why." Unlike fixed 90-degree joints or one-trick-pony connectors, multi-angle fixed aluminum joints are designed to adapt. They let you lock aluminum profiles at common angles (think 30°, 45°, 90°, 135°) with precision, making them ideal for custom setups. Whether you're building an aluminum workbench with sloped sides, a material rack with angled shelves, or a production line structure in a lean system , this joint saves you from buying multiple specialized connectors. Plus, aluminum's natural resistance to rust and lightweight strength means your finished structure will hold up to daily use—no wobbly shelves or loose connections here.
Tools You'll Need (And Why Each One Counts)
Installing a multi-angle joint isn't complicated, but having the right tools on hand will turn a frustrating chore into a 15-minute task. Here's what you'll need, along with quick tips to avoid common mistakes:
| Tool | Why You Need It | Pro Tip |
|---|---|---|
| Hex Key Set (Allen Wrenches) | Most aluminum joints use hex-head bolts—this is non-negotiable. | Get a set with ball-end hex keys; they reach bolts at odd angles easier. |
| Rubber Mallet | Gently taps the joint into place without damaging the aluminum. | Avoid metal hammers—they'll scratch or dent the profile's finish. |
| Measuring Tape & Pencil | Marks where the joint will sit to ensure alignment. | Measure twice, mark once! A 1/8-inch error here can throw off your whole structure. |
| Bubble Level | Checks if the profiles are straight and level after installation. | Use a 2-foot level for small projects; longer levels work better for larger structures. |
| Deburring Tool | Smooths rough edges on cut aluminum profiles. | Even a tiny burr can stop the joint from seating flush—don't skip this! |
| Clean Cloth | Wipes dust, oil, or debris from profile ends and joint threads. | Greasy threads = loose bolts later. A quick wipe prevents this. |
Heads Up:
If your joint came with
aluminum pipe accessories
like washers or lock nuts, keep them handy! These small parts prevent bolts from loosening over time—don't toss them aside.

Safety First: Quick Prep to Avoid Headaches
Installing a joint is low-risk, but a few simple safety steps will keep it that way:
- Wear gloves: Aluminum edges can be sharp, especially if you've just cut a profile. A pair of work gloves saves you from nicks.
- Secure your workspace: Clamp profiles to a workbench if possible—wobbly materials lead to misaligned joints.
- Don't overtighten: Aluminum threads are softer than steel. Cranking bolts too hard can strip the threads (we'll cover how tight is "just right" later).

Step-by-Step Installation: From Unboxing to Rock-Solid
Now, let's get to the good stuff. We'll use a common scenario: attaching two aluminum profiles at a 90-degree angle (perfect for that workbench corner we mentioned earlier). The process is nearly identical for other angles—just adjust your marking step!
1
Prep the Aluminum Profiles
Start by cutting your aluminum profiles to length (if you haven't already). Use a miter saw or hacksaw with a fine-tooth blade for clean cuts. Once cut, grab your deburring tool and run it along the cut edges—both inside the T-slot and around the outer corners. Even a tiny burr can prevent the joint from sliding into place smoothly. Next, wipe the ends of the profiles with a clean cloth to remove dust, oil, or metal shavings. Think of it like cleaning a glass before sticking on a decal—the cleaner the surface, the better the bond.
Quick Tip:
If your profiles have protective plastic caps on the ends, leave them on until you're ready to install the joint. They keep dust out of the T-slots!
2
Mark the Joint Placement
Lay one profile flat on your work surface (let's call this the "base profile"). Decide where the second profile (the "vertical profile") will attach—for a workbench, you might want the joint 2 inches from the end to leave room for a shelf later. Use your measuring tape to mark this spot on the base profile. Now, take the vertical profile and hold it at your desired angle (90 degrees, in our case) against the base profile. Use a square or angle gauge to double-check the angle is precise—eyeballing it is a recipe for a crooked structure. Once aligned, mark the vertical profile where it meets the base profile. These marks are your "targets" for the joint.
Common Mistake:
Forgetting to account for the joint's thickness! Most multi-angle joints add 1/2 inch to the total length where the profiles meet. If you need the finished structure to be exactly 36 inches tall, subtract the joint's thickness from your vertical profile length.
3
Assemble the Joint Components
Unpack your multi-angle fixed aluminum joint—you'll typically find the joint body, two or more bolts, and sometimes washers or lock nuts. Check that the joint's angle setting matches what you need (most have etched angle markers like "90°" or "45°" on the body). If your joint has removable inserts for different angles, swap them now (some brands use color-coded inserts for easy switching). Next, slide the bolts into the T-slots of both profiles, aligning them with the marks you made. The bolts should sit flush in the T-slot—if they stick up, they'll block the joint from seating.
Pro Tip: If your profiles have T-slot covers (the plastic strips that fill the grooves), peel back the cover only where the bolts will go. No need to remove the whole strip!
4
Seat the Joint onto the Profiles
Now, position the joint over the bolts. Most multi-angle joints have holes or slots that line up with the T-slot bolts. Gently set the joint in place, making sure the angle markers align with your profiles (e.g., the "90°" mark should face the corner where the two profiles meet). Once aligned, use your rubber mallet to tap the joint lightly—this helps it seat fully onto the profiles. You'll feel a "click" when it's in place. Avoid slamming it—aluminum is strong, but you don't want to bend the joint or damage the T-slots.
5
Tighten the Bolts (But Not Too Much!)
Grab your hex key and start tightening the bolts. Work in a crisscross pattern—tighten one bolt a little, then the opposite one, just like you would with a car tire. This ensures even pressure and prevents the joint from shifting. How tight is "tight enough"? You'll feel resistance, and the joint should not wiggle when you tug on the profiles. Overtightening is a big no-no here—aluminum threads can strip easily. A good rule: Tighten until you feel the bolt "catch," then give it a 1/4-turn more. That's it.
Test It:
After tightening, grab both profiles and try to twist them. If there's any movement, the joint isn't seated right—loosen the bolts, tap it with the mallet again, and retighten.
6
Check Alignment with a Level
Once the joint is tight, set your bubble level on top of the base profile. The bubble should sit dead center—if not, the profile might be warped (unlikely, but possible) or the joint is misaligned. Loosen the bolts slightly, adjust the angle, and retighten. For vertical profiles, hold the level against the side—again, the bubble should be centered. This step is crucial for structures like workbenches or shelving, where a tilted surface can throw off your workflow (or send tools sliding off!).
7
Add Accessories (If Needed)
Now that the joint is secure, you can attach aluminum pipe accessories like end caps, shelf brackets, or cable management clips. Most accessories slide into the T-slots and tighten with a hex bolt—same as the joint bolts. For example, if you're building a workbench, add a bracket for a plywood top using T-slot nuts and bolts. Just make sure the accessories don't interfere with the joint's movement (though "fixed" joints don't move, so you're safe here!).

Troubleshooting: When Things Go Sideways (And How to Fix Them)
Even with careful prep, you might run into snags. Here's how to troubleshoot common issues:
- Joint Won't Seat: Check for burrs or debris in the T-slots. Deburr again and wipe with a cloth. If the joint still sticks, the bolts might be misaligned—loosen them, realign, and try again.
- Profiles Wobble After Tightening: This usually means the bolts weren't tightened evenly. Loosen all bolts, tap the joint with the mallet, then retighten in a crisscross pattern.
- Stripped Threads: Oops—you overtightened. If the bolt spins without tightening, you'll need to replace the T-slot nut (they're cheap!) or use a larger bolt if the T-slot allows. To avoid this, stop tightening when you feel resistance.
- Angle Is Off: Did you skip the square/angle gauge step? Loosen the bolts, realign the profiles with the gauge, and retighten. For multi-angle joints with adjustable inserts, double-check the insert is set to the right angle.
Maintenance: Keep Your Joints Tight for Years
Your multi-angle joint is installed—now how do you keep it that way? A little maintenance goes a long way:
- Monthly Check: Give the bolts a quick tighten with your hex key—vibration from daily use can loosen them over time.
- Clean Regularly: Wipe the joint with a damp cloth to remove dust and grime. In humid areas, a light spray of silicone lubricant on the threads (avoid the T-slots!) prevents corrosion.
- Inspect for Wear: If the joint starts to creak or the angle slips, check for cracks in the joint body (uncommon, but possible with heavy use). replace it if you see damage—safety first!
Real-World Uses: Beyond the Workbench
Multi-angle fixed aluminum joints aren't just for workbenches. Here are a few ways businesses and DIYers use them daily:
- Lean System Setups: Factories use them to build flow racks, conveyor supports, and production line workstations—all key to streamlining workflows in lean manufacturing.
- Retail Displays: Custom shelving with angled tiers for products? Multi-angle joints make it easy to adjust shelf slopes for better visibility.
- Garage Storage: Angled racks for bikes, tools, or sports gear—no more tripping over clutter.
- Lab Equipment: Sturdy, rust-resistant frames for lab tables and instrument stands, where precision and durability are non-negotiable.
Final Thoughts: You've Got This!
Installing a multi-angle fixed aluminum joint might seem intimidating at first, but break it down into steps, and it's just like putting together a high-quality puzzle—everything clicks when you take your time. With the right tools, a little prep, and this guide, you'll be building custom aluminum structures that are sturdy, functional, and built to last. Whether you're upgrading your workshop, optimizing a production line, or just tackling a weekend DIY project, remember: the joint is the foundation. Do it right, and the rest follows.
Now go grab those profiles and start building—your future self (and your wobbly old shelves) will thank you.