- Company Articles
- Products and Technology
- Installation And Maintenance
- How to Install End Support for Roller Track Placon Mount with Stop: Pro Tips for Lean Workshops

How to Install End Support for Roller Track Placon Mount with Stop: Pro Tips for Lean Workshops
Related Product
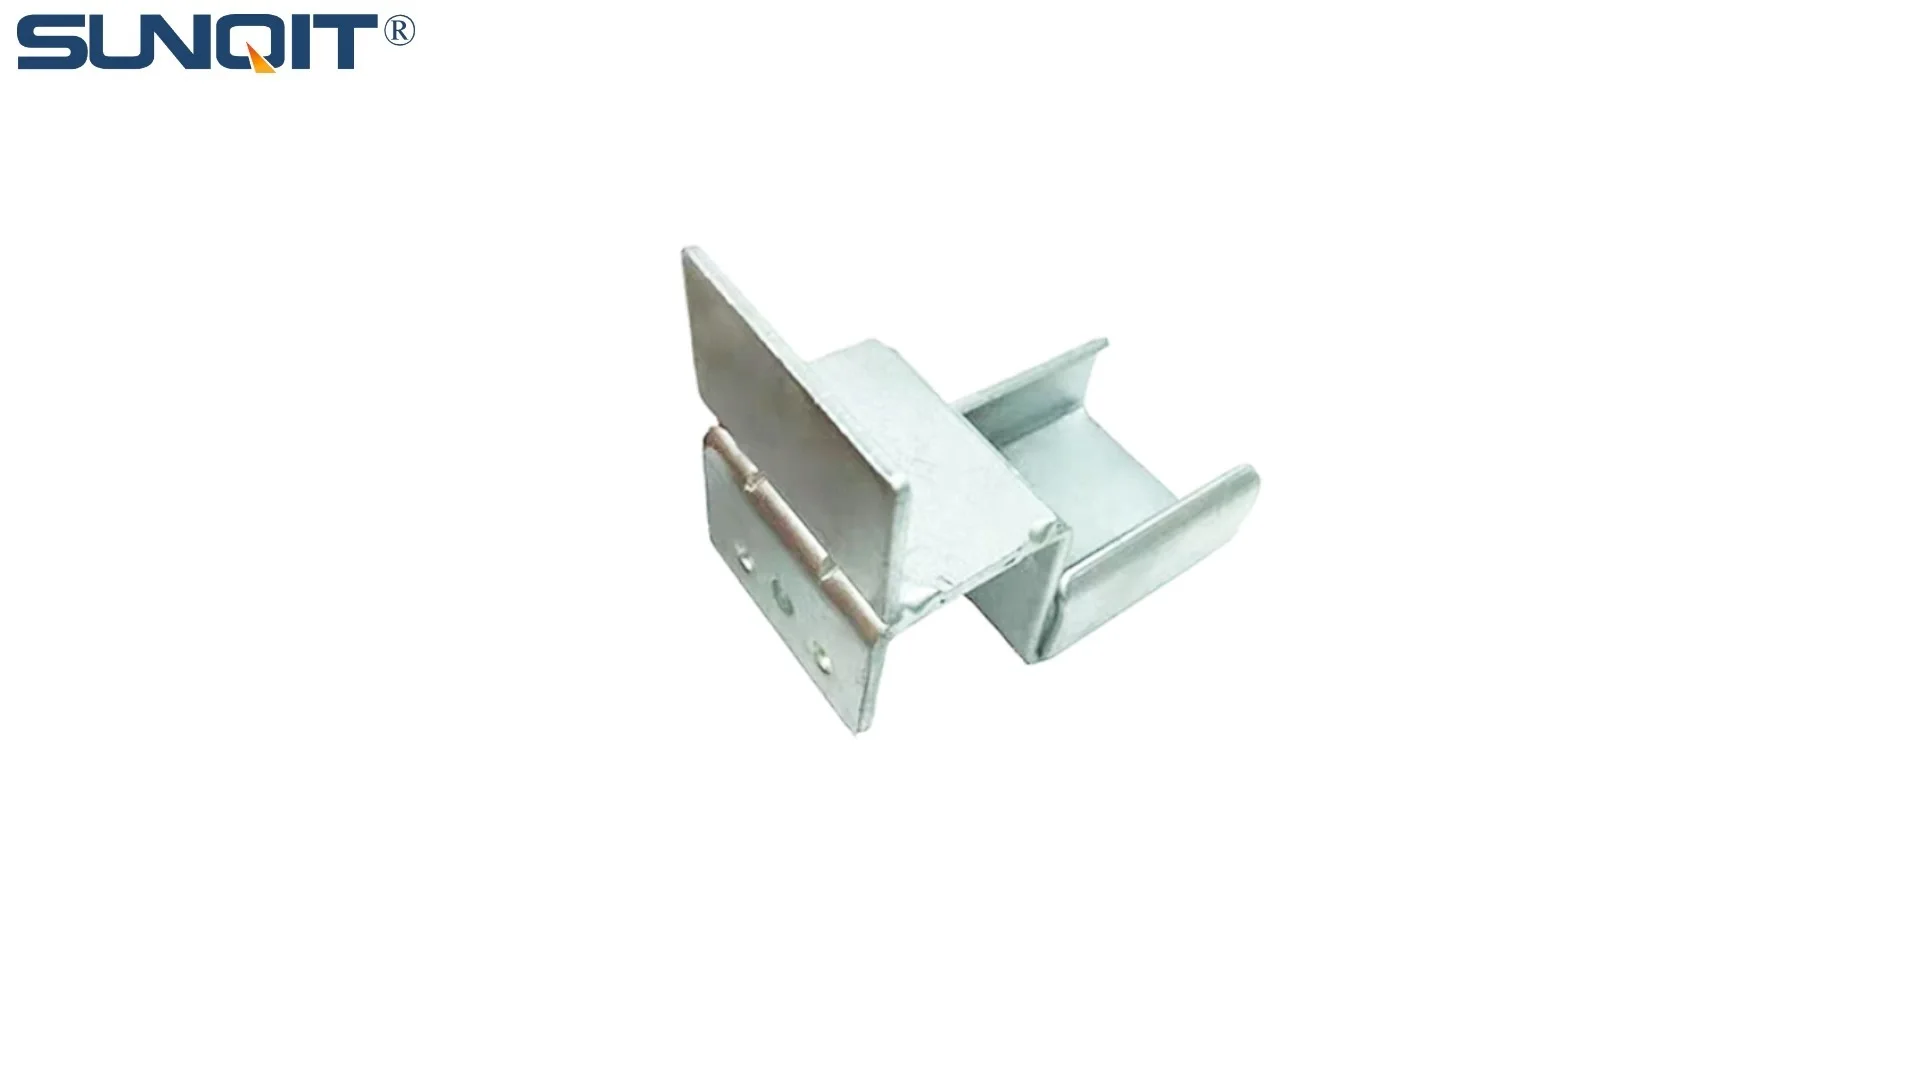
End Support for Roller Track Placon Mount with Stop
Roller track placon mount work as a connector for roller track and pipe or aluminum profile in rack syetem, it is a necessary parts in rack system which widely used in industrial plant and logistic,warehouse storage.
Master the Art of Stable, Efficient Roller Track Systems to Boost Your Production Line Performance
Why End Support Installation Matters in Lean Workshops
In a lean workshop, every component has a job to do—especially when it comes to keeping your production line moving like a well-oiled machine. The end support for roller track placon mount with stop might sound like a small part, but let me tell you: it's the unsung hero that prevents chaos. Imagine this: you're running a 3C assembly line, and a batch of delicate circuit boards is gliding down the flow rack. Without a properly installed end support, those boards could slide right off the track, get damaged, or even cause a bottleneck when workers have to stop and retrieve them. That's not just wasted time—that's wasted resources, frustrated team members, and a hit to your bottom line.
Lean manufacturing is all about eliminating waste, right? Well, instability in your roller track system is a hidden waste factory. Loose end supports lead to misaligned tracks, which lead to jams, which lead to downtime. And downtime in industries like automotive or medical device manufacturing? It's costly. A study by the Manufacturing Technology Insights found that unplanned downtime can cost manufacturers up to $22,000 per minute. Yikes. That's why getting this installation right the first time isn't just "good practice"—it's a cornerstone of sustainable, efficient lean production.
Pro Insight: The end support with stop isn't just a "stopper"—it's a precision tool. It controls the exact point where materials stop, ensuring workers can pick and place items without leaning or stretching, which reduces ergonomic strain and speeds up task completion.
Pre-Installation Prep: What You'll Need (and Why Skipping This Step Hurts)
Before you even think about picking up a wrench, let's talk prep. Rushing into installation without the right tools or checks is like baking a cake without reading the recipe—you might end up with something, but it won't be what you wanted. Here's how to set yourself up for success:
| Tools & Materials | Why You Need It | Pro Tips |
|---|---|---|
| End Support for Roller Track Placon Mount with Stop (Part No. [Specific Model]) | The star of the show—ensures materials stop at the correct position. | Always check for product labels to confirm it's compatible with your roller track (e.g., 40 series vs. 85 series placon mount). |
| Hex Key Set (Metric, 2mm–8mm) | Most placon mount screws use hex heads—using the wrong size strips the screw. | Invest in a magnetic-tip set to avoid dropping screws into tight spaces (we've all been there). |
| Torque Wrench (0–5 Nm range) | Over-tightening cracks placon mounts; under-tightening leads to looseness. | Set to 3.5 Nm for aluminum profiles—this is the sweet spot for secure, non-damaging hold. |
| Spirit Level (12-inch or longer) | Ensures the end support is perfectly vertical/horizontal—no tilting! | Check both axes (side-to-side and front-to-back) for true alignment. |
| Marker Pen & Measuring Tape | Marks the exact installation position to avoid guesswork. | Use a fine-tip marker on aluminum profiles—wipes off easily with rubbing alcohol if you make a mistake. |
| Anti-Slip Gloves | Protects hands from sharp edges on aluminum profiles and prevents tool slippage. | Nitrile gloves work best—they grip tools better than latex, especially if your hands get sweaty. |
Now, let's talk material inspection. Before you start, take 2 minutes to examine the end support. Look for cracks in the plastic stop (common if it was dropped during shipping), bent metal brackets, or stripped threads in the mounting holes. If something looks off, don't use it! Using damaged parts is like building a house on a cracked foundation—sooner or later, it'll collapse. And hey, if you need a replacement, reach out to your lean pipe supplier—reputable ones (like us!) keep spare parts in stock to avoid slowing down your workflow.

Step-by-Step Installation: Let's Get This Right (No Guesswork Allowed)
Okay, tools ready? Materials checked? Great. Let's dive into the installation. I'm going to walk you through each step like I'm right there with you in the workshop—no jargon, just clear, actionable steps.
Step 1: Mark the Installation Position (Measure Twice, Drill Once)
First, you need to figure out where the end support should go. Grab your measuring tape and identify the "stop point" for materials. A good rule of thumb: the stop should be 2–3 inches before the edge of the workbench or the next workstation. Why? It gives workers enough space to grab the material without reaching over the track, which cuts down on motion waste (hello, lean principle!).
Once you've got the position, mark it on the aluminum profile using your marker. But wait—don't just mark one point. Mark the top and bottom of where the end support will attach. This helps keep it straight later. Pro move: Use a straightedge to connect the marks—this gives you a visual guide to align the support against.
Common Mistake: Installing the stop too close to the edge. We once saw a medical device manufacturer do this, and workers kept knocking materials off the track when reaching for them. They had to reinstall the supports 2 inches back—and that 30-minute fix? It saved them 2 hours of daily downtime.
Step 2: Attach the Placon Mount to the End Support (The "Dry Fit" Trick)
Now, take the end support and the placon mount (that's the part that connects to the aluminum profile). Before you tighten any screws, do a "dry fit": slide the placon mount into the end support's bracket and hold it up to the marked position. This is your chance to check if everything lines up. Is the stop facing the right direction? (It should be angled slightly upward to gently catch materials, not slam them.) Is the placon mount compatible with your profile? (For example, 40 roller track placon mount flat vs. drop high—mixing these up will make it sit crooked.)
Once the dry fit looks good, take the short screws that came with the placon mount (usually M5x10mm) and hand-tighten them into the end support bracket. Don't use the wrench yet—you just want them snug enough to hold the pieces together while you attach it to the profile.
Step 3: Mount to the Aluminum Profile (Torque is King Here)
Now, hold the end support (with placon mount attached) against the aluminum profile, lining it up with your marked lines. Take the longer screws (M6x16mm is standard for aluminum profiles) and start threading them into the T-slot of the profile. Hand-tighten them first—this prevents cross-threading (which ruins the T-slot, and trust me, replacing a profile is way more work than taking an extra 30 seconds here).
Once the screws are hand-tight, grab your torque wrench. Set it to 3.5 Nm (remember that number from earlier?) and tighten each screw in a "star pattern"—meaning tighten one a little, then the opposite one, then the next. This evenly distributes pressure, so the placon mount doesn't warp. Why does warping matter? A warped mount leads to a tilted end support, and a tilted support leads to materials sliding off at an angle. Not good.
After torquing, give the end support a gentle shake. It should feel solid—no wobbling, no creaking. If it moves, check the torque again—you might have missed a screw or under-tightened.
Step 4: Install the Stop Mechanism (Adjust for Material Weight)
The stop itself is usually a plastic or rubber piece that attaches to the end support. Here's where you customize: if you're handling heavy items (like automotive parts), you'll want the stop to be stiffer. For lighter items (like 3C components), a softer stop prevents damage. Most stops have an adjustment screw—turn it clockwise to stiffen, counterclockwise to soften.
Once adjusted, test it with an actual material from your line. Slide a typical product down the track—does it stop smoothly, without bouncing back? If it bounces, the stop is too stiff; if it slides past, it's too loose. Tweak the screw until you get that "just right" stop.
Step 5: Final Alignment Check (Don't Skip This—Seriously)
You're almost done, but let's make sure this support plays well with the rest of the track. Grab your spirit level and place it along the top of the roller track, right next to the end support. Is the track level? If it's tilted toward the stop, materials might slow down too early; tilted away, they might crash into the stop. Adjust the track's leveling feet if needed—this is part of the "total system" check that separates good installs from great ones.
Next, run a test batch of materials through the track—10–15 pieces. Watch how they move: do they glide smoothly? Stop cleanly? If any get stuck or slide off, now's the time to fix it. It might be a simple adjustment to the stop angle or a tighter screw on the placon mount. Trust me, spending 5 extra minutes here saves hours of troubleshooting later.

Troubleshooting: Fixing Common End Support Headaches
Even with careful installation, things can go wrong. Here's how to troubleshoot the most common issues like a pro:
Problem: The end support feels wobbly after installation.
Solution: Check two things: (1) Did you torque the placon mount screws to 3.5 Nm? Under-tightening is the #1 culprit. (2) Is the aluminum profile itself stable? If the profile is bent or the workbench is wobbly, the end support will wobble too. Use a level on the profile first—fix the foundation before the support.
Problem: Materials bounce off the stop instead of stopping.
Solution: The stop angle is too steep. Loosen the stop's mounting screw, tilt it back by 5–10 degrees, and retighten. If it's still bouncing, check the stop material—rubber stops absorb more impact than plastic ones for heavy items.
Problem: The placon mount keeps slipping on the aluminum profile.
Solution: This usually happens if the T-slot in the profile is dirty or damaged. Clean the slot with a small brush, then apply a tiny drop of thread-locking fluid (like Loctite Blue) to the screws before retightening. The fluid creates friction that prevents slipping, but it's removable if you need to adjust later.

Why This Matters for Your Lean System: Beyond the Installation
Okay, so you've installed the end support—great! But let's zoom out. This small part is part of a bigger picture: your entire lean system. At SunQit, we don't just sell parts—we sell solutions that grow with your business. Our aluminum lean pipe and accessories are designed to be reusable and reconfigurable. Need to move the end support 6 inches to the left next month because you're adding a new workstation? No problem—just loosen the screws, reposition, and retighten. That's the beauty of lean: adaptability without waste.
Take our client, a leading 3C manufacturer in Shenzhen. They used to weld steel supports for their roller tracks, which meant every time they reconfigured their line, they had to cut and reweld—costing $5,000 and 2 days of downtime per change. After switching to our aluminum lean pipe system with adjustable end supports? They reconfigure in 2 hours with basic tools, saving $40,000 a year. That's the power of "sustainable improvement" in action.
Real-World Win: Medical Device Assembly Line
A medical device manufacturer was struggling with sterile packaging sliding off their flow racks, risking contamination. We installed our end supports with soft rubber stops and adjustable placon mounts. The result? Zero product damage, a 15% faster packaging process, and compliance with FDA guidelines for material handling. They now use our lean solution across 3 more lines.
Wrapping Up: Your End Support, Your Lean Success
Installing an end support for roller track placon mount with stop might not be the most glamorous task in your workshop, but it's one that pays dividends every day. A stable, well-adjusted support reduces waste, speeds up production, and keeps your team focused on what they do best—creating quality products. And when you pair that with a lean system built on reusable, adaptable components (like our aluminum lean pipe and accessories), you're not just building a production line—you're building a foundation for long-term success.
Remember: lean manufacturing isn't about perfection on day one. It's about continuous improvement. So take the time to install this support right, train your team on how to adjust it, and watch as those small, steady gains add up to big results. And if you ever need help—whether it's choosing the right end support for your flow rack or designing a fully custom lean solution—we're here. After all, your success is our success.