- Company Articles
- Products and Technology
- Installation And Maintenance
- How to Install Flat Swivel Castor Wheels on Material Rack B: Step-by-Step

How to Install Flat Swivel Castor Wheels on Material Rack B: Step-by-Step
Related Product
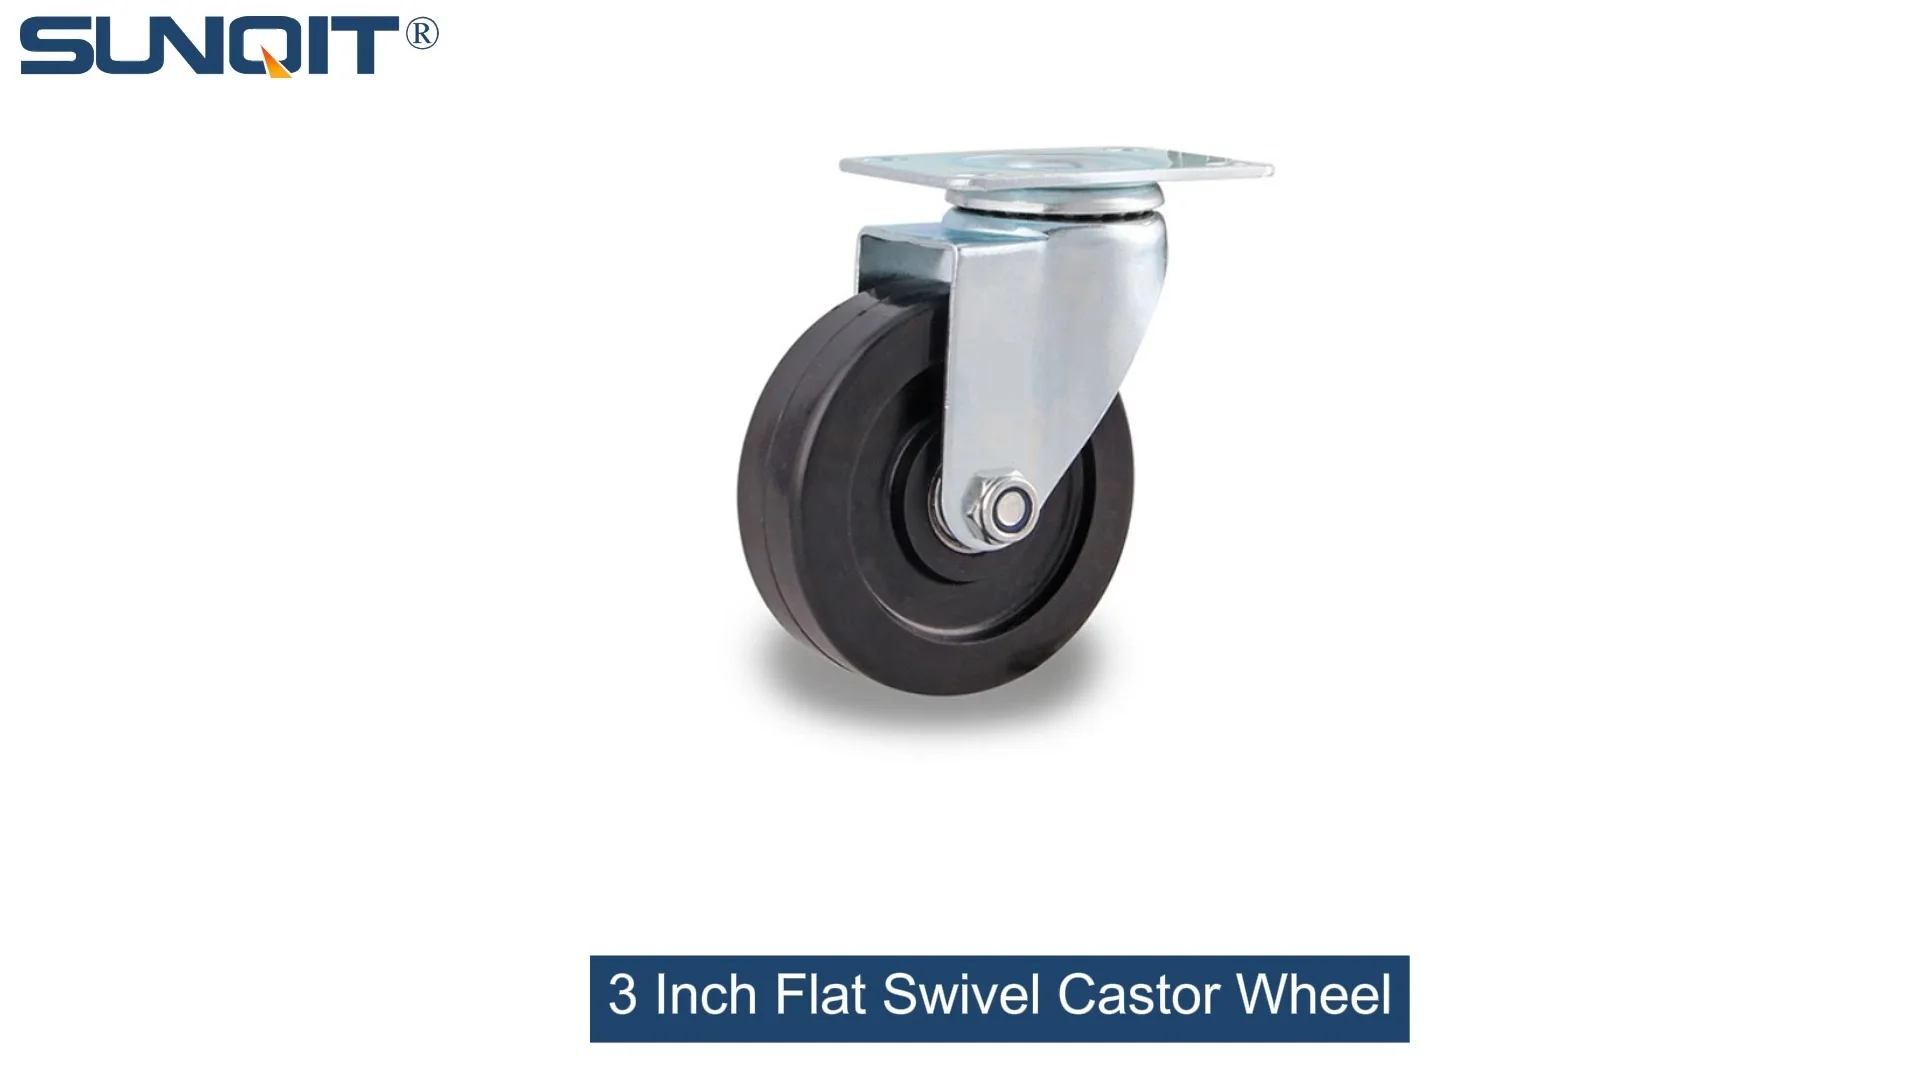
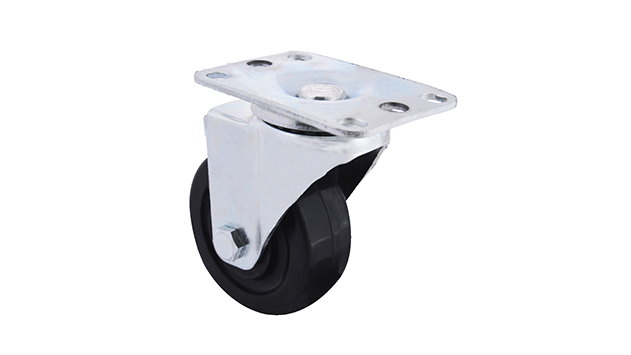
Flat Swivel Castor Wheel
Chair Casters Ball Bearing Wheels Rubber Base. Resistant to abrasion, impact and corrosion. Heavy payload can hold 70-90Kgs per pcs,which can make it works at a stable and smooth status.
If you've ever worked in a busy warehouse, factory, or production facility, you know that efficiency isn't just a buzzword—it's the backbone of getting things done. And when it comes to organizing materials, few tools are as essential as the Material Rack B (3 row and 3 floor) . Sturdy, reliable, and designed to maximize vertical space, this rack is a staple in lean systems worldwide, helping teams keep parts, components, and supplies neatly sorted and easily accessible. But here's the thing: even the best fixed rack can feel like a static obstacle when you need to rearrange your workspace, load materials onto a truck, or simply shift inventory to a new production line. That's where adding mobility comes in—and today, we're going to walk you through exactly how to install flat swivel castor wheels on your Material Rack B to turn it into a flexible, go-anywhere asset.
Why bother with castors, you might ask? Well, imagine being able to roll your entire rack of materials right up to your assembly station instead of making multiple trips back and forth. Or quickly reconfiguring your workspace layout to adapt to a sudden rush order. Or even cleaning under and around the rack without having to unload everything first. Flat swivel castors—with their 360-degree rotation and smooth-rolling design—make all of this possible, without sacrificing the rack's stability or load capacity. Plus, if you're already invested in a lean system , this upgrade aligns perfectly with the principles of reducing waste (time, effort, unnecessary movement) and increasing flow. So grab your tools, clear some space, and let's turn that stationary rack into a mobile workhorse.
What You'll Need: Tools and Materials
Before we dive into the step-by-step process, let's make sure you have everything you need. Nothing slows down a project like realizing you're missing a key tool halfway through! Here's a breakdown of the items required—we've included a mix of the castors themselves, caster accessories , and basic hand tools. Pro tip: Lay everything out on a clean workbench or tarp before starting to keep track of small parts like bolts and washers.
| Item | Purpose | Quantity |
|---|---|---|
| Flat swivel castor wheels (with brakes, recommended) | To provide mobility and 360° rotation; brakes add stability when stationary | 4 (one for each corner of the rack base) |
| Caster mounting plates (if not included with castors) | To secure castors to the rack's legs; ensures even weight distribution | 4 (matching the size of your castors) |
| Hex bolts (M8 or M10, length 25-30mm) | To fasten castors/mounting plates to the rack legs | 16 (4 bolts per castor, typically) |
| Lock washers and flat washers | Prevents bolts from loosening over time; distributes pressure on the rack legs | 16 each (one lock washer + one flat washer per bolt) |
| Hex wrench or socket set (matching bolt size) | To tighten bolts securely | 1 set |
| Power drill with drill bits (if pre-drilling is needed) | To create pilot holes in the rack legs (if they don't have pre-drilled holes) | 1 drill, bits sized for your bolts |
| Level (2-foot or longer) | To ensure the rack sits evenly after installing castors | 1 |
| Tape measure | To mark precise positions for castor placement | 1 |
| Pencil or marker | To mark drilling/bolt positions on the rack legs | 1 |
| Rubber mallet (optional) | To gently tap mounting plates into alignment if needed | 1 |
| Safety gloves and goggles | To protect hands from sharp edges and eyes from debris during drilling | 1 pair each |
A Quick Note on Castor Selection: Not all flat swivel castors are created equal! Make sure the ones you buy are rated for the weight of your fully loaded Material Rack B. Most standard Material Rack B units can hold 500-800 lbs when evenly loaded, so look for castors with a load capacity of at least 200-250 lbs each (since 4 castors will share the total weight). Also, opt for castors with polyurethane wheels if you're working on concrete or tile floors—they roll smoother and are less likely to scratch surfaces than hard plastic or metal wheels.
Step-by-Step Installation Guide
Now that you've gathered your tools and materials, let's get to work! We'll break this down into simple, easy-to-follow steps. Take your time, and don't hesitate to pause if something feels unclear—better to double-check than rush and risk a wobbly rack later.
Step 1: Clear the Workspace and Prep the Rack
First things first: safety. You'll need to move the Material Rack B to a flat, open area where you can easily access all four legs. If the rack is already loaded with materials, unload everything —even light items. Trying to install castors on a loaded rack is not only unsafe (it could tip!) but also makes it harder to maneuver and mark positions accurately. Once empty, give the rack a quick wipe-down to remove dust or grease from the legs—this will help the mounting plates grip better and prevent bolts from slipping during installation.
Next, check the rack's legs for any existing damage, like dents or rust. Small dents can be gently hammered out with a rubber mallet, but if a leg is severely bent or cracked, you'll want to replace it before proceeding—an unstable leg will make the entire rack wobbly, even with castors. Finally, confirm that the rack is standing upright and level on its current feet (use your level for this). If it's already leaning, take a moment to adjust the existing feet (if they're adjustable) or shim under the legs with small pieces of wood to straighten it out. A level starting point makes for a much easier installation.
Step 2: Inspect Your Castors and Accessories
Before attaching anything to the rack, let's make sure your castors and caster accessories are in good shape. Unbox the flat swivel castors and check each one for defects: Do the wheels spin freely without sticking? Do the brakes engage and release smoothly (if your castors have them)? Are the mounting holes on the castors (or mounting plates) clean and free of burrs? If a wheel is wobbly or a brake feels stuck, set that castor aside and use a backup—you don't want to install a faulty one and have to redo the work later.
If your castors came with separate mounting plates, test-fit one plate onto a castor to ensure the holes line up. Most castors have pre-drilled holes that match standard mounting plates, but it's better to confirm now than after you've drilled into the rack! Also, sort through your bolts, washers, and lock washers to make sure you have enough of each. Lay out a "kit" for each castor: 1 castor, 1 mounting plate (if using), 4 bolts, 4 lock washers, and 4 flat washers. This way, you won't have to hunt for parts mid-installation.
Step 3: Mark the Castor Positions on the Rack Legs
Now comes the critical part: deciding where to attach the castors. The goal is to position them so that the rack's weight is evenly distributed across all four castors, preventing tipping and ensuring smooth rolling. Start by measuring the width and depth of the rack's base. For a standard Material Rack B (3 row and 3 floor), the base is typically a square or rectangular frame with four vertical legs at the corners. Each leg is usually a hollow metal tube (often steel or aluminum) with a flat plate or foot at the bottom.
To mark the positions: Place the rack on its side (gently—ask a helper to hold it steady if needed) so you can access the bottom of the legs. Take one castor (or mounting plate, if using) and hold it against the bottom of a leg, centered both horizontally and vertically. The mounting plate should sit flush against the leg, with the castor wheel hanging down. Using a pencil, mark the centers of the mounting holes onto the leg. Repeat this for all four legs, making sure the marks are consistent—measure the distance from the edge of the leg to each mark to ensure they're in the same spot on every leg. For example, if the first leg's marks are 1 inch from the front and 1 inch from the side, the other legs should match this to keep the castors aligned.
Pro tip: If your rack legs have adjustable feet (the small threaded feet that screw in/out to level the rack), you'll need to remove these first. Simply twist them counterclockwise until they come off—you won't need them once the castors are installed. Save them in a bag, though—you might want to reinstall them later if you ever remove the castors!
Step 4: Pre-Drill Holes (If Needed)
Many modern Material Rack B models come with pre-drilled holes in the legs specifically for attaching castors or mounting plates—check your rack's manual (or the leg bottoms) to see if this is the case. If there are pre-drilled holes, skip to Step 5! If not, you'll need to drill your own pilot holes using the marks you made in Step 3. This prevents the metal from cracking and makes it easier to drive in the bolts.
To drill: Attach a drill bit that's slightly smaller than the diameter of your bolts (e.g., for M8 bolts, use a 6mm bit; for M10, use an 8mm bit) to your power drill. Put on your safety goggles and gloves, then position the drill bit perpendicular to the leg (straight up and down) at one of the marked hole centers. Apply gentle pressure and start drilling at a slow speed—let the bit do the work. Once the bit pierces through the leg, continue drilling until the hole is deep enough to accommodate the bolt (about 25-30mm, depending on your bolt length). Repeat this for all marked holes on all four legs. After drilling, use a deburring tool or a file to smooth any sharp edges around the holes—this protects your hands and ensures the washers lie flat.
Step 5: Attach Mounting Plates (If Using)
If your flat swivel castors came with separate mounting plates (or if you're using them for extra stability), now's the time to attach them to the rack legs. Align the holes in the mounting plate with the pre-drilled holes (or the holes you just drilled) on the leg. insert a bolt through a flat washer, then through the mounting plate hole, then through a lock washer, and finally into the leg hole. Hand-tighten the bolt until it's snug—you'll fully tighten it later. Repeat this for all four bolts on the plate, then move to the next leg and repeat the process. Once all four mounting plates are loosely attached, double-check that they're straight and centered using your level and tape measure. A crooked plate will make the castor sit at an angle, leading to uneven rolling.
If your castors don't require mounting plates (i.e., they attach directly to the leg), skip this step and go straight to attaching the castors in Step 6. Just make sure the castor's mounting holes align with the holes in the leg—some castors have a built-in flange that sits directly on the leg, which works great if the leg is flat and wide enough.
Step 6: Secure the Flat Swivel Castors
Now for the moment you've been waiting for: attaching the castors! If you installed mounting plates, hold a flat swivel castor against the bottom of a plate, aligning the castor's holes with the plate's holes. insert a bolt through a flat washer, then through the castor's hole, then through a lock washer, and into the mounting plate. Hand-tighten the bolt, then repeat for the remaining three holes on the castor. If you're attaching castors directly to the leg (no mounting plate), the process is the same: align the castor's holes with the leg's holes, insert bolts with washers, and hand-tighten.
Once all four castors are hand-tightened, it's time to fully secure them. Using your hex wrench or socket set, tighten each bolt in a crisscross pattern (like tightening the lug nuts on a car wheel). For example, on a castor with four bolts, tighten the top-left bolt, then the bottom-right, then top-right, then bottom-left. This ensures even pressure and prevents the mounting plate (or castor) from warping. Tighten until the bolt heads are snug—you don't need to overtighten (this can strip the threads), but they should not wiggle or turn when you try to loosen them with the wrench.
As you tighten, keep an eye on the castor wheel—make sure it spins freely and isn't being pinched by the mounting plate or leg. If the wheel sticks, loosen the bolts slightly and adjust the castor's position until it moves smoothly, then retighten.
Step 7: Test for Stability and Level
With all four castors attached, carefully stand the rack upright. Ask a helper to spot you here—even an empty rack can be heavy, and you don't want it to tip while you're adjusting it. Once upright, give the rack a gentle push from different directions to see how it rolls. It should move smoothly, with all four wheels touching the ground. If one wheel is off the floor (a common issue if the castors aren't aligned), use your level to check the rack's top surface. If it's leaning to one side, loosen the bolts on the high-side castor, slide a small washer under the mounting plate (to raise it slightly), and retighten. Repeat until the rack is level and all wheels make contact.
Next, test the brakes (if your castors have them). Engage the brakes on all four castors, then try to push the rack— it should stay firmly in place. If a brake slips, check to see if the brake pad is making full contact with the wheel; you may need to adjust the brake mechanism (consult your castor's manual for details). Finally, load the rack with a few light boxes or materials (about 20% of its maximum capacity) and roll it around the workspace. Listen for any unusual noises, like grinding or squeaking—these could mean a wheel is misaligned or a bolt is loose. Tighten any loose bolts and adjust misaligned wheels until the rack rolls quietly and smoothly.
Step 8: Final Checks and Adjustments
You're almost done! Take a step back and inspect your handiwork. Are all bolts tight and secure? Do the castors swivel 360 degrees without getting stuck? Is the rack level when loaded? If everything looks good, give the rack a final once-over with a rag to clean up any metal shavings (from drilling) or fingerprints. Then, reload your materials—this time, distribute the weight evenly across the shelves (remember, lean system principles emphasize balanced loading to prevent tipping!).
A quick note on maintenance: To keep your castors rolling smoothly for years, take a minute every month to wipe the wheels clean of debris (like dirt or small rocks that can get stuck in the bearings) and apply a drop of lubricating oil to the wheel axles. Also, check the bolts quarterly to make sure they haven't loosened—vibration from rolling can sometimes cause them to back off. A quick tighten with your wrench will keep everything secure.
Troubleshooting Common Issues
Even with careful installation, you might run into a few hiccups. Here's how to fix the most common problems:
- Rack wobbles when rolling: This is usually due to uneven castor alignment or loose bolts. Use your level to check for leaning, then adjust the mounting plates (add washers) or retighten bolts in a crisscross pattern.
- Castor wheels squeak: Squeaking is often caused by dry bearings. Clean the wheels with a brush to remove debris, then apply a silicone-based lubricant (avoid oil-based lubricants, which can attract dust).
- Bolts keep loosening: If bolts back off after a few uses, try adding a second lock washer or applying thread-locking fluid (like Loctite) to the bolt threads before tightening. Just be sure to use a removable formula so you can take the castors off later if needed.
- One wheel doesn't touch the ground: Check if the leg is bent or the mounting plate is warped. If the leg is bent, gently straighten it with a rubber mallet; if the plate is warped, replace it with a new one.

Long-Term Care for Your Mobile Rack
To get the most out of your newly mobile Material Rack B, a little regular maintenance goes a long way. Here's a quick checklist to keep it in top shape:
Weekly: Inspect the castor wheels for cracks, flat spots, or debris. Clean off any dirt or hair wrapped around the axles with a toothbrush or small brush.
Monthly: Lubricate wheel axles with lubricating oil or silicone spray. Test the brakes to ensure they engage fully—adjust or replace brake pads if they're worn.
Quarterly: Tighten all bolts on the castors and mounting plates. Check the rack legs for rust or corrosion (especially if you work in a humid environment) and touch up with paint if needed.
Annually: Inspect the castor bearings for wear. If a wheel spins roughly or makes grinding noises even after lubrication, it may be time to replace the castor—most manufacturers sell replacement wheels or entire castor units.

Wrapping Up: Your Mobile Rack, Your Lean System, Your Success
Congratulations! You've successfully installed flat swivel castor wheels on your Material Rack B, transforming it from a static storage unit into a flexible, mobile asset that will streamline your workflow and boost efficiency. Whether you're moving materials across the shop floor, reconfiguring your workspace for a new project, or simply making cleaning day easier, this upgrade is a small investment that pays big dividends in time and effort saved.
Remember, the key to a successful installation is patience and attention to detail—taking the time to level the rack, align the castors, and tighten bolts properly ensures safety and durability. And as part of your lean system , this mobile rack now plays an even bigger role in reducing waste: less time moving materials, fewer trips back and forth, and a more adaptable workspace that can keep up with the demands of your business.
So go ahead—load up your rack, engage the brakes when you need stability, and roll toward a more efficient, productive workflow. You've earned it!