- Company Articles
- Products and Technology
- Installation And Maintenance
- How to Install Mini Aluminum Roller Track Black: Step-by-Step Guide

How to Install Mini Aluminum Roller Track Black: Step-by-Step Guide
Related Product
Mini Aluminum Roller Track Black
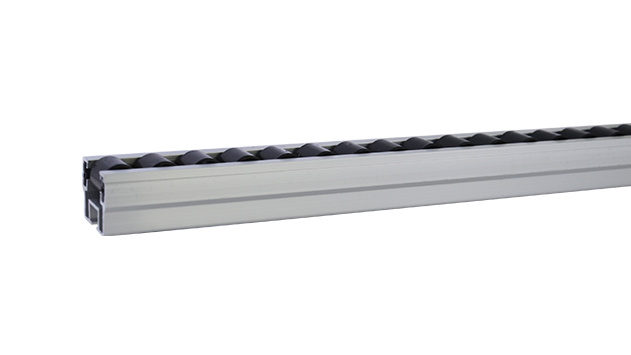
Mini aluminum roller track black for modular system, lean solution.Durable and smooth-running modular roller rails. The system is fully assembled. The roller rail profile contains plastic rollers mounted on steel axles.
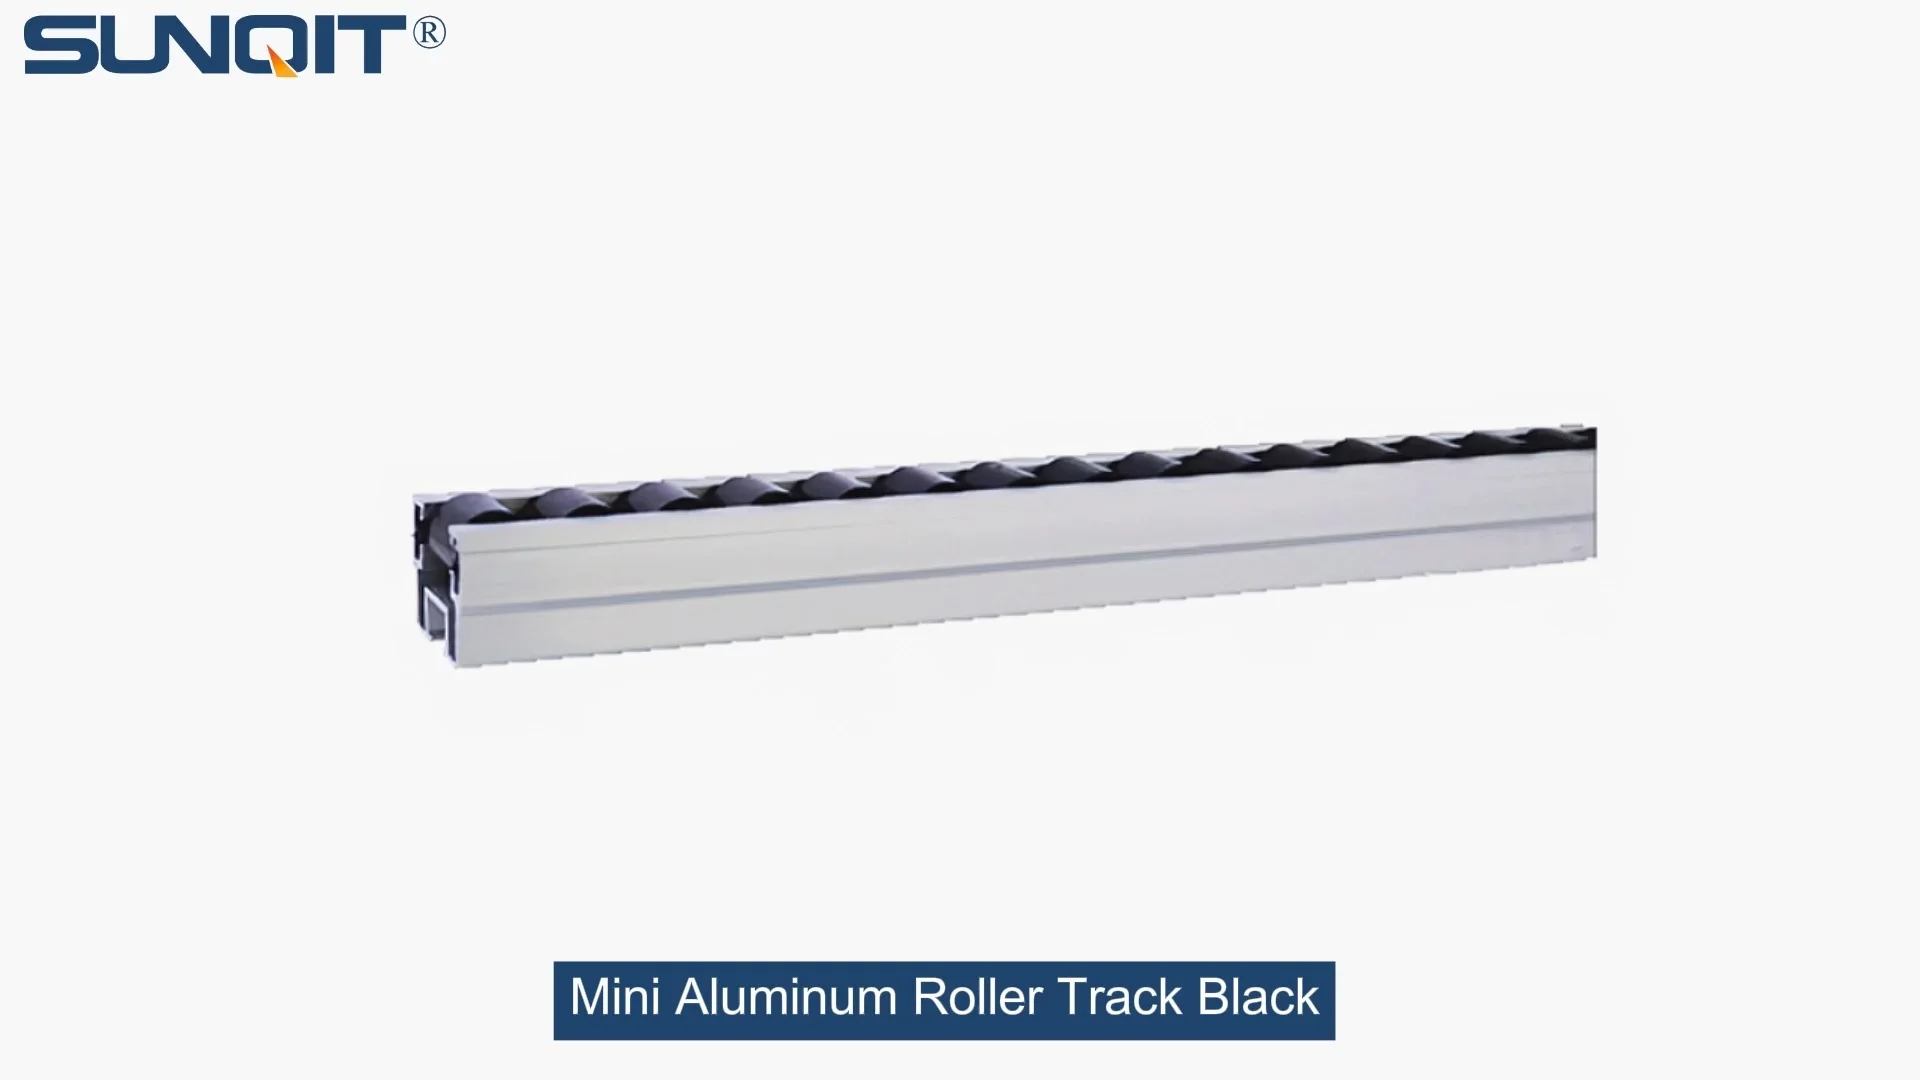
Ever struggled with moving small parts smoothly along your workbench or flow rack? The mini aluminum roller track black is here to solve that problem. This handy component is a staple in lean manufacturing setups, helping teams streamline material handling and boost efficiency. Whether you're setting up a new lean pipe workbench or upgrading an existing flow rack, installing this roller track is a straightforward process that anyone can do with the right tools and a bit of guidance. In this step-by-step guide, we'll walk you through everything you need to know to get your mini aluminum roller track black up and running in no time.
Pre-Installation Preparation
Before you dive into the installation, let's make sure you have all the necessary tools and materials. Here's what you'll need:
Tools Required:
- Tape measure
- Pencil or marker
- Drill (with appropriate drill bits)
- Screwdriver set (Phillips and flathead)
- Level
- Wrench (adjustable or socket set)
- Safety goggles and gloves (always prioritize safety!)
Materials Needed:
- Mini aluminum roller track black (your desired length)
- Roller track accessories (mounting brackets, connectors, screws, nuts)
- Aluminum profile (if attaching to a frame—common in lean systems)
- Optional: ESD mat (for ESD-sensitive environments)
Pro Tip: Double-check the length of your roller track and the spacing of the mounting brackets before starting. This will save you time and avoid mistakes later on.
Step-by-Step Installation
Step 1: Measure and Mark the Installation Area
First, decide where you want to install the roller track. This could be on the surface of a lean pipe workbench, the shelves of a flow rack, or along a conveyor system. Use your tape measure to mark the exact position where the track will go. Make sure the area is clean and free of debris—this will help the track sit flat and secure. Use a level to ensure the marked line is straight; even a small tilt can affect how smoothly the parts move along the track.
Step 2: Attach Mounting Brackets to the Aluminum Profile
If you're mounting the track onto an aluminum profile (a common setup in lean systems), start by attaching the mounting brackets. Take your roller track accessories—specifically the brackets designed for this track—and align them with the T-slots on the aluminum profile. Slide the brackets into the slots at the intervals specified by the manufacturer (usually every 12-18 inches for stability). Once aligned, tighten the screws on the brackets to hold them in place. Make sure each bracket is level and securely fastened.
Step 3: Align the Mini Aluminum Roller Track Black
Now it's time to place the roller track onto the mounting brackets. Carefully lift the track and position it so that each bracket lines up with the pre-drilled holes on the bottom of the track. Take a moment to check that the track is straight and level using your level tool. If it's not, adjust the brackets slightly until everything is aligned perfectly. This step is crucial for ensuring smooth roller movement later on.
Step 4: Secure the Track with Fasteners
Once the track is aligned, use the screws and nuts from your roller track accessories to secure it to the mounting brackets. insert the screws through the holes in the track and into the brackets, then tighten them with a screwdriver or wrench. Be careful not to over-tighten—this could warp the track or damage the brackets. Go along the entire length of the track, tightening each screw gradually to keep the track even.
Step 5: Test the Roller Movement
After securing the track, it's time to test how well the rollers move. Take a small part (like a plastic bin or a component) and slide it along the track. It should glide smoothly without any sticking or resistance. If you notice any issues, check the alignment of the track and the tightness of the brackets. You might need to adjust a bracket or loosen a screw slightly to fix the problem. Repeat the test a few times to ensure consistency.
Step 6: Connect Multiple Tracks (If Needed)
If you need a longer track, you can connect multiple mini aluminum roller track black sections using connectors from your roller track accessories. Align the ends of two tracks and insert the connector into the slots on each end. Secure the connector with screws to hold the tracks together. Make sure the joint between the tracks is smooth—no gaps or bumps that could hinder movement. Test the connection by sliding a part across the joint to ensure it transitions seamlessly.
Step 7: Final Check and Maintenance Tips
Once everything is installed, do a final walkthrough to make sure all screws are tight, the track is level, and the rollers move smoothly. Here are some maintenance tips to keep your roller track in top shape:
- Clean the track regularly to remove dust and debris that can cause sticking.
- Lubricate the rollers occasionally with a light oil (avoid heavy oils that attract dirt).
- Check the brackets and screws periodically for looseness, especially in high-use areas.
- replace any damaged rollers or brackets promptly to maintain performance.
Real-World Applications
This mini aluminum roller track black is a versatile component that fits into many lean manufacturing setups. Let's look at some examples:
Example 1: Lean Pipe Workbench in 3C Assembly
In a 3C assembly line, workers handle small electronic components daily. Installing the roller track on a lean pipe workbench creates a smooth flow of parts, cutting down on reach time and errors. The black track's ESD properties protect sensitive electronics from static—ideal for 3C and medical device manufacturing.
Example 2: Flow Rack for Warehousing
Flow racks are key in for FIFO inventory. Adding the roller track to flow rack shelves lets bins slide down easily, perfect for automotive and consumer electronics industries where quick part access keeps lines moving.
Example 3: Custom Lean Solution for Medical Devices
Medical device makers use this track in flexible workstations to move sterile components safely. Its durability and reusability align with lean's "sustainable improvement", making it great for custom setups.

Troubleshooting Common Issues
Even with careful installation, you might face small problems. Here's how to fix them:
1. Rollers Sticking or Not Moving Smoothly
- Clean debris from track/rollers with a soft brush.
- Check track level; adjust brackets if tilted.
- Lubricate rollers with light oil.
2. Track Misalignment
- Loosen brackets, realign with level, retighten.
- Check track joints for gaps; adjust connectors.
3. Loose Brackets
- Tighten bracket screws with wrench/screwdriver.
- Use locking nuts if brackets slide in T-slots.
4. Static Build-Up (ESD Environments)
- Ensure track is grounded (if required).
- Use ESD mat under track to dissipate static.

Conclusion
Installing a mini aluminum roller track black is a simple way to boost material handling efficiency. It's perfect for lean pipe workbenches, flow racks, and custom lean solutions across industries like 3C assembly, medical devices, and. With the steps in this guide, you can install it confidently and keep it running smoothly with regular maintenance.
For high-quality roller tracks, accessories, and lean system components, visit szsunqit —your trusted source for lean manufacturing solutions.