- Company Articles
- Products and Technology
- Installation And Maintenance
- How to Install Swivel Stem Caster Wheels on Lean Pipe Workbenches

How to Install Swivel Stem Caster Wheels on Lean Pipe Workbenches
Related Product
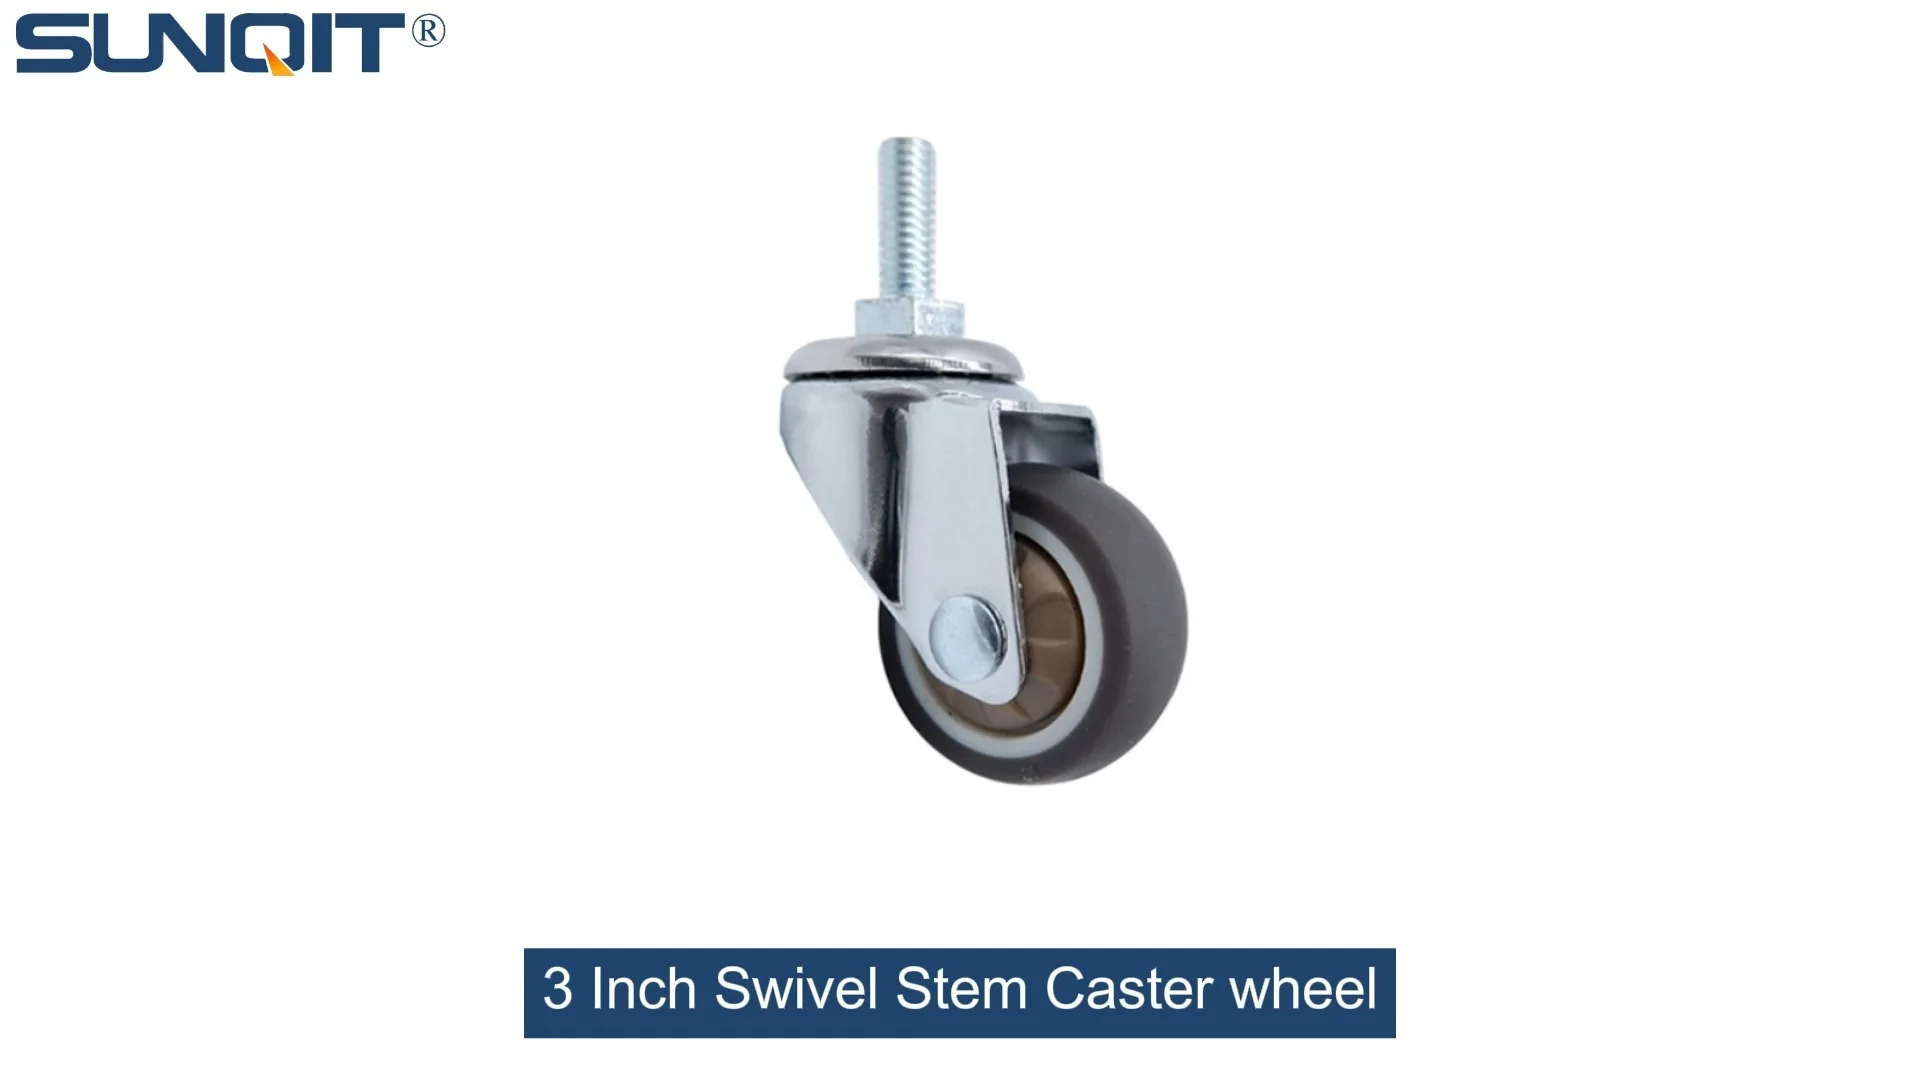
Swivel Stem Caster wheel
360 Degree Swivel Stem Caster. Threaded-post mount design, castors diameter 3 inch.Each swivel caster wheels loading 70KGS. Heavy enough and widely suit for carts, chairs, cabinet, flow rack, workbench, turnover rolley.
If you've spent any time in a workshop, factory, or even a home garage, you've probably encountered a lean pipe workbench. These versatile, modular workstations are the backbone of lean manufacturing and efficient workspace design—lightweight, customizable, and built to adapt to whatever task you throw at them. But what if you could make that already useful workbench even more flexible? Enter swivel stem caster wheels. Adding these small but mighty components can turn a stationary workbench into a mobile hub, letting you roll tools, materials, or even the entire workstation exactly where you need it, when you need it. In this guide, we'll walk through how to install swivel stem caster wheels on a lean pipe workbench, step by step. Whether you're a seasoned workshop pro or just starting to tinker with lean system setups, this project is simpler than you might think—and the payoff in workspace efficiency? Totally worth it.
Why Swivel Stem Caster Wheels Matter for Your Lean Pipe Workbench
Before we dive into the "how," let's talk about the "why." Lean pipe workbenches are designed around the principles of reducing waste and maximizing productivity—and mobility is a huge part of that. Without casters, your workbench is stuck in one spot. Need to move it to access a different tool? You'll be dragging, lifting, or recruiting a helper. With swivel stem caster wheels, though, you can glide the workbench across the floor with one hand. Swivel stems are especially handy because they rotate 360 degrees, making it easy to maneuver tight corners or align the workbench precisely next to another station. Plus, many swivel stem casters come with locking mechanisms, so you can lock them in place when you need stability—no more chasing a rolling workbench mid-task. And let's not forget load capacity: choosing the right casters ensures your workbench can handle the weight of tools, materials, or even heavy equipment without wobbling or damaging the floor. Simply put, adding casters isn't just a "nice-to-have"—it's a lean system upgrade that makes your workspace work
for
you.
Tools You'll Need (and Why Each One Matters)
Like any DIY project, having the right tools on hand will make installation smoother and faster. Here's what you'll need, along with a quick breakdown of why each tool is essential:
| Tool Name | Purpose |
|---|---|
| Hex Key Set (Allen Wrenches) | Most lean pipe workbenches and caster wheels use hex bolts for assembly—this set will help you tighten or loosen connections. |
| Adjustable Wrench | Useful for securing nuts or bolts that hex keys can't reach, especially if your caster wheels have lock nuts. |
| Measuring Tape | To ensure caster wheels are evenly spaced on the workbench legs (uneven spacing = wobbly workbench!) |
| Level | After installation, you'll want to check that the workbench sits flat—no one likes a tilting surface when they're working. |
| Rubber Mallet | Gently tapping casters into place if they're a tight fit (no brute force needed—lean pipe joints and materials are sturdy but not indestructible!) |
| Caster Wheels (Swivel Stem Style) | The star of the show! Make sure to pick casters with a stem that fits your workbench's leg diameter (more on sizing later). |
| Caster Accessories (Washers, Lock Nuts) | Many casters come with these, but if not, grab extras—they help secure the stem and prevent loosening over time. |
Pro Tip:
Before you start, double-check the weight capacity of your swivel stem caster wheels. A standard lean pipe workbench might hold 200-300 pounds, but if you plan to load it with heavy tools or materials, opt for casters rated for 100+ pounds each (and remember: 4 casters = total capacity of 4x the per-caster rating). Better safe than sorry!

Pre-Installation Prep: Check Your Workbench and Casters
You wouldn't build a house without checking the foundation, right? The same goes for installing casters. Take 5 minutes to prep, and you'll avoid headaches later. First, inspect your lean pipe workbench. Are the legs sturdy? Look for loose lean pipe joints or bent pipes—if the frame is wobbly, tighten those joints first (a hex key should do the trick). Casters can't fix a shaky workbench, so stability here is key. Next, clear the workbench surface. Remove tools, materials, or any clutter—you don't want anything falling off when you flip or tilt the bench during installation. Finally, measure your workbench legs. Most lean pipe workbenches use 28mm or 30mm diameter pipes for legs, but it's worth confirming. Your swivel stem caster wheels should have a stem diameter that fits snugly into the mounting point (we'll talk about mounting points next!). If your workbench legs have pre-drilled holes or threaded inserts for casters, great—if not, you may need to drill small pilot holes (but don't worry, lean pipe is easy to drill through with a standard metal bit).

Step-by-Step Installation: Adding Swivel Stem Casters to Your Workbench
Step 1: Identify Your Mounting Points
Start by flipping your workbench upside down. Don't worry—lean pipe workbenches are lightweight, so this should be a one-person job (though having a helper to steady it never hurts). Once it's flipped, take a look at the bottom of the legs. Most lean pipe workbenches have flat, square mounting plates at the base of each leg—these are perfect for attaching casters. If your workbench doesn't have pre-attached plates, you can use a lean pipe joint (like a flat base joint) to create a stable mounting surface. Measure the distance between the legs to ensure even spacing—you want the casters to be centered on each leg to distribute weight evenly. Mark each mounting point with a pencil—this will keep you on track when it's time to attach the casters.
Step 2: Prep the Swivel Stem Casters
Now, grab your swivel stem caster wheels. Take a minute to inspect them: do they swivel smoothly? Is the locking mechanism (if included) working? If a caster feels stiff, a drop of lubricating oil on the swivel joint can help. Next, check the stem. Swivel stem casters have a long, threaded metal stem that will insert into the mounting point on your workbench leg. Some stems are adjustable—if yours has a nut near the top, you can twist it to shorten or lengthen the stem (handy if your mounting plate is thicker than expected). If your casters came with caster accessories like washers or lock nuts, set those aside—you'll need them in a minute. Pro tip: If your workbench legs are hollow (most lean pipe is), you may want to add a wooden dowel or metal insert into the leg first to give the stem something to grip—this prevents the leg from cracking under pressure.
Step 3: Align and insert the Caster Stem
Now, line up the stem of your caster with the marked mounting point on the workbench leg. If your leg has a pre-drilled hole, insert the stem straight into it—twist gently to help the threads catch (if the stem is threaded). If there's no hole, you'll need to drill one: use a drill bit slightly smaller than the stem diameter, and drill straight down into the center of the mounting plate. Once the hole is drilled, insert the stem. If it's a tight fit, tap the top of the caster (gently!) with a rubber mallet to seat it—don't force it, though, or you could bend the stem. For legs with mounting plates, you may need to secure the stem with a nut from the inside of the plate (this is where that adjustable wrench comes in). Tighten the nut until the caster feels snug—no wobbling.
Step 4: Secure with Caster Accessories
Now it's time to lock everything in place. If your casters came with washers, slide one onto the stem before tightening the nut—this distributes pressure and prevents the nut from digging into the mounting plate. Then, thread on the lock nut (if included) and tighten it with your wrench. Lock nuts have a nylon insert that grips the threads, preventing them from loosening over time—definitely worth using! If your caster stem is unthreaded (some are press-fit), a drop of thread locker (like Loctite) on the stem before insertion can add extra security. Repeat this process for all four legs—yes, all four! Even if you think "three casters will work," four ensures stability, especially when the workbench is loaded.
Step 5: Test, Adjust, and Lock
You're almost there! Flip the workbench back over (slowly—again, a helper helps here) and set it on the floor. Give it a gentle push—does it roll smoothly? If one caster is sticking, check if it's aligned straight or if debris is blocking the wheel. Next, use your level to check if the workbench sits flat. If it's tilting, adjust the stem length on the shorter leg (or add a washer under the caster plate) until it's level. Finally, test the swivel action: spin each caster 360 degrees. They should move freely without catching. If you have locking casters, engage the locks—does the workbench stay put? If not, tighten the lock mechanism or adjust the lock nut. Once everything checks out, load up the workbench with a few tools (or even just your hands) and roll it around—you'll be amazed at how much easier your workflow feels already!

Troubleshooting Common Issues
Even with careful prep, things can go sideways. Here's how to fix the most common caster installation hiccups:
- Wobbly Workbench: This usually means uneven casters. Use a level to find the culprit, then adjust the stem length or add a washer under the shorter caster.
- Caster Stem Won't Tighten: If the nut spins without gripping, the threads might be stripped. Try a larger lock nut or wrap the stem in Teflon tape to add friction.
- Swivel Sticks: Dust or debris in the swivel joint can cause sticking. Wipe the joint clean and add a drop of lubricating oil (WD-40 works, but a silicone-based oil is better for long-term use).
- Leg Cracks: If the lean pipe leg cracks when inserting the stem, stop! Remove the stem, sand the crack, and apply epoxy. Once dry, reinforce the leg with a metal sleeve (or replace the leg if the crack is severe).
Final Thoughts: Your Mobile Lean Pipe Workbench, Ready to Roll
Installing swivel stem caster wheels on a lean pipe workbench is one of those projects that feels small but delivers big results. In an hour or two, you've transformed a stationary workstation into a mobile tool that adapts to your needs—whether you're rearranging the workshop, moving materials to a assembly line, or just clearing space for a deep clean. And the best part? This is just the start. Lean system design is all about iteration, so once you've mastered casters, you can experiment with other upgrades: adding shelves, tool hooks, or even integrating flow racks or conveyors into your setup. But for now, enjoy that smooth-rolling workbench—you earned it. Here's to a workspace that's not just lean, but
mobile
lean. Happy rolling!