- Company Articles
- Products and Technology
- Installation And Maintenance
- How to Install Three Way Aluminum Pipe Joints: Step-by-Step Guide

How to Install Three Way Aluminum Pipe Joints: Step-by-Step Guide
Related Product
Three Way Aluminum Pipe Joint
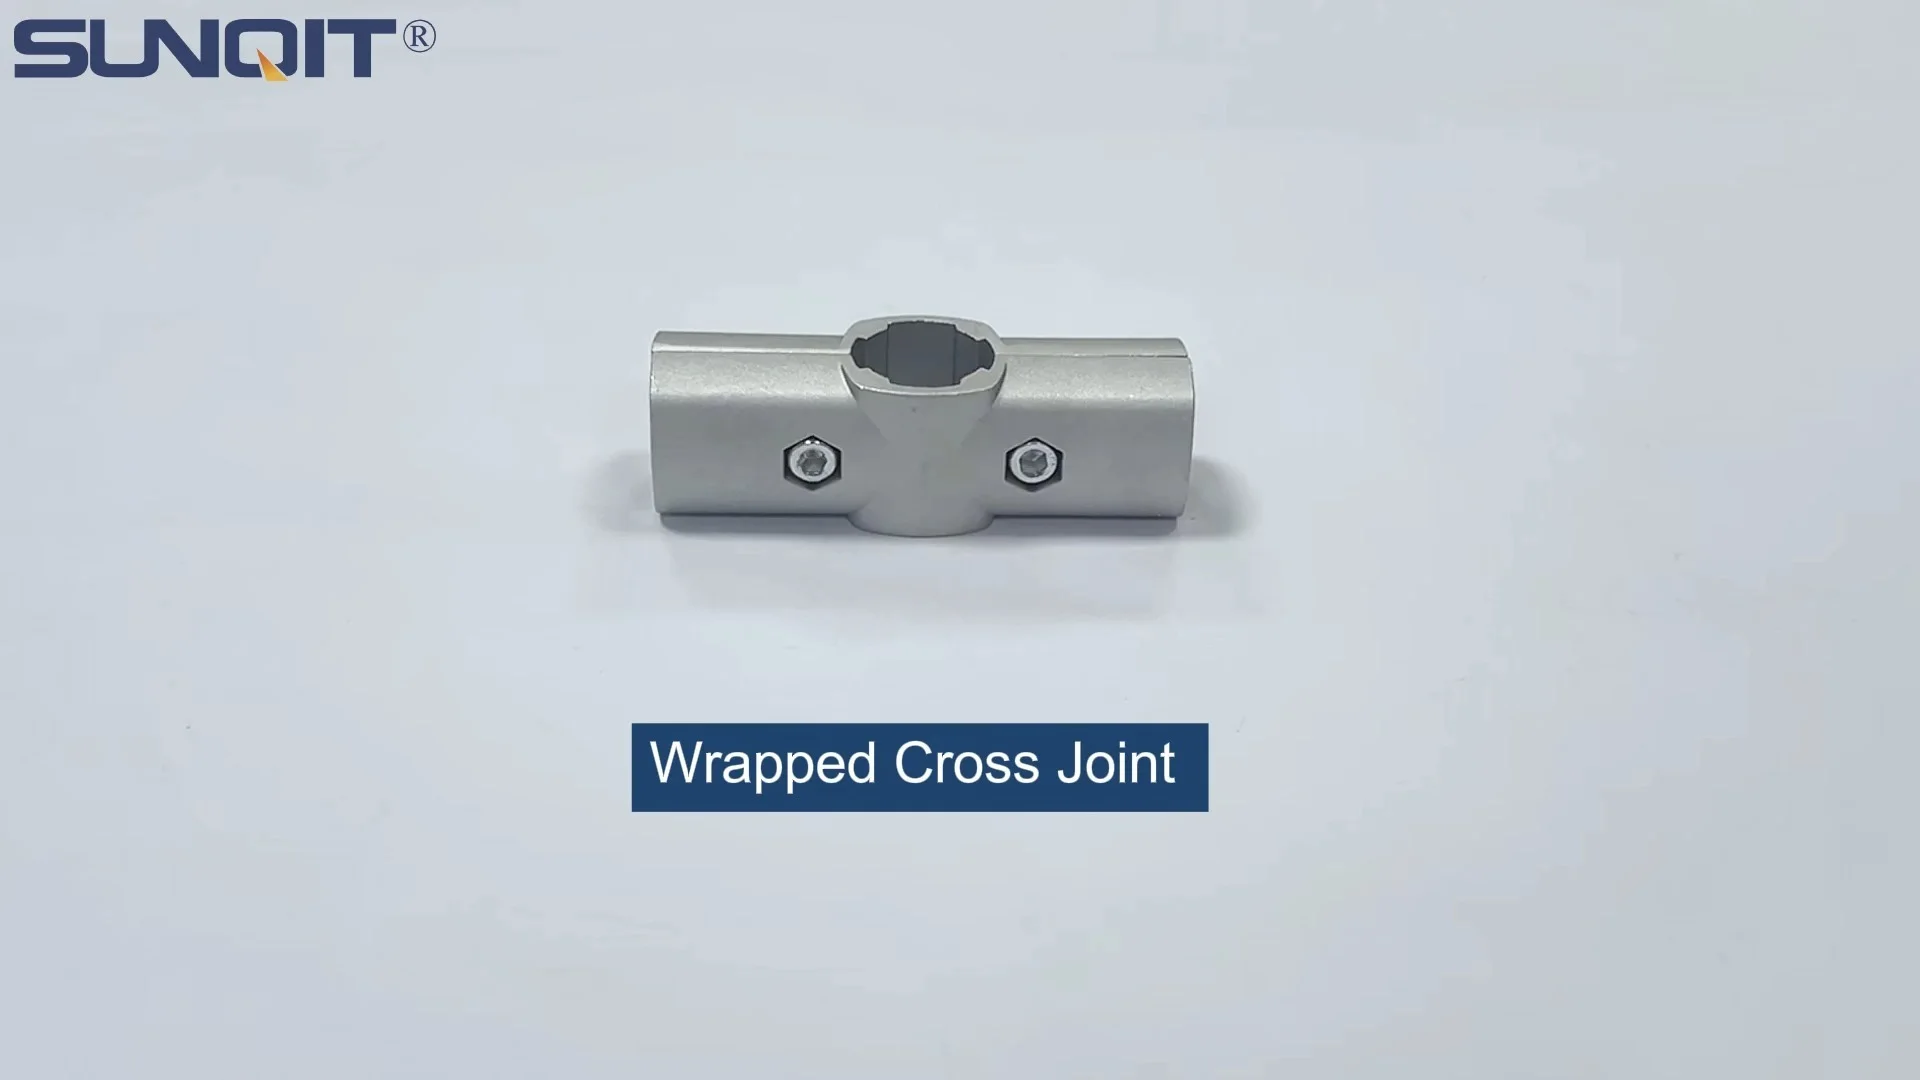
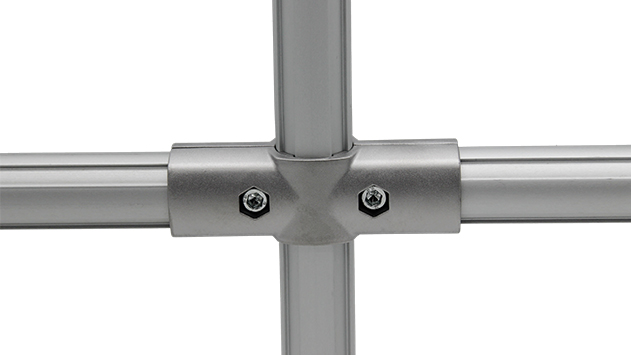
Aluminum 3 way pipe joint for 28mm aluminum pipe connection in 3 direction.
Walk into any modern workshop, manufacturing plant, or laboratory, and you'll likely spot a common sight: sturdy, modular structures built from aluminum pipes and joints. These systems—whether they're workbenches, material racks, or flow racks—owe their versatility and durability to one small but mighty component: the three way aluminum pipe joint. These unassuming connectors bind pipes at precise angles, turning simple tubes into complex, functional frameworks that keep operations running smoothly. But here's the thing: even the best components fall short if installed incorrectly. A wobbly joint can compromise an entire workbench, risking equipment damage, product defects, or worse, worker safety. That's why mastering the art of installing three way aluminum pipe joints isn't just a "nice-to-know"—it's a critical skill for anyone building or maintaining these systems. In this guide, we'll break down the process step by step, from prepping your workspace to testing the final structure, so you can create stable, reliable setups that stand the test of time.
Why Three Way Aluminum Pipe Joints Matter
Before diving into the "how," let's take a moment to appreciate the "why." Aluminum has long been a favorite in industrial and commercial settings for good reason: it's lightweight yet surprisingly strong, resistant to rust, and easy to work with. When paired with modular joints, it becomes a building block for almost anything. Three way joints, in particular, are the unsung heroes of this flexibility. Unlike straight or elbow joints, they let you connect three pipes at once—usually at 90° or 135° angles—making them indispensable for building corners, T-junctions, or multi-level structures. Imagine a workbench: the legs, the crossbars, and the shelf supports all come together thanks to three way joints. Or a flow rack in a warehouse, where roller tracks and vertical supports intersect to guide materials from point A to B. Without these joints, you'd be stuck with rigid, one-size-fits-all structures that can't adapt to changing needs. Properly installed, they ensure every pipe stays put, even under heavy loads or constant use. So whether you're a seasoned facility manager or a hobbyist setting up a garage workshop, getting these joints right is the foundation of a successful build.
Tools You'll Need (and Why They Matter)
Installing three way aluminum pipe joints doesn't require a fully equipped machine shop, but having the right tools on hand will make the process smoother, faster, and safer. Here's a breakdown of what you'll need, along with why each tool is essential:
| Tool | Purpose | Pro Tip |
|---|---|---|
| Hex Key (Allen Wrench) | Tightens the set screws on the joint that secure pipes in place. | Use a ball-end hex key for hard-to-reach screws at awkward angles. |
| Rubber Mallet | Gently taps pipes into joints without damaging the aluminum. | Avoid metal hammers—they can dent or scratch the pipe surface. |
| Measuring Tape & Pencil | Ensures pipes are cut to the correct length and aligned properly. | Mark measurements twice to avoid costly cutting mistakes. |
| Level (Bubble or Digital) | Checks if the structure is straight and plumb (vertical/horizontal). | Use a 2-foot level for small sections; a 4-foot level for larger frames. |
| Deburring Tool | Removes sharp edges (burrs) from cut pipe ends to prevent injury and ensure a snug fit. | Run the tool around both the inside and outside of the pipe end. |
| Work Gloves | Protects hands from sharp burrs, metal edges, or pinch points. | Choose cut-resistant gloves if you'll be handling uncut pipes. |
| Safety Glasses | Shields eyes from flying metal shavings (especially when cutting or deburring). | Even if you're just tapping pipes, debris can fly unexpectedly. |
Safety First: Prep Before You Start
Any project involving tools and metal parts comes with risks, but a little caution goes a long way. Here are some safety tips to keep in mind before you begin:
- Wear Your PPE: Gloves and safety glasses aren't optional. Aluminum burrs are sharp enough to slice skin, and a misplaced tap with a mallet could send a shard flying into your eye.
- Work on a Flat Surface: A wobbly workbench or uneven floor makes alignment nearly impossible and increases the chance of tools or parts slipping.
- Inspect Parts First: Before installing, check the three way joint and pipes for defects. Look for cracks in the joint, bent pipes, or stripped threads on set screws—damaged parts will never make a stable connection.
- Don't Force It: If a pipe won't fit into a joint, or a screw won't tighten, stop. Forcing parts can break the joint, warp the pipe, or strip threads, turning a 10-minute job into a costly repair.
- Keep a First Aid Kit Nearby: Accidents happen, even with precautions. A basic kit with bandages and antiseptic ensures you're prepared for minor cuts or scrapes.

Step-by-Step: Installing Three Way Aluminum Pipe Joints
Now, let's get to the heart of the matter: installing your three way aluminum pipe joint. We'll walk through each step in detail, with tips to avoid common pitfalls.
Step 1: Clear Your Workspace and Gather Materials
Start by clearing a space large enough to lay out all your parts. Spread out a clean, flat surface—plywood, a rubber mat, or even a large workbench—to protect the aluminum from scratches. Gather your three way joints, aluminum pipes, and any accessories you'll need (like end caps, brackets, or aluminum profile if you're building a workbench). Lay them out in the order you'll assemble them—this helps you spot missing parts early. For example, if you're building a small workbench, you might have four legs, four crossbars, two shelf supports, and eight three way joints. Taking 5 minutes to organize now saves you from scrambling mid-project.
Step 2: Inspect the Joint and Pipes
Before you start connecting, take a close look at your three way joint. Most aluminum joints are precision-cast or machined, with smooth inner surfaces and clearly defined pipe openings. Check that the set screws (the small screws that hold the pipes in place) are present and not stripped. If a screw is missing or the threads look damaged, swap in a new joint—this isn't something you can fix with tape or glue. Next, inspect the aluminum pipes. They should be straight (no bends or kinks), and the ends should be clean and square. If the ends are jagged or bent, you'll need to cut them straight using a pipe cutter or miter saw with a metal-cutting blade (more on that in Step 3). Finally, check for any debris inside the joint openings—dust or metal shavings can block pipes from seating properly, so blow them out with compressed air or wipe with a dry cloth.
Step 3: Measure and Cut Pipes (If Needed)
Many aluminum pipes come pre-cut to standard lengths (like 1m, 2m, or custom sizes), but if you're working with raw stock, you'll need to cut them to fit your design. Start by measuring twice (or even three times!) to confirm the length—remember, it's easier to cut a little more off than to add length back. Mark the cut line with a pencil, using a square to ensure it's perpendicular to the pipe (a slanted cut will never seat right in the joint). When cutting, use a pipe cutter for thin-walled pipes or a miter saw with a fine-tooth aluminum blade for thicker ones. Go slow to avoid bending the pipe, and let the tool do the work—forcing it can result in a ragged cut. Once cut, grab your deburring tool. Run it around the inside and outside edges of the pipe end to remove burrs—those sharp, raised metal bits left by cutting. Not only do burrs hurt if you touch them, but they also prevent the pipe from sliding smoothly into the joint. A quick 10-second pass with the deburring tool is all it takes to make the pipe safe and joint-ready.
Step 4: Align the Pipes with the Joint
Now it's time to start putting things together. Lay the three way joint flat on your workspace, and position the three pipes you'll be connecting next to it. Most joints have "guides" to help align pipes—small notches, arrows, or flat edges that indicate where each pipe should go. For example, a T-shaped three way joint might have one opening labeled "top" and two labeled "side." Align the pipes with these guides to ensure they sit at the correct angle (usually 90° for right-angle joints). If your joint doesn't have guides, use a protractor or angle finder to measure the angle between the openings—this ensures your final structure isn't lopsided. Pro tip: If you're building a multi-joint structure (like a cube), lay out all the pipes and joints on the floor first to check the overall dimensions before securing anything. It's easier to adjust on the ground than after you've started assembling vertically.
Step 5: insert the Pipes into the Joint
With the pipes aligned, it's time to insert them into the joint. Start with one pipe: hold the joint in one hand and the pipe in the other, and gently push the pipe end into the joint opening. It should slide in smoothly, with about 1–2 inches of pipe entering the joint (check the joint specs—some require more or less). If it's tight, don't jam it—instead, tap the end of the pipe lightly with a rubber mallet. The goal is a snug fit, not a forced one. Repeat with the second and third pipes, making sure each one seats fully. If a pipe sticks halfway, stop and check for debris or burrs you missed—even a tiny metal shaving can block it. For joints with internal ribs or O-rings (designed to grip pipes tighter), twist the pipe slightly as you push—it helps the ribs bite into the aluminum without damaging it. Once all three pipes are inserted, give them a gentle tug to confirm they're seated—they should stay in place without sliding out.
Step 6: Secure the Joint with Set Screws
Now comes the critical part: locking the pipes in place with the set screws. Locate the screw holes on the three way joint—there should be at least one per pipe opening, usually near the end of the joint. Grab your hex key (make sure it's the right size—too small and it'll strip the screw; too large and it won't fit) and insert it into the first screw. Turn clockwise to tighten, applying steady pressure. You'll feel resistance as the screw presses against the pipe—this is good! The screw digs into the aluminum, creating friction that holds the pipe tight. But here's a common mistake: overtightening. Aluminum is strong, but it's also soft—cranking the screw too hard can strip the threads in the joint, bend the pipe, or even crack the joint itself. A good rule of thumb: tighten until you feel firm resistance, then give it a quarter-turn more. That's enough to secure the pipe without damaging the parts. Repeat this for all three screws, then move to the next joint if you're building a larger structure.
Step 7: Check Alignment with a Level
With the joint secured, it's time to make sure everything is straight. Place a level along the length of one pipe—if the bubble is centered, great. If not, loosen the set screws slightly, adjust the pipe angle, and retighten. Do this for all three pipes, checking both horizontal and vertical alignment (if applicable). For example, if you're building a workbench leg, the vertical pipe should be plumb (perfectly vertical), and the crossbar should be level (perfectly horizontal). A few degrees off might not seem like much, but over a full structure, it adds up—resulting in a wobbly workbench or a rack that leans to one side. Take your time here—this step prevents headaches later. If you're working alone, prop the level against the pipe with one hand while adjusting with the other, or use a clamp to hold it in place temporarily.
Step 8: Assemble Additional Components (Like Aluminum Profile)
Once the basic joint-and-pipe structure is secure, you might need to attach it to other components—like aluminum profile, which is often used as a base for workbenches or as mounting rails for accessories. Aluminum profile (those extrusion with T-slots) is a natural partner for pipe systems, and connecting them is surprisingly easy with the right aluminum pipe accessories. For example, if you're attaching your pipe frame to a 4040 aluminum profile (a common size), use L-brackets or T-brackets that slide into the profile's T-slots. Secure the brackets to the profile with T-nuts and bolts, then bolt the pipe frame to the brackets using pre-drilled holes in the pipes or joint flanges. This step varies based on your project, but the key is to ensure the connection is rigid—no gaps between the pipe frame and profile. A little play here can lead to squeaking or shifting over time.
Step 9: Test Stability (Gentle Shakes and Weight Tests)
You're almost done, but before calling it a day, you need to test the structure's stability. Start with a gentle shake: grasp the pipes near the joint and wiggle them side to side. There should be no movement—if the pipes shift or the joint creaks, the set screws are likely loose. Tighten them a bit more (but again, don't overdo it). Next, do a weight test. Place a moderate load on the structure—for a workbench, that might be a 20kg toolbox; for a material rack, a box of parts. Let it sit for 10–15 minutes, then check again for shifting. If the joint holds, great! If it sags or the pipes slip, you may need to add reinforcement—like an extra crossbar or a larger joint. Remember, these systems are designed to handle specific weight limits (check the manufacturer's specs), so don't exceed them. A little testing now beats a collapse later.
Step 10: Final Adjustments and Finishing Touches
After testing, make any final tweaks. If a pipe sticks out too far from the joint, loosen the screws, slide it in a bit, and retighten. Add end caps to pipe ends to cover sharp edges (a must if the structure will be used around people) or to give it a clean look. If you're building something that moves (like a trolley), attach casters to the base using caster mounting plates—just make sure the joints holding the legs are extra tight, as casters add stress from rolling. Finally, give the entire structure a once-over with a dry cloth to wipe away fingerprints or smudges—aluminum shows marks easily, and a clean finish makes the project feel polished.

Troubleshooting Common Issues
Even with careful work, things can go wrong. Here's how to fix the most common problems:
- Pipes Keep Slipping Out: If pipes slide out of the joint, the set screws might not be biting into the aluminum. Try cleaning the pipe end with rubbing alcohol (grease or oil can prevent grip), then retighten. If that fails, wrap a single layer of electrical tape around the pipe end (where it inserts into the joint)—the added thickness can help the screw get a better hold.
- Joint Won't Align Straight: Misalignment usually happens because the pipes weren't cut square. If adjusting the screws doesn't help, recut the pipe ends with a square guide. Alternatively, use a pipe bender (gently!) to tweak the angle—just be careful not to kink the pipe.
- Set Screws Strip: Stripped screws are often caused by using the wrong hex key size or overtightening. Use a screw extractor to remove the stripped screw, then replace it with a new one (most hardware stores carry metric set screws). If the threads in the joint are stripped, the joint is toast—replace it.
- Structure Wobbles Under Load: Wobbling can mean the joints are loose, or the design is missing bracing. Add diagonal crossbars (connected with more three way joints) to stiffen the structure—this is especially important for tall racks or workbenches with overhangs.
Maintaining Your Joints for Longevity
Installing the joint is just the start—with a little maintenance, your aluminum structure will last for years. Here's what to do:
- Check Tightness Regularly: Vibrations from daily use can loosen set screws over time. Every 3–6 months, go around with your hex key and give each screw a gentle tighten (quarter-turn max). This is quick and prevents bigger issues later.
- Clean Joints and Pipes: Dust, oil, and debris can build up, especially in industrial settings. Wipe down pipes and joints with a dry cloth or a mild soap solution (avoid harsh chemicals like bleach, which can corrode aluminum). For stubborn grime, use a soft-bristle brush.
- replace Damaged Parts Promptly: If a joint cracks, a pipe bends, or a screw strips, replace it immediately. Waiting to fix small issues turns them into big, expensive problems. Keep a few spare joints and screws on hand—they're cheap insurance.
- Lubricate Screws (Sparingly): If screws are hard to turn, apply a tiny drop of machine oil to the threads (don't use WD-40, which can attract dust). Wipe off excess to prevent gunk buildup.
Final Thoughts: From Joints to Jackpots
At first glance, installing a three way aluminum pipe joint might seem like a trivial task—tighten a few screws, call it a day. But as we've seen, it's the small details that make the difference between a rickety structure and one that lasts. By taking the time to align pipes, tighten screws properly, and test stability, you're not just building something—you're creating a foundation for efficiency, safety, and adaptability. Whether it's a workbench where products are assembled, a rack that keeps tools organized, or a flow system that speeds up production, every stable joint contributes to a smoother, more productive workspace. And here's the best part: once you master this skill, you'll start seeing possibilities everywhere. Need a new shelf? Build it. A cart for moving supplies? Done. The flexibility of aluminum systems means your creativity is the only limit. So grab your hex key, gather your parts, and get building—your next project (and your future self) will thank you.