- Company Articles
- Products and Technology
- Installation And Maintenance
- How to Lubricate Castor Installation Base Pivots for Smooth Workbench E Movement

How to Lubricate Castor Installation Base Pivots for Smooth Workbench E Movement
Related Product
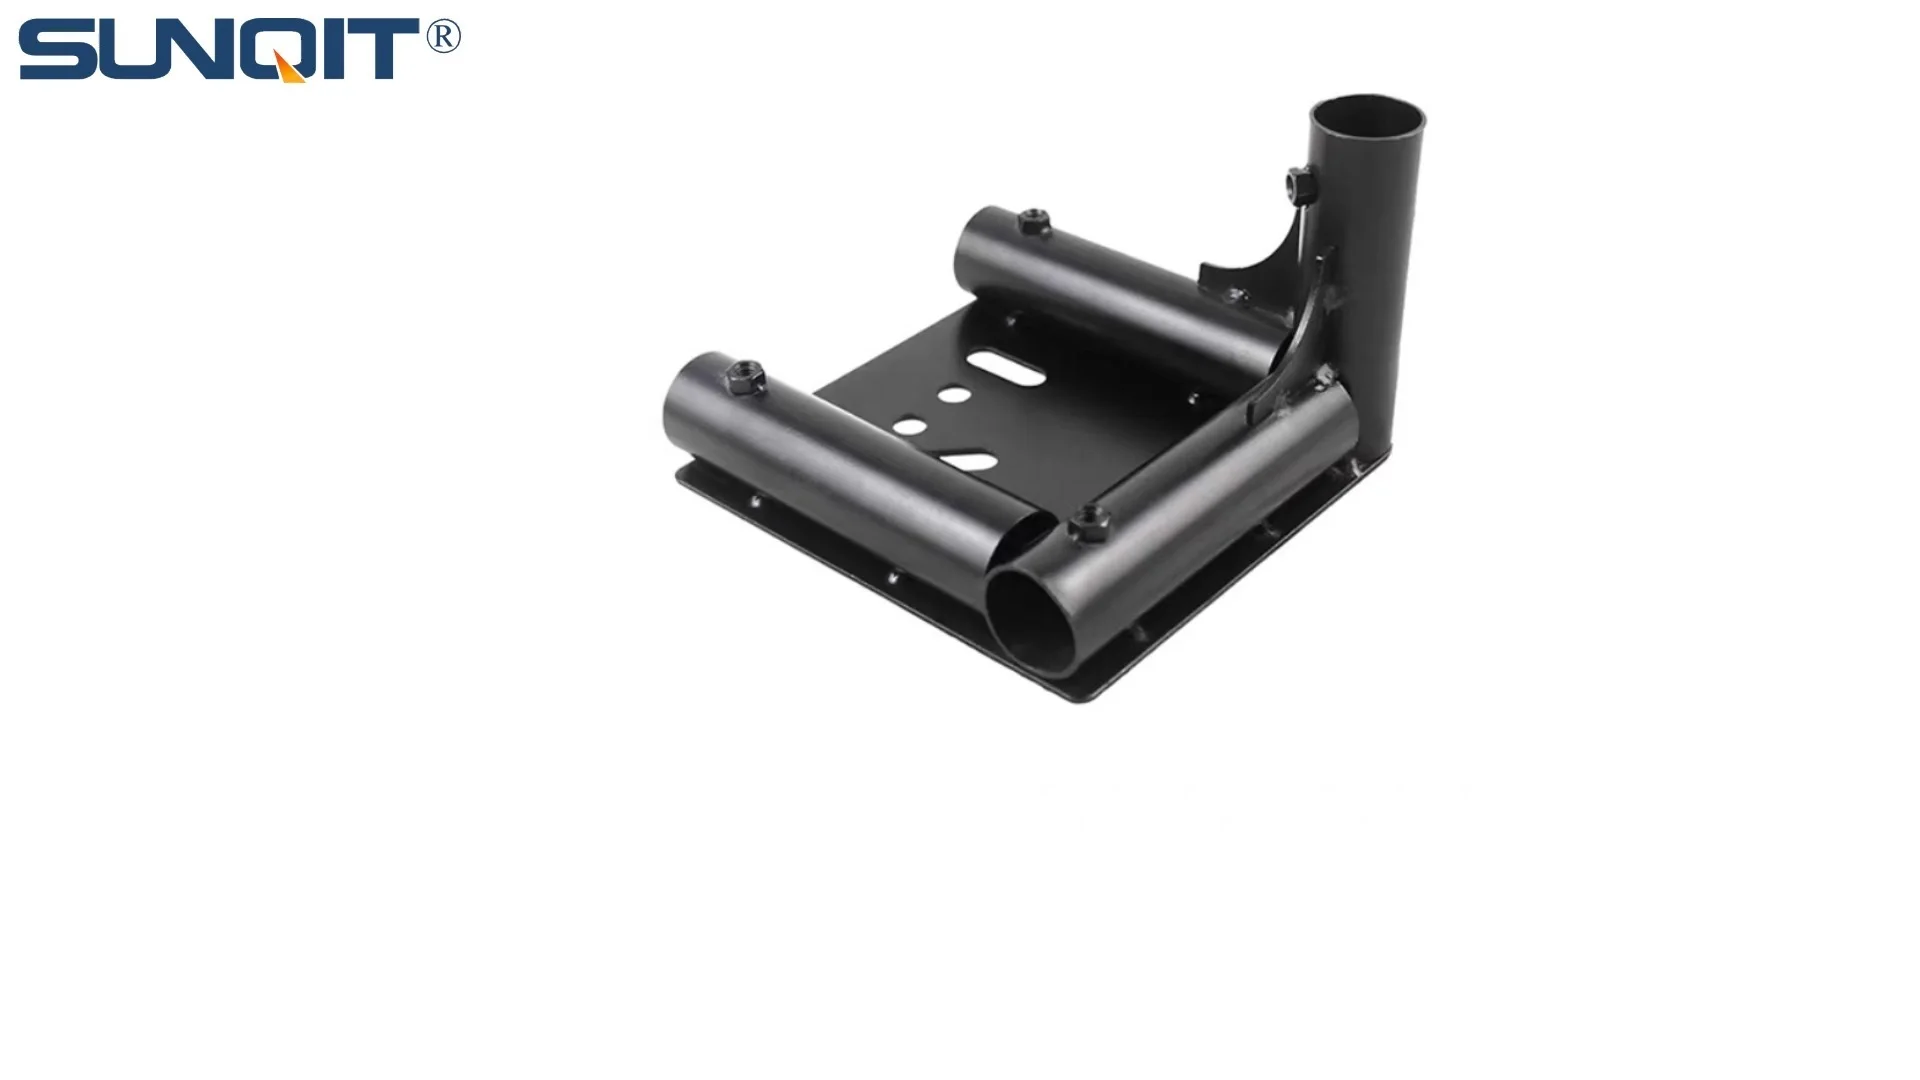
Castor Installation Base
Pipe fitting castor installation base,Well made, precise and strong. Made of high quality of steel,black painting surface treatment for greater resistance to corrosion. It is used for castor or foot lever connection with lean pipe.
Why Smooth Workbench Movement Matters in Production Assemble Lines
Let's start with the basics: in any production setting, every second counts. Whether you're assembling electronics, packaging goods, or organizing materials, the ability to move workbenches quickly and smoothly can make or break your team's efficiency. We've all seen it – a workbench that sticks, wobbles, or requires extra force to reposition doesn't just slow things down; it tires out workers, increases the risk of mistakes, and even creates bottlenecks in the workflow. That's where Workbench E (single deck-without caster) often comes into play. While it's designed to be a sturdy, single-deck setup, many teams add casters later to make it mobile – and that's when the castor installation base pivots become critical.
These pivots are the unsung heroes of your workbench's mobility. They connect the caster wheels to the workbench base, allowing the wheels to swivel, turn, and glide as you move the bench. But when they're dry, rusty, or clogged with debris, they turn from helpers into headaches. A stiff pivot might make the workbench veer off course, a squeaky one could disrupt communication on the floor, and a corroded one might even seize up entirely. Over time, this not only hurts productivity but can also damage the caster and accessories themselves – leading to costly replacements down the line.
The good news? Keeping those pivots in top shape isn't complicated. With a little know-how, the right tools, and a few minutes of regular maintenance, you can keep your Workbench E rolling smoothly for years. Let's dive into how to do it right.
Getting to Know Your Workbench E and Its Castor System
First, let's make sure we're all on the same page about what we're working with. Workbench E (single deck-without caster) is a popular choice in lean system setups for its simplicity and durability. It features a single, solid work surface (usually made of wood, metal, or composite materials) mounted on a sturdy frame, designed to hold tools, parts, and equipment without the added weight of built-in casters. But as teams adapt to changing workflows, many choose to add casters to make the bench more flexible – and that's where the castor installation base comes in.
The castor installation base is the metal or aluminum bracket that bolts to the bottom of Workbench E, providing a stable platform to attach caster wheels. Attached to this base are the pivots: small, cylindrical joints that allow the caster wheels to rotate 360 degrees. Think of them like the ball joints in a car's suspension – they need to move freely to keep the ride smooth. Each pivot is typically made of steel or zinc-plated metal, with a small cavity inside that holds lubricant. Over time, though, that lubricant dries up, dust and dirt get trapped, and the pivot starts to grind instead of glide.
To visualize this, get down on the floor and look at the bottom of your Workbench E (if you've added casters). You'll see the castor installation base – a flat plate or set of brackets – with caster wheels attached. Where the wheel meets the base, you'll notice a small, circular joint: that's the pivot. Some pivots have a tiny grease fitting (a "zerk fitting") on top, while others are sealed but still need occasional lubrication through the gaps. Either way, this is where we'll focus our attention.

Signs Your Pivots Need Lubrication (Before It's Too Late)
How do you know when it's time to lubricate those pivots? Don't wait for the workbench to come to a complete stop – watch for these early warning signs:
- Squeaking or grinding noises: The most obvious clue. If moving the workbench sounds like a rusty gate, the pivots are crying out for lubricant.
- Stiff swiveling: When you push the workbench, the wheels should turn smoothly. If they resist or "catch" mid-turn, the pivots are dry.
- Uneven movement: Does the workbench pull to one side, even on a flat floor? Misaligned or sticky pivots can cause this, as some wheels struggle to rotate freely.
- Visible rust or debris: Take a close look at the pivot joints. If you see rust, dust, or bits of dirt caked around them, that's blocking movement and wearing down the metal.
- Increased effort to move: If you or your team members find yourselves grunting or using extra force to reposition the workbench, it's not just you – the pivots are likely the culprit.
Catching these issues early is key. A quick lubrication session at the first sign of stiffness can prevent rust from setting in and extend the life of your caster and accessories. Wait too long, and you might need to replace the entire pivot or caster wheel – a hassle no one needs in the middle of a busy production run.

Tools and Materials You'll Need for the Job
Before you start, gather these supplies. You won't need anything fancy – most workshops already have these items on hand. If not, they're easy to find at hardware stores or through your lean pipe supplier:
| Tool/Material | Purpose | Pro Tip |
|---|---|---|
| Lubricant (see section below for types) | To reduce friction in the pivot joint | Choose a lubricant designed for metal-on-metal moving parts |
| Wire brush (small, stiff-bristled) | To clean debris and rust from pivot surfaces | A toothbrush works in a pinch for tight spaces |
| Rag or paper towels | To wipe away old lubricant and dirt | Use lint-free cloths to avoid leaving fibers behind |
| Flashlight | To see into dark pivot joints | A headlamp frees up your hands for better control |
| Adjustable wrench or pliers | To loosen stuck pivot caps (if needed) | Wrap jaws with tape to avoid scratching metal surfaces |
| Degreaser (optional) | To dissolve heavy grease or oil buildup | Use sparingly – avoid getting it on non-metal parts like caster wheel rubber |
Note: If your Workbench E has been in use for years and the pivots are heavily rusted, you might also need a small can of rust penetrant (like WD-40) to loosen things up. Just let it sit for 10-15 minutes before cleaning.

Choosing the Right Lubricant for Castor Installation Base Pivots
Not all lubricants are created equal. The wrong type can attract dirt, dry out quickly, or even damage the pivot's metal. Here's a breakdown of the best options for your Workbench E's pivots, based on workshop conditions:
1. Lithium-Based Grease
This is the gold standard for most industrial pivots. Lithium grease is thick, water-resistant, and stays in place even under heavy loads – perfect for workbenches that hold tools or materials. It comes in a tube with a spout (for easy application) or a spray can. Look for a "multi-purpose" lithium grease with a viscosity rating of NLGI 2 (medium thickness) – it's versatile enough for most workshop environments.
2. Silicone Spray Lubricant
If your pivots are small or hard to reach, silicone spray is a great choice. It's thin, so it penetrates tight spaces easily, and it dries to a clean, non-greasy finish that won't attract dust. Just note: silicone isn't as durable as lithium grease – you'll need to reapply it more often (every 2-3 months instead of 6-8). It's ideal for workbenches in clean rooms or areas where dust is a concern.
3. PTFE (Teflon) Lubricant
PTFE lubricants (like Teflon spray) are another low-dust option. They create a slippery film that reduces friction without leaving a sticky residue. They're especially good for pivots with plastic components (though most castor installation bases use metal pivots). PTFE works well in high-temperature environments, too – up to 500°F – so it's a solid pick if your workshop gets warm.
What to Avoid
Stay away from household oils like vegetable oil or motor oil – they break down quickly and attract dirt, turning into a gunky mess. Also, avoid graphite powder unless the pivot is completely enclosed (it can stain surfaces and isn't great for metal-on-metal contact in open joints).
Step-by-Step: How to Lubricate the Pivots
Now, let's walk through the process. Plan for about 15-20 minutes per workbench – it's quick, but taking your time ensures you do it right.
Step 1: Prepare the Workbench
First, clear off the Workbench E. Remove tools, parts, or equipment so the bench is light and easy to move. If possible, have a colleague help you tilt the bench onto its side or prop it up on blocks – this gives you full access to the castor installation base and pivots. If tilting isn't an option, slide a creeper or piece of cardboard under the bench so you can lie down and reach the pivots from below.
Step 2: Clean the Pivot Joints
Use the wire brush to gently scrub the pivot and the area around it. Focus on removing rust flakes, dirt, and old, dried lubricant. Wipe the area with a rag to catch the debris – you don't want it falling into the pivot when you apply new lubricant. If there's heavy grease buildup, spray a little degreaser on the rag (not directly on the pivot) and wipe it away. Let the area dry for a minute before moving on.
Step 3: Apply the Lubricant
How you apply the lubricant depends on the type you're using:
- For lithium grease: If the pivot has a grease fitting (a small nipple on top), attach the grease gun nozzle (or the tube's spout) to the fitting and squeeze gently until you see fresh grease oozing out around the edges. If there's no fitting, apply a pea-sized amount directly to the pivot joint and work it in by rotating the caster wheel back and forth.
- For silicone or PTFE spray: Hold the can 3-4 inches from the pivot and spray in short bursts. Rotate the caster wheel as you spray to ensure the lubricant reaches all parts of the joint. Wipe away any excess with a rag – you want a thin, even coat, not a puddle.
Step 4: Work the Lubricant In
Once you've applied the lubricant, move the caster wheel back and forth, swiveling it 360 degrees several times. This helps distribute the lubricant evenly inside the pivot joint. You should feel the movement get smoother almost immediately – if not, apply a little more lubricant and repeat. If the wheel still feels stiff, check for rust or debris you might have missed and clean again.
Step 5: Wipe Away Excess and Test
Use a clean rag to wipe off any excess lubricant from the pivot, caster wheel, and castor installation base. Excess grease attracts dirt, so it's better to have a little too little than a little too much. Then, lower the workbench back to the ground and give it a test push. It should glide easily, with no squeaking or sticking. If it still doesn't move smoothly, check the other pivots – sometimes one stiff pivot is all it takes to throw off the whole bench.
Common Mistakes to Avoid
Even simple tasks like lubrication can go wrong if you rush through them. Here are the most common errors we've seen – and how to steer clear of them:
Mistake 1: Skipping the Cleaning Step
It's tempting to just squirt lubricant on top of old dirt and call it a day, but that's a recipe for trouble. Debris mixed with new lubricant creates a gritty paste that wears down the pivot faster. Always clean first – your future self (and your workbench) will thank you.
Mistake 2: Over-Lubricating
More lubricant doesn't mean better performance. Excess grease or spray drips onto the floor, stains surfaces, and attracts dust. A little goes a long way – aim for a thin coat that just covers the pivot joint.
Mistake 3: Using the Wrong Lubricant for Your Environment
If your workshop is dusty, silicone or PTFE spray is better than thick grease (which traps dust). If it's humid or prone to water spills, lithium grease's water resistance is a must. Match the lubricant to your workspace's conditions.
Mistake 4: Forgetting to Check Other Caster Components
The pivot isn't the only part that affects movement. While you're under the workbench, take a second to check the caster wheels for cracks or flat spots, and tighten any loose bolts on the castor installation base. A wobbly wheel or loose bracket can make even a well-lubricated pivot feel stiff.
Long-Term Maintenance: Keeping Pivots Smooth for the Long Haul
Lubricating once isn't a permanent fix. To keep your Workbench E moving smoothly, add these habits to your routine:
Stick to a Schedule
How often should you lubricate? It depends on use: workbenches that move multiple times a day need lubrication every 2-3 months. Those moved occasionally can go 6-8 months. Mark your calendar or set a reminder – consistency is key.
Inspect During Routine Checks
Make pivot checks part of your regular equipment inspections. When you're cleaning the workbench or restocking tools, take 30 seconds to wiggle the caster wheels. If they feel stiff, add lubricant right away before the problem gets worse.
Clean Up Spills Quickly
Oil, coolant, or water spills can wash away lubricant or cause rust. Wipe up spills on the floor around the workbench immediately, and if any liquid gets on the pivots, clean and re-lubricate them within a day.
replace Worn Parts Proactively
Even with great maintenance, pivots and caster wheels wear out. If you notice a pivot is cracked, bent, or won't loosen up with lubrication, replace it. Most lean pipe suppliers carry replacement pivots and caster accessories – it's cheaper to replace a $10 pivot than a $200 caster wheel assembly.
Troubleshooting: When Lubrication Isn't Enough
Sometimes, a stiff pivot is a sign of a bigger issue. Here's how to diagnose and fix common problems:
Problem: Pivot is Rusted Solid
Solution: Soak the pivot in rust penetrant for 30 minutes, then tap it gently with a hammer (wrap the hammer in cloth to avoid damage) to loosen rust. Scrub with a wire brush, then lubricate heavily. If it still won't move, the pivot is likely seized and needs replacement.
Problem: Caster Wheel Wobbles or Drags
Solution: Check if the wheel is loose on its axle. Tighten the nut or bolt holding it in place. If the wheel itself is cracked or the bearing is worn, replace the caster wheel (most caster and accessories sets include replacement wheels).
Problem: Workbench Leans or Wobbles When Moving
Solution: This is usually due to uneven pivot wear or a bent castor installation base. Check that all pivots are lubricated and moving freely. If the base is bent, use a wrench to gently straighten it (or replace it if it's badly damaged).
Final Thoughts: Smooth Workbenches, Smoother Workflows
At the end of the day, lubricating castor installation base pivots is one of those small tasks that has a big impact. It's not glamorous, but it keeps your Workbench E moving, your team productive, and your lean system running like a well-oiled machine (pun intended). By taking 15 minutes every few months to clean, lubricate, and inspect these tiny joints, you'll save hours of frustration and keep your production assemble line flowing smoothly.
Remember: a workbench that moves easily is more than just a convenience – it's a tool that helps your team focus on what matters: building great products, not fighting with equipment. So grab your lubricant, your wire brush, and give those pivots some love. Your future self (and your workflow) will thank you.