- Company Articles
- Products and Technology
- Installation And Maintenance
- How to Maintain Aluminum Pipe Clamps: Tips for Longevity

How to Maintain Aluminum Pipe Clamps: Tips for Longevity
Related Product
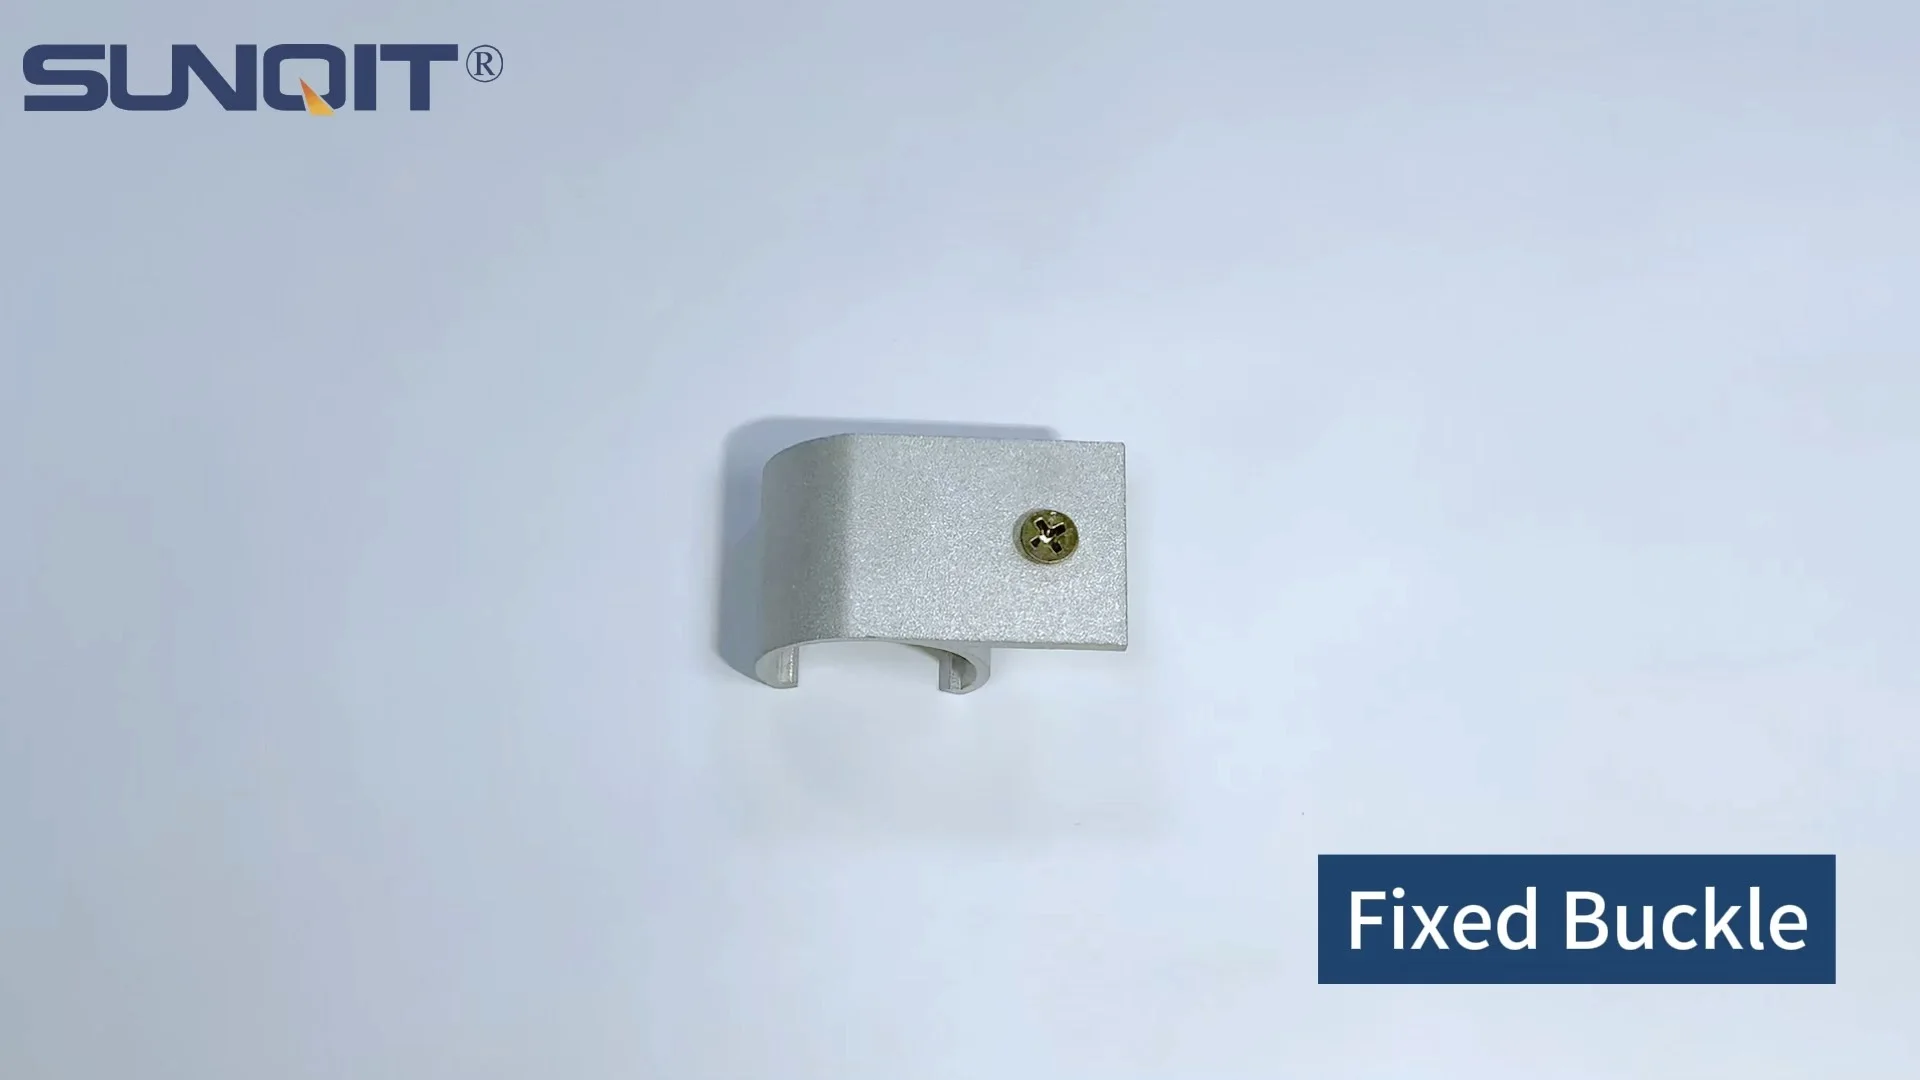
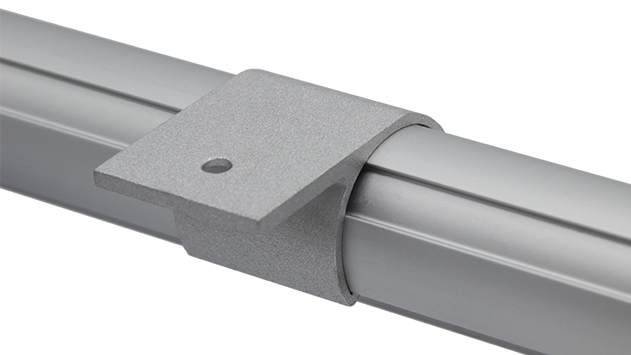
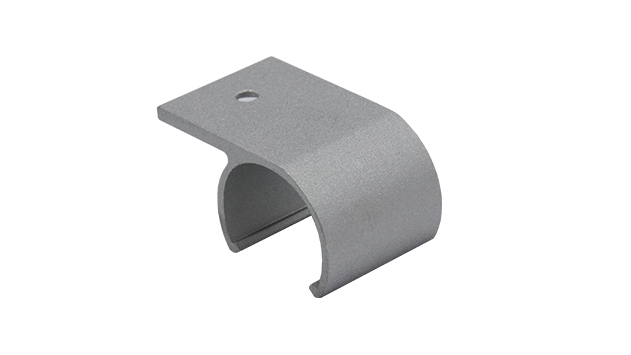
Aluminum Pipe Clamp
Aluminum pipe side clamp used for 28mm aluminum pipe connect with table top, or other accessories.
Walk into any busy workshop, manufacturing floor, or warehouse, and you'll likely spot them—quietly holding everything together, day in and day out. Aluminum pipe clamps are the unsung heroes of lean systems, the silent partners that keep workbenches stable, material racks secure, and production lines moving. They're easy to overlook when things are running smoothly, but let a clamp loosen or corrode, and suddenly the whole operation can feel the strain: a wobbly workbench slows down assembly, a sagging material rack risks damaging inventory, or worse, a failed clamp creates a safety hazard for your team.
If you've ever had to pause production to replace a rusted clamp or tighten a loose joint, you know the frustration—and the cost. New clamps aren't cheap, and downtime? That's even pricier. But here's the good news: with a little care and attention, you can dramatically extend the life of your aluminum pipe clamps, saving time, money, and headaches down the line. In this guide, we'll walk through why maintenance matters, common pitfalls to avoid, and a step-by-step routine to keep your clamps in top shape. Whether you're managing a bustling factory or a small garage workshop, these tips will help you get the most out of one of your most essential aluminum pipe accessories.
Understanding Aluminum Pipe Clamps: More Than Just "Clamps"
Before we dive into maintenance, let's take a quick second to appreciate what aluminum pipe clamps actually do. These small but mighty components are designed to connect aluminum lean pipe, aluminum profile, and other structural elements, creating stable frameworks for everything from workbenches to turnover trolleys. Unlike their steel counterparts, aluminum clamps offer a winning combo: they're lightweight, resistant to corrosion, and easy to adjust—qualities that make them a favorite in lean manufacturing and modular setups.
But here's the thing: aluminum's strengths can also be its Achilles' heel if not cared for. While it's less prone to rust than steel, aluminum can still corrode in humid environments or when exposed to harsh chemicals. Its lightweight nature means it's also more susceptible to bending or warping if overtightened or misaligned. And because these clamps are often used in high-traffic areas—bumped by carts, splashed with coolant, or coated in dust—they take a lot of daily abuse. All of this adds up: without proper maintenance, even the best aluminum pipe clamps will wear out faster than they should.
The Hidden Costs of Neglecting Clamp Maintenance
Let's talk numbers for a minute. Suppose a single aluminum pipe clamp costs $15 (a conservative estimate—some specialized clamps can run higher). If your workshop has 50 clamps across various setups, replacing them all at once would set you back $750. But that's just the tip of the iceberg. What about the time spent swapping out old clamps? If a technician spends 2 hours replacing 10 clamps, and their hourly rate is $30, that's $60 in labor. Multiply that by multiple clamp failures throughout the year, and suddenly you're looking at thousands of dollars in avoidable expenses.
Then there's downtime. Imagine a critical workbench in your assembly line relies on four clamps. If one fails, the workbench becomes unstable, and you can't safely use it. Your team grinds to a halt while you track down a replacement clamp. An hour of downtime for a 5-person team, each paid $25/hour, costs $125. If this happens once a month, that's $1,500 a year—all because a $15 clamp wasn't maintained. And let's not forget safety: a loose clamp could lead to a falling shelf or a collapsing workbench, risking injury and potential OSHA fines. Suddenly, "saving time" by skipping clamp checks doesn't seem so smart, does it?
Common Issues That Plague Unmaintained Aluminum Pipe Clamps
Now that we've established why maintenance matters, let's look at the most common problems that crop up when clamps are neglected. Recognizing these early can help you address issues before they escalate:
- Corrosion and Pitting: White, powdery spots or small pits on the clamp's surface, often caused by exposure to moisture, salt, or chemicals like degreasers.
- Loosening Bolts: Vibration from machinery or repeated use can cause clamp bolts to back out, leading to wobbly connections.
- Stripped Threads: Over-tightening or using the wrong tool (hello, adjustable wrench instead of a socket!) can strip the threads on bolts or the clamp itself, making it impossible to tighten securely.
- Bent or Warped Components: Dropping a clamp, hitting it with a cart, or overtightening can bend the clamp's body or the bolt, preventing a snug fit.
- Jammed Joints: Dust, grease, or rust can build up in the clamp's moving parts, making it hard to adjust or remove when you need to reconfigure your setup.
The good news? All of these issues are preventable with a little regular care. Let's dive into the step-by-step maintenance routine that will keep your clamps (and your budget) happy.
Step-by-Step Maintenance Routine for Aluminum Pipe Clamps
Think of clamp maintenance like brushing your teeth: it's not glamorous, but do it regularly, and you'll avoid painful (and expensive) problems later. This routine doesn't need to take hours—even 15 minutes a week per workbench or rack can make a huge difference. Let's break it down into five key steps:
1. Cleaning: Wipe Away the Grime
Dirt, dust, and grease are aluminum clamps' worst enemies. They trap moisture (accelerating corrosion) and can gum up moving parts. Start by giving your clamps a thorough cleaning at least once a week. Here's how:
What You'll Need: A soft-bristled brush (an old toothbrush works great for tight spots), a lint-free cloth, mild dish soap or a pH-neutral cleaner (avoid harsh chemicals like bleach or ammonia), and a bucket of warm water.
The Process: Dip the brush in soapy water and gently scrub the clamp, paying extra attention to crevices, bolt heads, and the area where the clamp meets the aluminum pipe. Wipe away loosened grime with the cloth, then dry the clamp thoroughly with a clean towel. For extra stubborn grease (looking at you, machine shops), you can use a small amount of isopropyl alcohol on the cloth—just make sure to dry it off immediately afterward.
Pro Tip: If your workshop is particularly dusty or humid, consider increasing cleaning frequency to twice a week. Outdoor or near-washdown areas might need daily quick wipes to prevent moisture buildup.
2. Inspection: Look for Red Flags
After cleaning, it's time to play detective. Inspect each clamp carefully for signs of wear or damage. Grab a flashlight if needed—good lighting makes it easier to spot small issues. Here's what to check:
- Surface Condition: Are there any white, powdery spots (corrosion) or pitting? Even small spots can spread, so mark these for closer attention.
- Bolts and Threads: Are the bolts straight? Do the threads look smooth, or are they stripped, bent, or covered in rust? Try turning the bolt by hand—if it's hard to move or feels "gritty," that's a red flag.
- Clamp Body: Is the clamp bent, warped, or cracked? Check where the clamp attaches to the pipe—this is a high-stress area prone to bending.
- Fit: Does the clamp grip the aluminum pipe snugly, or is there play? A little movement is normal, but if you can wiggle the pipe easily, the clamp is too loose.
Pro Tip: Keep a small notebook or digital checklist to log issues. Note the location of the clamp (e.g., "Workbench E, left rear leg") and the problem. This helps you track patterns—like if clamps near a certain machine loosen faster—and plan replacements proactively.
3. Lubrication: Keep Things Moving Smoothly
Aluminum clamps have moving parts—usually a bolt that tightens against the pipe—and moving parts need lubrication to stay functional. But not just any lubricant will do: aluminum reacts poorly to some oils, which can cause corrosion. Stick to these options:
- Silicone-Based Lubricant: Water-resistant, non-corrosive, and safe for aluminum. Great for general use.
- Graphite Powder: Ideal for bolts and threads, as it doesn't attract dust like oil-based lubes. Good for high-dust environments.
- Teflon Spray: Creates a dry, friction-resistant coating—perfect for clamps that need to be adjusted frequently.
The Process: After cleaning and inspecting, apply a small amount of lubricant to the bolt threads and any moving joints (e.g., the hinge on a swivel clamp). Wipe away excess with a cloth—you want a thin, even layer, not a gloopy mess. Avoid getting lubricant on the part of the clamp that grips the pipe, as it can reduce friction and cause slipping.
4. Tightening: Find the Sweet Spot
Loose clamps are a recipe for instability, but overtightening is just as bad—it can strip threads, bend the clamp, or even warp the aluminum pipe. The key is to find the "goldilocks zone" of tightness: snug enough to hold the pipe firmly, but not so tight that you're straining the material.
What You'll Need: A socket wrench or hex key (match the size to the bolt—no "close enough" here!), and optionally, a torque wrench for precision (especially for critical setups like heavy-duty material racks).
The Process: Start by hand-tightening the bolt until it's snug. Then, use your tool to give it a quarter-turn to a half-turn more—you should feel resistance, but the bolt shouldn't twist or the clamp shouldn't bend. If you hear a "creaking" sound or see the clamp deforming, back off immediately—you've gone too far. For reference, most aluminum pipe clamps require a torque of 15-20 ft-lbs (check the manufacturer's specs if you have them).
Pro Tip: To track loosening over time, mark the bolt and clamp with a small line of paint (e.g., a dot of red nail polish) after tightening. If the marks no longer line up later, you'll know the bolt has backed out.
5. Storage and Handling: Protect Clamps When Not in Use
Even the best-maintained clamps will suffer if they're stored poorly. If you're reconfiguring your setup and removing clamps temporarily, follow these tips to keep them safe:
- Clean Before Storing: Wipe off any dirt or grease—storing a dirty clamp is like leaving a wet towel in a gym bag; mold and corrosion will set in.
- Dry Thoroughly: Moisture is the enemy! Even a damp cloth can cause spots, so air-dry clamps completely before putting them away.
- Use a Storage Bin: Keep clamps in a labeled, lidded bin to protect them from dust and impacts. Avoid tossing them loose in a drawer where they'll bang against each other.
- Avoid Extreme Temperatures: Don't store clamps near heaters, air conditioners, or windows with direct sunlight—temperature swings can cause expansion and contraction, weakening the material over time.

Troubleshooting Common Clamp Problems
Even with regular maintenance, issues can pop up. Here's a quick reference guide to diagnosing and fixing common problems:
| Problem | Probable Cause | Solution |
|---|---|---|
| Clamp won't tighten securely | Stripped threads on bolt or clamp; bent clamp body | replace the bolt first (cheaper than replacing the whole clamp). If threads on the clamp are stripped, replace the clamp. |
| White, powdery corrosion spots | Exposure to moisture or chemicals | Clean with a 50/50 vinegar and water solution, scrub gently with a brush, rinse, dry thoroughly, and apply a thin coat of silicone lubricant to prevent future spots. |
| Bolt is stuck (can't loosen or tighten) | Rust or debris in threads; bolt is bent | Apply penetrating oil (e.g., WD-40) and let sit for 10 minutes. Tap the bolt gently with a hammer to loosen debris, then try again. If still stuck, cut the bolt (carefully!) and replace. |
| Clamp slips on the pipe | Grease or lubricant on the grip surface; worn clamp jaws | Clean the pipe and clamp jaws with alcohol to remove grease. If jaws are worn (smooth instead of textured), replace the clamp. |
| Clamp body is bent | Impact (e.g., dropped, hit by a cart) or overtightening | replace the clamp—bent clamps can't grip properly and may weaken the entire structure. |
Advanced Tips for Maximizing Clamp Lifespan
Once you've nailed the basics, these extra steps can help your clamps last even longer—especially in challenging environments:
Invest in Anti-Corrosion Treatments
For workshops in humid, coastal, or chemical-heavy environments (e.g., near cleaning stations or battery manufacturing), consider applying a clear anti-corrosion spray (like Boeshield T-9 or Corrosion X) to clamps after cleaning. These sprays form a protective barrier that repels moisture and blocks corrosive elements. Reapply every 3-6 months, or more often if clamps are exposed to heavy splashing.
Train Your Team to Spot Issues
Your frontline workers—those using the workbenches and material racks daily—are often the first to notice wobbly clamps or strange noises. Train them to report issues like loose bolts, rust spots, or bent clamps immediately. Offer a small incentive (e.g., a coffee gift card) for the first person to spot a problem each month—gamifying it can make reporting fun and keep everyone engaged.
Customize Maintenance for High-Stress Areas
Not all clamps are created equal. Clamps holding up heavy material racks, those near vibrating machinery, or those in high-traffic zones (like near doorways) will wear faster than clamps on a rarely used storage shelf. Adjust your maintenance schedule accordingly: inspect high-stress clamps weekly, medium-use ones biweekly, and low-use ones monthly.
Keep Spare Clamps on Hand
Even with perfect maintenance, clamps occasionally need to be replaced. Keep a small stock of common clamp sizes (e.g., those used on your workbenches and standard material racks) in your toolroom. This way, you can swap out a damaged clamp immediately instead of waiting for a shipment, minimizing downtime.
Real-Life Success: How One Workshop Cut Costs by 40% with Clamp Maintenance
Let's wrap up with a story from the field. A small electronics manufacturer in Ohio was struggling with frequent clamp failures on their assembly line workbenches. They were replacing clamps every 3-4 months, spending around $1,200 a year on replacements and losing 8-10 hours of production annually to downtime. Frustrated, their maintenance manager, Maria, decided to implement the routine we've outlined here: weekly cleaning, inspection, and tightening, with monthly deep dives.
The results? Within six months, clamp replacement costs dropped by 40%—they went from replacing 80 clamps a year to just 48. Downtime due to clamp issues fell to zero, as small problems were caught and fixed before they caused failures. Maria also noticed something unexpected: the workbenches felt sturdier, and workers reported feeling safer and more confident in their tools. "It's the little things," she told me later. "Taking 10 minutes a week to check clamps didn't just save us money—it made the whole shop run smoother. Our team feels like we care about their workspace, and that makes a big difference in morale."
Final Thoughts: Small Efforts, Big Rewards
Aluminum pipe clamps might not be the most glamorous part of your workshop, but they're essential to keeping things running smoothly. By investing a little time in regular cleaning, inspection, lubrication, and tightening, you can extend their lifespan, reduce costs, and avoid frustrating downtime. Remember: maintenance isn't just about fixing problems—it's about preventing them. A 15-minute weekly check today can save you hours of headaches (and hundreds of dollars) tomorrow.
So, what are you waiting for? Grab a cloth, a brush, and your wrench, and give your clamps some love. Your budget, your team, and your peace of mind will thank you.