- Company Articles
- Products and Technology
- Product knowledge
- How to Measure for 40 Aluminum Roller Track Yellow: Avoiding Sizing Mistakes

How to Measure for 40 Aluminum Roller Track Yellow: Avoiding Sizing Mistakes
Related Product
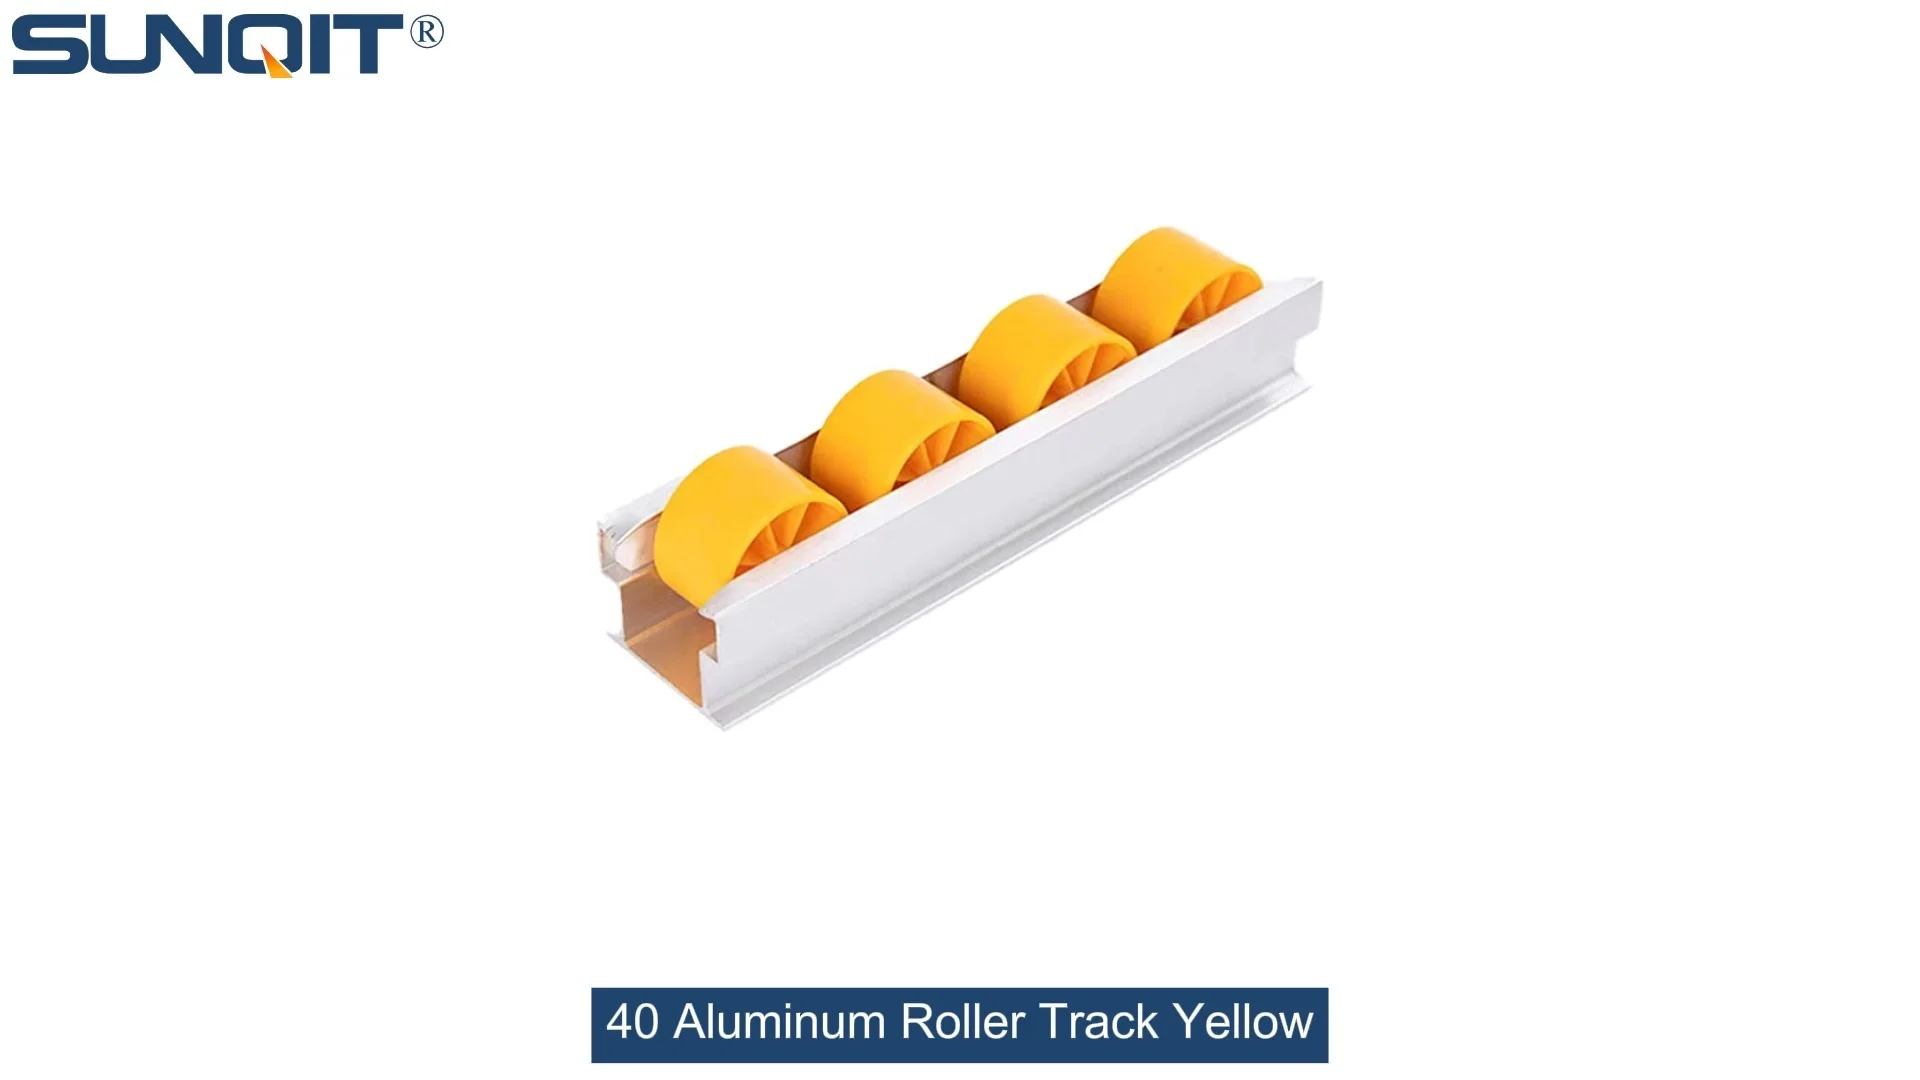
40 Aluminum Roller Track Yellow
Durable and smooth-running modular roller rails. The system is fully assembled. The roller rail profile contains plastic rollers mounted on steel axles. Aluminum frame with plastic wheel make it anti corrosion,and material convey more smooth.
Let's start with a scenario we've all lived through, one way or another: You've just invested in a 40 Aluminum Roller Track Yellow to upgrade your production assemble line, eager to cut down on material handling time and streamline workflow. You've heard great things about how it integrates with aluminum profile frames, and you're ready to see those lean system principles in action—no more wasted steps, no more bottlenecks. But when the track arrives, you unbox it, hold it up to the space between your workbench and the aluminum profile rack, and your heart sinks. It's either two inches too short, leaving a gap where materials might get stuck, or it juts out awkwardly, bumping into the roller track placon mount brackets you already installed. Suddenly, that "efficiency booster" feels like a setback. Sound familiar? If so, you're not alone—and the root cause is almost always the same: measurement mistakes.
Measuring for a 40 Aluminum Roller Track Yellow might seem like a simple task—grab a tape measure, jot down a number, done. But in reality, it's the foundation of a smooth, functional system. Get it right, and the track becomes the quiet workhorse of your operation, moving parts from point A to B without a hitch. Get it wrong, and you're looking at delays, extra costs, or even safety risks. In this guide, we're going to break down exactly how to measure for this track the right way, step by step, so you can avoid those "uh-oh" moments and get back to focusing on what matters: building a lean, efficient workspace.
Why Measurement Mistakes Happen (And Why They Hurt)
Before we dive into the "how," let's talk about the "why"—why do measurement mistakes happen so often, even to seasoned operators? For starters, we're all busy. When you're juggling a dozen tasks—ordering parts, training new team members, troubleshooting the conveyor belt—taking 10 extra minutes to triple-check measurements can feel like a luxury. So we rush. We grab a fabric tape measure that stretches, or we "eyeball" the space between the aluminum profile and the workbench, thinking, "That looks about 4 feet—close enough." Spoiler: It almost never is.
Another culprit? Overlooking the "small stuff." The 40 Aluminum Roller Track Yellow itself has a standard width and height, but when you add accessories like roller track placon mounts (those handy brackets that attach the track to aluminum profiles), suddenly the total footprint changes. A placon mount for aluminum profile flat, for example, adds about 5mm to the track's depth—easy to ignore until you realize the track now sticks out past the profile, blocking a walkway. Or maybe you forget that the track's joints need a tiny gap to connect properly—skip that, and you'll end up with a bowed, uneven surface where materials jam.
And let's not underestimate the impact of these mistakes. A track that's too short might mean materials slide off the end, damaging parts or causing trips. One that's too long could bend under the weight of heavy items, wearing out the rollers prematurely. Even a slight misalignment in height—say, the track sits 1/2 inch higher than the workbench next to it—forces workers to lift parts instead of sliding them, undoing all the lean system gains you were aiming for. Simply put: measurement isn't just a "prep step"—it's the first line of defense against chaos in your workflow.
Tools You'll Need (Leave the Guesswork Behind)
You wouldn't build a house with a plastic hammer, right? The same logic applies here: using the right tools is half the battle. Let's walk through what you'll need to measure for your 40 Aluminum Roller Track Yellow accurately. None of these are fancy or expensive—chances are, you already have most of them in your toolbox. But using them correctly? That's where the magic happens.
1. A Steel Tape Measure (Not Fabric!)
Fabric tape measures are great for sewing, but for this job, they're Public Enemy No. 1. They stretch, they bend, and they give inconsistent readings—exactly what you don't want when fractions of an inch matter. Opt for a 25-foot steel tape measure with clear markings (1/8-inch increments at minimum) and a locking mechanism. The hook at the end should move slightly—this is intentional, to account for the thickness of the hook when measuring against a surface. Pro tip: Look for one with a magnetic end; it'll stick to metal surfaces like aluminum profiles, leaving your hands free to write down measurements.
2. A Digital Level (For Flatness and Alignment)
Even if your track is the perfect length, if the surface it's mounted on isn't level, materials will either roll too fast (and crash) or too slow (and bottleneck). A digital level takes the guesswork out of this—just place it on the aluminum profile or workbench where the track will go, and it'll give you a precise reading (down to 0.1 degrees). Aim for a maximum slope of 0.5 degrees—any more, and gravity will take over, turning your "controlled flow" into a free-for-all.
3. A Pencil, Notebook, and a Straightedge
Old-school, but essential. Jotting down measurements on a scrap of paper works in a pinch, but a dedicated notebook lets you keep track of multiple readings (more on that later) and note details like "left end is 1/4 inch lower than right end" or "placon mount adds 3mm here." A straightedge (a 2-foot aluminum ruler works) helps you mark straight lines on the aluminum profile or wall, ensuring your track mounts align perfectly.
4. A Calipers (For Tight Spaces and Small Parts)
Not everyone needs calipers, but if you're working with tight gaps—say, between two aluminum profiles where the track will fit—they're a game-changer. Digital calipers can measure down to 0.01mm, which is crucial when you're trying to fit the track around existing equipment like a conveyor or a workbench with a custom height.

Step-by-Step: How to Measure for 40 Aluminum Roller Track Yellow
Now that you've got your tools ready, let's walk through the measurement process itself. We'll break this into five key steps, each designed to catch potential mistakes before they happen. Remember: patience here saves time later. Rushing through any of these steps is how you end up with a track that doesn't fit—so take a deep breath, and let's get started.
Step 1: Map the Space (And Identify Obstacles)
First, stand back and look at the area where the 40 Aluminum Roller Track Yellow will go. Is it between a workbench and an aluminum profile rack? Along a wall next to a conveyor? Above a set of drawers? Sketch a quick diagram in your notebook—no art skills required, just a rough outline. Then, mark any obstacles: a light switch, a pipe, a protruding roller track placon mount bracket, even a low-hanging shelf. These are your "no-go zones"—the track can't overlap with them, or it won't work.
For example, let's say you're mounting the track between a workbench (on the left) and an aluminum profile frame (on the right). The workbench has a lip that sticks out 1 inch from its edge, and the aluminum profile has a roller track placon mount for rail connection that juts out 0.75 inches. If you measure from the workbench's front edge to the profile's front edge, you'll get a length that's 1.75 inches too long—because the track needs to fit between the inner edges of those obstacles, not the outer ones. Mapping these obstacles first ensures you're measuring the actual "usable space," not the misleading outer edges.
Step 2: Measure the Length (Three Times, From Three Angles)
Here's a golden rule: Measure twice, cut once. But for critical components like the 40 Aluminum Roller Track Yellow, we're upping that to "measure three times, from three angles." Why? Because surfaces aren't always straight. A wall might bow slightly, or the aluminum profile frame might be a hair out of square, making the top measurement different from the bottom. To account for this:
- Measure the top of the space (from obstacle to obstacle).
- Measure the middle.
- Measure the bottom.
Write down all three numbers. If they're all within 1/8 inch of each other, you're good to go—use the average. If one is significantly different (say, the top is 48 inches, the bottom is 48.5 inches), that means the space is out of square. In that case, use the smallest measurement—you can always add shims later to level the track, but you can't stretch it to fill a gap.
Pro tip: When measuring, hold the tape measure taut but not tight. Pulling too hard can stretch even a steel tape, giving a false "longer" reading. Let the tape lie flat against the surface, and lock it in place before reading the number.
Step 3: Measure the Height (Yes, Height Matters Too)
Length gets all the attention, but height is just as critical—especially if the 40 Aluminum Roller Track Yellow needs to align with other equipment, like a workbench or a conveyor. For example, if the track is mounted 1 inch higher than the workbench, workers will have to lift parts up to load them, defeating the purpose of a "lean" system. If it's 1 inch lower, parts might slide off the track onto the floor.
To measure height correctly: Decide where the top of the track's rollers should sit. For most production assemble lines, this should be flush with the surface of the workbench or conveyor next to it. So, measure from the floor to the top of the workbench surface—let's say that's 36 inches. Then, measure the height of the roller track itself (the 40 Aluminum Roller Track Yellow typically stands about 2 inches tall, including the rollers). That means the bottom of the track's mounting brackets (like the roller track placon mount for aluminum profile flat) should be at 36 inches minus 2 inches = 34 inches from the floor. Write that number down—this is your "mounting height."
Step 4: Account for Accessories (They Add Up!)
Here's where even experienced operators trip up: forgetting that the track isn't a standalone piece. It needs accessories to function—like roller track placon mounts, end stops, or side guides. Each of these adds thickness, width, or height to the overall system, and if you don't factor them in, you'll end up with a track that doesn't fit.
Take roller track placon mounts, for example. These brackets connect the track to aluminum profiles, and they come in different styles: placon mount for aluminum profile flat (sits flush against the profile), placon mount for aluminum profile high (adds a few extra millimeters of height), or placon mount center support bracket (used for longer tracks to prevent sagging). A flat placon mount might add 5mm to the track's depth, while a high one adds 8mm. If your space is tight—say, between two aluminum profiles that are only 10mm apart—choosing the wrong mount could mean the track won't fit at all.
Solution: Check the specs of the accessories you plan to use (most suppliers list dimensions online) and add their measurements to your track's length/height. For example: Track length = 48 inches. Placon mounts (2 per end) = 0.2 inches each. Total required space = 48 + 0.2 + 0.2 = 48.4 inches. If your measured space is only 48.3 inches, you'll need to either find thinner mounts or adjust the track length.
Step 5: Check Load Capacity (Because Size Isn't Everything)
Okay, so you've measured length, height, and accounted for accessories—you're done, right? Not quite. The 40 Aluminum Roller Track Yellow is strong, but it has limits. If you're planning to roll heavy parts (think metal components, not just small plastic pieces), you need to ensure the track's load capacity matches your needs—and that includes how the track is supported. A track that's the perfect length but sags under weight will wear out quickly, and the rollers might start sticking.
Most 40 Aluminum Roller Track Yellow models can handle around 50-75 pounds per linear foot, but this drops if the track is longer than 6 feet without extra support. If you're moving heavier items, you'll need to add center support brackets (like the roller track placon mount center support bracket) every 3-4 feet. These brackets take up space—about 2 inches in width—so you'll need to measure where they'll go and ensure they don't clash with other equipment.

Common Measurement Mistakes (And How to Fix Them)
Even with careful planning, mistakes can happen. The key is to recognize them before you order the track (or start installing it). Below is a breakdown of the most common errors we see, why they happen, and how to avoid or fix them.
| Mistake | Why It Happens | How to Avoid/Fix It |
|---|---|---|
| Measuring the space "edge to edge" instead of "usable space" | Rushing, or not noticing obstacles like protruding brackets or workbench lips | Map obstacles first, then measure from the inner edges of those obstacles. Use a straightedge to mark the "start" and "end" points of the track. |
| Ignoring surface flatness | Assuming the floor or aluminum profile is level (spoiler: it rarely is) | Use a digital level to check for slopes. If the surface is uneven, plan to use shims under the placon mounts to level the track. |
| Forgetting to add joint gaps | Thinking track sections connect "flush" when they actually need a tiny gap to expand/contract | Most track sections need a 1-2mm gap between ends to account for temperature changes. If you're using multiple sections, add 1mm per joint to your total length. |
| Overlooking placon mount thickness | Focusing only on the track's dimensions, not the brackets that hold it up | Check the placon mount specs (height, depth) and add those to your track's measurements. If space is tight, opt for low-profile mounts like the placon mount for aluminum profile flat. |
| Using a stretched or bent tape measure | Using an old fabric tape or a steel tape with a damaged hook | Invest in a new steel tape measure with a locking mechanism and a non-stretchy blade. Test it against a known length (like a yardstick) to ensure accuracy. |

Real-World Example: When a "Small" Mistake Cost Big Time
Let's wrap this up with a story from the field—one that shows just how important precise measurement is. A few months back, a customer reached out to us after installing their 40 Aluminum Roller Track Yellow in a busy electronics assembly plant. They'd measured the length correctly (48 inches) and the height (flush with their workbench), but when they tried to roll circuit boards down the track, the boards kept getting stuck halfway. Frustrated, they thought the track was defective—until we asked to see photos of the setup.
Turns out, the issue was with the roller track placon mounts. They'd used placon mount for aluminum profile high (which adds 8mm to the track's height) instead of placon mount for aluminum profile flat (5mm). Their workbench was set at 36 inches, and they'd measured the track height as 2 inches, so they mounted the track at 34 inches from the floor. But with the high placon mounts, the track's total height became 2 inches + 8mm (0.31 inches) = 2.31 inches. That meant the rollers sat at 34 + 2.31 = 36.31 inches—0.31 inches higher than the workbench. So when workers pushed the circuit boards onto the track, they hit that tiny lip and got stuck.
The fix? They swapped out the high mounts for flat ones, re-measured the height (now 34 + 2.05 = 36.05 inches—close enough to flush), and the boards started rolling smoothly. The whole process took 20 minutes and cost $15 in new mounts—far cheaper than returning the track or delaying production. Moral of the story: even a 3mm difference in placon mount thickness can derail your system.
Final Checklist: Before You Order
You've mapped the space, measured length, height, and load capacity, accounted for accessories, and checked for common mistakes. Now, before you hit "order" on that 40 Aluminum Roller Track Yellow, run through this quick checklist to ensure nothing slips through the cracks:
- Did I measure length three times, from top, middle, and bottom?
- Did I map obstacles and measure "usable space" (not just edge to edge)?
- Did I account for roller track placon mounts and other accessories in my measurements?
- Did I check that the track's load capacity matches my needs (and add support brackets if needed)?
- Did I confirm the track's height aligns with adjacent workbenches or conveyors?
- Did I write down all measurements (length, height, accessory dimensions) in one place?
If you can answer "yes" to all these, you're ready. Hit that order button with confidence—your 40 Aluminum Roller Track Yellow will fit like a glove, and your lean system will thank you.
Conclusion: Measurement is the Foundation of Lean
At the end of the day, measuring for a 40 Aluminum Roller Track Yellow isn't just about numbers on a tape measure. It's about respecting the lean system you're building—where every detail, no matter how small, contributes to efficiency. A track that fits perfectly doesn't just save time; it reduces frustration, minimizes waste, and lets your team focus on what they do best: creating quality products.
So take the time. Grab the right tools. Triple-check those measurements. And remember: when in doubt, measure again. Your future self (and your workflow) will be glad you did.