- Company Articles
- Products and Technology
- Product knowledge
- How to Measure for Adjustable Leveling Feet: Ensuring a Perfect Fit for Workbench E

How to Measure for Adjustable Leveling Feet: Ensuring a Perfect Fit for Workbench E
Related Product
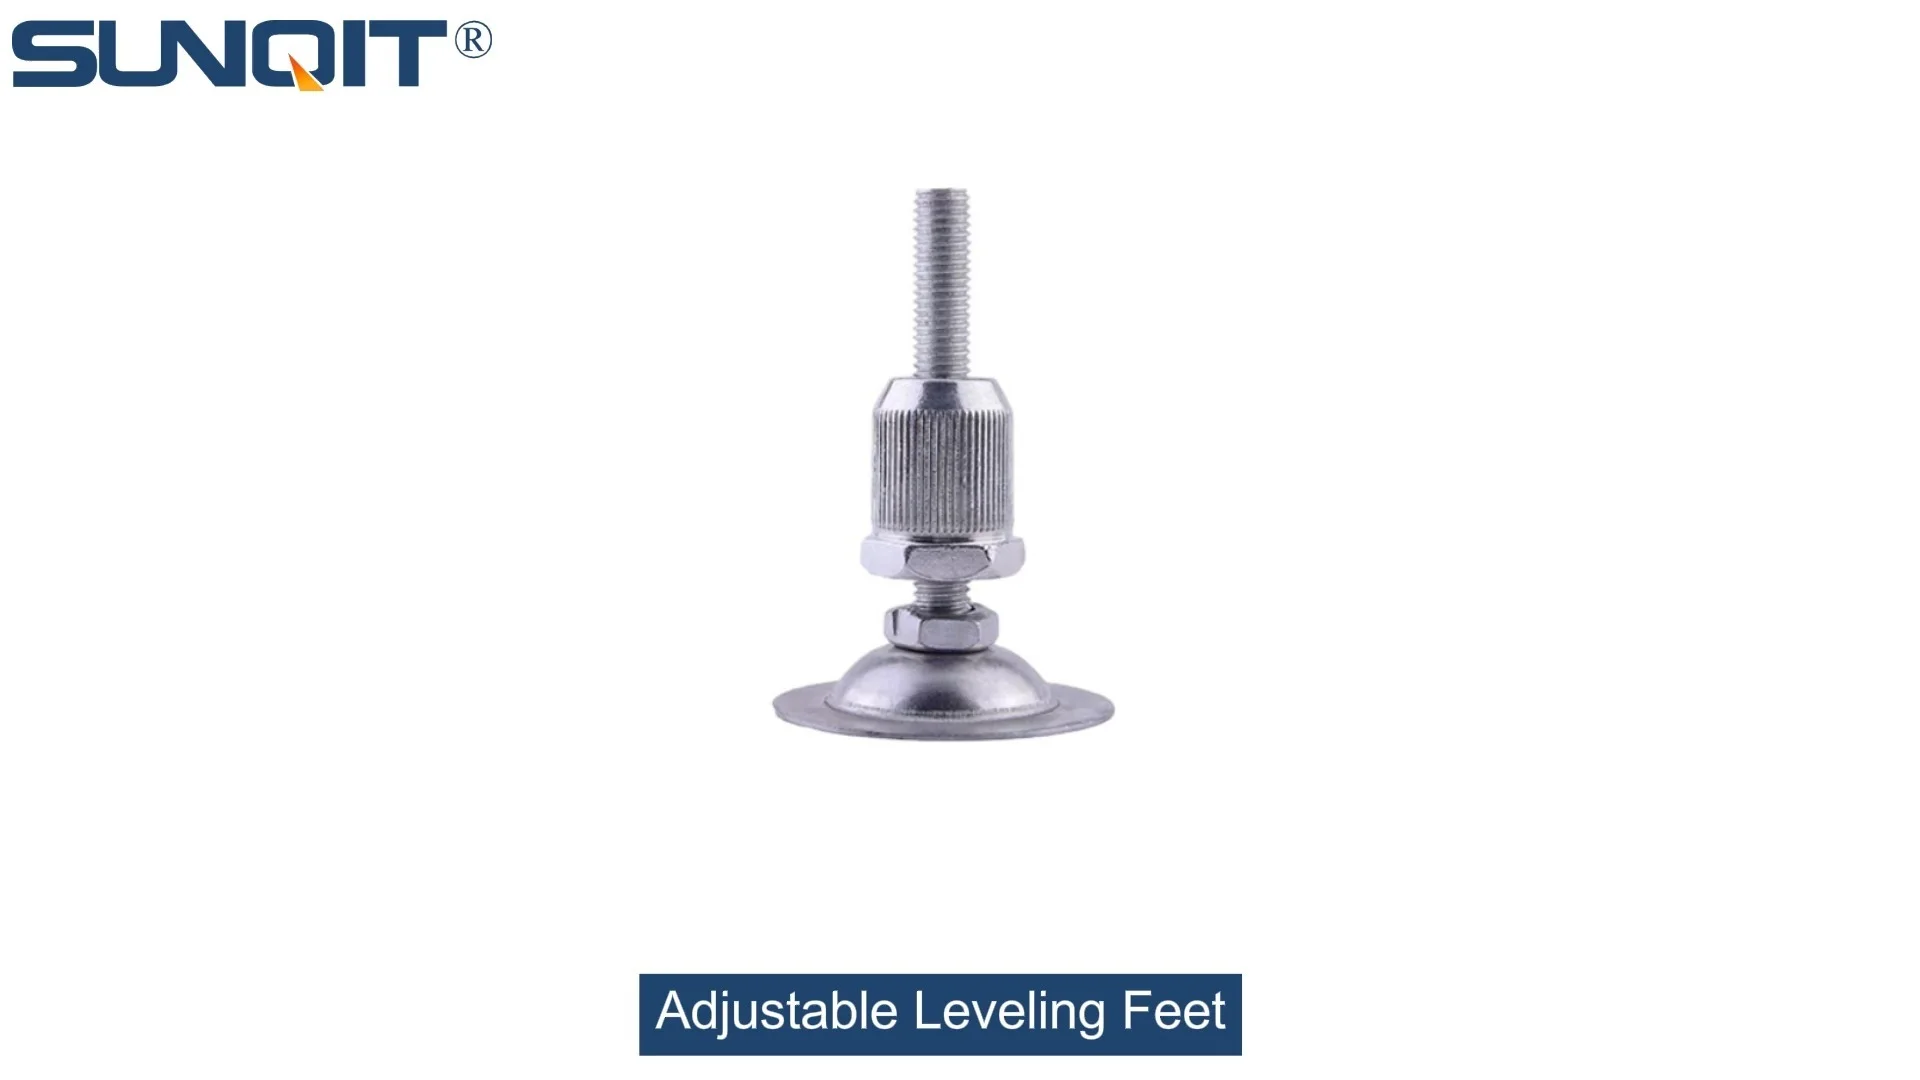
Adjustable Leveling Feet
Adjustable leveling feet are designed to keep machines level when placed on uneven or sloped ground. Otherwise known as adjustable equipment feet, they are available to order in a wide variety of size and load capacity combinations.
If you've ever spent an afternoon assembling a workbench only to find it wobbles like a misaligned table at a café, you know the frustration. A shaky workspace isn't just annoying—it throws off measurements, risks tool damage, and even makes simple tasks feel like a balancing act. For anyone using a Workbench E (single deck-without caster) , one of the most common culprits is improperly fitted leveling feet. These small but mighty components are the unsung heroes of stability, keeping your workbench grounded even when floors are less than perfect. But to get them right, you need to measure with care. In this guide, we'll walk through the step-by-step process of measuring for adjustable leveling feet, ensuring your Workbench E stands firm, steady, and ready to tackle whatever projects come its way.
Why Precise Measurement Matters: More Than Just "Good Enough"
Before diving into tape measures and calipers, let's talk about why this step matters. Adjustable leveling feet aren't one-size-fits-all—they come in different heights, thread sizes, and load capacities. A foot that's too short might leave your workbench teetering; one that's too tall could create gaps that collect dust or debris. Even small miscalculations in hole spacing or thread diameter can mean drilling new holes (or worse, damaging the workbench frame). For users of lean systems, where efficiency and durability are paramount, cutting corners here undermines the entire purpose of a well-designed workspace.
Consider this: A manufacturing plant in Ohio once reported a 15% increase in product defects after installing new workbenches with generic leveling feet. The issue? The feet were slightly too narrow for the workbench legs, causing micro-wobbles that threw off precision tools. After remeasuring and upgrading to properly fitted adjustable leveling feet , defects dropped back to baseline. Moral of the story? Measuring isn't just a box to check—it's the foundation of a functional workspace.
First Things First: Know Your Workbench E
Before grabbing your tape measure, take a minute to get acquainted with your Workbench E (single deck-without caster) . This model, popular in workshops and industrial settings, features a single, sturdy deck and a frame typically built from aluminum or steel—materials chosen for their strength-to-weight ratio. Unlike casters, which add mobility, this workbench is designed to stay put, making leveling feet its primary defense against uneven floors. Here's what you need to note before measuring:
- Frame Material: Most Workbench E models use aluminum profiles or steel tubing. Aluminum is lightweight and resistant to rust, while steel offers extra heft for heavy-duty tasks. The material affects how leveling feet attach—steel frames may require stronger, threaded inserts, while aluminum might use friction-fit or bolt-on designs.
- Base Design: Flip the workbench (gently!) or check the manufacturer's specs to see how the legs are structured. Are they hollow tubes with pre-drilled holes? Solid blocks with threaded inserts? This dictates the type of leveling feet you'll need (e.g., threaded stems vs. bolt-on plates).
- Weight Capacity: Workbench E is built to handle loads, but leveling feet must match that strength. A 500-pound capacity workbench needs feet rated for at least that weight (preferably more, to account for dynamic loads like dropping tools).
Pro Tip: If you've lost the user manual for your Workbench E, check the manufacturer's website or contact their support team. Many suppliers list specs like leg diameter, hole spacing, and recommended (accessories) for their workbenches—this info is gold for accurate measuring!

Tools You'll Need: Gathering Your Measurement Arsenal
Measuring for leveling feet doesn't require a workshop full of tools, but having the right ones will save you time and frustration. Here's what to grab before you start:
- Tape Measure: A retractable steel tape (10–25 feet) works best for length and width. Look for one with clear markings in both inches and millimeters—many leveling feet specs use metric measurements.
- Digital Caliper: For precise measurements of small details (like thread diameter or hole size), a digital caliper is worth the investment. Inexpensive models ($20–$30) work fine for this task.
- Bubble Level: To check floor unevenness and confirm your workbench's current tilt (if already assembled).
- Pencil and Paper: Jotting down measurements prevents "mental math" mistakes. Sketching the workbench base (even roughly) helps visualize hole positions.
- Flashlight: Dark corners under workbenches can hide important details like hidden holes or rusted threads.

Step-by-Step Measurement Guide: From Floor to Frame
Now, let's get to the heart of the process. Follow these steps to measure like a pro, ensuring your adjustable leveling feet fit snugly and function flawlessly.
Step 1: Measure the Workbench Leg Dimensions
Start by examining the legs of your Workbench E. Most legs are cylindrical (pipes) or square/rectangular (profiles). For cylindrical legs (common in lean pipe systems), measure the outer diameter (OD) —this tells you how wide the leg is, which helps when selecting feet with base plates that fit around or against the leg. For square/rectangular legs (often aluminum profiles), measure the width and depth of the leg's cross-section.
How to do it: Wrap the tape measure around the leg (for cylindrical) or align it along one edge (for square/rectangular). For accuracy, take the measurement at three points (top, middle, bottom) and average them—legs can sometimes be slightly out of round due to manufacturing tolerances. Note this number as "Leg Width/Diameter."
Step 2: Determine Hole Spacing and Thread Size (If Pre-Drilled)
Many Workbench E models come with pre-drilled holes in the legs for attaching leveling feet. If yours does, you'll need to measure two key things: the distance between holes (center-to-center) and the thread size of the holes (if they're threaded).
Hole Spacing: If there are two holes per leg (common for stability), measure from the center of one hole to the center of the other. Use the caliper for this—even 1/16-inch off can mean the feet won't align. Note this as "Hole Center Spacing."
Thread Size: Threaded holes require leveling feet with matching stems. To measure thread size, use a thread gauge (available at hardware stores) or a caliper to measure the inner diameter (ID) of the hole. For example, a 1/4-inch threaded hole will have an ID slightly less than 1/4 inch (since threads add width). Common sizes for workbenches are M8 (metric) or 5/16-inch (imperial).
| Measurement | Tool to Use | Common Values for Workbench E | Why It Matters |
|---|---|---|---|
| Leg Outer Diameter (OD) | Tape Measure or Caliper | 1–2 inches (25–50mm) | Ensures leveling foot base plates fit around/against legs. |
| Hole Center Spacing | Caliper or Ruler | 1.5–3 inches (38–76mm) | Aligns foot mounting holes with leg holes. |
| Thread Size (if threaded) | Thread Gauge or Caliper | M8 (metric) or 5/16-inch (imperial) | Prevents stripped threads or loose fits. |
| Floor Clearance Needed | Tape Measure + Level | 0.5–2 inches (13–50mm) | Leaves room to adjust feet and avoid scraping floors. |
Step 3: Assess Floor Unevenness (The Hidden Variable)
Floors are rarely perfectly flat—even new concrete can have subtle slopes or dips. If you ignore this, your Workbench E might still wobble, even with "correctly sized" feet. To measure floor unevenness:
How to do it: Place a long level (4 feet or longer) on the spot where the workbench will sit. Check the bubble—if it's off-center, note the direction and approximate slope. For more precision, use a laser level: project a horizontal line onto the wall, then measure the distance from the line to the floor at each workbench leg position. The difference between the highest and lowest measurements is your "maximum floor variation."
For example, if the floor dips 0.3 inches at the left front leg and rises 0.2 inches at the right rear, your total variation is 0.5 inches. This means your leveling feet need at least 0.5 inches of adjustability to compensate. Most adjustable feet offer 1–2 inches of travel, which is usually enough for typical floors, but extreme cases (e.g., old warehouses with uneven concrete) may require longer stems.
Step 4: Calculate Required Foot Height and Base Size
Now, combine the leg dimensions, hole spacing, and floor variation to choose the right foot height. The total height of the leveling foot (when fully extended) should be:
Floor Clearance + Maximum Floor Variation + Safety Buffer = Minimum Foot Height
Floor Clearance: The space between the bottom of the workbench leg and the floor when the foot is fully retracted. Aim for at least 0.5 inches to avoid debris buildup and make adjustment easier.
Safety Buffer: Add 0.25–0.5 inches to account for unexpected floor dips or future adjustments.
For example: If you need 0.5 inches of clearance, have 0.3 inches of floor variation, and add a 0.25-inch buffer, your minimum foot height is 0.5 + 0.3 + 0.25 = 1.05 inches. Look for feet with a maximum height of at least 1.05 inches when extended.
Next, consider the base size of the leveling foot. The base (the part that touches the floor) should be large enough to distribute the workbench's weight without sinking into soft floors (like wood or vinyl). A general rule: For every 100 pounds of weight, the base should have at least 1 square inch of contact area. For a 500-pound workbench with 4 legs, each foot should have a base area of at least 1.25 square inches (500 lbs / 4 legs = 125 lbs per leg; 125 lbs / 100 lbs per sq.in. = 1.25 sq.in.).

Common Mistakes to Avoid: Lessons from the Wobbly Workbench Hall of Fame
Even seasoned DIYers can slip up when measuring for leveling feet. Here are the most common mistakes—and how to steer clear of them:
- Mistake 1: Ignoring Thread Direction (Left-Hand vs. Right-Hand Threads) – Threaded leveling feet come in right-hand (tighten clockwise) and left-hand (tighten counterclockwise) threads. If your workbench legs have left-hand threads and you buy right-hand feet, you'll never get them to stay tight. Check by testing with a bolt: if turning clockwise tightens it, it's right-hand; if counterclockwise, left-hand.
- Mistake 2: Overlooking Leg Material Thickness – If your Workbench E has thin-walled legs (common with aluminum pipe), a long threaded stem might poke through the inside of the leg, scratching tools or reducing stability. Measure the leg's inner diameter (ID) and ensure the stem length (when fully screwed in) doesn't exceed the leg's wall thickness.
- Mistake 3: Choosing Style Over Substance – Flashy, decorative feet might look nice, but if they're made of cheap plastic or have small bases, they'll fail under heavy loads. Prioritize materials like steel or reinforced nylon, and opt for larger bases if you're working on uneven or soft floors.
- Mistake 4: Forgetting to Account for Workbench Overhang – If your Workbench E has a top that extends beyond the legs (common for extra workspace), the weight distribution shifts. This can cause the feet to bear more load at the overhang side, so size up the feet on those legs by 10–15% to prevent sinking.
Troubleshooting: When Measurements Go Wrong (And How to Fix Them)
Even with careful measuring, you might hit snags. Here's how to troubleshoot common issues:
Problem: Holes don't align with the leveling foot base plate. – If the hole spacing is off by 1/8 inch or less, you may be able to drill new holes in the foot's base plate (if it's metal). For larger discrepancies, return the feet and order a model with adjustable hole patterns (some feet have slotted holes for flexibility).
Problem: Feet are too short to compensate for floor unevenness. – Add shims under the feet (metal or hard plastic) as a temporary fix, but plan to upgrade to longer feet. Avoid wood shims—they compress over time, undoing your hard work.
Problem: Threads strip when installing feet. – This usually means the thread size is mismatched or the leg material is too soft (e.g., thin aluminum). For stripped holes, use thread repair kits (like Helicoils) to restore the threads, then switch to feet with a coarser thread (which grip better in soft materials).
Final Checks: Testing Stability Before Calling It Done
Once your new adjustable leveling feet are installed, it's time to test. Place the Workbench E in its final position and follow these steps:
- Shake Test: Gently push the workbench from all sides. It should rock minimally—no side-to-side wobble.
- Level Test: Place a level on the workbench top. The bubble should stay centered, even when you press down lightly on each corner.
- Load Test: Add weight (tools, materials) to the workbench—aim for about 75% of its maximum capacity. Recheck level and stability; adjust feet as needed.
- Long-Term Check: Come back after a week and recheck. Floors can settle slightly under weight, and feet may loosen a bit—tighten them if needed.
Conclusion: Your Workbench E, Now Steady as a Rock
Measuring for adjustable leveling feet might seem like a small step, but it's the difference between a workbench that frustrates and one that elevates your productivity. By taking the time to measure leg dimensions, hole spacing, floor unevenness, and weight needs, you'll ensure your Workbench E (single deck-without caster) stands firm, no matter what projects you throw at it. And remember: these skills aren't just for workbenches. Whether you're setting up shelving, assembly lines, or even home furniture, the ability to measure and fit leveling feet will save you time, money, and plenty of headaches down the line. So grab your tape measure, take your time, and here's to a workspace that's as steady as your ambition.