- Company Articles
- Products and Technology
- Product knowledge
- How to Measure for M10*56 Rubber Leveling Feet: Thread & Length Guide

How to Measure for M10*56 Rubber Leveling Feet: Thread & Length Guide
Related Product
M10*56 Rubber Leveling Feet
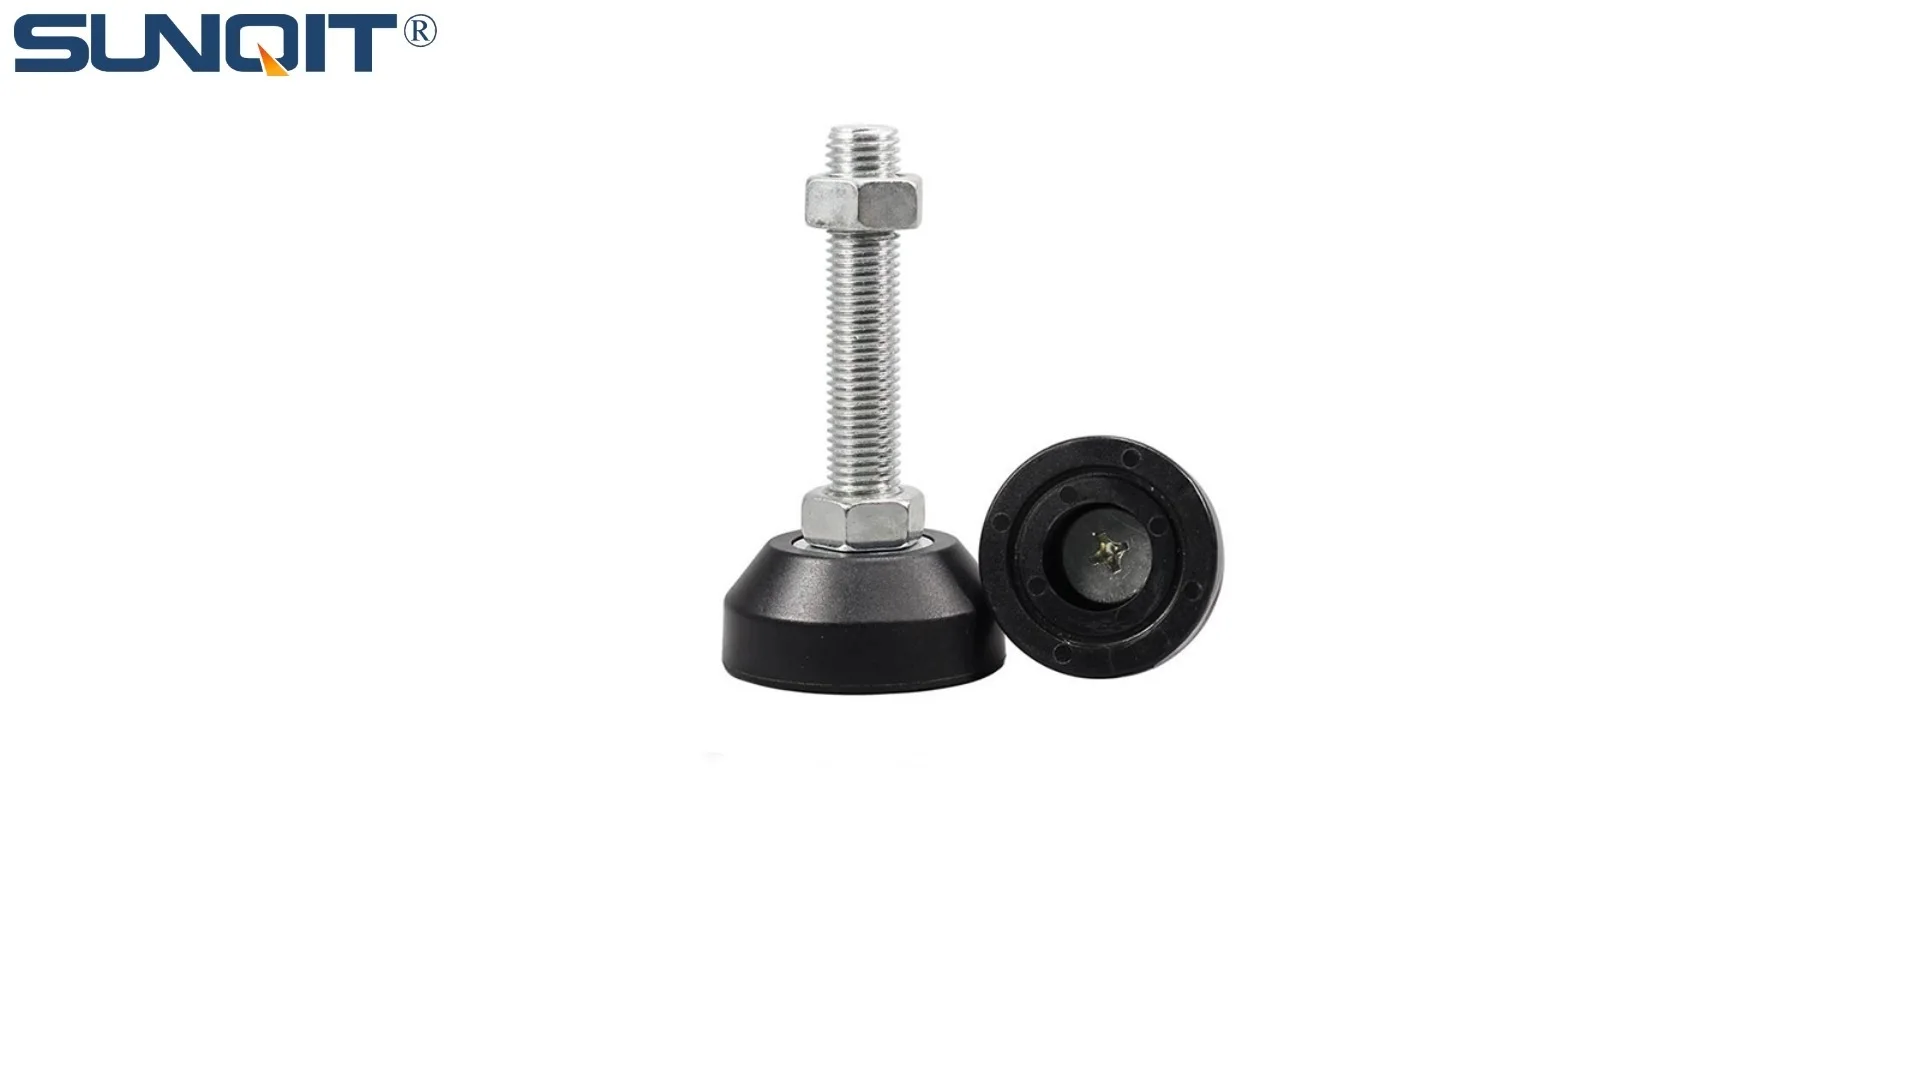
Adjustable leveling feet are designed to keep machines level when placed on uneven or sloped ground. Otherwise known as adjustable equipment feet, they are available to order in a wide variety of size and load capacity combinations.
Introduction: The Hidden Cost of Wobbly Workbenches
Let's set the scene: You've just finished assembling a new aluminum workbench for your workshop. You tighten the last bolt, stand back, and give it a test push—only to watch it rock like a seesaw. The culprit? Those tiny rubber feet at the bottom. Maybe they're too short, too narrow, or the threads don't quite match the holes in your workbench legs. Sound familiar? If you've ever tried to "make do" with the wrong leveling feet, you know the consequences: tools sliding off the bench, uneven cuts, and that nagging fear the whole setup might collapse mid-project.
M10*56 rubber leveling feet are the unsung heroes of stable workspaces. They're the reason your workbench stays put when you're drilling, your material rack B doesn't tip when you load it with parts, and your assembly line runs smoothly without jostling. But to get that stability, you need to measure them correctly. In this guide, we'll walk through how to measure thread size, length, and base dimensions like a pro—no engineering degree required. By the end, you'll know exactly what "M10*56" means, why those numbers matter, and how to avoid the most common measurement mistakes.
Understanding M10*56 Rubber Leveling Feet: What the Numbers Mean
Before we break out the tools, let's decode the label "M10*56." It's not just a random string of letters and numbers—it's a roadmap to the foot's design. Let's start with the basics.
The "M10" in M10*56: Thread Diameter and Pitch
The "M" stands for "metric," the standard system for measuring threads worldwide. The "10" refers to the thread diameter—the width of the metal bolt that screws into your workbench leg. For M10 feet, this diameter is 10 millimeters (mm). But diameter alone isn't enough: you also need to check the thread pitch, which is the distance between each thread. Most M10 leveling feet use a 1.5mm pitch (the space between two adjacent threads), though some heavy-duty models might have a coarser 2.0mm pitch. Why does pitch matter? Imagine trying to screw a fine-tooth comb into a coarse-tooth socket—they won't lock together. The same goes for threads: a mismatched pitch means stripped threads or a loose fit that'll never stay tight.
The "56" in M10*56: Overall Length Explained
The "56" is the overall length of the leveling foot, measured from the top of the threaded bolt to the bottom of the rubber base. This isn't the same as the thread length (the part that actually screws into the leg). For example, a foot with 40mm of thread and a 16mm rubber base adds up to 56mm overall. Why does overall length matter? If you buy a foot that's too short (say, 40mm), you won't have enough adjustability to level out uneven floors. Too long (80mm), and the foot might hit the ground before the thread is fully screwed in, leaving your workbench wobbly.
Why M10*56? Common Applications
M10*56 feet are the workhorses of the leveling world. They're strong enough to support medium-heavy loads (think aluminum workbench A loaded with a drill press) but compact enough for smaller setups like hand trolley B. You'll find them on everything from assembly line workbenches to turnover trolleys and even stainless steel pipe series racks. Their popularity comes down to versatility: 10mm threads fit most standard workbench legs, and 56mm length works for floors that are slightly uneven (which, let's be real, is most floors).

Key Measurements to Get Right (and Why They Matter)
Measuring a leveling foot isn't just about "eyeballing" it. To ensure a perfect fit, you need to check four critical dimensions. Let's break them down with real-world examples.
1. Thread Diameter: The "Grip" of the Foot
Thread diameter is the width of the bolt that screws into your workbench. For M10 feet, this should be 10mm. But how do you confirm that? Grab a digital caliper (we'll talk tools next) and measure across the threads. If the diameter is 9mm, you're looking at an M9 foot—too small for M10 holes. An 11mm diameter? That's M11, which won't fit at all. Even a 0.5mm difference can mean the foot either won't screw in or will strip the threads in your workbench legs.
2. Thread Pitch: The "Teeth" That Lock It In
Pitch is the distance between two adjacent threads. For M10*56 feet, the standard pitch is 1.5mm. To measure it, place a ruler alongside the threads and count how many threads fit into 10mm. If 6-7 threads fit, you've got a 1.5mm pitch (since 10mm ÷ 6.66 threads = 1.5mm). Why does this matter? If your workbench legs have 1.5mm pitch threads and you buy a foot with 2.0mm pitch, the threads will cross and strip—ruining both the foot and the leg.
3. Overall Length: Adjustability in Millimeters
Overall length is where most people go wrong. Let's say your workbench legs have 30mm deep holes. If you buy a 56mm foot with 30mm of thread, only 26mm will stick out (56mm total length – 30mm thread length = 26mm). That's enough to level a floor that's off by 2-3mm. But if you mistakenly measure the thread length instead of overall length, you might buy a 30mm foot, leaving zero adjustability. Suddenly, a slightly uneven floor becomes a major problem.
4. Base Dimensions: Stability Starts at the Bottom
The rubber base does more than just protect floors—it keeps the foot from sliding. A base that's too small (say, 20mm diameter) will sink into carpet or tile, while a 50mm diameter base spreads the weight evenly. For M10*56 feet, the base is usually 35-45mm in diameter and 10-12mm thick. Thicker rubber (15mm+) absorbs more vibration, which is key if you're using power tools on an aluminum workbench.
| Measurement | How to Measure | Typical M10*56 Value | Common Mistake |
|---|---|---|---|
| Thread Diameter | Measure across the threaded bolt with calipers | 10mm | Confusing M10 (10mm) with M8 (8mm) |
| Thread Pitch | Count threads per 10mm or use a pitch gauge | 1.5mm | Assuming all M10 threads have the same pitch |
| Overall Length | From top of bolt to bottom of rubber base | 56mm | Measuring only the threaded part (not the base) |
| Base Diameter | Across the widest part of the rubber base | 35-45mm | Ignoring base size, leading to tipping |

Tools You'll Need (and How to Use Them)
You don't need a workshop full of tools to measure leveling feet. Here's what you'll need, plus tips for using them even if you're new to DIY.
1. Digital Caliper: Your Precision Partner
A digital caliper is worth every penny (you can find basic models for $20 online). It measures in mm and inches, with a screen that shows exact numbers. To measure thread diameter: Open the caliper jaws, gently clamp them around the threaded bolt, and read the display. For overall length: Place the foot on a flat surface, lower the caliper's depth rod to the top of the bolt, and read the length. Pro tip: Zero out the caliper before measuring to avoid errors.
2. Thread Pitch Gauge: Matching the "Teeth"
A thread pitch gauge looks like a small fan with metal "leaves," each marked with a pitch (e.g., 1.5mm, 2.0mm). To use it, find the leaf that fits snugly into the threads of the leveling foot—no gaps, no bending. The number on that leaf is your pitch. If you don't have a gauge, count the threads in 10mm (use a ruler) and divide by 10. For M10*56 feet, you should get around 6-7 threads in 10mm (10 ÷ 6.66 = 1.5mm pitch).
3. Ruler or Tape Measure: For Quick Checks
A basic ruler with mm markings works for overall length if you don't have a caliper. Just place the foot on a table, line the ruler up with the bolt, and read from the bottom of the rubber base to the top of the bolt. For base diameter, measure across the rubber part—just make sure the ruler is straight to avoid skewed results.
- Pro Hack: If you're replacing old feet, take one with you to the store. Hold the new foot next to the old one—threads should line up perfectly, and the base should be the same size or slightly larger for extra stability.

Step-by-Step Guide: Measuring M10*56 Rubber Leveling Feet
Let's put it all together with a step-by-step process. Grab your tools, an old leveling foot (if you have one), and a piece of paper to jot down measurements.
- Identify the parts of the leveling foot. Most have three main parts: the threaded bolt (top), a metal or plastic collar (middle), and the rubber base (bottom). The "overall length" includes all three parts.
- Measure thread diameter. Open your caliper jaws and clamp them around the threaded bolt (not the collar or base). The display should read 10mm for M10 feet. If it's 9mm, it's M9—too small. 11mm? M11, too big.
- Check thread pitch. Use your pitch gauge: find the leaf that fits into the threads without forcing. For M10*56, it should say "1.5mm." If you're using the ruler method, count threads in 10mm—you should see 6-7 threads.
- Measure overall length. Place the foot on a flat surface (rubber base down). Lower the caliper's depth rod to the top of the bolt and read the length. For M10*56, this should be 56mm. Double-check by measuring from the bottom of the rubber base to the top of the bolt with a ruler.
- Measure base diameter and height. Use the caliper to measure across the widest part of the rubber base (35-45mm is standard). Then measure the height of the rubber (from bottom to where it meets the collar)—8-15mm is typical for M10*56.
- Check for extras. Some feet have lock nuts (to keep them from unscrewing) or swivel bases (to adjust to uneven floors). Note these features—they'll affect compatibility with your workbench.
Once you have these numbers, you're ready to shop. Compare your measurements to product listings—if the thread diameter is 10mm, pitch 1.5mm, length 56mm, and base 35-45mm, you've found your match.
Common Mistakes to Avoid (and How to Fix Them)
Even pros make measurement mistakes. Here are the most common ones and how to sidestep them.
Mistake #️⃣1: Measuring Thread Length Instead of Overall Length
This is the biggest culprit. Let's say you measure the threaded part of the foot and it's 40mm. You assume that's the "length" and buy a 40mm foot—only to find the rubber base adds another 16mm, making the total length 56mm. Now your workbench sits 16mm higher than you planned. Fix: Always measure from the bottom of the rubber base to the top of the bolt—never just the threaded part.
Mistake #️⃣2: Ignoring Base Size
A foot with the right thread and length but a tiny base (20mm diameter) will still wobble. Why? The smaller the base, the less contact with the floor, and the easier it is to tip. Fix: Aim for a base diameter of at least 35mm for M10*56 feet—wider is better for heavy loads like material rack B.
Mistake #️⃣3: Assuming All "M10" Threads Are the Same
M10 threads come in different pitches: 1.0mm (fine), 1.5mm (standard), and 2.0mm (coarse). If your workbench legs have 1.5mm pitch threads and you buy a 2.0mm pitch foot, they won't lock together. Fix: Always check pitch with a gauge or ruler—don't guess.
When to replace Your Leveling Feet (and Why It's Worth It)
How do you know when it's time for new feet? Look for these signs: cracks in the rubber, threads that strip when you tighten them, or a workbench that still wobbles after adjusting the feet. Replacing them might seem like a small task, but it's one of the easiest ways to improve workspace safety and efficiency.
For example, if you're using an aluminum workbench A with worn-out feet, upgrading to M10*56 feet can make assembly tasks faster—no more stopping to realign parts that slide off. Or if your material rack B leans to one side, new feet with larger bases can distribute weight evenly, preventing collapse. And since M10*56 feet are affordable (usually $5-$15 each), it's a small investment for big returns.
Conclusion: Measure Twice, Buy Once
M10*56 rubber leveling feet might seem small, but they're the foundation of a stable workspace. By measuring thread diameter, pitch, overall length, and base size, you'll avoid wobbly workbenches, stripped threads, and costly do-overs. Remember: "M10" means 10mm thread diameter, "56" means 56mm overall length, and a 1.5mm pitch is standard. With a digital caliper, pitch gauge, and this guide, you'll measure like a pro.
So next time you're setting up a new aluminum workbench, replacing old feet on a material rack, or building a custom assembly station, take 5 minutes to measure. Your tools (and your sanity) will thank you.