- Company Articles
- Products and Technology
- Installation And Maintenance
- How to Remove and replace a Damaged Plastic Pipe Cover

How to Remove and replace a Damaged Plastic Pipe Cover
Related Product
Plastic Pipe Cover
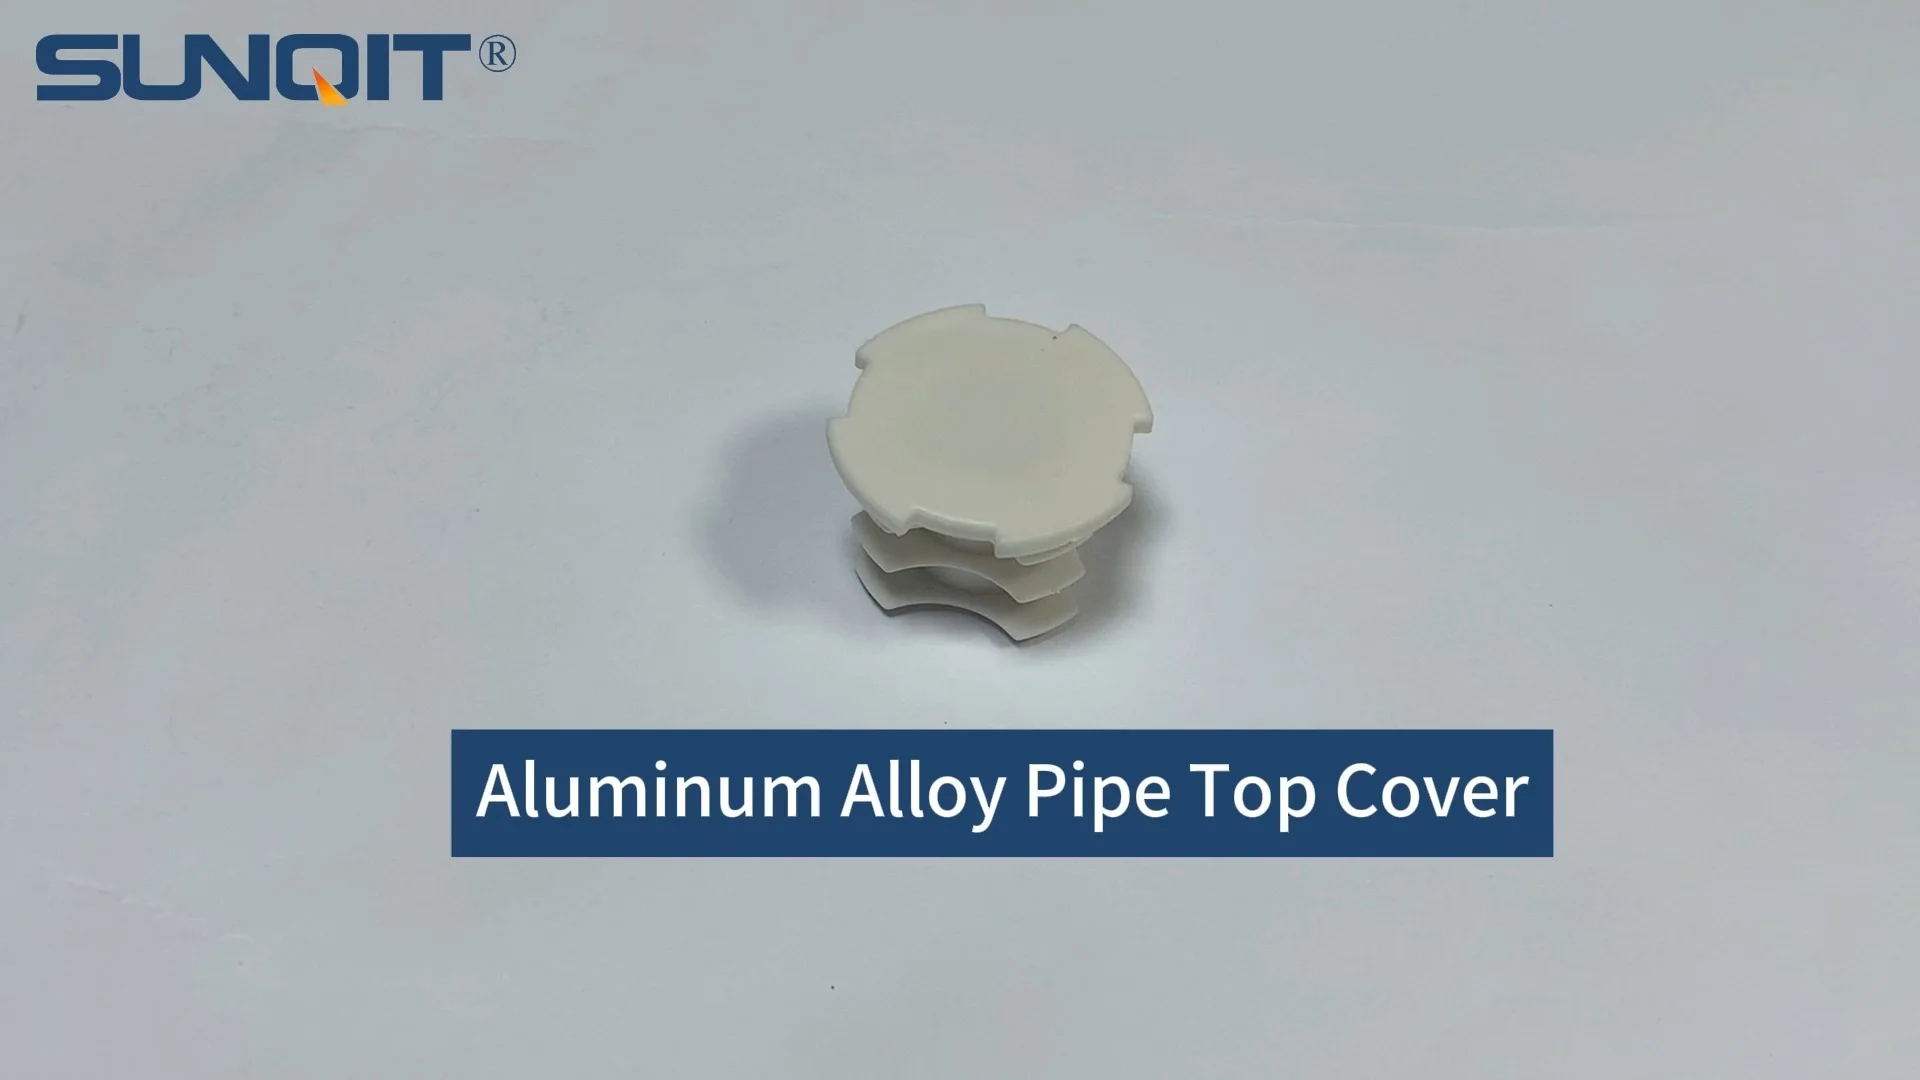
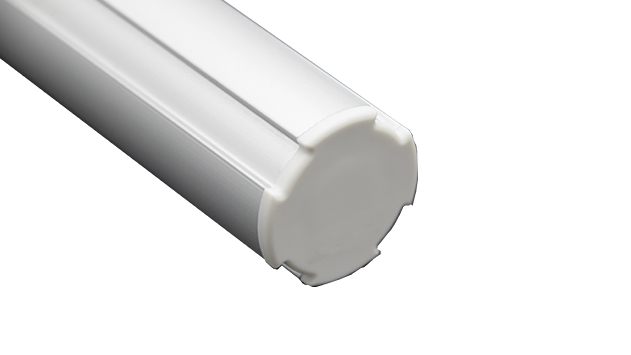
Plastic pipe cover to cover dia 28MM aluminum pipe end at workbench, flow rack, to prevent metal surface scratch material or worker.
Why Bother with a Plastic Pipe End Cap?
Before diving into the "how," let's talk about the "why." You might think, "It's just a plastic cap—can't I ignore it?" Sure, you could… but here's why you shouldn't. First, safety: A cracked or missing cap leaves the end of the pipe exposed. If that pipe is part of a workbench, a turnover trolley, or a material rack, someone could brush against it and get a cut. Second, protection for the pipe itself: Aluminum, stainless steel, or even pe-coated lean pipes are durable, but their ends are vulnerable to moisture, dust, and dents. A cap seals out water that could cause rust (especially on steel pipes) and stops dirt from building up inside, which might make future adjustments or repairs harder. Third, longevity of your lean system: Lean systems thrive on efficiency, and small parts like
lean pipe accessories
(yes, that includes end caps) keep everything running smoothly. A missing cap might seem trivial, but over time, it can lead to bigger issues—like a corroded pipe that needs replacing, which costs far more than a $5 cap. So, let's treat this small repair like the important maintenance it is.
Tools You'll Need (and Why)
You don't need a fully stocked toolbox for this job—just a few basics. Here's what to grab before you start:
| Tool/Item | Purpose | Pro Tip |
|---|---|---|
| Screwdriver (flathead or Phillips, depending on the cap) | To gently pry off snapped-on caps or unscrew threaded ones | Use a rubber-handled screwdriver for better grip; avoid using excessive force to prevent scratching the pipe. |
| Needle-nose pliers | To grip and twist stubborn caps that won't budge by hand | Look for pliers with rubber tips to avoid marring the plastic cap or pipe surface. |
| New plastic pipe end cap (matching size) | The replacement part—critical to get the right fit! | Measure the pipe diameter first (common sizes include 0.5 inch, 1 inch, or 1.5 inch). Check with your local lean pipe supplier or order online using the pipe's specs. |
| Clean cloth or rag | To wipe down the pipe end before installing the new cap | A microfiber cloth works best to pick up dust and debris without leaving lint. |
| Measuring tape or ruler | To confirm the pipe diameter and cap size | Measure twice, buy once! Caps that are too loose will fall off; too tight might crack during installation. |
| (Optional) Mild soap and water | For extra cleaning if the pipe end is greasy or grimy | Dry thoroughly after washing—moisture trapped under the cap can cause mildew or rust. |
Step 1: Assess the Damage (and Take Notes)
First things first: Figure out what you're dealing with. Not all damaged caps are the same, and knowing the type of damage will guide how you remove it. Is the cap cracked but still partially attached? Snapped clean off, leaving a jagged edge? Or is it loose, spinning freely on the pipe end? Take a quick photo with your phone—this might help if you need to ask a
lean pipe accessories
expert for a matching replacement. Also, check the pipe material: Is it aluminum lean pipe, stainless steel, or pe-coated? Aluminum and stainless steel are softer than you might think, so you'll want to be gentle to avoid scratching. If the pipe itself is bent or dented near the cap, you might need to straighten it first (use a rubber mallet for that—no hammering directly on the metal!). Finally, note the cap's style: Some are "push-fit" (snapped on with friction), others have small screws, and a few might even be glued (though that's rare for standard lean pipe caps). This will determine how you remove it, so take a moment to inspect before prying or pulling.

Step 2: Get the Right Replacement Cap
Now that you know the damage, it's time to find a new cap. This is where that measuring tape comes in. Measure the outer diameter of the pipe (not the inner!)—for example, a 1-inch aluminum pipe will need a 1-inch plastic pipe end cap. If the old cap is still partially intact, you can also measure its inner diameter to match. Most hardware stores carry basic caps, but for specialty pipes (like aluminum extrusion profiles or stainless steel pipe series), you might need to visit a dedicated
lean pipe supplier
or order online. When shopping, look for caps labeled "heavy-duty" if the pipe is part of a high-use setup (like a conveyor or material rack)—they'll be thicker and more resistant to cracking. Pro tip: Buy a few extras and store them with your
lean pipe and accessories
stash. Trust me, you'll thank yourself the next time a cap cracks—no last-minute runs to the store needed.

Step 3: Remove the Damaged Cap (Gently!)
Okay, tools in hand, replacement cap ready—let's get that old cap off. The method here depends on how the cap is attached:
If it's a push-fit cap (no screws): These are the most common. They're held on by friction, so start by trying to twist it gently with your fingers. If it's loose, it might pop off with a little wiggling. If it's stuck, grab your flathead screwdriver. Wrap a small piece of cloth around the screwdriver tip to avoid scratching the pipe, then insert the tip between the cap and the pipe. Gently pry outward, alternating sides (left, right, top, bottom) to loosen it evenly. Avoid prying in one spot too hard—you could crack the cap further or dent the pipe. Once it's loose, pull it off with your fingers.
If it's a screw-on cap: Check the top of the cap for a small screw (usually Phillips-head). Use your screwdriver to unscrew it counterclockwise—go slow, as these screws are often tiny and easy to strip. Once the screw is out, the cap should twist off easily. If it's still stuck, tap the cap lightly with the handle of the screwdriver to loosen any rust or debris, then try again.
If it's glued (rare): This is trickier. You'll need to soften the glue first—try dabbing a bit of rubbing alcohol or acetone (test on a hidden part of the pipe first to ensure it doesn't damage the finish) around the edge. Let it sit for 5 minutes, then gently pry with the screwdriver as you would for a push-fit cap. Avoid using heat (like a hair dryer) unless the pipe is metal—plastic caps can melt!
Once the cap is off, inspect the pipe end again. If there are any sharp burrs (common if the cap cracked due to impact), file them down with a fine-grit sandpaper—you don't want to cut yourself when installing the new cap.
If it's a push-fit cap (no screws): These are the most common. They're held on by friction, so start by trying to twist it gently with your fingers. If it's loose, it might pop off with a little wiggling. If it's stuck, grab your flathead screwdriver. Wrap a small piece of cloth around the screwdriver tip to avoid scratching the pipe, then insert the tip between the cap and the pipe. Gently pry outward, alternating sides (left, right, top, bottom) to loosen it evenly. Avoid prying in one spot too hard—you could crack the cap further or dent the pipe. Once it's loose, pull it off with your fingers.
If it's a screw-on cap: Check the top of the cap for a small screw (usually Phillips-head). Use your screwdriver to unscrew it counterclockwise—go slow, as these screws are often tiny and easy to strip. Once the screw is out, the cap should twist off easily. If it's still stuck, tap the cap lightly with the handle of the screwdriver to loosen any rust or debris, then try again.
If it's glued (rare): This is trickier. You'll need to soften the glue first—try dabbing a bit of rubbing alcohol or acetone (test on a hidden part of the pipe first to ensure it doesn't damage the finish) around the edge. Let it sit for 5 minutes, then gently pry with the screwdriver as you would for a push-fit cap. Avoid using heat (like a hair dryer) unless the pipe is metal—plastic caps can melt!
Once the cap is off, inspect the pipe end again. If there are any sharp burrs (common if the cap cracked due to impact), file them down with a fine-grit sandpaper—you don't want to cut yourself when installing the new cap.
Step 4: Clean the Pipe End (Yes, This Matters)
You're probably eager to slap the new cap on, but hold on—cleaning the pipe end is non-negotiable. Over time, dirt, grease, and even bits of old glue (if the cap was glued) can build up, and a dirty surface will prevent the new cap from fitting snugly. Grab your clean cloth and wipe the pipe end thoroughly. If there's grime that won't come off, dampen the cloth with mild soap and water, scrub gently, then dry completely. For aluminum pipes, avoid harsh cleaners that might strip the anodized finish—stick to soap and water. If you notice any rust (more common on steel pipes), use a wire brush to buff it away, then wipe with a cloth dampened in white vinegar to prevent future rust. Once the pipe end is clean and dry, give it a quick once-over—you want it smooth, dry, and ready for the new cap.
Step 5: Install the New Plastic Pipe End Cap
Now for the satisfying part: putting on the new cap. This should be straightforward, but a few tricks will ensure a tight, long-lasting fit. Start by aligning the cap with the pipe end—most caps have a slight bevel on the inside to guide them on, so make sure that's facing the pipe. If it's a push-fit cap, apply gentle, even pressure with your palms. Twist slightly as you push—this helps the cap "seat" properly. You should feel a small "pop" or resistance when it's fully on. If it's tight, don't force it! Instead, warm the cap under hot water for 30 seconds (plastic softens slightly when warm) to make it more pliable, then try again. For screw-on caps, hand-tighten the screw first to avoid cross-threading, then use the screwdriver to snug it up (don't overtighten—you'll crack the plastic). Once installed, give the cap a gentle tug to test it—if it wiggles, it's not on all the way. Repeat the twisting/pushing motion until it feels secure. Stand back and admire your work—that pipe end looks good as new!
Troubleshooting Common Hiccups
Even the simplest repairs can hit snags. Here's how to fix the most common issues:
Problem: The new cap is too loose and falls off.
Solution: Check if you bought the right size—measure the pipe again to confirm. If the size is correct, wrap a thin layer of Teflon tape around the pipe end (this adds friction) before reinstalling the cap. Avoid using glue unless absolutely necessary—glue makes future repairs harder.
Problem: The cap is too tight and won't go on all the way.
Solution: Warm the cap as mentioned earlier, or use sandpaper to gently file the inner edge (only a tiny bit!) to widen it slightly. Be careful not to overdo it—you don't want to make it too loose.
Problem: The pipe end is bent, so the cap sits crooked.
Solution: Use a rubber mallet to gently tap the pipe end straight. Place a block of wood over the pipe to avoid denting it, then tap until it's aligned. If bending isn't possible, you might need to cut off the bent section with a pipe cutter (for metal pipes) and then install the cap on the new, straight end.
Problem: The cap cracks immediately after installing.
Solution: You probably overtightened a screw-on cap or forced a push-fit cap that was too small. Double-check the size and try a new cap—this time, go slower and apply even pressure.
Problem: The new cap is too loose and falls off.
Solution: Check if you bought the right size—measure the pipe again to confirm. If the size is correct, wrap a thin layer of Teflon tape around the pipe end (this adds friction) before reinstalling the cap. Avoid using glue unless absolutely necessary—glue makes future repairs harder.
Problem: The cap is too tight and won't go on all the way.
Solution: Warm the cap as mentioned earlier, or use sandpaper to gently file the inner edge (only a tiny bit!) to widen it slightly. Be careful not to overdo it—you don't want to make it too loose.
Problem: The pipe end is bent, so the cap sits crooked.
Solution: Use a rubber mallet to gently tap the pipe end straight. Place a block of wood over the pipe to avoid denting it, then tap until it's aligned. If bending isn't possible, you might need to cut off the bent section with a pipe cutter (for metal pipes) and then install the cap on the new, straight end.
Problem: The cap cracks immediately after installing.
Solution: You probably overtightened a screw-on cap or forced a push-fit cap that was too small. Double-check the size and try a new cap—this time, go slower and apply even pressure.
Wrapping Up: Small Repairs, Big Impact
You did it! What started as a tiny, annoying problem—a cracked plastic pipe end cap—turned into a quick, satisfying repair. And while it might seem like a small win, this kind of maintenance is what keeps your lean system, workbench, or workshop running like a well-oiled machine. Remember,
lean pipe accessories
like end caps are the unsung heroes of efficient spaces—they protect, organize, and extend the life of your equipment. By taking the time to fix them, you're investing in the longevity of your setup and keeping everyone safe. Plus, you've added a new skill to your toolkit—next time a coworker or friend has a loose cap, you can confidently say, "Let me show you how to fix that." So, grab your new cap, give your pipe a pat (metaphorically—plastic caps don't like pats), and get back to what you do best: creating, building, and making things work better. Here's to small repairs and big results!