- Company Articles
- Products and Technology
- Installation And Maintenance
- How to Retrofit Existing Workstations with Aluminum Side Guards

How to Retrofit Existing Workstations with Aluminum Side Guards
Related Product
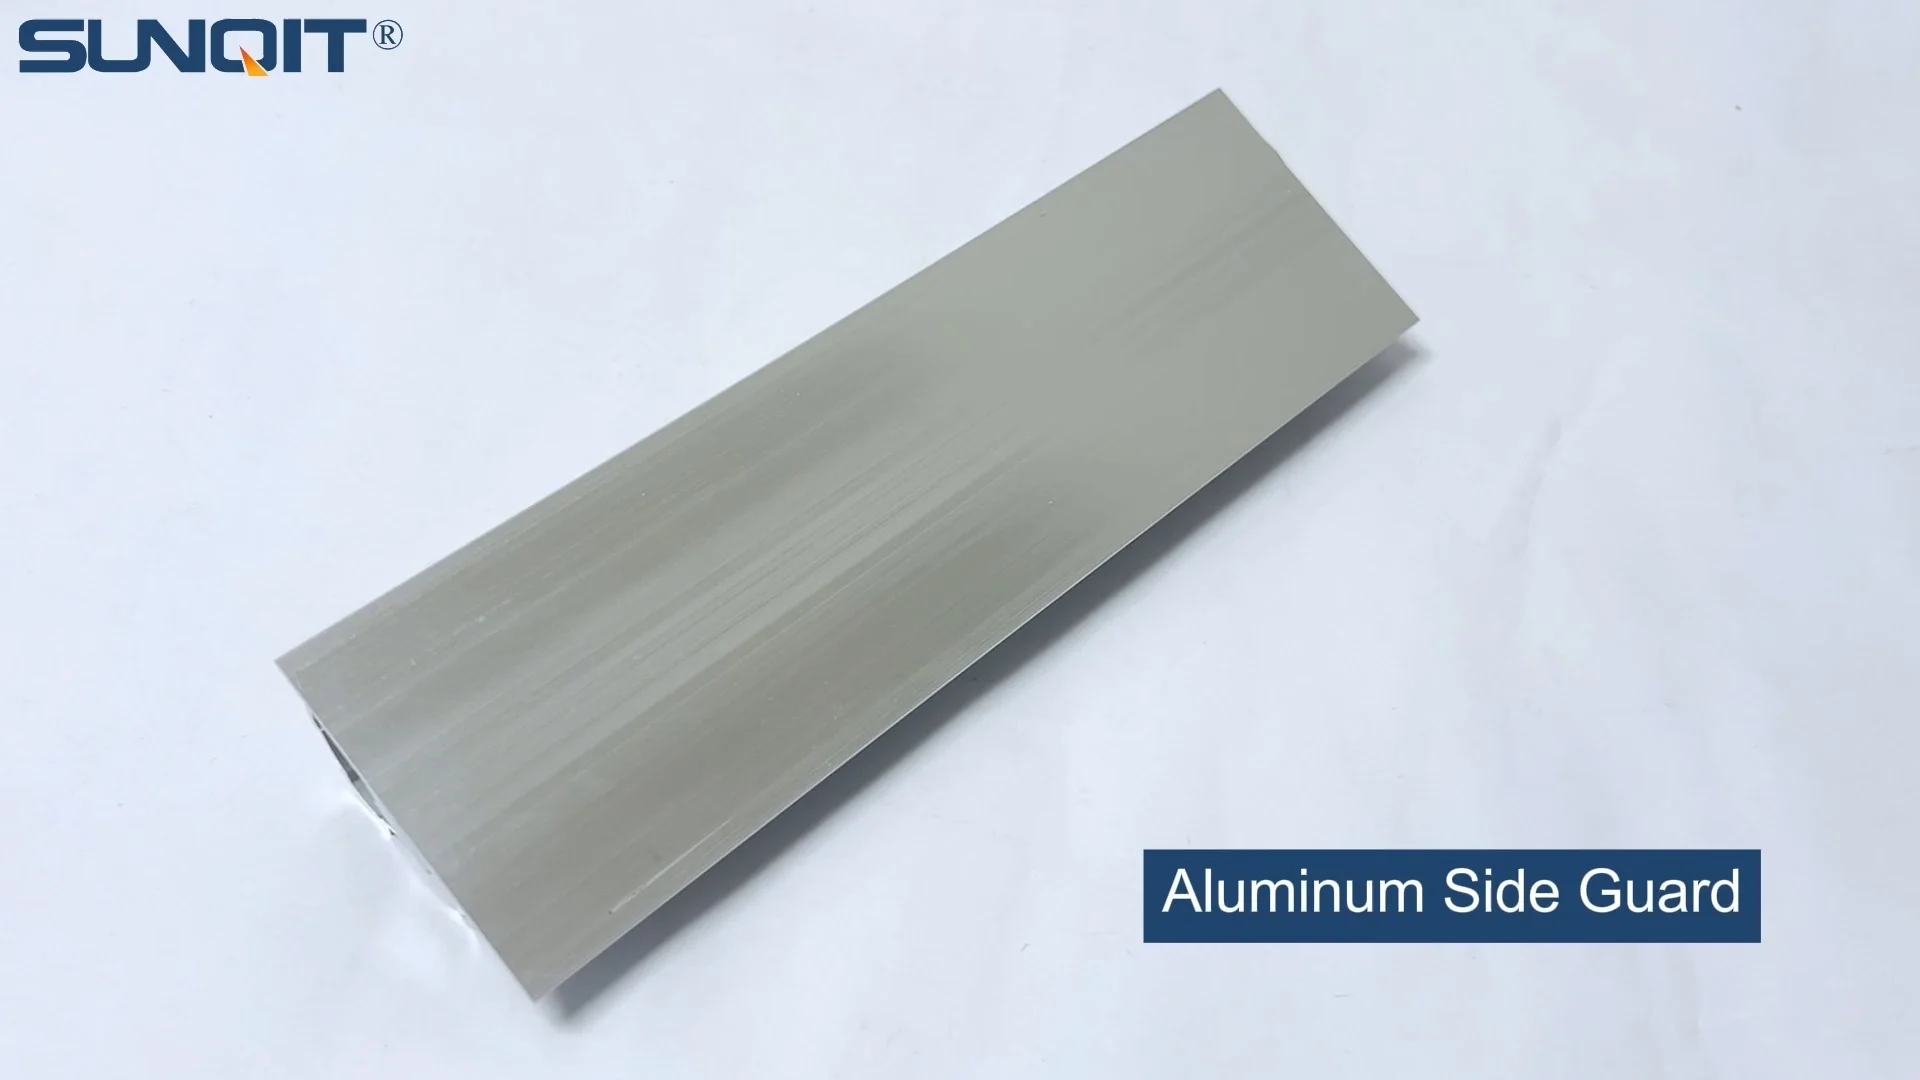
Aluminum Side Guard
Aluminum side guard, it works with a aluminum pipe or a roller track as side guard to prevent material drop,or move to wrong direction.
Introduction: The Case for Retrofitting Workstations
Walk into any busy workshop, factory floor, or assembly line, and you'll quickly notice that workstations are the unsung heroes of productivity. They're where ideas take shape, parts are assembled, and products come to life. But over time, even the sturdiest workstations can start to show their age. Maybe the edges are chipped from years of tool use, or employees have mentioned parts slipping off the sides during shifts. Perhaps your team has grown, and the once-efficient layout now feels cramped, or new safety regulations require better fall protection for tools and materials.
In these moments, the question arises: Do you replace the entire workstation, or is there a smarter, more cost-effective way to upgrade? For many businesses, retrofitting—adding new components to breathe life into existing setups—proves to be the answer. And when it comes to retrofitting for safety, durability, and adaptability, aluminum side guards stand out as a top choice. Lightweight yet surprisingly strong, resistant to corrosion, and endlessly customizable, aluminum side guards can transform a basic workbench into a safer, more efficient workspace without the hassle of a full replacement.
In this guide, we'll walk through the entire process of retrofitting your existing workstations with aluminum side guards. From assessing your needs to selecting the right materials (hint: aluminum profile accessories will be your best friend here) and step-by-step installation, we'll cover everything you need to know to make this upgrade a success. Whether you're a small workshop owner or a facility manager at a large plant, this project is achievable, affordable, and well worth the effort.
Step 1: Assess Your Workstation Needs
Before you grab a saw and start cutting aluminum, take a step back and evaluate what your workstation actually needs. Retrofitting without a clear plan is like building a house without blueprints—you might end up with something that looks good but doesn't solve the real problems. Start by asking: Why are we adding side guards?
Identify Safety Gaps
Safety should be your top priority. Talk to the employees who use the workstation daily—they'll have the best insights. Do tools frequently slide off the edges during use? Have there been near-misses with small parts falling onto the floor (or worse, into machinery)? Are the current edges sharp, posing a risk of cuts? Aluminum side guards act as a physical barrier, preventing these incidents by creating a raised lip around the workstation's perimeter. For example, if your team works with small electronic components, even a 2-inch tall guard can stop parts from rolling off during assembly.
Consider Workflow and Material Handling
Next, think about how the workstation is used. Is it primarily for assembly, where parts are moved back and forth across the surface? Or is it a packing station, where boxes are stacked and sealed? The height and design of your aluminum side guards will depend on this. A packing station might need taller guards (4–6 inches) to keep boxes from tipping, while an assembly workbench might only need 2–3 inches to contain tools and small parts. You'll also want to check if the side guards will interfere with existing workflows—for example, if employees frequently slide materials onto the workstation from a conveyor, the guards should have a cutout or a lower section to accommodate that.
Measure Twice, Cut Once (Literally)
Once you know why you're adding side guards, it's time to get out the measuring tape. Note the length and width of your workbench, paying special attention to corners, curves, or irregularities in the surface. If your workstation has a back panel or is built into a corner, you might only need guards on the front and sides. Measure the height of the existing workbench surface, too—this will help you determine how tall the side guards should be relative to the workspace. Jot down these numbers; you'll need them when selecting materials later.

Step 2: Why Aluminum? The Benefits of Aluminum Side Guards
You might be wondering: Why aluminum? Couldn't I use wood, steel, or plastic instead? Let's break it down. Wood is cheap but prone to warping and splintering, especially in humid workshops. Steel is strong but heavy, making installation a two-person job, and it rusts if not regularly painted. Plastic is lightweight but lacks the structural integrity to withstand heavy impacts (think a dropped wrench hitting the guard). Aluminum, on the other hand, checks all the boxes:
- Lightweight: Aluminum is about 1/3 the weight of steel, so you can install side guards solo without straining your back.
- Durable: It's naturally resistant to rust and corrosion, even in damp environments, so it won't degrade over time.
- Strong: Don't let the weight fool you—aluminum alloys (like those used in aluminum pipe or aluminum lean pipe) are surprisingly tough, able to withstand impacts from tools and parts.
- Customizable: Aluminum is easy to cut, drill, and shape, so you can tailor the side guards to fit your workstation's exact dimensions.
- Aesthetically Pleasing: With a clean, modern look, aluminum side guards give your workstation a professional finish that wood or plastic can't match.
For retrofitting, aluminum's compatibility with existing systems is another huge plus. If your workstation is already built with aluminum profile (common in modern factories), you can use aluminum profile accessories—like brackets, connectors, and end caps—to attach the side guards seamlessly. Even if your workbench is made of wood or steel, aluminum's lightweight nature means you won't need to reinforce the frame to support it.

Step 3: Selecting Materials and Tools
Now that you've decided on aluminum, it's time to gather your materials. The key components here are the aluminum side guards themselves, the mounting hardware, and a few essential tools. Let's break down what you'll need:
Aluminum Side Guard Materials
The star of the show is, of course, the aluminum extrusion or pipe that will form the side guards. For most workstations, aluminum pipe (or aluminum lean pipe , if you're looking for extra flexibility) works best. Aluminum lean pipe is a popular choice because it's designed for modular systems—think of it as the building block of customizable workspaces. It's available in standard diameters (often 28mm or 40mm) and can be cut to any length with a hacksaw or pipe cutter.
If you want a more rigid, finished look, consider aluminum profile—extruded aluminum with T-slots that allow for easy attachment of accessories. For example, a 20x20mm or 30x30mm aluminum profile makes an excellent side guard, as the T-slots let you add extras like tool hooks or label holders later. Whichever you choose, aim for a thickness of 1.5–2mm; this balances strength and weight perfectly for workstation use.
Aluminum Profile Accessories: The Unsung Heroes
You can't attach aluminum side guards to a workbench without the right hardware, and that's where aluminum profile accessories come in. These small but mighty components make installation a breeze. Here are the must-haves:
| Accessory Type | Function | Quantity Needed (Per Workstation) |
|---|---|---|
| Right-Angle Brackets | Attach side guards to the workbench frame (front/back edges). | 4–6 (one every 12–18 inches) |
| T-Slot Nuts and Bolts | Secure brackets to aluminum profile workbenches (fits into T-slots). | 8–12 (two per bracket) |
| End Caps | Cover sharp edges of aluminum pipe/profile to prevent cuts. | 2–4 (one per end of each guard) |
| Corner Connectors | Join two side guards at 90° angles (for L-shaped workbenches). | 2 (if applicable) |
| Adhesive Backed Rubber Strips | Add grip to the top of side guards to prevent tools from sliding off. | 1 roll (length equal to total guard length) |
Pro tip: Buy a few extra brackets and bolts—you'd be surprised how often a spare comes in handy, especially if you make a mistake during installation.
Tools You'll Need
Retrofitting with aluminum side guards doesn't require a fully equipped machine shop, but you will need a few basic tools:
- Tape measure and straightedge (for accurate measurements)
- Hacksaw or pipe cutter (to cut aluminum pipe/profile to length)
- Drill and drill bits (if attaching to wood/steel workbenches—use metal bits for aluminum)
- Screwdriver or Allen wrench (for tightening bolts; match the size to your aluminum profile accessories)
- Level (to ensure side guards are straight and even)
- Sandpaper (fine-grit, to smooth cut edges of aluminum)
- Pencil or marker (to mark cut lines and mounting points)
Step 4: Installing Aluminum Side Guards—A Step-by-Step Guide
Now comes the fun part: putting it all together. Follow these steps, and you'll have your side guards installed in a morning (or afternoon, if you're taking your time).
Prep the Workstation
Start by clearing off the workstation. Remove all tools, parts, and equipment—you don't want anything getting in the way or getting damaged during installation. If your workstation has electrical outlets or tools plugged in, unplug them to avoid accidents. Lay down a drop cloth or old towel to protect the work surface from scratches while you work.
Mark Your Mounting Points
Using your measurements from Step 1, mark where the side guards will go. Most workstations need guards on the front and both sides (the back is often against a wall or another workstation). Use a pencil to mark the top edge of the guard—this will ensure it's level all the way around. For example, if you're installing 3-inch tall guards, mark a line 3 inches up from the workbench surface along the front and sides.
Next, mark where the brackets will attach. Space them 12–18 inches apart for stability—closer if you're using heavier aluminum profile. If your workbench has a wooden top, you can screw brackets directly into the edge; for steel or aluminum frames, use clamps to hold the brackets in place temporarily while you mark drill holes.
Cut the Aluminum to Size
Measure the length of each side of the workstation (front, left, right) and transfer those measurements to your aluminum pipe or profile. Use a straightedge to draw a straight line across the aluminum, then secure it in a vice (or clamp it to a stable surface) to prevent movement while cutting. If using a hacksaw, apply gentle pressure and let the blade do the work—aluminum cuts easily, so there's no need to force it. For a cleaner cut, use a pipe cutter or miter saw with a metal-cutting blade.
After cutting, use fine-grit sandpaper to smooth the edges—you don't want any sharp burrs that could cut hands later. If you're using end caps (recommended!), test-fit them now to make sure they slide on easily; if not, sand a little more until they fit snugly.
Attach the Brackets
Now it's time to mount the brackets. If your workbench has a T-slot aluminum frame (lucky you!), simply slide T-slot nuts into the slots, align the brackets over the nuts, and tighten with bolts using an Allen wrench—this is where aluminum profile accessories shine, making installation tool-free in some cases. For wooden workbenches, pre-drill small pilot holes (to prevent splitting) and screw the brackets into place with wood screws. For steel frames, drill holes through the brackets and frame, then secure with bolts and nuts.
Double-check that the brackets are level using your level tool—even a slight tilt can make the side guards look uneven. Tighten all screws/bolts firmly, but don't overdo it—aluminum can strip if you apply too much pressure.
Mount the Aluminum Side Guards
With the brackets in place, it's time to attach the aluminum side guards. Depending on the bracket type, you might slide the pipe/profile into a channel on the bracket or secure it with screws. For example, if using L-shaped brackets, place the aluminum guard against the vertical arm of the bracket and drill small holes through both the bracket and the aluminum. Then, use self-tapping screws (or bolts, if the holes are pre-threaded) to hold it in place.
Work slowly, attaching one guard at a time (front first, then sides). After each guard is mounted, give it a gentle shake to ensure it's secure—no wobbling allowed! If a guard feels loose, check the bracket screws and tighten as needed.
Add Finishing Touches
Almost done! Slide end caps onto the ends of the aluminum guards to cover sharp edges—this is a small detail that makes a big difference in safety. If you want to add grip (to prevent tools from sliding off the guards), apply adhesive-backed rubber strips along the top edge. For extra organization, use the T-slots in aluminum profile to add tool hooks, cup holders, or label holders—this is where the modularity of aluminum really pays off.
Finally, give the workstation a quick wipe-down to remove any dust or metal shavings, and you're ready to test it out!
Step 5: Enjoy the Benefits of Your Upgraded Workstation
Once the side guards are installed, take a step back and admire your handiwork. What was once a basic workbench is now a safer, more efficient space—and the benefits will quickly become apparent.
Enhanced Safety
The most obvious benefit is improved safety. No more parts rolling off the edge during assembly, no more tools slipping onto the floor (and potentially into machinery), and no more cuts from sharp workbench edges. Employees will feel more confident working at the workstation, knowing their tools and materials are secure—a small change that can boost morale and reduce accidents.
Better Organization
With side guards in place, the workstation surface feels more contained. Employees can spread out tools and parts without worrying about them falling off, which leads to a tidier workspace. Add a few hooks or bins using those aluminum profile accessories, and you'll have a dedicated spot for everything—no more hunting for lost screwdrivers or misplaced washers.
Long-Term Durability
Aluminum's resistance to rust and corrosion means these side guards will last for years, even in humid or messy environments. Unlike wood, they won't warp or rot, and unlike steel, they won't require repainting every few years. A quick wipe with a damp cloth is all it takes to keep them looking like new.
Cost Savings
Retrofitting with aluminum side guards costs a fraction of replacing the entire workstation. A basic setup—aluminum pipe, brackets, and end caps—can cost as little as $50–$100 per workstation, depending on size. Compare that to $500+ for a new workbench, and the savings add up quickly, especially if you have multiple workstations to upgrade.
Maintenance: Keeping Your Side Guards in Top Shape
Like any workstation component, aluminum side guards need a little TLC to stay in great condition., maintenance is minimal:
- Inspect regularly: Every month or so, check that brackets are tight and the aluminum isn't bent or damaged. Tighten any loose screws with a screwdriver—aluminum profile accessories are designed to be adjustable, so this is quick work.
- Clean as needed: Wipe down the guards with a damp cloth to remove dust, oil, or grease. For stubborn stains, use a mild detergent (avoid harsh chemicals, as they can damage the aluminum's finish).
- replace worn parts: If an end cap falls off or a bracket bends, replace it immediately—aluminum profile accessories are widely available, so you can pick up spares at most hardware stores or online suppliers.
With this simple routine, your aluminum side guards will outlast the workstation itself!
Conclusion: Invest in Your Workspace, Invest in Your Team
Retrofitting existing workstations with aluminum side guards is more than just a DIY project—it's an investment in your team's safety, productivity, and morale. By taking the time to assess your needs, select quality materials (aluminum pipe, aluminum profile accessories, and a sturdy workbench are key), and follow these installation steps, you'll create a workspace that works with your team, not against them.
And remember, this is just the beginning. Aluminum's modular nature means you can expand later—add more guards, attach tool holders, or even build a mini shelf above the workstation using the same aluminum profile and accessories. The possibilities are endless, and it all starts with this simple upgrade.
So grab your measuring tape, pick up some aluminum pipe and brackets, and get started. Your team (and your bottom line) will thank you.