- Company Articles
- Products and Technology
- Product knowledge
- How to Test 60 Steel Roller Track Small Wheel Durability Before Mass Application

How to Test 60 Steel Roller Track Small Wheel Durability Before Mass Application
Related Product
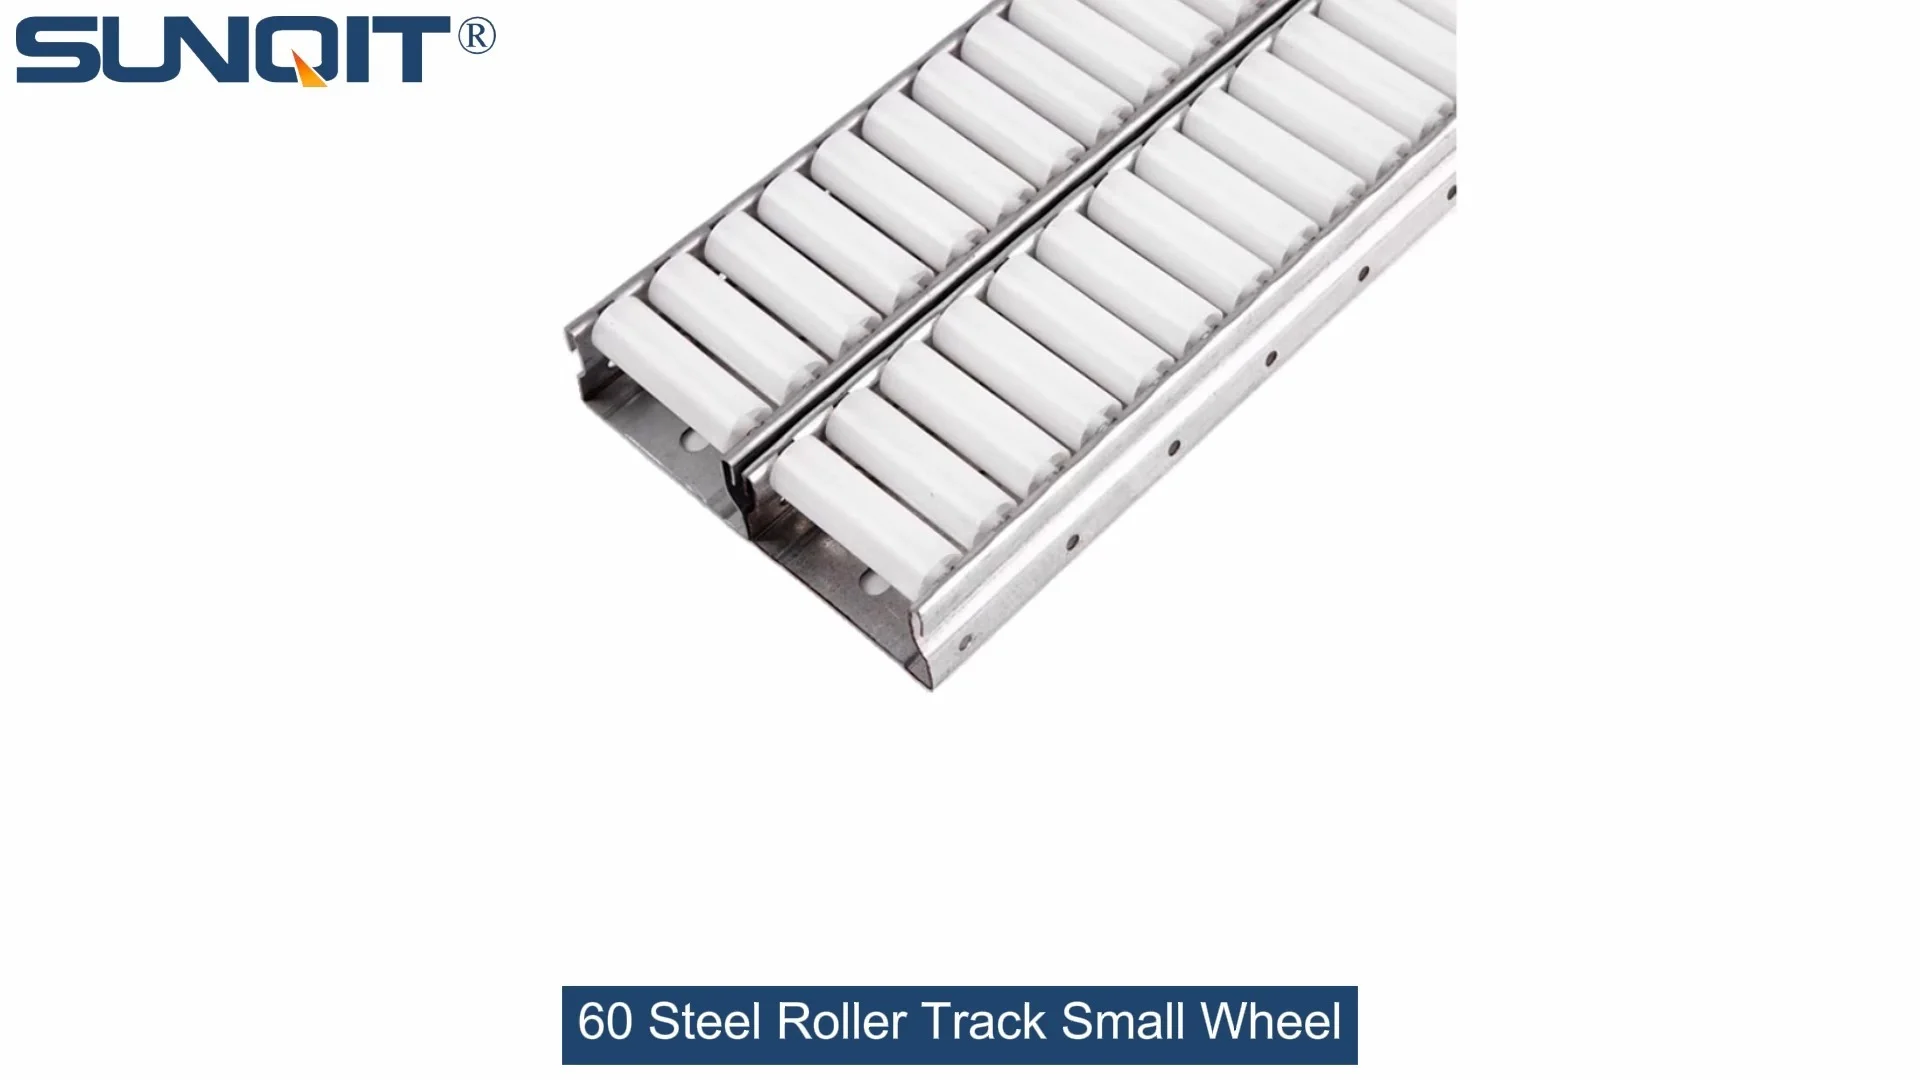
60 Steel Roller Track Small Wheel
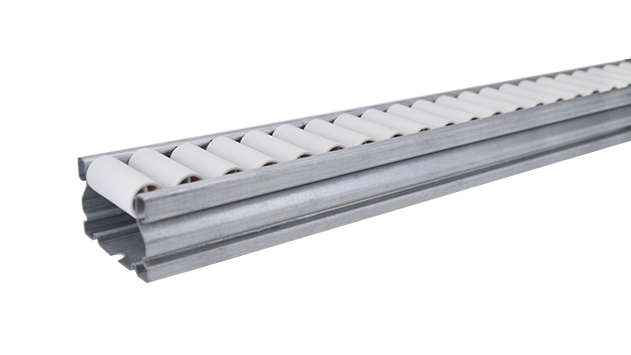
Modular system roller tracks aluminum gravity roller tracks are an excellent solution for transporting materials within industrial environments, warehouses and distribution centres.
How to Test 60 Steel Roller Track Small Wheel Durability Before Mass Application
Why Durability Testing for 60 Steel Roller Track Small Wheels Is Non-Negotiable
If you've ever worked with a conveyor system in a lean manufacturing setup, you know how critical every small component is. The 60 steel roller track small wheel might seem like a tiny part, but it's the backbone of smooth material flow in lines using roller track systems. Let me share a quick story: A few years ago, a 3C assembly company I collaborated with decided to cut corners and skip durability testing for their new roller wheels. They installed 1000 wheels on their conveyors, and within a month, 20% of them failed—causing the line to stop 5 times a week. The cost of replacing the wheels, plus the downtime, was over $50,000. That's a huge loss that could have been avoided with proper testing. So, if you want to avoid such mistakes, durability testing is non-negotiable.
These wheels are used in various applications: from moving parts along a conveyor in an auto assembly line to transporting boxes in a warehouse's lean system. Their ability to withstand constant use, heavy loads, and harsh environments directly impacts the overall performance of your equipment. So, let's dive into how you can properly test these wheels to ensure they're ready for the demands of real-world use.
Pre-Test Preparation: Get Your Ducks in a Row
Before you start any tests, you need to gather the right tools, samples, and set clear criteria. Here's what you'll need:
| Item | Details |
|---|---|
| Test Samples | At least 10-15 60 steel roller track small wheels (to ensure statistical significance; avoid testing just one or two). Choose samples from different batches to cover variations in manufacturing. |
| Tools & Equipment | Load tester, wear resistance machine, impact tester, environmental chamber (temperature/humidity/salt spray), fatigue tester, calipers, weighing scale, data logger, friction tester, profilometer. |
| Standards Reference | Follow industry standards like ISO 10545 (for wear resistance), ASTM B117 (salt spray corrosion), and ISO 6336 (fatigue life). Adapt these standards to your company's specific needs based on your lean solution requirements. |
| Test Criteria | Define pass/fail metrics: e.g., maximum load capacity (100kg static, 50kg dynamic), wear limit (≤0.3mm), no cracks after impact, rust coverage ≤5%, fatigue life ≥200,000 cycles. |
Pro tip: Label each sample with a unique ID so you can track results individually. This helps in identifying patterns—like if a specific batch has issues, or if a particular test is causing most failures. Also, keep a log of the manufacturing details of each sample (like date of production, batch number) to correlate with test results.
Step 1: Load Resistance Test (Static & Dynamic)
Load resistance is one of the most important tests for roller wheels. It checks how much weight the wheel can handle without deforming or breaking. There are two types: static and dynamic.
Static Load Test
This test measures the wheel's ability to hold a constant load for a set period. Here's how:
- Place the wheel on a flat, stable surface (like a concrete slab) to ensure even distribution of load.
- Apply a gradually increasing load (using a load tester) until you reach the target weight (e.g., 100kg, which is double the expected operational load). Why double the operational load? Because in real-world scenarios, you might have occasional overloads—like a worker placing a heavier box than usual on the conveyor. By testing at double the load, you ensure the wheel can handle these unexpected situations without failing.
- Hold the load for 24 hours. This duration is chosen to simulate long-term static loads (like a box sitting on the conveyor overnight).
- After 24 hours, remove the load and inspect the wheel for deformation (using calipers to measure any changes in diameter or shape). Pay attention to the wheel's hub and rim—these are the areas most prone to deformation.
- If the wheel deforms more than 0.2mm or cracks, it fails the test. A small deformation (≤0.2mm) is acceptable as it won't affect the wheel's performance.
Dynamic Load Test
Dynamic load test simulates real-world conditions where the wheel is moving under load. Here's the process:
- Mount the wheel on a test rig that mimics a conveyor system (using roller track components like the ones in your lean system). Ensure the rig is calibrated to the same speed as your production conveyor.
- Apply the operational load (e.g., 50kg) to the wheel. Use a weight that's representative of the average load your conveyor handles.
- Run the wheel for 10,000 cycles (each cycle is a full rotation or a back-and-forth movement along the track). For a conveyor moving at 100mm/s, 10,000 cycles would take about 2.8 hours.
- During the test, monitor for any unusual noise, vibration, or signs of wear. Use a data logger to record vibration levels—an increase in vibration indicates that the wheel is wearing out.
- After the cycles, inspect the wheel: check for cracks, wear on the surface (using a profilometer), or any loose parts. If any of these are present, the wheel fails.
Why is this important? In a lean system, conveyor wheels are constantly moving under load—so dynamic load resistance ensures they won't fail mid-operation, which would disrupt your entire production line.

Step 2: Wear Resistance Test
Wear resistance determines how long the wheel will last before needing replacement. A wheel with poor wear resistance will degrade quickly, leading to frequent downtime and higher maintenance costs. Here's how to test it:
- Set up the wear tester: Mount the wheel on a rotating shaft, and press it against a rough surface (like a steel plate with a Ra value of 1.6μm) with a constant force (e.g., 10N). The rough surface simulates the roller track your wheel will be using.
- Rotate the wheel at a constant speed (e.g., 100 RPM) for 5,000 cycles. This duration is enough to see significant wear patterns.
- After the test, measure the wear depth using a profilometer. Also, check the friction coefficient using a friction tester—before and after the test.
- Compare the results to your criteria: If the wear depth exceeds 0.3mm, or the friction coefficient increases by more than 10%, the wheel fails.
Another way to test wear is to run the wheel on an actual roller track (like the 60 steel roller track) under load for a long period. This gives you more realistic results, as it simulates the exact conditions the wheel will face in your lean solution. For example, run the wheel on your production roller track for 1 week (8 hours a day) and inspect it for wear.
Step3: Impact Resistance Test
Impact resistance tests how well the wheel can handle sudden shocks—like when a heavy box is dropped onto the conveyor, or the wheel hits an obstacle. Here's the method:
- Place the wheel on a hard surface (concrete floor) that's similar to your warehouse or production floor.
- Use a drop tester to drop a weight (e.g., 20kg) from a height of 50cm onto the wheel. Depending on your industry, you might need to adjust the drop height—for example, in a warehouse where boxes are dropped from 1 meter, use a 1-meter drop height.
- Repeat this 10 times (once per second). This simulates multiple impacts over a short period.
- Inspect the wheel for cracks, chips, or any structural damage. Use a magnifying glass to check for micro-cracks that might not be visible to the naked eye.
- If the wheel shows any signs of damage, it fails the test.
In a busy warehouse or manufacturing line, impacts are inevitable. A wheel with good impact resistance will keep your conveyor running smoothly even when things get a little rough. For example, in a 3C assembly line, workers often place components on the conveyor quickly—so the wheel needs to handle these sudden impacts without breaking.
Step4: Environmental Durability Test
Environmental factors like temperature, humidity, corrosion, and chemicals can affect the wheel's performance over time. Let's cover the key tests here:
Temperature Resistance Test
This test checks how the wheel performs in extreme temperatures (both hot and cold). Here's how:
- Place the wheel in an environmental chamber.
- Set the temperature to -20°C and hold for 4 hours. This simulates cold storage environments.
- Then, increase the temperature to 60°C and hold for another 4 hours. This simulates hot production floors (like in a foundry or plastic molding plant).
- Repeat this cycle 5 times. This mimics seasonal temperature changes or shifts between different areas of your facility.
- After the cycles, inspect the wheel for any cracks, warping, or changes in hardness (using a hardness tester). A wheel that becomes brittle (hardness increases by more than 15%) or soft (hardness decreases by more than 15%) fails the test.
Humidity & Corrosion Test
For steel wheels, corrosion is a big concern—especially in humid environments or areas with exposure to chemicals. Here's the test:
- Place the wheel in a salt spray chamber (following ASTM B117 standard).
- Expose the wheel to salt spray (5% NaCl solution) at 35°C for 24 hours.
- After 24 hours, remove the wheel and rinse it with clean water. Dry it with a cloth.
- Inspect the wheel for rust or corrosion spots. Use a ruler to measure the area of rust coverage.
- If there's more than 5% rust coverage, the wheel fails. For industries like medical devices or food processing, the allowed rust coverage should be 0%—so adjust your criteria accordingly.
Chemical Resistance Test
For industries like medical devices, food processing, or automotive, chemical resistance is critical. Here's how to test it:
- Apply common chemicals (like alcohol, disinfectants, oil, or cleaning agents) to the wheel. Use a cotton swab to spread the chemical evenly over the surface.
- Let the wheel sit for 24 hours at room temperature.
- After 24 hours, wipe off the chemical and inspect the wheel for any damage (like swelling, cracking, discoloration, or loss of gloss).
- If the wheel shows any of these signs, it's not suitable for use in environments where these chemicals are present.
These tests are crucial for ensuring the wheel can handle the specific conditions of your facility. For example, in a medical device manufacturing plant, the wheel must be resistant to disinfectants to maintain hygiene standards.
Step5: Fatigue Life Test
Fatigue life test measures how many cycles the wheel can handle before it fails due to repeated stress. This is the most rigorous test, as it simulates long-term use. Here's how:
- Mount the wheel on a fatigue tester (which mimics the movement of a conveyor). The tester should be able to adjust speed and load.
- Apply the operational load (50kg) and run the wheel at a constant speed (e.g., 10 RPM). This speed is more realistic for most conveyor systems.
- Let the test run until the wheel fails (cracks, breaks, or stops rotating smoothly). Use a data logger to record the number of cycles.
- Compare the result to your criteria: If the wheel fails before 100,000 cycles, it's not suitable for mass application. A good wheel should last at least 200,000 cycles.
Why 200,000 cycles? Let's do the math: At 10 RPM, the wheel completes 600 cycles per hour. Over an 8-hour shift, that's 4,800 cycles. In a 5-day workweek, that's 24,000 cycles. So 200,000 cycles would translate to about 8 weeks of continuous use—plenty of time to get value from the wheel before replacement.
During the fatigue test, you can also monitor the wheel's temperature. An increase in temperature indicates that the wheel is experiencing excessive friction, which can lead to premature failure. If the temperature rises by more than 20°C above room temperature, the wheel is not suitable.
Data Analysis & Interpretation: Making Sense of the Results
Once all tests are done, you need to analyze the data to decide if the wheel is ready for mass application. Here's a step-by-step guide:
- Compile all test results into a spreadsheet (include sample ID, test type, result, pass/fail status, and any notes). Use a tool like Excel or Google Sheets to organize the data.
- Calculate the pass rate: If 90% or more of the samples pass all tests, the batch is acceptable. A lower pass rate indicates that the manufacturing process has issues that need to be fixed.
- Look for patterns: Are there any tests where most samples failed? For example, if many wheels failed the corrosion test, you might need to improve the coating (like adding a zinc plating or a powder coat) or use stainless steel instead of carbon steel.
- Compare results to your criteria: Ensure all pass/fail metrics are met. For example, if your criteria require a fatigue life of 200,000 cycles, any sample that fails before that is rejected.
- Document the results: Keep a record of the tests for future reference. This is important for quality control, compliance (like ISO 9001), and continuous improvement in your lean solution.
- Share the results with your team: Discuss the findings with your engineering, production, and maintenance teams. They can provide valuable feedback on how to improve the wheel's design or manufacturing process.
| Test Type | Pass Criteria | Sample1 | Sample2 | Sample3 | Average | Pass/Fail |
|---|---|---|---|---|---|---|
| Static Load | ≤0.2mm deformation | 0.15mm | 0.18mm | 0.12mm | 0.15mm | Pass |
| Dynamic Load | ≤0.3mm wear | 0.2mm | 0.25mm | 0.18mm | 0.21mm | Pass |
| Impact Resistance | No damage | No cracks | No chips | No damage | N/A | Pass |
| Corrosion Test | ≤5% rust | 2% | 1% | 3% | 2% | Pass |
| Fatigue Life | ≥200k cycles | 250k | 220k | 230k | 233k | Pass |
If the batch passes all tests, you can proceed to mass application. If not, you need to adjust the design or material—like using a thicker steel (from 1.0mm to 1.2mm), adding a better coating (like epoxy), or changing the manufacturing process (like heat treatment to increase hardness).
Post-Test Actions: From Lab to Production
Once the wheel passes all tests, there are a few more steps to take before mass application:
1. Pilot Testing
Before rolling out the wheel to all your conveyors, do a pilot test in a small part of your production line. This helps you see how the wheel performs in real-world conditions (not just the lab). For example, install the wheel on one conveyor in your 3C assembly line and monitor it for 2 weeks. Check for any issues like noise, wear, or failure. Collect feedback from your operators—they are the ones who use the conveyor every day, so their input is invaluable. If everything goes well, you can proceed to mass installation.
2. Training Your Team
Make sure your maintenance team knows how to inspect and maintain the new wheels. Train them to look for signs of wear (like unusual noise, vibration, or rust) and how to replace the wheels when needed. Create a maintenance schedule—for example, inspect the wheels every month and replace them every 6 months. This will help extend the lifespan of the wheels and keep your conveyor running smoothly.
3. Continuous Improvement
Lean solution is all about continuous improvement. Keep track of the wheel's performance over time. Collect data on how many wheels fail, how long they last, and the reasons for failure. Use this data to make adjustments to future batches. For example, if you notice the wheels are wearing out faster in a humid area, you can add a more corrosion-resistant coating. If the wheels are failing due to impact, you can increase the thickness of the rim.
4. Supplier Collaboration
Share the test results with your supplier (like the lean pipe supplier you work with). Ask them to make adjustments to their manufacturing process based on your feedback. A good supplier will be willing to collaborate with you to improve the product. For example, if your supplier is providing the 60 steel roller track small wheels, share the corrosion test results and ask them to add a zinc plating to the wheels.
Conclusion: Durability Testing Is Key to Lean Success
Testing the durability of 60 steel roller track small wheels before mass application is not just a quality control step—it's an investment in your lean system's efficiency and reliability. By following the steps outlined in this article, you can ensure that your wheels are ready to handle the demands of real-world use, reduce downtime, and lower maintenance costs.
Remember, every component in your conveyor system plays a role in your overall productivity. A small wheel that fails can disrupt your entire line, so taking the time to test it properly is worth it. Whether you're using these wheels in a 3C assembly line, a medical device manufacturing plant, or a warehouse, durability testing will help you build a more robust and efficient lean solution.
Another thing to keep in mind: Durability testing is not a one-time process. As your production needs change (like increasing the load or speed of your conveyor), you should re-test the wheels to ensure they can handle the new conditions. This is part of the continuous improvement cycle that's at the heart of lean manufacturing.
So, next time you're considering a new batch of roller wheels, don't skip the testing phase. It's the difference between a smooth-running line and a costly disaster. Invest in durability testing, and you'll see the benefits in terms of increased productivity, reduced downtime, and lower maintenance costs.