- Company Articles
- Products and Technology
- Product knowledge
- How to Test Brake Reliability of Swivel Stem Caster Wheels

How to Test Brake Reliability of Swivel Stem Caster Wheels
Related Product
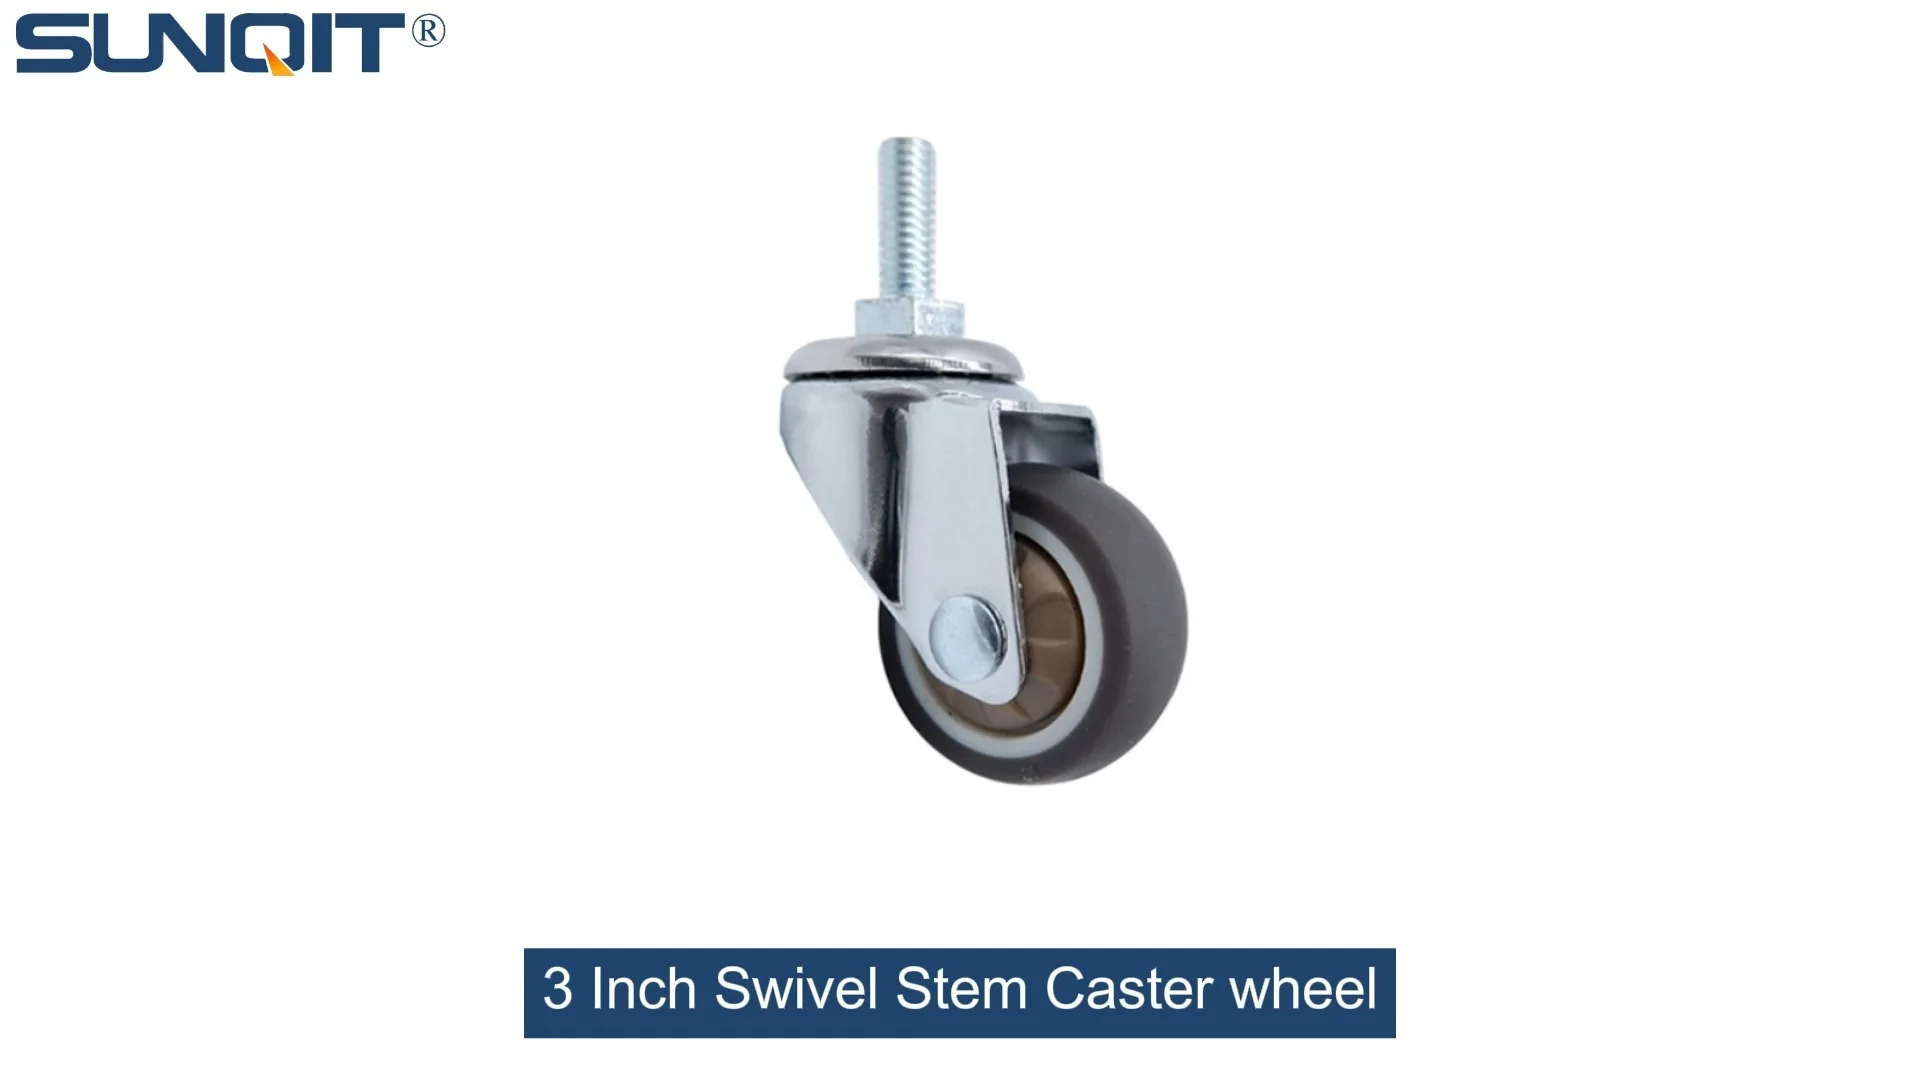
Swivel Stem Caster wheel
360 Degree Swivel Stem Caster. Threaded-post mount design, castors diameter 3 inch.Each swivel caster wheels loading 70KGS. Heavy enough and widely suit for carts, chairs, cabinet, flow rack, workbench, turnover rolley.
In the bustling world of manufacturing, warehousing, and logistics, the humble caster wheel often goes unnoticed—until it fails. Whether it's a workbench gliding across a factory floor, a turnover trolley transporting materials, or a material rack holding inventory, swivel stem caster wheels are the unsung heroes that keep operations moving smoothly. But among their many features, none is more critical than the brake system. A reliable brake ensures stability when needed, prevents accidental movement, and safeguards both workers and products from harm. In this guide, we'll walk through the step-by-step process of testing the brake reliability of swivel stem caster wheels, demystifying the technicalities and emphasizing why this often-overlooked task is essential for any operation that relies on mobility with control.
Understanding Swivel Stem Caster Wheels and Their Brakes
Before diving into testing, let's clarify what makes a swivel stem caster wheel unique. Unlike fixed casters, which only roll forward and backward, swivel stem casters have a rotating stem that allows 360-degree movement, making them ideal for navigating tight spaces. The "stem" refers to the vertical rod that attaches the caster to the equipment (like a workbench or trolley), while the "swivel" mechanism lets the wheel pivot independently of the stem. When paired with a brake, this design becomes a powerful tool: maneuverable when needed, stationary when required.
The brake system itself comes in several configurations, each tailored to specific needs. The most common types include:
- Total lock brakes: These lock both the wheel rotation and the swivel movement, ensuring the caster stays completely fixed.
- Directional lock brakes: Lock only the wheel rotation, allowing the swivel to move but preventing rolling—useful for positioning equipment without unintended sliding.
- Side lock brakes: Activated by a lever on the side of the caster, these are easy to engage with a foot or hand, common in light to medium-duty applications.
Regardless of the type, the brake's reliability hinges on its ability to engage smoothly, hold under load, and withstand repeated use. This is where testing comes in—and it's not just about "kicking the wheel to see if it moves." Proper testing involves systematic checks to simulate real-world conditions, ensuring the brake performs when it matters most.
| Brake Type | Key Components | Testing Focus Areas |
|---|---|---|
| Total Lock Brake | Brake pad, swivel lock pin, engagement lever | Swivel lock integrity, load-holding capacity, lever responsiveness |
| Directional Lock Brake | Wheel brake pad, axle lock, release mechanism | Wheel lock strength, resistance to lateral movement |
| Side Lock Brake | Side lever, cam mechanism, friction pad | Lever durability, pad wear resistance, ease of engagement |
Pre-Test Preparation: Setting the Stage for Accurate Results
Testing brake reliability isn't something you do on a whim. To ensure accurate, repeatable results, you need to prepare both the caster wheel and the testing environment. Here's how to get started:
1. Inspect the Caster Wheel and Brake Components
Begin by giving the swivel stem caster wheel a thorough visual inspection. Look for signs of wear or damage: cracks in the wheel, bent stems, rust on metal parts, or frayed brake cables (if applicable). Pay special attention to the brake mechanism itself—check if the brake pad is intact (not worn down or cracked), the engagement lever moves freely, and there's no debris (like dirt or grease) clogging the system. Even small issues, like a loose bolt in the brake assembly, can skew test results, so address any obvious problems before proceeding.
If the caster wheel is new (e.g., "swivel stem caster wheel with brake"), confirm it matches the manufacturer's specifications. Check the load rating, wheel diameter, and brake type to ensure you're testing the right product for your needs. For used casters, document their age and usage history—this context will help interpret test results later (e.g., a 5-year-old caster with heavy daily use may show more wear than a new one).
2. Clean the Caster and Brake System
Dirt, grease, and debris are the enemies of accurate testing. A layer of grime on the brake pad can reduce friction, making the brake seem less effective than it is, while dust in the swivel mechanism might cause sticking during engagement. Use a soft brush or compressed air to remove loose debris, then wipe the wheel, stem, and brake components with a clean cloth. For stubborn grease, use a mild solvent (avoid harsh chemicals that could damage plastic or rubber parts). Let the caster dry completely before testing—moisture can also affect friction and brake performance.
3. Prepare the Testing Environment
The environment plays a big role in brake performance. Testing on a smooth concrete floor will yield different results than testing on a rough, uneven surface like gravel. To standardize, choose a flat, clean surface that mimics the conditions where the caster will be used (e.g., warehouse concrete, factory tile). If possible, control the temperature and humidity—extreme heat can soften brake pads, while cold can make them brittle, both altering performance. Aim for a room temperature between 65–75°F (18–24°C) and relative humidity around 50% for baseline testing.
You'll also need tools: a tape measure to track movement, a scale to apply load, a stopwatch for timing, and a notebook to record data. For more precise testing, consider using a force gauge to measure the effort required to engage the brake or the force needed to overcome it (though this is optional for basic reliability checks).

Key Testing Methods: Simulating Real-World Conditions
Now that you're prepared, it's time to put the brake to the test. We'll cover four critical tests that replicate the most common stressors a swivel stem caster wheel's brake faces in daily use: static load holding, dynamic load stopping, wear resistance, and environmental durability. Each test targets a different aspect of reliability, ensuring the brake performs when loaded, moving, used repeatedly, and exposed to harsh conditions.
Test 1: Static Load Holding Test
The static load test checks if the brake can hold a stationary load without slipping. This is crucial for applications like workbenches or material racks, where the caster needs to stay put while workers load or unload items. Here's how to conduct it:
- Mount the caster: Attach the swivel stem caster wheel to a test rig or a mock-up of the equipment it will be used on (e.g., a wooden platform representing a workbench). Ensure the stem is securely fastened—loose mounting can cause the caster to shift independently of the brake.
- Apply initial load: Start with a load equal to the caster's rated capacity. For example, if the caster is rated for 500 lbs, place a 500 lbs weight on the platform. Distribute the weight evenly to mimic real use (avoid concentrated loads that could stress the caster unevenly).
- Engage the brake: Activate the brake using the lever (foot or hand, depending on the design). Listen for a clear "click" or "lock" sound—this indicates the brake has engaged properly.
- Monitor for movement: Leave the load in place for 10 minutes. Check if the caster shifts, even slightly. Use a tape measure to mark the initial position and compare after 10 minutes. Any movement (more than 1/8 inch) is a red flag.
- Increase the load: To test beyond rated capacity (a common real-world scenario, as loads can sometimes exceed limits accidentally), gradually add weight in 10% increments (e.g., 550 lbs, 600 lbs) and repeat the 10-minute hold. Stop when the brake slips or when you reach 150% of the rated load (a standard safety threshold).
What to look for: A reliable brake should hold the rated load with no movement and resist slipping up to at least 125% of the rated load. If it slips at or below the rated load, the brake is underperforming and may need adjustment or replacement.
Test 2: Dynamic Load Stopping Test
While static holding is important, many accidents happen when a moving caster fails to stop. The dynamic test simulates this scenario by checking if the brake can halt a loaded caster in motion. Here's the process:
- Set up a track: Create a level, straight track (10–15 feet long) on the same surface used in the static test. Mark start and stop lines to measure speed and stopping distance.
- Apply load: Use the same rated load as the static test (e.g., 500 lbs) on the test platform.
- Accelerate to working speed: Push the platform to a speed typical of its use (e.g., walking speed, ~3 mph for warehouse trolleys). Use a speedometer to ensure consistency—varying speeds can affect stopping distance.
- Engage the brake mid-motion: When the platform reaches the start line, engage the brake suddenly (as a worker would in an emergency). Observe the stopping distance and whether the platform skids or stops smoothly.
- Repeat with higher speeds: Increase the speed incrementally (e.g., 4 mph, 5 mph) to test the brake's performance under more stressful conditions. Note if the stopping distance increases significantly or if the brake feels "soft" (requiring more force to engage).
Key takeaway: The brake should stop the caster within a reasonable distance (e.g., 1–2 feet at walking speed) without skidding excessively. Skidding indicates the brake pad isn't gripping the wheel effectively, while a long stopping distance suggests weak brake force.
Test 3: Wear Resistance Test
Brakes don't just need to work once—they need to work repeatedly . Over time, brake pads wear down, levers loosen, and springs weaken. The wear resistance test simulates hundreds of engagement cycles to see how the brake holds up:
- Set up the cycle: Use a mechanical arm or a manual lever to automate the brake engagement/disengagement process (or do it manually if automation isn't available). Aim for 500 cycles (engage → disengage → repeat) to simulate several months of use.
- Monitor effort and performance: During each cycle, note how much force is needed to engage the brake. If the lever becomes harder to push or pull over time, it may indicate a problem with the spring or cam mechanism.
- Check for wear: After 500 cycles, inspect the brake pad for thinning, cracks, or glazing (a shiny, smooth surface caused by overheating). Measure the pad thickness and compare it to the original (new) thickness—more than 20% wear is a concern.
- Re-test static and dynamic performance: After the cycles, repeat the static and dynamic tests to see if performance has degraded. A reliable brake should still meet the original standards after 500 cycles.
Example scenario: A busy warehouse might engage a caster brake 20 times a day—500 cycles would simulate about a month of use. If the brake pad wears down by 30% in that time, it would need frequent replacement, driving up maintenance costs and downtime.
Test 4: Environmental Impact Test
Caster wheels often work in less-than-ideal environments: humid warehouses, dusty factories, or even outdoor loading docks exposed to rain. The environmental test checks how the brake performs under these conditions:
- Humidity test: Place the caster in a humidity chamber (or a sealed container with a wet sponge) for 48 hours, maintaining 90% relative humidity. Then test static holding and dynamic stopping—rust or moisture in the brake mechanism can cause sticking or reduced friction.
- Dust test: Expose the caster to fine dust (simulating factory conditions) for 24 hours, then engage/disengage the brake 50 times. Dust can clog the lever or pad, making engagement difficult. Check if the brake still locks securely after dust exposure.
- Temperature extremes: Freeze the caster at 0°F for 24 hours, then test engagement—cold can make plastic parts brittle and metal parts stiff. Then heat it to 120°F for 24 hours and test again—heat can soften brake pads, reducing grip.
Why it matters: A brake that works perfectly in a climate-controlled factory might fail miserably in a humid coastal warehouse. This test ensures reliability across the conditions your operation faces.

Interpreting Results: What's a "Pass" and What's a "Fail"?
After conducting the tests, you'll have a pile of data—now it's time to make sense of it. Here's how to interpret the results:
- Static load test: Pass = holds rated load with no movement; holds 125% load for 10 minutes. Fail = slips at rated load or shows >1/8 inch movement.
- Dynamic load test: Pass = stops within 2 feet at walking speed; no excessive skidding. Fail = skids more than 3 feet or requires excessive force to engage.
- Wear resistance test: Pass = <10% pad wear after 500 cycles; lever effort remains consistent. Fail = >20% pad wear or increased lever effort.
- Environmental test: Pass = performs within 10% of baseline (pre-environmental test) results. Fail = significant degradation (e.g., brake won't engage after humidity exposure).
If the caster fails any test, don't panic—many issues can be fixed. For example, a slipping static load might be due to a misaligned brake pad (adjustable with a wrench), while excessive wear could mean the brake pad material is too soft (replace with a harder compound). If multiple tests fail, however, it may be time to consider a different caster model or supplier.

Common Brake Issues and Troubleshooting Tips
Even with careful testing, you might encounter issues. Here are the most common problems and how to address them:
Issue 1: Brake Lever Sticks or Is Hard to Engage
Possible causes: Debris in the lever mechanism, rust on metal parts, or a broken spring. Solution: Disassemble the lever (if possible), clean out debris with compressed air, and apply a light lubricant (e.g., silicone spray) to moving parts. replace broken springs or rusted components—these are critical caster accessories that ensure smooth operation.
Issue 2: Brake Slips Under Load
Possible causes: Worn brake pad, misaligned pad (not making full contact with the wheel), or a loose brake adjustment. Solution: replace the brake pad if worn; adjust the pad position using the adjustment screws (common on higher-quality casters) to ensure full contact with the wheel.
Issue 3: Swivel Mechanism Locks but Wheel Still Rolls
Possible causes: The brake is a "swivel lock only" type (not a total lock), or the wheel brake is disconnected. Solution: Confirm the brake type—if you need both swivel and wheel lock, upgrade to a total lock brake. If the wheel brake is disconnected, check for broken cables or loose bolts and repair as needed.
Maintenance Tips to Preserve Brake Reliability
Testing is just the first step—proper maintenance ensures your swivel stem caster wheel's brake stays reliable long after the initial test. Here are simple habits to adopt:
- Clean regularly: Wipe down the caster and brake with a damp cloth weekly to remove dirt and debris. For heavy use, use a brush to clean between the brake pad and wheel.
- Lubricate moving parts: Apply a few drops of lubricant (e.g., lithium grease) to the brake lever pivot points and swivel stem every month. Avoid over-lubricating, as excess grease can attract dirt.
- Inspect brake pads monthly: Check for wear, cracks, or glazing. replace pads at 50% wear to avoid sudden failure.
- Tighten loose components: Periodically check the stem mounting bolts, brake lever screws, and swivel nuts—vibration can loosen them over time.
Conclusion: Brakes as a Foundation of Safety and Efficiency
Testing the brake reliability of swivel stem caster wheels isn't just a box to check—it's an investment in safety, efficiency, and peace of mind. A single brake failure can lead to damaged products, delayed shipments, or even workplace injuries, all of which cost far more than the time spent testing. By following the steps outlined here—preparing thoroughly, conducting static, dynamic, wear, and environmental tests, and interpreting results critically—you can ensure your caster wheels' brakes perform when they're needed most.
Remember, the goal isn't perfection—it's consistency. A brake that works reliably 99% of the time is far better than one that works perfectly once and fails when you least expect it. So the next time you're setting up a new workbench, stocking turnover trolleys, or upgrading material racks, take a moment to test those caster brakes. Your team, your products, and your bottom line will thank you.