- Company Articles
- Products and Technology
- Procurement Guidelines
- How to Test the Quality of Aluminum Pipe Clamps Before Purchase

How to Test the Quality of Aluminum Pipe Clamps Before Purchase
Related Product
Aluminum Pipe Clamp
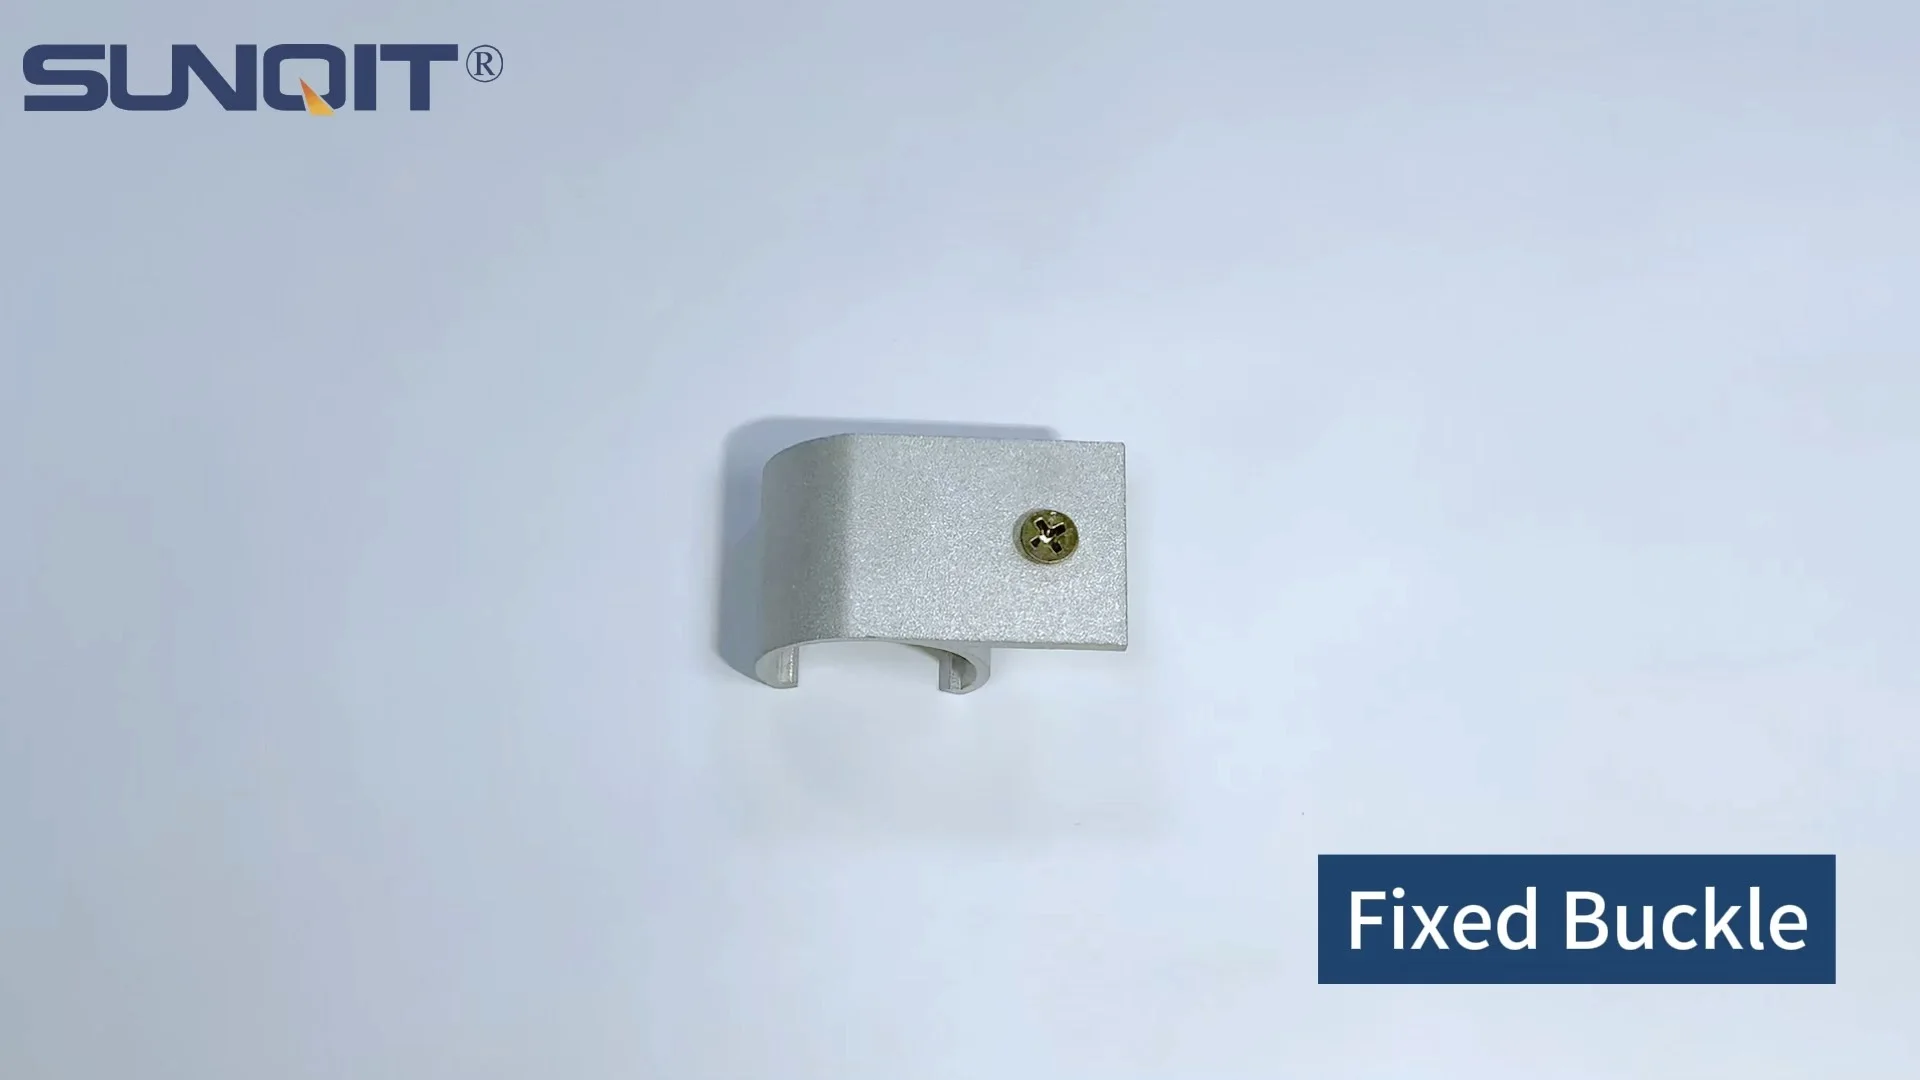
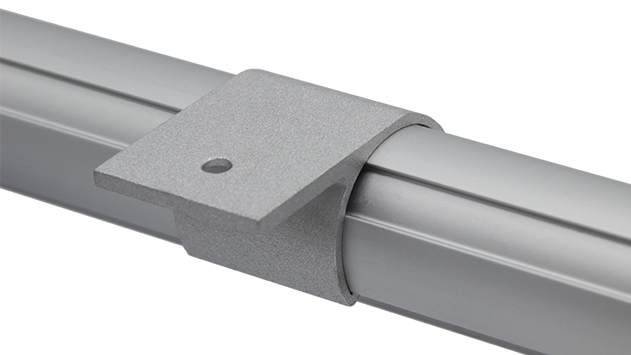
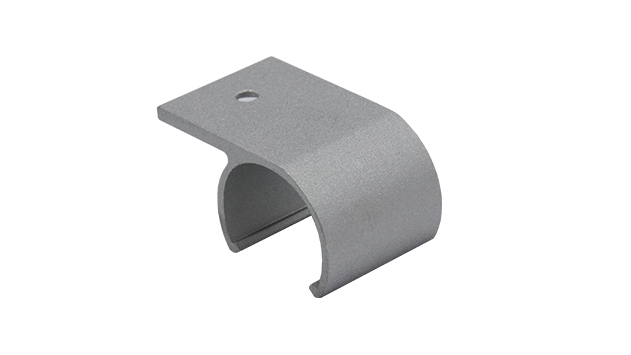
Aluminum pipe side clamp used for 28mm aluminum pipe connect with table top, or other accessories.
When you're setting up a workshop, assembling a production line, or building storage solutions, the little components often make the biggest difference. Aluminum pipe clamps are one such unsung hero—quietly holding together everything from workbenches to material racks, ensuring stability, safety, and efficiency in your daily operations. But here's the thing: not all clamps are created equal. Even if you're sourcing from a reputable lean pipe supplier, assuming every product meets your standards can lead to wobbly structures, frequent replacements, or worse, workplace accidents. That's why testing aluminum pipe clamps before you hit "buy" isn't just a good idea—it's essential. In this guide, we'll walk you through practical, hands-on methods to evaluate their quality, from material integrity to real-world performance. Whether you're a small business owner building your first workbench or a procurement manager vetting suppliers, these steps will help you separate the durable, reliable clamps from the ones that'll let you down.
1. First Things First: What Are Aluminum Pipe Clamps, Anyway?
Before diving into testing, let's make sure we're on the same page about what aluminum pipe clamps are and why they matter. Simply put, these are specialized fasteners designed to connect aluminum pipes (or aluminum profiles) into rigid, functional structures. Think of them as the "glue" that turns basic tubes into workbenches, flow racks, conveyor frames, or even custom storage systems. They come in various designs—fixed-angle clamps (like the 90° aluminum pipe joint for right-angle connections), adjustable clamps for flexible setups, and even swivel types for dynamic structures.
Their role? To distribute weight evenly, resist vibration, and maintain structural integrity over time. A flimsy clamp might work for a light-duty shelf, but in a busy production environment—where tools, materials, and even workers lean on the structure—weak clamps become a liability. That's why pairing them with the right aluminum profile accessories (like end caps, brackets, or guide rails) is key, but only if the clamp itself is up to the task.
2. Material Quality: The Foundation of a Good Clamp
Aluminum is prized for its strength-to-weight ratio, corrosion resistance, and malleability—traits that make it ideal for pipe clamps. But not all aluminum is created equal. Low-grade aluminum (or aluminum mixed with cheaper metals) can bend, crack, or corrode prematurely. Here's how to test if your clamp's material is up to snuff:
Visual Inspection: Spotting Red Flags
Start with a close visual check. High-quality aluminum pipe clamps should have a smooth, consistent finish—no pits, scratches, or discoloration. Run your finger along the edges: they should be free of burrs or sharp, uneven spots (these can weaken the material and even cut hands during installation). Look for signs of poor manufacturing, like air bubbles in the metal (a sign of shoddy casting) or uneven thickness in the clamp's body. If the surface looks dull or patchy, it might be a sign of low-quality aluminum or a rushed anodization process (more on that later).
The Magnet Test: Separating Aluminum from Imposters
Aluminum is non-magnetic, so a quick magnet check can help you spot fakes. Grab a small magnet (a fridge magnet works) and hold it against the clamp. If it sticks, the clamp likely contains iron or steel—cheaper metals that add weight but reduce corrosion resistance. A weak magnetic pull might mean a small amount of alloying elements (like magnesium, which strengthens aluminum), but a strong pull is a red flag. Remember: pure aluminum won't stick at all.
Weight Check: Density Matters
Aluminum has a specific density (about 2.7 g/cm³), so a clamp made from high-grade aluminum will feel lighter than one made from steel but sturdier than plastic. Compare the weight of the clamp to its size: if it feels unusually heavy for its dimensions, it might be mixed with denser, cheaper metals. Conversely, if it's overly light and flimsy, it could be made from thin, low-grade aluminum that'll bend under pressure.
Certifications: Ask for the Paperwork
Reputable suppliers (like your go-to lean pipe supplier) should provide certifications for their aluminum, such as ISO standards or material grade labels (e.g., 6061 or 6063 aluminum, which are common for structural components). 6061 aluminum, for example, is known for its high tensile strength and weldability—perfect for clamps. If a supplier can't provide material specs, that's a warning sign. Don't be shy to ask: "What grade of aluminum is this clamp made from?" A good supplier will be happy to share.
3. Structural Integrity: Does It Hold Up to Stress?
Even if the material is top-notch, a poorly designed clamp will fail. Structural integrity is all about how the clamp is shaped, reinforced, and finished. Here's how to test it:
Check the Joint Design
Most aluminum pipe clamps rely on a "grip" mechanism—either a screw-down bolt, a spring-loaded clip, or a friction fit—to hold pipes in place. For screw-based clamps (the most common type), inspect the thread quality: are the threads clean and evenly spaced, or are they stripped, bent, or mismatched? A stripped thread will loosen over time, making the clamp useless. Try tightening and loosening the bolt a few times: it should turn smoothly without sticking.
For fixed-angle clamps (like the 90° aluminum pipe joint), check if the corners are reinforced. A good design will have extra material (a "gusset") at the joint to distribute stress, preventing cracks under load. If the corner is thin or sharp, it's more likely to bend when pressure is applied.
Fit Test with Aluminum Pipes
The best way to test a clamp's grip is to pair it with the aluminum pipe it's designed for (most clamps are sized for 20mm, 30mm, or 40mm pipes). Slide the clamp onto a pipe and tighten it as you would in a real setup. A quality clamp should grip the pipe firmly—no wiggling or slipping. Try twisting the pipe gently: the clamp should hold it in place without shifting. If it slips, even after tightening, the clamp's inner diameter might be off, or the grip mechanism is weak.
Also, check the clamp's alignment: when two pipes are connected (e.g., a T-joint or L-joint), they should form a straight, even angle. A misaligned clamp will throw off your entire structure, leading to uneven weight distribution and instability.
Bend Test: Simulate Stress
This is a simple but effective test. Grip the clamp firmly in both hands (wear gloves to avoid cuts) and apply gentle pressure to bend it—don't use all your strength, just enough to simulate the stress of a loaded structure. A high-quality clamp will flex slightly but return to its original shape. If it bends permanently, cracks, or creaks, it's too weak. Avoid clamps that feel "brittle"—this could mean the aluminum was overheated during manufacturing, weakening its molecular structure.
4. Load-Bearing Capacity: Will It Support Real-World Weight?
Clamps don't work in isolation—they're part of a system. A workbench, for example, might hold tools, parts, or even workers (if someone stands on it to reach a high shelf). To test a clamp's load-bearing capacity, you need to simulate these real-world conditions. Here's how:
Start with the Manufacturer's Specs
Most suppliers list a "maximum load" for their clamps (e.g., "supports up to 50kg per clamp"). But specs can be misleading—they're often tested under ideal conditions (perfect alignment, no vibration, new pipes). To get the real story, you need to test beyond the spec. Aim for 120% of the listed load—if a clamp is rated for 50kg, test it with 60kg. If it holds, that's a good sign it'll handle daily use.
DIY Load Test Setup
You don't need a fancy lab to test load capacity. Here's a simple setup:
- Take two aluminum pipes (the same diameter the clamp is designed for) and connect them with the clamp to form a right angle (like the corner of a workbench).
- Secure one end of the horizontal pipe to a stable surface (e.g., clamp it to a table leg with a vice).
- Hang a bucket from the end of the horizontal pipe (use a rope or hook to distribute weight evenly).
- Gradually add weight to the bucket (start with 10kg, then 20kg, up to your target load). Wait 5 minutes at each weight to see if the clamp loosens or the pipe bends.
What to watch for: Does the clamp slip? Does the pipe bend at the joint? Does the bolt loosen? If any of these happen, the clamp isn't up to the task. A good clamp will hold steady, with no visible deformation.
Vibration Test: For Dynamic Environments
In factories or workshops, machinery vibration can loosen clamps over time. To simulate this, after applying your test load, gently tap the structure with a rubber mallet (or even your hand) to mimic vibration. If the clamp loosens or the bolt shifts, it won't hold up in a busy environment. Look for clamps with lock washers or "nylon-insert" bolts—these prevent loosening from vibration.

5. Corrosion Resistance: Will It Last in Your Environment?
Aluminum naturally forms a thin oxide layer that resists corrosion, but this layer can be damaged by moisture, chemicals, or salt (if you work near the coast). Many clamps are also anodized (a process that thickens the oxide layer) or coated (e.g., with powder coating) for extra protection. Here's how to test corrosion resistance:
Anodization Check
Anodized clamps have a matte, uniform finish (often silver, black, or gold). To test the anodization quality, drop a small amount of water on the surface. If the water beads up (like on a waxed car), the coating is intact. If it soaks in or leaves a dark spot, the anodization is thin or damaged. You can also scratch the surface gently with a key—anodized layers are hard, so they shouldn't scratch easily. A cheap coating will peel or flake off.
Salt Spray Test (For Severe Environments)
If you work in a humid or coastal area, a salt spray test is worth doing. Mix 1 tablespoon of salt with 1 cup of water, pour it into a spray bottle, and mist the clamp. Let it sit for 24 hours, then wipe it dry. A corrosion-resistant clamp will show no rust, pitting, or discoloration. If you see white spots (aluminum oxide), that's normal—the oxide layer is doing its job. But red or brown spots mean iron is present, and the clamp will corrode quickly.
6. Compatibility with Aluminum Profile Accessories
A clamp is only as good as its ability to work with other parts. If you're building a workbench, for example, you might need to attach a shelf (using aluminum profile accessories like brackets) or a tool rail. To test compatibility:
- Pair the clamp with common accessories: Try attaching a bracket, end cap, or guide rail to the clamp. Do they fit snugly, or is there a gap? A gap means uneven weight distribution.
- Check hole alignment: Many clamps have pre-drilled holes for mounting accessories. Are the holes spaced to match standard aluminum profiles (e.g., 2020, 3030, or 4040 profiles)? Mismatched holes will make installation a nightmare.
For example, if you're using a 4040 aluminum profile for your workbench frame, the clamp's mounting holes should align with the profile's T-slots. If they don't, you'll need to drill new holes—weakening the clamp and wasting time.
7. User Feedback: What Do Others Say?
Finally, don't underestimate the power of user reviews. If you're buying from a lean pipe supplier, check their website for customer feedback or ask for references. Look for comments like: "Clamps held up for 2 years without loosening" or "Survived a flood in our workshop—no rust!" Avoid suppliers with reviews like: "Clamps bent after 1 month" or "Bolts stripped easily."
You can also join industry forums (like manufacturing or workshop groups on Reddit) and ask: "Has anyone used [Supplier X]'s aluminum pipe clamps?" Real-world experiences often reveal flaws that lab tests miss.
Conclusion: Invest Time Now, Save Headaches Later
Testing aluminum pipe clamps before purchase might seem like extra work, but it's an investment in your workshop's safety, efficiency, and longevity. By checking material quality, structural integrity, load capacity, corrosion resistance, and compatibility with aluminum profile accessories, you'll avoid flimsy products that cost more in the long run (think: replacements, downtime, or accidents). Remember, a good clamp is quiet, reliable, and almost invisible in your setup—until you need it to hold. And when you do, you'll be glad you took the time to test.
So, the next time you're browsing clamps from a lean pipe supplier, grab a sample, roll up your sleeves, and put it through these tests. Your workbench (and your peace of mind) will thank you.
| Test Type | What to Check | Pass/Fail Criteria |
|---|---|---|
| Material Quality | Visual finish, magnet test, weight, certifications | No burrs, non-magnetic, matches density specs, grade 6061/6063 |
| Structural Integrity | Thread quality, joint reinforcement, bend test | Threads clean, joints reinforced, returns to shape after bending |
| Load-Bearing | 120% of rated load, vibration test | Holds weight without slipping/ bending, no loosening under vibration |
| Corrosion Resistance | Anodization check, salt spray test | Water beads, no rust/pitting after 24 hours |
| Compatibility | Fit with pipes/accessories, hole alignment | Snug fit, aligns with standard profiles |