- Company Articles
- Products and Technology
- Installation And Maintenance
- How to Troubleshoot Adjustable Leveling Feet Issues in Lean Pipe Material Racks

How to Troubleshoot Adjustable Leveling Feet Issues in Lean Pipe Material Racks
Related Product
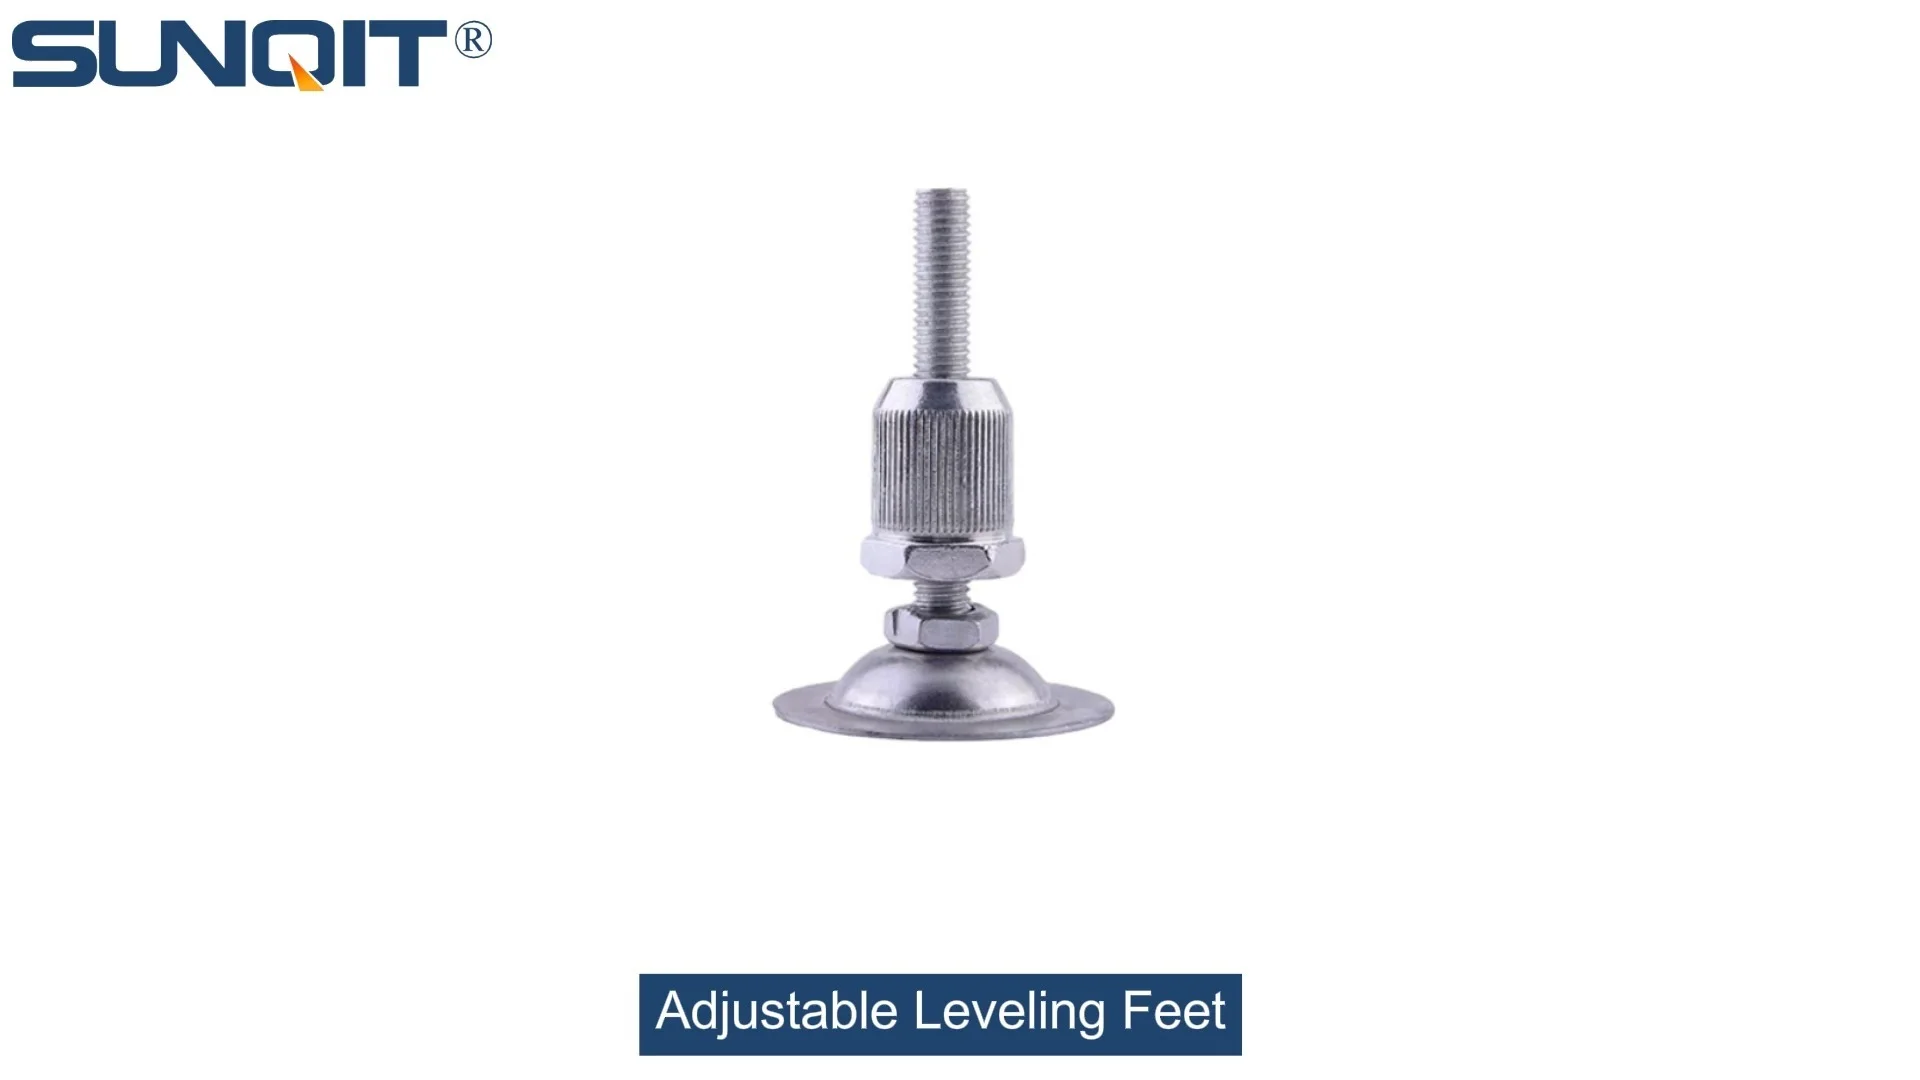
Adjustable Leveling Feet
Adjustable leveling feet are designed to keep machines level when placed on uneven or sloped ground. Otherwise known as adjustable equipment feet, they are available to order in a wide variety of size and load capacity combinations.
If you've ever spent a morning staring at a wobbly material rack, wondering why it just won't stay put, you're not alone. In busy production environments, where every second counts, an unstable rack isn't just a nuisance—it's a productivity killer. And more often than not, the culprit? Those small but mighty components called adjustable leveling feet. These unassuming parts are the unsung heroes of lean systems, keeping everything from workbenches to heavy-duty material racks steady, even on the most uneven factory floors. But when they start acting up? Chaos can ensue.
I've been in the lean manufacturing world for over a decade, and I've lost count of the times a simple leveling foot issue has thrown a wrench into an entire production line. Whether it's a workbench that rocks when you lean on it or a material rack b (3 row and 3 floor) that shifts under the weight of components, these problems rarely fix themselves. The good news? With a little know-how, you can troubleshoot most issues in under an hour—no fancy tools required. Let's dive into the world of adjustable leveling feet, why they fail, and how to get your lean pipe setups back on solid ground.
Understanding Adjustable Leveling Feet: The Foundation of Stability
Before we jump into troubleshooting, let's make sure we're on the same page about what adjustable leveling feet actually do. Think of them as the "feet" of your material rack or workbench—they're the parts that touch the ground, and they're designed to compensate for uneven surfaces. Unlike caster wheels, which let you roll equipment around, leveling feet are meant to stay put, providing a fixed, stable base. Most models have a threaded stem that screws into the rack's frame, with a footpad at the bottom that can be adjusted up or down to fine-tune height.
In lean systems, where organization and efficiency are everything, stability is non-negotiable. A material rack that shifts might cause parts to slide off, leading to scrap or delays. A workbench that wobbles could throw off assembly precision, especially for delicate tasks. And let's not forget safety—an unstable rack is a falling hazard, putting your team at risk. That's why adjustable leveling feet are such a critical component, even if they're easy to overlook.
Now, not all leveling feet are created equal. Some are basic plastic models, others are heavy-duty metal with anti-slip pads, and some (like the suction cup anti-slip foot adjuster) even have specialized features for extra grip. The type you'll use depends on your setup—for example, a lightweight aluminum pipe workbench might get by with simple plastic feet, while a steel-frame material rack b carrying hundreds of pounds will need something sturdier. But regardless of the type, they all share the same core purpose: to keep your equipment steady.
Common Adjustable Leveling Feet Issues (and Why They Happen)
Let's get to the meat of the matter: the problems you're likely to run into. Over the years, I've seen the same issues pop up again and again. Here are the top five culprits, along with why they happen in real-world settings.
1. Wobbling or Rocking (The Most Frustrating Offender)
This is the one that'll drive you crazy: you set up the rack, tighten all the lean pipe joints, load it with parts, and then—*shudder*—it starts to rock back and forth like a seesaw. Sometimes it's a subtle sway; other times, it's so bad you worry the whole thing might tip. What's going on here?
Nine times out of ten, wobbling comes down to uneven weight distribution or, more commonly, uneven flooring. Factory floors are rarely perfectly flat—years of heavy machinery, spills, and general wear leave dips and bumps that even the best leveling feet struggle with. If your material rack has four feet (most do), and one of them is sitting in a slight depression, that foot won't bear weight properly, causing the rack to pivot around the other three. Add in dynamic weight shifts—like when a worker pulls a heavy box from the top shelf—and the wobble gets worse.
Another sneaky cause? Loose lean pipe joints. Even if the leveling feet themselves are adjusted correctly, if the joints connecting the lean pipes are loose, the entire frame can flex, making the rack feel unstable. I once spent 20 minutes adjusting feet on a wobbly workbench, only to realize the real issue was a loose three-way lean pipe joint that was letting the frame twist. Oops.
2. Stuck or Difficult-to-Adjust Feet
Ever grab the leveling foot with a wrench, try to turn it, and… nothing? Or maybe it turns a little, then seizes up, like it's glued in place. Stuck feet are a classic problem, and they're usually caused by one of two things: debris in the threads or rust/corrosion.
Think about your factory floor—oils, metal shavings, dust, and even bits of packaging material get everywhere. Over time, that gunk can work its way into the threads of the leveling foot's stem, acting like a grinding paste that locks the foot in place. If you're in a humid environment, or if the feet get splashed with water or coolant, rust can form, making them even harder to turn. I've seen feet so stuck that workers resorted to hitting them with hammers (please don't do that—you'll damage the threads).
3. Thread Damage (The Silent Dealbreaker)
Speaking of threads: if you've ever tried to adjust a foot and heard a *stripping* sound, or noticed the foot spins freely without actually raising or lowering, you've got thread damage. This is a big one because once the threads are stripped, the foot can't grip the frame properly, leaving your rack unsupported.
Thread damage usually happens gradually, from over-tightening or forcing a stuck foot. Let's say you're in a hurry and use a pipe wrench to crank the foot—too much torque can strip the plastic or metal threads. Or maybe you cross-threaded the foot when installing it (we've all done it)—starting the foot at an angle, so the threads don't mesh correctly, and then forcing it to turn. Over time, those misaligned threads wear down until they're useless.
4. Slipping or Sliding on Smooth Floors
You adjust the feet, the rack stops wobbling, and then—*whoosh*—it slowly slides across the floor when someone bumps it. This is especially common with plastic leveling feet on polished concrete or vinyl floors. The problem here is friction (or lack thereof). Without enough grip between the foot and the floor, even a small force can move the entire rack.
Anti-slip features help, but they wear out. The rubber or plastic pads on the bottom of the feet can degrade over time, especially if they're exposed to oils or chemicals. I once visited a facility where they used generic plastic feet on all their workbenches—after six months, the pads were so smooth they might as well have been ice skates. Unsurprisingly, the workbenches were constantly shifting, leading to misaligned assembly steps.
5. Compatibility Issues (When the Foot Just Doesn't Fit)
This one is more about prevention than troubleshooting, but it's worth mentioning: using the wrong adjustable leveling feet for your setup. Not all feet are designed for all racks. For example, a lightweight aluminum pipe workbench might use M10 threads, while a heavy-duty stainless steel pipe series rack requires M12. If you swap them, the foot either won't screw in all the way (leaving it loose) or will bottom out before the rack is level.
I've also seen issues with height range. If your floor has a major dip (say, 2 inches), and your leveling feet only adjust up to 1 inch, you're out of luck. The rack will still sit unevenly, no matter how much you tweak them. Always check the specs: thread size, max adjustment height, and weight capacity before buying.

Step-by-Step Troubleshooting: Fixing the Most Common Issues
Okay, we've identified the problems—now let's fix them. Below, I'll walk you through troubleshooting each issue, with simple steps and tools you probably already have in your toolbox. Let's start with the most common: wobbling.
Troubleshooting Wobbling/Rocking Racks
First, rule out loose lean pipe joints. Grab a wrench and gently tug on each joint—if any move or creak, tighten them until they're snug (but don't over-tighten; you can strip the threads on plastic joints). Once the frame is solid, move on to the feet.
Step 1: Check for uneven flooring. Grab a spirit level (the longer, the better—24 inches or more) and place it on the top shelf of the rack. If the bubble is off-center, note which direction it's leaning. That tells you which side is higher.
Step 2: Adjust the feet incrementally. Start with the foot on the "low" side (the side the bubble is leaning toward). Use a wrench to turn the foot clockwise to raise it, or counterclockwise to lower it. Turn it 1/4 turn at a time, then check the level again. Repeat until the bubble is centered.
Pro tip: If the rack still wobbles after leveling, try the "rock test." Push gently on each corner—if one corner feels like it's lifting off the floor, that foot is too high. Lower it slightly until all four feet make firm contact with the ground.
Step 3: Add shims (if needed). For extreme floor dips (more than 1/2 inch), even fully extended leveling feet might not be enough. In that case, use metal or hard plastic shims under the problematic foot. Avoid wood shims—they compress over time and can rot if exposed to moisture.
Pro Tip: For Material Rack B (3 Row and 3 Floor)
These racks are top-heavy by design, so weight distribution matters more than with smaller racks. After adjusting the feet, load the heaviest items on the bottom shelf and lighter ones on top. This lowers the center of gravity, reducing wobble even on slightly uneven floors.
Fixing Stuck or Difficult-to-Adjust Feet
Stuck feet can be frustrating, but with a little patience, they'll usually loosen up. Here's how:
Step 1: Clean the threads. Use a stiff-bristled brush (an old toothbrush works!) to scrub away dirt, grease, and debris from the threads where the foot meets the rack frame. If there's heavy oil or grime, spray a small amount of degreaser (like WD-40) and let it sit for 5 minutes. Wipe away the gunk with a rag.
Step 2: Apply lubricant. For rusted or seized threads, apply a penetrating oil (PB Blaster is my go-to) and let it soak for 10–15 minutes. The oil will seep into the threads, breaking up rust and reducing friction. Avoid using too much—you don't want it dripping onto the floor.
Step 3: Use the right tool. Never use pliers directly on the foot—you'll scratch or damage it. Instead, use an adjustable wrench with a cloth wrapped around the jaws to protect the foot's finish. Gently tap the wrench with a rubber mallet (not a steel hammer!) to break the seal, then try turning the foot again. The tapping helps the lubricant work into tight spots.
Step 4: If all else fails, replace the foot. If the threads are completely fused or the foot is cracked, it's time to swap it out. Most suppliers carry replacement adjustable leveling feet for under $10—cheaper than wasting an hour fighting a stuck one.
Repairing or Replacing Damaged Threads
Stripped threads are tricky because once they're gone, they can't be repaired (at least not permanently). But you have a few options:
Option 1: Use a thread repair kit. These kits (like Helicoil) include small metal inserts that screw into the damaged threads, creating new threads for the foot. They work well for metal frames but are less effective on plastic lean pipe frames (the plastic is too soft to hold the insert).
Option 2: replace the foot and the frame insert. Many lean pipe racks have removable threaded inserts where the feet screw in. If the insert is stripped, you can unscrew it (with pliers) and replace it with a new one. Then install a fresh adjustable leveling foot. This is the most reliable fix.
Option 3: Upgrade to a larger thread size. If the original threads are M10 and beyond repair, drill out the old insert and install a larger M12 insert. You'll need a new M12 foot, but this makes the connection stronger than before. I've done this on racks that hold extra-heavy loads—it's a game-changer.
Stopping Slipping and Sliding
To add grip, start by replacing worn anti-slip pads. Most adjustable leveling feet have replaceable pads—just pop off the old one and stick on a new rubber or silicone pad (look for ones rated for oil resistance if you work with lubricants). If your feet don't have pads, you can buy adhesive-backed anti-slip tape and apply it directly to the foot's base.
For extreme cases—like very smooth floors or racks that get bumped often—consider upgrading to suction cup anti-slip foot adjusters. These feet have a rubber suction cup that creates a vacuum seal with the floor when weight is applied, drastically reducing sliding. I installed these in a facility that used polished concrete floors, and the difference was night and day—racks stayed put even when hit by pallet jacks (accidentally, of course).

Troubleshooting Table: Quick Reference Guide
| Issue | Common Causes | Quick Fix |
|---|---|---|
| Wobbling/Rocking | Uneven floor, loose lean pipe joints, uneven weight distribution | Level with a spirit level, tighten joints, redistribute weight |
| Stuck Feet | Debris in threads, rust, over-tightening | Clean threads, apply lubricant, tap gently with a rubber mallet |
| Stripped Threads | Over-tightening, cross-threading, forced adjustment | Use a thread repair kit or replace the foot/insert |
| Slipping on Floors | Worn anti-slip pads, smooth flooring, oil/grease on floor | replace pads, use suction cup feet, clean floor regularly |
| Compatibility Issues | Wrong thread size, insufficient height adjustment range | Check specs, replace with feet matching the rack's requirements |

Preventive Maintenance: Keep Those Feet Happy
The best way to troubleshoot leveling feet issues? Prevent them from happening in the first place. A little regular maintenance goes a long way:
Inspect monthly: Once a month, walk around your lean pipe setups and check each foot. Look for cracks, worn pads, or loose threads. Tighten any feet that have started to back out (vibration from machinery can loosen them over time).
Clean quarterly: Use a brush to remove debris from the threads and wipe down the feet with a damp cloth. For metal feet, apply a light coat of anti-rust spray (like WD-40 Specialist Long-Term Corrosion Inhibitor) to prevent rust.
replace worn parts proactively: If a foot's anti-slip pad is starting to thin, replace it before it's completely smooth. Same with cracked or bent feet—don't wait for them to fail.
Train your team: Make sure everyone knows not to stand or climb on racks—excess weight can bend feet or strip threads. Also, teach them to report wobbly racks immediately instead of ignoring them (I've seen too many "minor" wobbles turn into major issues).
When to Call in the Pros
Most leveling foot issues are DIY-friendly, but there are times to seek help. If you notice:
- The rack frame itself is bent or cracked (this isn't a foot issue—it's a structural problem).
- Multiple feet have stripped threads (this could mean the frame's inserts are worn out, requiring a full replacement).
- The floor has major unevenness (more than 1 inch) across the rack's footprint—you might need a professional to level the floor or install a raised platform.
Your lean pipe supplier should be able to help with replacement parts or structural repairs. Most offer technical support over the phone, so don't hesitate to reach out if you're stuck.
Final Thoughts: Stability = Productivity
Adjustable leveling feet might seem like small potatoes in the grand scheme of lean manufacturing, but they're the foundation of a safe, efficient workspace. A wobbly rack doesn't just slow down production—it can lead to damaged parts, worker frustration, and even accidents. By taking the time to troubleshoot issues early and maintain your feet regularly, you'll keep your lean systems running smoothly and your team focused on what really matters: getting the job done right.
So the next time you walk past a material rack or workbench, take a second to check those feet. A quick wiggle test or level check could save you hours of hassle later. And remember: when in doubt, start with the basics—tighten the lean pipe joints, adjust the feet, and go from there. You've got this.