- Company Articles
- Products and Technology
- Installation And Maintenance
- How to Troubleshoot Loose Saddle Pipe Clamps in Lean Workbench Setups

How to Troubleshoot Loose Saddle Pipe Clamps in Lean Workbench Setups
Related Product
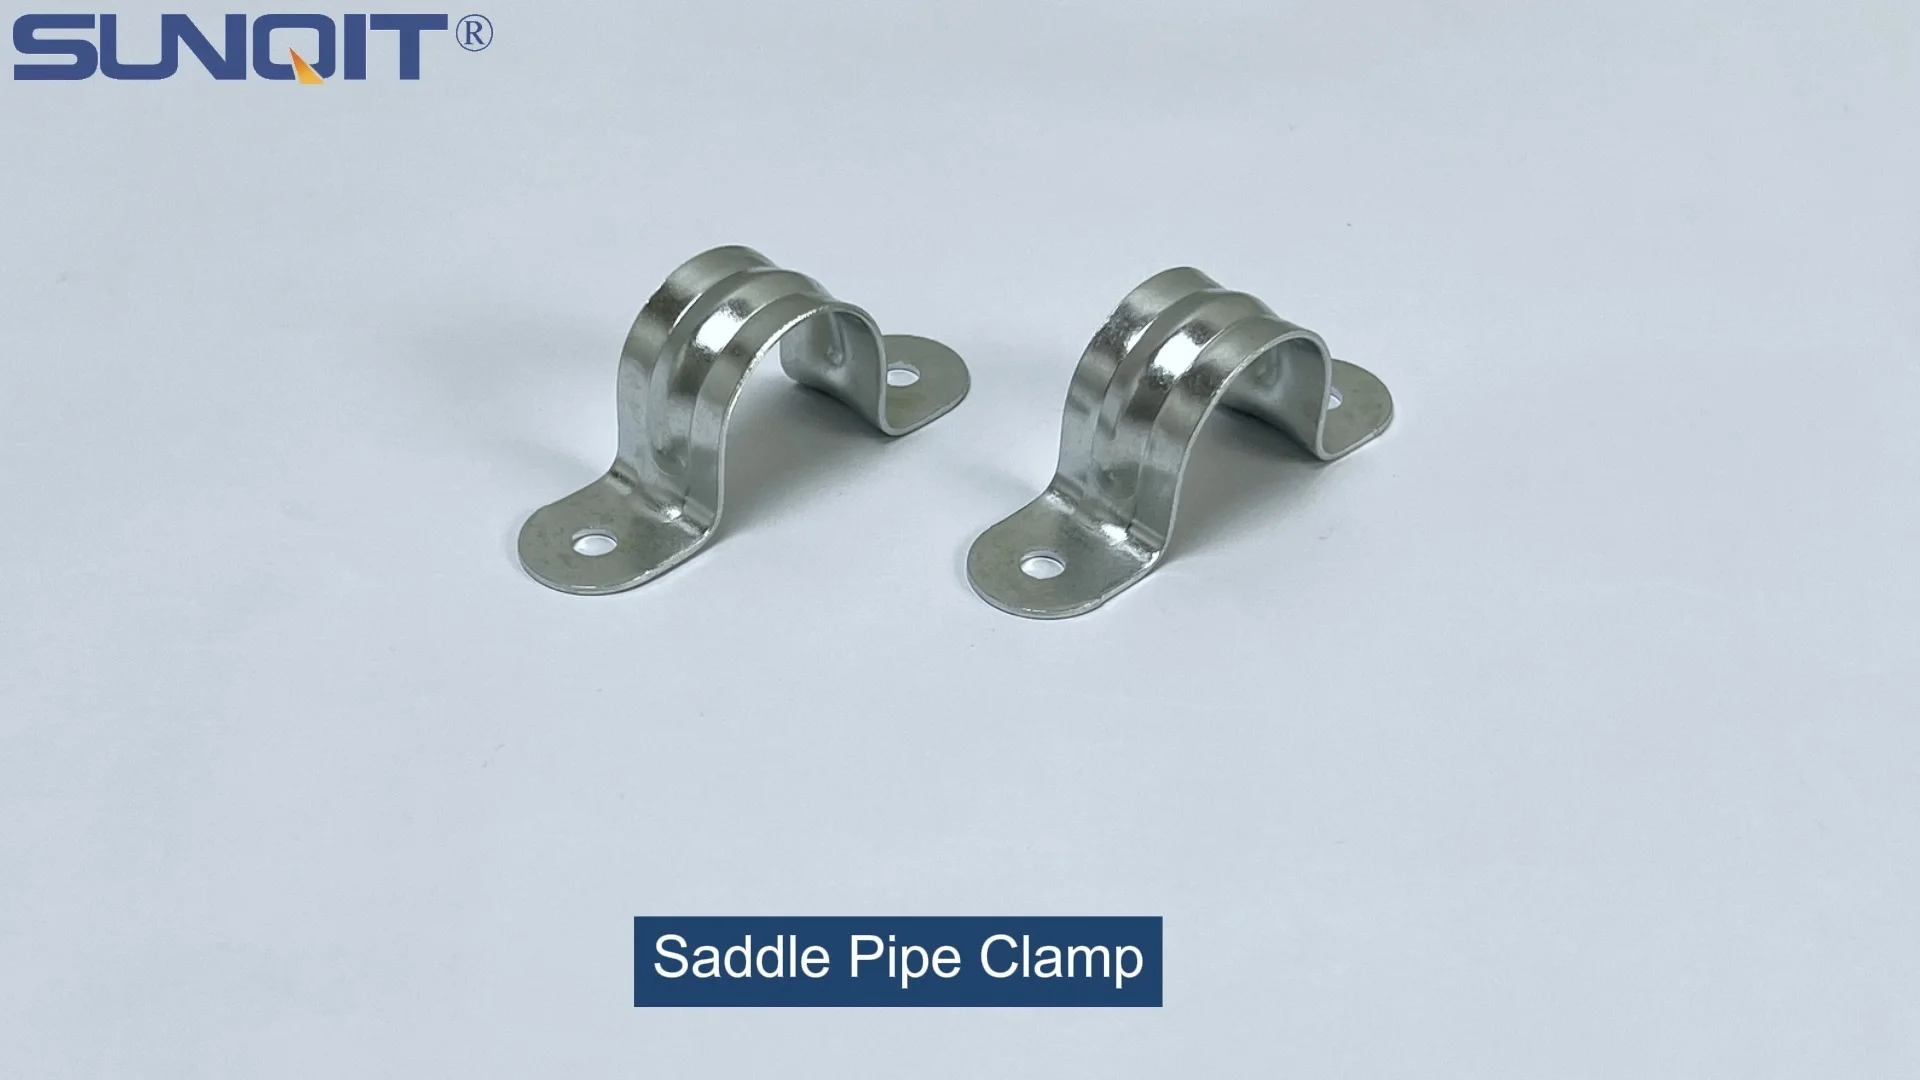
Saddle Pipe Clamp
Saddle pipe clamp, used for board connect with pipe, usually for table top installation.
Picture this: It's a busy Tuesday morning on your production floor. Your team is in the zone, assembling components, and every second counts. Then, you hear it—a faint creak, followed by a tools clattering to the floor. You rush over to find your lean workbench wobbling like a table with a broken leg. A quick glance reveals the culprit: a loose saddle pipe clamp, the small but mighty connector holding your workbench's aluminum profiles together. In that moment, you're not just looking at a wobbly table—you're looking at downtime, frustrated teammates, and a kink in your carefully optimized lean system.
Loose saddle pipe clamps might seem like a minor annoyance, but in lean manufacturing, where efficiency and stability are the backbone of productivity, they're a silent productivity killer. These unassuming components—often overlooked until they fail—play a critical role in keeping your workbench, material racks, and even conveyor systems rigid and reliable. So, how do you spot, fix, and prevent loose clamps before they derail your operations? Let's dive in.
First Things First: What Are Saddle Pipe Clamps, Anyway?
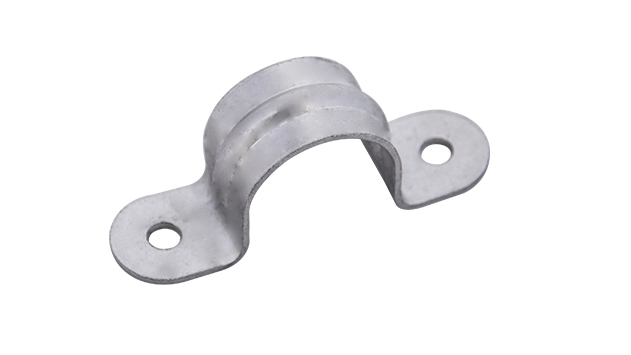
Before we troubleshoot, let's make sure we're on the same page. Saddle pipe clamps are the unsung heroes of lean workbench design. They're the metal or plastic connectors that fasten lean pipes, aluminum profiles, and other structural elements together, creating the sturdy framework you rely on for assembling products, storing tools, or staging materials. Think of them as the "glue" of your lean system—without them, your workbench would collapse into a pile of pipes and profiles faster than you can say "downtime."
These clamps come in various materials—stainless steel for durability, plastic for lightweight setups, or aluminum for corrosion resistance—and sizes, each tailored to specific pipe diameters and load capacities. For example, a heavy-duty workbench holding ESD-sensitive equipment might use stainless steel saddle clamps, while a lightweight turnover trolley could get by with plastic ones. The key? They're designed to distribute pressure evenly across the pipe, ensuring a tight, vibration-resistant grip that stands up to the daily chaos of a production floor.
Why Do Saddle Pipe Clamps Loosen Up, Anyway?
Clamps don't just loosen on a whim—there's always a reason. Let's break down the most common culprits, because understanding why they fail is half the battle in fixing them.
| Cause | What's Happening | Real-World Example |
|---|---|---|
| Over-Tightening During Installation | Cranking the clamp too hard strips threads or warps the clamp, leaving it loose over time. | A new technician uses a power drill to tighten clamps, stripping the plastic threads on an aluminum profile joint. |
| Under-Tightening | Not tightening enough leaves gaps, letting vibration wiggle the clamp loose. | A rushed setup skips the final torque check, and within a week, the workbench starts wobbling. |
| Daily Vibration | Conveyors, nearby machinery, or even foot traffic send tiny vibrations through the workbench, loosening clamps over time. | A lean workbench next to a busy roller track conveyor vibrates nonstop, gradually undoing clamp bolts. |
| Material Fatigue | Plastic clamps degrade from UV exposure or temperature swings; metal clamps corrode or weaken at stress points. | A workbench in a warehouse with extreme heat/cold cycles causes plastic clamps to become brittle and loose. |
| Mismatched Components | Using a clamp designed for 1-inch lean pipe on a 0.8mm stainless steel pipe creates a poor fit. | An order mix-up leads to using 1-inch swivel roller ball clamps on a 0.5-inch aluminum guide rail, causing slippage. |
The Telltale Signs: How to Spot Loose Clamps Before They Fail
Loose clamps rarely announce themselves with a bang—they whisper. Learning to read these whispers can save you from a full-blown breakdown. Here are the red flags to watch for:
- The Wobble Test: Gently push the workbench from different angles. If it sways more than a rock, or if individual pipes shift, clamps are likely loose.
- Creaking or Grinding Noises: Metal-on-metal squeaks or plastic groans usually mean parts are rubbing because clamps aren't holding them tight.
- Visible Gaps: Check where the clamp meets the pipe or aluminum profile. A gap wider than a credit card is a clear sign of a loose connection.
- Sliding Materials: If tools, bins, or components slide around the workbench even when it's level, the surface might be tilting due to uneven clamp tension.
- Stripped Threads or Bent Clamps: A quick visual inspection might reveal threads that look "chewed up" or clamps that are warped—both mean they're no longer gripping properly.

Step-by-Step Troubleshooting: Fixing Loose Saddle Pipe Clamps
Okay, you've spotted the signs—now what? Let's walk through how to fix loose clamps safely and effectively, whether you're dealing with a quick tighten or a full replacement.
Step 1: Safety First—Clear the Area
Before touching anything, power down nearby machinery, remove tools or materials from the workbench, and make sure the area is clear of teammates. You don't want a sudden shift causing tools to fall, or a loose pipe hitting someone.
Step 2: Inspect the Clamp (and the Joint)
Grab a flashlight and get up close. Check the clamp for cracks, stripped threads, or corrosion. Then, look at the pipe or aluminum profile it's attached to—are there dents, scratches, or rust that might prevent a tight grip? For example, a bent aluminum guide rail might never hold a clamp securely, even if the clamp itself is new.
Step 3: Tighten (But Don't Overdo It)
If the clamp looks intact, it might just need a tighten. Use the right tool—usually a socket wrench or hex key; avoid power tools unless the clamp specifies it (most don't). Tighten in small increments, alternating sides if it's a two-bolt clamp, until the gap closes and the clamp feels snug. A good rule of thumb: Stop when you feel resistance, then give it a tiny extra turn—no more. Over-tightening is worse than under-tightening here!
Step 4: replace Damaged Clamps
If the clamp is stripped, cracked, or bent, replace it immediately. But not just with any clamp—match the material, size, and load rating. For example, if you're replacing a clamp on an ESD workstation, use an ESD-safe material to maintain static control. Pro tip: Keep a small stock of common clamps (like 1-inch stainless steel saddle clamps) in your maintenance closet to avoid waiting for replacements.
Step 5: Test for Stability
Once tightened or replaced, give the workbench a firm shake from all sides. It should feel solid, with no movement beyond a slight vibration. If it still wobbles, check adjacent clamps—sometimes one loose clamp causes others to loosen as the structure shifts.
Real-World Fix: How One Manufacturer Solved Their Clamp Woes
A mid-sized electronics manufacturer was struggling with their lean workbench setup. Their ESD workstations, used for assembling circuit boards, kept wobbling, leading to misaligned parts and occasional static discharge issues. The team initially thought the problem was the caster wheels, so they replaced those—no luck. Then, a maintenance tech noticed the saddle pipe clamps connecting the aluminum profiles were plastic, and many had stripped threads.
The root cause? The workstations were near a busy roller track conveyor, and the constant vibration was loosening the plastic clamps over time. The fix: Swap plastic clamps for stainless steel ones, apply a small amount of thread locker to the bolts, and train the team to do a weekly "wobble check." Within a month, workstation stability improved by 90%, and static-related defects dropped by 40%. Moral of the story? Sometimes the smallest component—like a saddle pipe clamp—is the key to big improvements.

Prevention: Keeping Clamps Tight for the Long Haul
Fixing loose clamps is necessary, but preventing them from loosening in the first place is even better. Here's how to build clamp maintenance into your routine:
- Schedule Regular Checks: Add a 5-minute "clamp inspection" to your weekly team huddle. Have someone walk the production floor, checking workbenches, material racks, and turnover trolleys for wobbles or gaps.
- Use Thread Locker (Sparingly): For high-vibration areas (like near conveyors), a drop of medium-strength thread locker on clamp bolts can prevent loosening. Just avoid permanent thread locker—you'll need to remove clamps someday!
- Choose the Right Clamp for the Job: Don't skimp on quality. Heavy workbenches need heavy-duty clamps; outdoor setups need corrosion-resistant stainless steel; ESD workstations need static-safe materials.
- Train Your Team: Teach everyone to report loose clamps immediately. A line worker who notices a wobbly shelf can flag it before it becomes a bigger issue.
- Consider Anti-Vibration Pads: If your workbench sits on a particularly shaky floor (near a stamping machine, for example), placing rubber anti-vibration pads under the feet can reduce the shaking that loosens clamps.
When to Call in the Pros: Knowing When It's More Than a Loose Clamp
Most loose clamps are DIY fixes, but sometimes the problem runs deeper. If you notice multiple clamps loosening repeatedly, or if the entire workbench frame seems bent or warped, it might be time to consult your lean pipe supplier. They can help assess if the issue is poor initial design (e.g., using undersized pipes for the load), incorrect joint types, or even material fatigue in the entire structure.
For example, if your workbench uses basic aluminum tubes but regularly holds 200+ pounds of equipment, the tubes themselves might be bending, causing clamps to loosen. In that case, upgrading to thicker aluminum extrusion profiles or switching to stainless steel pipe series could be the long-term solution.
Final Thoughts: Small Clamps, Big Impact
Loose saddle pipe clamps might not seem like the most glamorous topic in lean manufacturing, but they're a reminder that the smallest components often have the biggest impact on efficiency. By staying vigilant—spotting the signs, fixing issues quickly, and preventing future problems—you can keep your lean workbench, and your entire production line, running smoothly.
So, the next time you walk past a workbench, take a second to give it a gentle push. If it stands firm, thank your saddle pipe clamps—they're doing their job. If it wobbles? You now know exactly what to do. After all, in lean manufacturing, stability isn't just about the big machines—it's about the little connections that hold everything together.