- Company Articles
- Products and Technology
- Installation And Maintenance
- How to replace Worn M10*56 Rubber Leveling Feet on Workbench E

How to replace Worn M10*56 Rubber Leveling Feet on Workbench E
Related Product
M10*56 Rubber Leveling Feet
Adjustable leveling feet are designed to keep machines level when placed on uneven or sloped ground. Otherwise known as adjustable equipment feet, they are available to order in a wide variety of size and load capacity combinations.
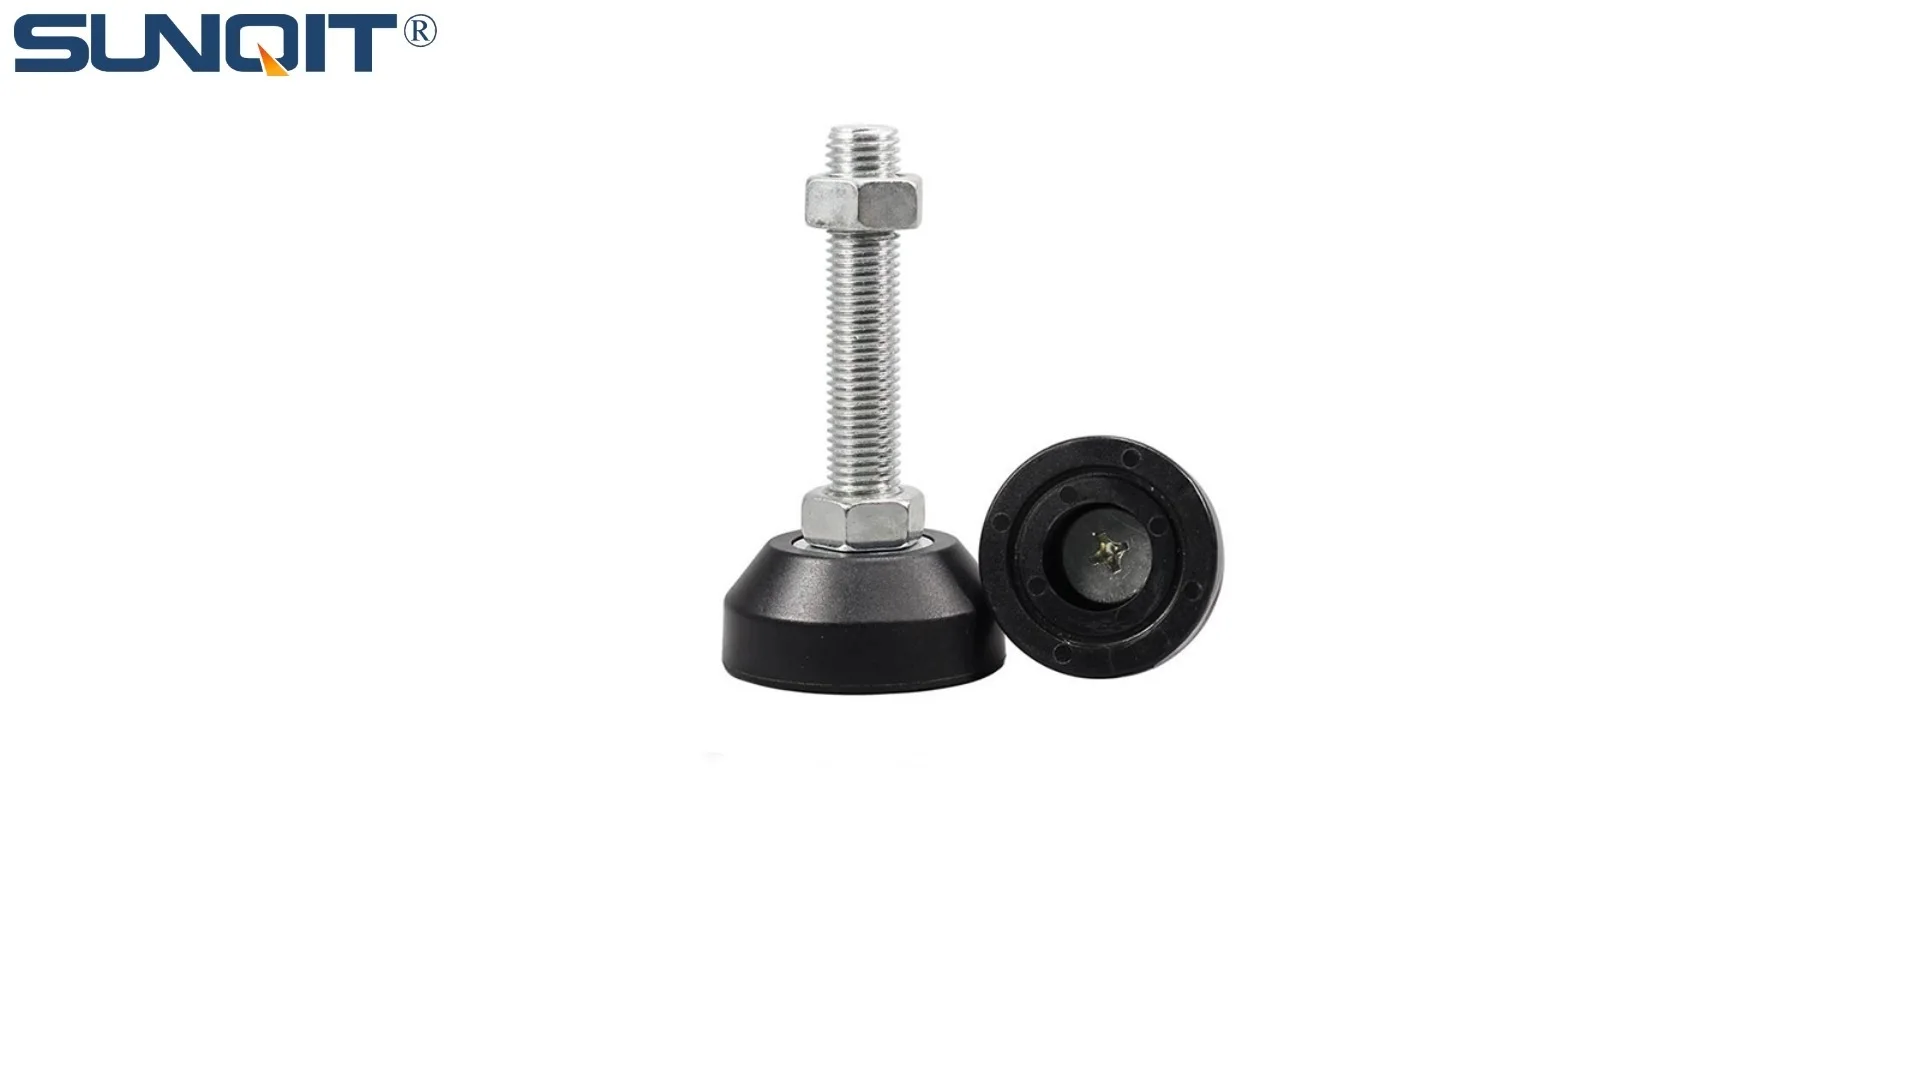
Picture this: It's a busy Tuesday morning in your workshop. You're knee-deep in a production assemble task, carefully fitting components onto a circuit board. But every time you lean into your Workbench E (single deck-without caster), it wobbles. Just a little at first—but enough to make your hand slip, leaving a tiny scratch on the part. Frustrated, you pause, glance down at the floor, and realize the problem isn't the uneven concrete. It's the rubber feet under your workbench. They're cracked, flattened, and clearly past their prime.
If this scenario hits close to home, you're not alone. Leveling feet are the unsung heroes of any stable workspace, quietly bearing the weight of tools, materials, and daily use. Over time, though, even the sturdiest ones—like the M10*56 rubber leveling feet on Workbench E—wear out. The good news? Replacing them isn't just doable; it's a simple DIY task that can save you from costly mistakes, boost efficiency, and extend the life of your workbench. Let's walk through how to do it right, step by step.
Why Leveling Feet Matter: More Than Just "Stability"
Before we dive into the "how," let's talk about the "why." Leveling feet aren't just there to stop your workbench from rocking. They're critical for:
- Safety: A wobbly workbench increases the risk of tools sliding off, materials toppling, or even the bench itself tipping—all hazards that can lead to injuries or damaged goods.
- Precision: In production assemble, even a 1mm wobble can throw off measurements, alignment, or soldering accuracy. Stable feet mean consistent results.
- Workbench Longevity: Uneven weight distribution from worn feet can strain the bench's frame over time, leading to cracks or bent supports. Replacing feet early prevents bigger, costlier repairs.
- Comfort: A steady work surface reduces fatigue. You won't waste energy compensating for wobbles, letting you focus on the task at hand.
The M10*56 rubber leveling feet on Workbench E are designed to handle this pressure. Made with durable rubber, they absorb shocks, grip floors to prevent sliding, and adjust to minor floor irregularities. But like any part, they have a lifespan—especially if your workbench sees heavy daily use.
Signs Your M10*56 Rubber Leveling Feet Need Replacing
How do you know when it's time to swap out those feet? Keep an eye (and a hand) out for these red flags:
1. Visible Wear and Tear
Take a close look at the rubber itself. If you see cracks, splits, or chunks missing, that's a clear sign. Rubber degrades over time, especially if exposed to oils, chemicals, or extreme temperatures. You might also notice the rubber has flattened unevenly—one side is thinner than the other—or has become hard and brittle (instead of flexible).
2. The "Wobble Test"
Push gently on each corner of your workbench. If it rocks back and forth, or if one leg feels "loose" when you press down, the feet are likely failing. Even a slight wobble (think: less than a centimeter) is enough to cause issues in precision tasks.
3. Scratches or Marks on Floors
Check the area around your workbench. If you see new scratches, scuffs, or rubber residue on the floor, it could mean the feet are no longer gripping properly. Worn rubber loses friction, causing the bench to slide slightly during use—bad news for both your floors and your workflow.
4. "Sinking" Feeling
Have you noticed the workbench seems lower on one side lately? Overcompressed rubber feet can lose their height, throwing off the bench's level. Place a spirit level on the surface—if the bubble isn't centered, worn feet are often the culprit.

Preparing for the Job: Tools, Safety, and Parts
Replacing leveling feet is straightforward, but preparation makes it even easier. Here's what you'll need:
Tools You'll Need
- A socket wrench or adjustable wrench (to loosen/tighten the M10*56 bolts)
- A Phillips or flathead screwdriver (if the feet are secured with screws)
- A spirit level (to check alignment after replacement)
- Clean cloth or brush (to wipe down the mounting area)
- Optional: Work gloves (to protect hands from sharp edges or old rubber residue)
Safety First: Clear the Area
Before you start, empty the workbench completely. Remove tools, materials, and any equipment—even lightweight items can shift and fall when you tilt the bench. If your workbench is near power tools or outlets, unplug them to avoid accidental contact. Finally, sweep the floor around the bench to clear debris—you don't want to trip while working.
Getting the Right Replacement: M10*56 Rubber Leveling Feet
Not all leveling feet are created equal. Workbench E (single deck-without caster) relies on M10*56 rubber leveling feet—meaning the bolt is 10mm in diameter and 56mm long. Using the wrong size can lead to instability, stripped threads, or damage to the bench's frame.
Where to find them? Start with your original lean pipe supplier or workbench supplier. They'll carry genuine parts designed to fit Workbench E perfectly. Avoid generic "one-size-fits-all" feet from big-box stores—they might not have the right thread pitch (M10) or rubber density, leading to premature wear.
Pro Tip:
If you're unsure about the size, check the old feet! The M10*56 marking is often stamped on the metal bolt part. If not, measure the bolt diameter with a caliper (10mm) and length (56mm) to confirm.

Step-by-Step: Replacing Your M10*56 Rubber Leveling Feet
Ready to get started? Follow these steps, and you'll have a stable workbench in under an hour.
Step 1: Secure the Workbench
Lean the workbench gently onto its side or back, resting it on a soft surface (like a folded towel or piece of cardboard) to avoid scratching the top or frame. If it's heavy, ask a helper to hold it steady—safety first!
Step 2: Remove the Old Feet
Look at how the old M10*56 feet are attached. Most are screwed into the bench's legs via the metal bolt (the "M10*56" part). Use your socket wrench or adjustable wrench to turn the foot counterclockwise until it unscrews completely. If it's stuck (common with rust or debris), tap the wrench gently with a hammer to loosen it—don't force it, as stripped threads are a hassle to fix.
Pro tip: If the rubber part spins independently of the bolt, grip the metal bolt with pliers while turning the foot. This breaks the seal between the rubber and bolt.
Step 3: Clean the Mounting Threads
Once the old foot is off, inspect the threads inside the bench leg. Dirt, rust, or old rubber bits can gunk them up, making it hard to screw in the new foot. Use a clean cloth or small brush to wipe out debris. If there's rust, a wire brush or a drop of penetrating oil (like WD-40) can help—just wipe off excess oil before moving on.
Step 4: Prep the New M10*56 Rubber Leveling Foot
Take your new foot and check the bolt threads. They should be clean and free of burrs. If the rubber has a protective film, peel it off. Hold the foot by the rubber part—avoid touching the threads with oily hands, as this can attract dirt later.
Step 5: Screw in the New Foot
Align the bolt with the leg's threads and start screwing it in by hand. Turn clockwise until it's snug—this ensures you don't cross-thread (which ruins both the bolt and the leg). Once it's hand-tight, use the wrench to give it a final 1/4 turn. Don't over-tighten! Rubber compresses, and cranking it too hard can crack the new foot or strip the threads.
Step 6: Repeat for All Feet (Yes, All of Them)
Even if only one foot looks worn, replace all four. Why? Feet wear at different rates, and mixing old and new can leave your bench uneven. Consistency is key for stability.
Step 7: Test for Level
Carefully set the workbench upright. Place your spirit level on the surface—both side-to-side and front-to-back. The bubble should sit dead center. If it's off, gently adjust the feet by turning them (clockwise to raise, counterclockwise to lower) until the level reads even. Tighten any loose feet slightly after adjusting.
Step 8: Do the "Wobble Test" Again
Push on each corner of the bench. No movement? Great! If there's still a tiny rock, double-check that all feet are tight and the floor isn't uneven (you can shim under a foot with a small piece of cardboard if needed, but new feet should handle minor floor dips).

Pro Tips to Make Your New Leveling Feet Last Longer
You've replaced the feet—now keep them in top shape. A little maintenance goes a long way:
- Clean Regularly: Wipe the rubber feet with a damp cloth monthly to remove dirt, oil, or chemicals that break down rubber.
- Check Tightness: Every few months, give each foot a gentle twist with the wrench. Vibration from daily use can loosen them over time.
- Avoid Overloading: Workbench E has a weight limit—check the manual! Excess weight strains the feet, leading to premature flattening.
- Use Floor Protectors: If your workshop has rough concrete or tile, place a thin rubber mat under the bench. It reduces friction and shields feet from debris.
When to Call in the Pros: Signs You Need a Workbench Supplier's Help
Most of the time, replacing leveling feet is a DIY job. But if you run into these issues, it's worth reaching out to your workbench supplier or a lean pipe supplier:
- Stripped Threads: If the leg's threads are damaged, the supplier can repair or replace the leg (or suggest a helicoil insert).
- Bent Frame: If the workbench still wobbles after new feet, the frame might be bent from heavy use. A supplier can assess and straighten it.
- Custom Feet Needed: If your workspace has extreme conditions (e.g., high moisture, chemicals), suppliers offer specialized feet (like ESD-safe or oil-resistant versions) that generic stores don't carry.
Final Thoughts: A Stable Workbench = Better Work
Replacing worn M10*56 rubber leveling feet on Workbench E isn't just a "fix"—it's an investment in your productivity, safety, and peace of mind. In production assemble, where every detail counts, a stable workbench is the foundation of quality work. And the best part? It's a quick, affordable task that anyone can do with basic tools.
So next time your workbench starts to wobble, don't ignore it. Grab your wrench, order those replacement feet (from a trusted lean pipe supplier, of course), and get back to building, creating, and producing—without the frustration of a shaky surface. Your workbench (and your projects) will thank you.