
- Company Articles
- Products and Technology
- Installation And Maintenance
- Inspection Checklist for Vertical Lean Pipe Joint Chrome: Quality Assurance
Introduction: The Backbone of Lean Systems
In the world of manufacturing and production, where efficiency is king, lean systems stand as the backbone of streamlined operations. Every component in a lean system, from the workbench where assembly happens to the material rack that keeps parts organized, plays a critical role in maintaining workflow continuity. Among these components, the vertical lean pipe joint chrome might seem small, but its impact is enormous. These joints are the unsung heroes that hold together structures like workbenches, turnover trolleys, and material racks—ensuring stability, flexibility, and durability in fast-paced environments.
Imagine a busy production floor: workers moving parts from a material rack B (3 row and 3 floor) to an assembly workbench, carts gliding smoothly on caster wheels, and components flowing along roller tracks. If even one vertical lean pipe joint chrome fails here, it could disrupt the entire process—causing delays, compromising safety, or leading to costly rework. That's why quality assurance for these joints isn't just a box-ticking exercise; it's a promise to keep your lean system running like a well-oiled machine. In this article, we'll walk through a detailed inspection checklist to ensure your vertical lean pipe joint chrome meets the highest standards, whether you're a manufacturer, a facility manager, or a lean pipe supplier committed to excellence.
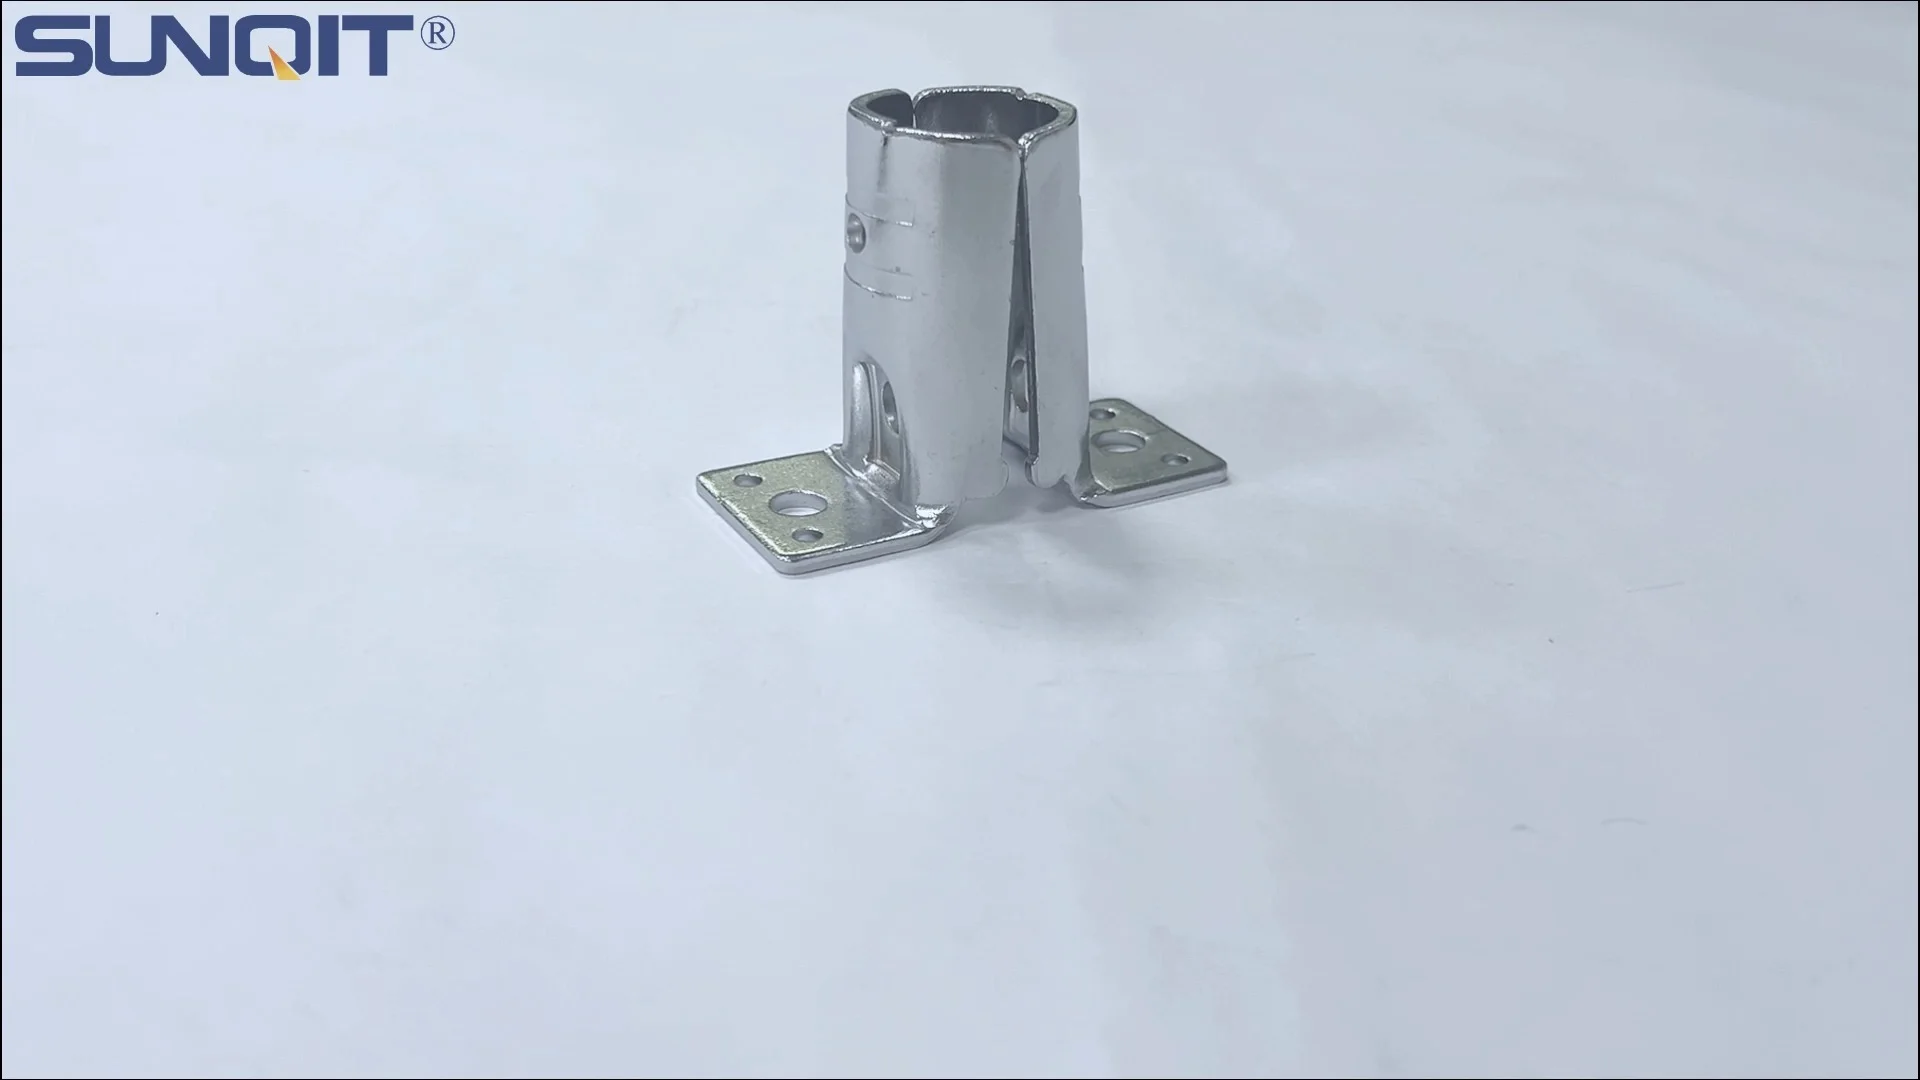
1. Pre-Inspection Preparation: Setting the Stage for Accuracy
Before diving into inspections, preparation is key. Rushing into checks without the right tools or environment can lead to missed defects or inaccurate results. Here's how to set yourself up for success:
1.1 Gather Essential Tools
Start by assembling the tools you'll need. This includes:
- A calibrated digital caliper (for precise measurements, accurate to 0.01mm)
- A micrometer (to check chrome plating thickness)
- A straightedge or level (for alignment checks)
- A magnifying glass or inspection lamp (to spot small surface defects)
- Adhesion test kit (for chrome coating adhesion checks)
- Load-testing equipment (e.g., a spring scale or hydraulic press for functional tests)
- Clean, lint-free cloths (to wipe away dust or debris during inspection)
1.2 Prepare the Inspection Area
The environment matters. Choose a well-lit, clean workspace with a flat surface (like a sturdy table) to lay out the joints. Avoid areas with excessive dust, moisture, or direct sunlight, as these can interfere with visual checks or measurements. If inspecting multiple joints, sort them by batch or lot number to track results easily later.
1.3 Review Documentation
Before inspecting, review the technical specifications provided by your lean pipe supplier. This should include details like material composition, chrome coating thickness, dimensional tolerances, and load capacity ratings. Having these specs on hand ensures you know exactly what standards to hold the joints to—no guesswork involved.

2. Visual Inspection: The First Line of Defense
Visual inspection is often the first step in quality control, and for good reason: many defects—like cracks, pits, or uneven plating—are visible to the naked eye. Take your time here; a thorough visual check can catch issues that might otherwise slip through the cracks.
2.1 Check for Surface Defects
Examine the entire surface of the vertical lean pipe joint chrome under good lighting. Look for:
- Pits or holes: These are small depressions in the chrome plating, often caused by impurities in the base material or flaws in the plating process. Even tiny pits can weaken corrosion resistance over time.
- Cracks or chips: Run your finger gently over the joint—you might feel a rough edge indicating a crack. Cracks can start small but grow under stress, leading to joint failure.
- Scratches or abrasions: While minor scratches might seem harmless, deep ones can expose the base metal to moisture, increasing the risk of rust.
- Discoloration: Uneven color (e.g., dark spots or dull patches) could mean inconsistent plating thickness or poor adhesion.
2.2 Assess Chrome Plating Quality
Chrome plating isn't just about shine—it's a protective layer that adds durability and corrosion resistance. Check that the plating is:
- Smooth and uniform: The surface should feel consistent to the touch, with no bumps or ridges.
- Bright and reflective: A dull finish might indicate thin plating or contamination during the electroplating process.
- Free of bubbles or blisters: Bubbles under the chrome are a red flag—they mean the plating isn't adhering properly and will likely peel over time.
2.3 Inspect Joint Integrity
Vertical lean pipe joints are designed to connect pipes at 90-degree angles (or other specified angles), so their structural integrity is non-negotiable. Check the joint's shape: it should be symmetrical, with no warping or bending. If the joint is supposed to rotate (some models have internal rotary features), ensure the moving parts align correctly and don't have excessive play.
Pro Tip:
Compare the joint to a known good sample (if available). This can help you spot subtle defects that might not be obvious at first glance. A reliable lean pipe supplier will often provide sample parts for reference—don't hesitate to ask!

3. Dimensional Checks: Ensuring a Perfect Fit
Even a visually flawless joint is useless if it doesn't fit with your other lean pipe and accessories. Dimensional accuracy ensures compatibility with pipes, workbenches, and material racks, preventing assembly headaches and structural weaknesses.
3.1 Key Measurements to Verify
Use your digital caliper to measure critical dimensions. Refer to the supplier's specs for exact tolerances, but here are common measurements to check:
| Dimension | Acceptable Tolerance | Why It Matters |
|---|---|---|
| Inner diameter (for pipe insertion) | ±0.1mm | Too tight, and pipes won't fit; too loose, and the joint will wobble. |
| Outer diameter (joint body) | ±0.2mm | Ensures compatibility with other components like pipe clamps or brackets. |
| Height (vertical length) | ±0.3mm | Affects alignment when building multi-level structures like material racks. |
| Thread depth (if threaded) | ±0.2mm | Ensures secure attachment to pipes or workbench surfaces. |
3.2 Alignment and Squareness
Hold the joint against a straightedge or use a square tool to check if the arms (the parts that connect to pipes) are at the correct angle (usually 90 degrees for vertical joints). A misaligned joint will cause pipes to bend or twist when assembled, weakening the entire structure. For example, if you're building a workbench E (single deck-without caster), misaligned joints could make the work surface uneven—annoying for workers and potentially dangerous for delicate assemblies.
3.3 Compatibility Test
Don't just measure—test! Take a sample lean pipe (matching the diameter specified, e.g., 28mm or 30mm) and insert it into the joint. It should slide in smoothly with minimal force and stay firmly in place once tightened (if using set screws). If the pipe is loose or requires excessive force, the joint's inner diameter is out of spec.
4. Material Verification: What's Under the Chrome?
Chrome plating is only as good as the material beneath it. The base material of the joint (often steel or aluminum) and the quality of the chrome coating itself determine durability, load capacity, and corrosion resistance. Don't skip this step—subpar materials can lead to premature failure.
4.1 Chrome Coating Thickness
Use a micrometer to measure the chrome plating thickness. Most industrial-grade joints require at least 5-10 microns of chrome for adequate protection. To measure, first take the base material thickness (in an unplated area, if possible), then measure the total thickness (plated area), and subtract to get the plating depth. If the plating is too thin, it will wear off quickly in high-traffic areas like a busy workbench.
4.2 Base Material Check
The joint's core material should be sturdy enough to handle the intended load. Most vertical lean pipe joints are made from carbon steel (with chrome plating) or stainless steel for extra corrosion resistance. Ask your lean pipe supplier for material certificates (e.g., ISO or RoHS compliance) to verify the base material meets standards. If the joint is labeled as "stainless steel," perform a simple magnet test: stainless steel is generally non-magnetic, while carbon steel is magnetic (though some stainless alloys are slightly magnetic—use the supplier's specs as the final word).
4.3 Adhesion Testing
A strong bond between the chrome plating and the base material is critical. Use an adhesion test kit (like a cross-cut tester) to check: score a grid pattern into the plating with a sharp blade, then apply adhesive tape over the grid and peel it off quickly. If any plating comes off with the tape, adhesion is poor, and the joint will fail in humid or high-wear environments.
5. Functional Testing: Putting It to Work
Visual and dimensional checks tell you how a joint looks —functional testing tells you how it performs . After all, these joints are meant to hold weight, withstand movement, and last through years of use. Here's how to test their mettle:
5.1 Load Capacity Test
Every vertical lean pipe joint has a rated load capacity (e.g., 50kg, 100kg). To test this, mount the joint to two pipes (as it would be in a real structure) and gradually apply weight using a hydraulic press or weighted bags. Start at 50% of the rated load, then increase to 100%, and finally to 125% (for overloading testing). The joint should not bend, crack, or show signs of deformation. For example, a joint used in a material rack holding heavy parts needs to handle static loads for hours—failure here could lead to collapsed racks and damaged inventory.
5.2 Rotational Testing (If Applicable)
Some vertical joints have internal rotary features (like internal rotatory aluminum joints) that allow pipes to swivel. If your joint is rotatable, test the movement: it should rotate smoothly without sticking or grinding. Apply a small amount of lubricant (as recommended by the supplier) and check that rotation remains smooth. Excessive friction could indicate misaligned internal parts.
5.3 Wear Resistance
In applications where parts slide or rub against the joint (e.g., on a roller track with swivel roller balls), wear resistance is key. Rub a piece of abrasive cloth (like 200-grit sandpaper) against the chrome plating with moderate pressure for 20-30 seconds. The plating should show minimal wear—no bare metal should be exposed. If the plating wears off easily, the joint will deteriorate quickly in a production environment.
6. Surface Treatment and Corrosion Resistance
Chrome plating is primarily a protective layer, so testing its resistance to corrosion is a must—especially if your facility is in a humid area or handles liquids (like a food processing plant). Here's how to assess:
6.1 Salt Spray Test (Condensed Version)
A full salt spray test (per ASTM B117) takes days, but you can do a quick version: mix a 5% saltwater solution, spray it onto the joint, and let it sit for 24 hours in a warm, humid area. Afterward, wipe it dry and check for rust or pitting. No visible corrosion means the plating is doing its job. For critical applications (like pharmaceutical manufacturing), insist on the full salt spray test results from your supplier.
6.2 Edge Coverage
Chrome plating can sometimes be thinner at sharp edges or corners of the joint. Inspect these areas closely—they're vulnerable to corrosion. Use your magnifying glass to ensure the plating fully covers edges, with no bare spots. A joint with poor edge coverage will start rusting at the corners first, even if the rest of the surface looks intact.
7. Packaging and Labeling: Protecting Quality During Transit
Even a perfect joint can get damaged if it's not packaged properly. Inspect the packaging to ensure joints arrive at your facility in the same condition they left the factory:
- Protective materials: Joints should be wrapped in anti-scratch paper or plastic to prevent abrasion during shipping.
- Labeling: Each package should include the part number, batch number, and quantity. This helps with traceability if issues arise later (e.g., a bad batch of joints).
- Storage instructions: Labels should include storage tips (e.g., "keep dry" or "store below 30°C") to maintain quality before use.
8. Post-Inspection Documentation: Closing the Loop
Quality assurance doesn't end when the inspection is done—it ends when you document the results and use them to improve. Record every check in a log, noting pass/fail status, measurements, and any defects found. Share this data with your lean pipe supplier to address recurring issues (e.g., consistent plating thickness problems). Over time, this documentation will help you identify trends, choose the most reliable suppliers, and build a lean system that's truly built to last.
Conclusion: Quality Joints, Stronger Lean Systems
Vertical lean pipe joints chrome may be small, but their role in your lean system is monumental. By following this inspection checklist—from visual checks to functional testing—you're not just ensuring quality; you're protecting your workflow, your workers, and your bottom line. Remember, a lean system is only as strong as its weakest link, and with properly inspected joints, you're building a foundation that can handle the demands of modern production.
Whether you're assembling a simple workbench or a complex material rack, take the time to inspect these critical components. Your future self (and your production team) will thank you when the line keeps moving, the parts stay organized, and every joint holds strong—day in, day out.