- Company Articles
- Products and Technology
- Installation And Maintenance
- Installation Guide: 40 Steel Wheel Roller Track Setup Steps

Installation Guide: 40 Steel Wheel Roller Track Setup Steps
Related Product
40 Steel Wheel Roller Track
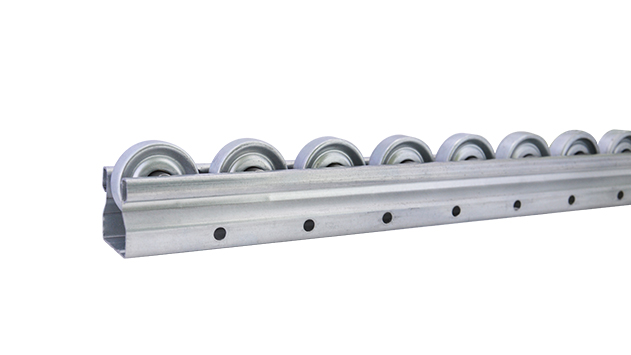
Heavy duty steel wheel roller track with cylindrical steel rollers for use in processing, logistics and materials handling operations. Ideal for transporting goods quickly and easily as well as for installing on shelving to aid in picking operations.
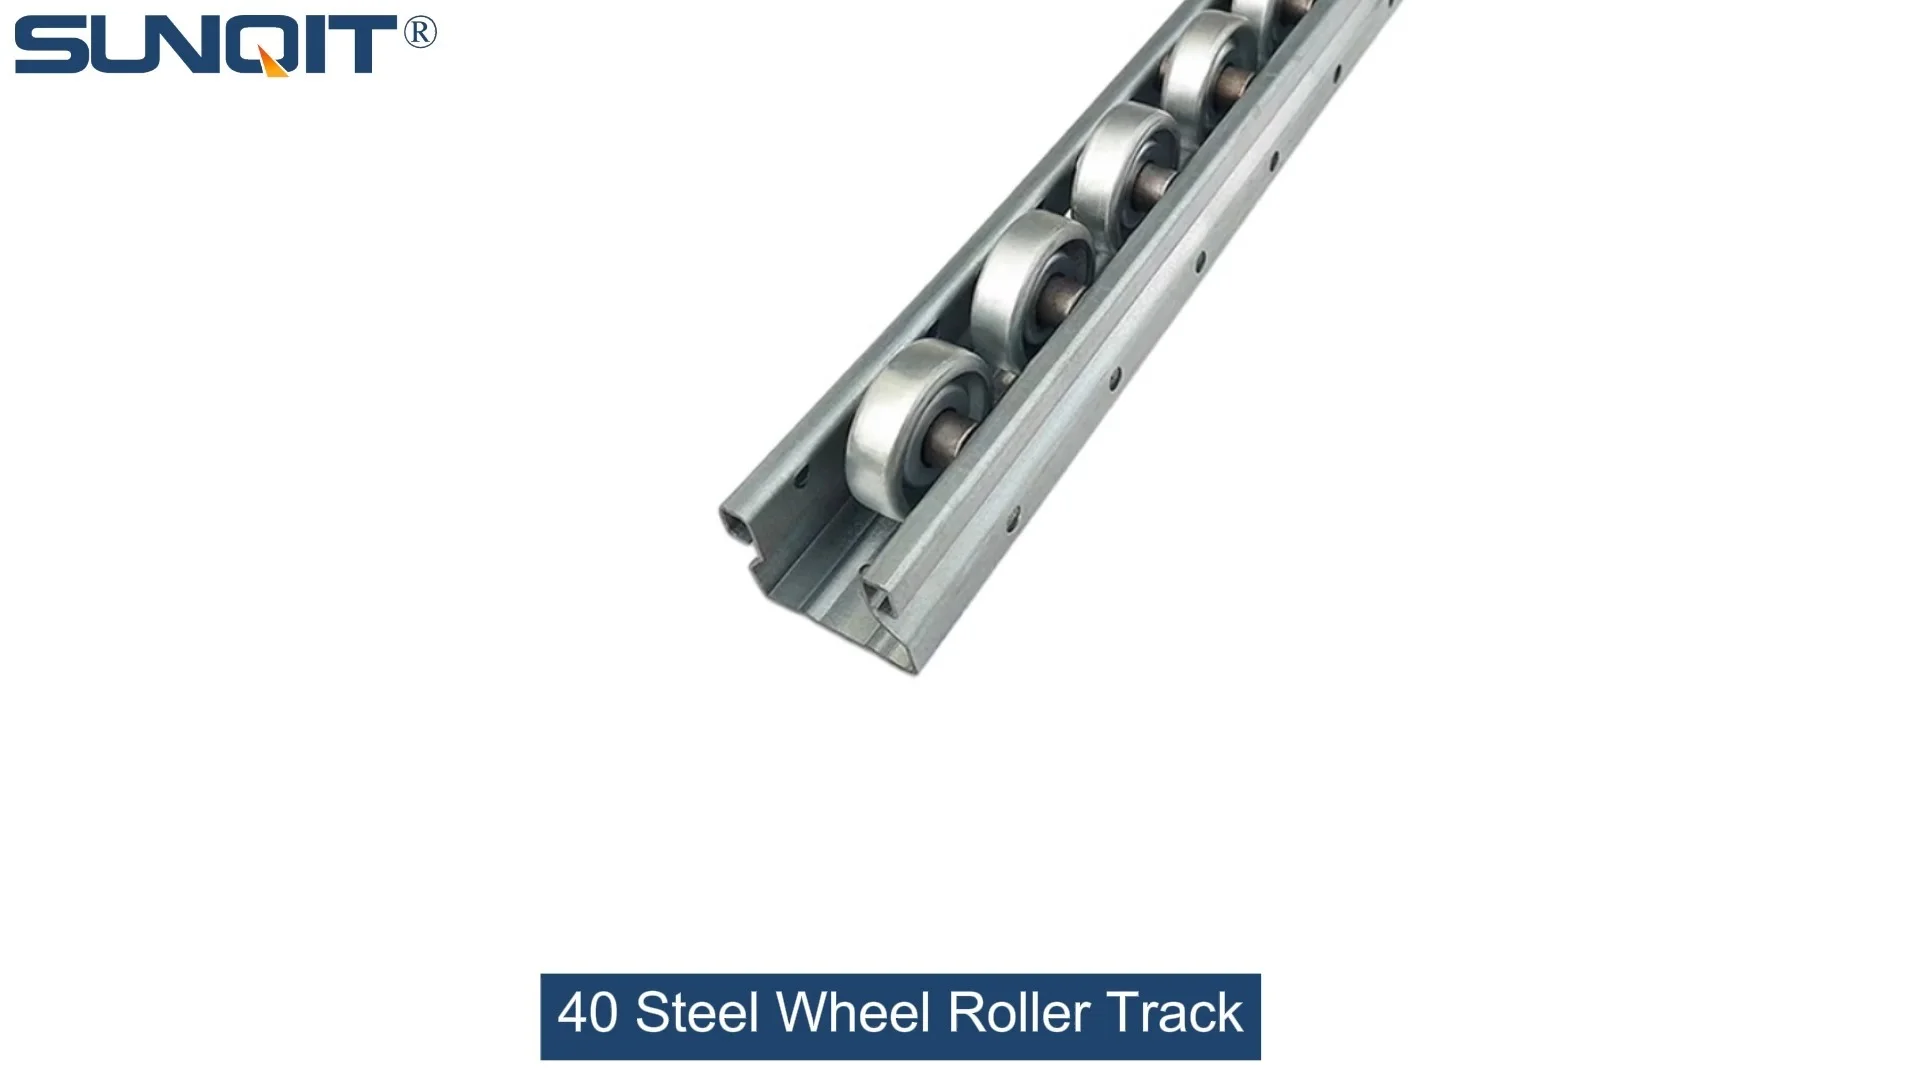
Let's talk about the unsung hero of your production line: the 40 Steel Wheel Roller Track. This isn't just a metal track with wheels—it's the backbone that keeps materials moving, assembly lines flowing, and your team's productivity high. Whether you're setting up a new workspace or upgrading an old line, getting this track right means fewer jams, smoother workflows, and less downtime. And guess what? You don't need to be a seasoned engineer to do it. This guide will walk you through every step, with zero confusing jargon and all the pro tips you need to make your setup seamless. Let's dive in!
What You'll Need Before Starting
First things first: gather your tools and parts. Nothing kills momentum like pausing halfway through to hunt for a wrench. Here's your checklist—grab these, and you'll sail through the installation.
| Tools | Why You Need Them | Pro Tip |
|---|---|---|
| Adjustable wrench | Tightening roller track connectors and lean pipe joints | Go for a 10-inch size—small enough to maneuver, strong enough to get the job done. |
| Level (2-foot or longer) | Ensuring the track is perfectly horizontal | A digital level works best, but a bubble level is fine if you check it twice. |
| Tape measure | Measuring distances between supports and alignment | Use a retractable one with a lock—no more struggling with a floppy tape. |
| Rubber mallet | Gently tapping parts into place without damaging them | Plastic handles absorb shock better—easier on your hands during long setups. |
| Screwdriver set (flathead and Phillips) | Attaching brackets and adjustable leveling feet | Magnetic tips save lives—no more dropping screws into tight spaces! |
| Work gloves | Protecting hands from sharp edges on aluminum pipe | Choose cut-resistant ones—steel wheels can have burrs you don't see. |
Pro Move:
Lay out all tools on a clean workbench before starting. This way, you can grab what you need in seconds. Trust us, your future self (who's kneeling under the track trying to tighten a bolt) will thank you.
Parts Checklist: Don't Start Without These!
Unbox your 40 Steel Wheel Roller Track kit and spread everything out. Check for these key parts—if something's missing, reach out to your supplier now (better to wait than force a workaround later):
- 40 Steel Wheel Roller Track sections (quantity depends on your setup length)
- Roller track connectors (these link track sections together)
- Aluminum pipe (for the support frame—usually 28mm or 30mm diameter)
- Lean pipe joints (to connect aluminum pipes into a stable frame)
- Adjustable leveling feet (the "feet" that keep the frame steady on uneven floors)
- Mounting brackets (to attach the track to the aluminum frame)
- Lock washers and bolts (usually included with the kit—don't lose these tiny heroes!)
Heads Up:
Inspect each steel wheel for smooth rotation. If a wheel feels sticky or wobbly right out of the box, set it aside—you don't want it slowing down your line later. Most suppliers will replace defective parts free if you catch it early.
Step-by-Step Installation: Let's Build Something Great
Think of the support frame as the "legs" of your roller track—it needs to be strong, level, and steady. Here's how to build it:
- Measure and cut aluminum pipes (if needed): Your kit might come with pre-cut pipes, but if not, measure the length you need for the frame's height and width. Use a pipe cutter for clean edges—ragged cuts make joints wobbly.
- Connect pipes with lean pipe joints: Slide the lean pipe joints onto the ends of the aluminum pipes. For a basic rectangular frame, you'll need 90-degree joints at the corners. Tighten the joint screws finger-tight first —you'll adjust alignment later.
- Add vertical supports: If your track is longer than 1.5 meters, add vertical support pipes in the middle to prevent sagging. Use three-way lean pipe joints to connect them to the top and bottom horizontal pipes.
- Attach adjustable leveling feet: Screw the adjustable leveling feet into the bottom corners of the frame. Leave them loose for now—you'll use these to level the frame later.
Pro Alignment Trick:
Stand back and look at the frame from the front and side. It should look like a perfect rectangle—no twists or bends. If it's "leaning" to one side, loosen the joints slightly and gently push/pull until it's straight, then retighten.
2
Mount the Frame to the Floor (Optional but Recommended)
If your roller track will handle heavy loads (think 50kg+), bolt the frame to the floor. This prevents shifting during use—critical for long-term stability.
- Mark drill points: Place the frame where you want it (use a tape measure to ensure it's parallel to other equipment). Mark the positions of the adjustable leveling feet on the floor.
- Drill holes and insert anchors: Use a drill bit slightly smaller than the anchor size. Tap anchors into the holes with a rubber mallet until they're flush with the floor.
- Secure the frame: replace the adjustable leveling feet with bolt-down feet (included in some kits) or use brackets to bolt the frame to the anchors. Tighten until the frame doesn't budge when you push it.
Not mounting to the floor? No problem—just make sure the adjustable leveling feet are screwed in tightly, and place the frame on a flat, even surface (concrete floors work best; avoid uneven tile or wood).
Now for the star of the show: the 40 Steel Wheel Roller Track itself. This is where precision matters—misaligned tracks cause jams, and jams cause headaches.
- Lay out track sections on the frame: Place each roller track section on top of the aluminum frame's horizontal pipes. Make sure the ends line up perfectly—even a 1mm gap can trip up materials later.
- Attach roller track connectors: Slide a roller track connector into the end of one track section, then align the next section and push it onto the connector. The connector should fit snugly—no wiggling between sections.
- Secure connectors with set screws: Most roller track connectors have tiny set screws on the side. Tighten these with a hex key (included) to lock the sections together. Don't over-tighten—you'll strip the threads!
Test the Connection:
After connecting two sections, run your hand along the top of the wheels. They should feel smooth—no bumps or dips between sections. If you feel a bump, loosen the connector, realign the tracks, and try again.
4
Attach Track to the Frame with Mounting Brackets
Now, secure the connected roller track to the aluminum frame. This keeps the track from sliding or lifting during use.
- Space brackets evenly: Place a mounting bracket every 30-40cm along the track. More brackets = more stability, especially for longer tracks.
- Mark bracket positions: Hold a bracket against the track and the frame, then mark where the screws will go. Use a pencil—no guessing!
- Drill pilot holes and attach brackets: Drill small pilot holes (to prevent splitting the aluminum frame), then screw the brackets into place with the included bolts. Tighten until the track doesn't move when you wiggle it.
Watch Out For:
Over-tightening the bracket screws can bend the track slightly. If the wheels start to "pinch" or feel tight after mounting, loosen the screws a quarter-turn—you want the track secure but not warped.
5
Level the Track with Adjustable Leveling Feet
Remember those adjustable leveling feet? Now's their time to shine. A level track ensures materials glide smoothly—no sticking, no sudden stops.
- Place the level on the track: Set your level across the width of the track (side to side) first. The bubble should be centered. If not, twist the adjustable feet up or down until it is.
- Check lengthwise (front to back): Now place the level along the length of the track. For most setups, a slight downward slope (1-2 degrees) helps materials move on their own. If you need a flat track (for manual pushing), keep the bubble centered here too.
- Recheck after adjusting: Every time you twist a leveling foot, the track shifts slightly. Recheck both side-to-side and front-to-back levels until everything is perfect.
Leveling Hack:
Use a water level app on your phone if you don't have a physical level. Just place your phone on the track and adjust until the app shows "level." Easy peasy!
6
Test the Track with "Dummy Loads" (Critical Step!)
You're almost done, but don't skip this—testing with real-world loads catches issues before they ruin production.
- Use test weights or boxes: Grab a box or pallet that weighs about what you'll be moving on the track (e.g., a 20kg box for light assembly lines, 50kg for heavy parts). Place it on one end of the track.
-
Let it roll (or push gently):
If the track has a slope, let the box roll freely. It should move smoothly, with no sudden stops or tilting. If it gets stuck, check for:
- Wheels that don't spin (clean them with a dry cloth—dust can cause friction)
- Misaligned track sections (loosen the connector, realign, and retighten)
- Uneven leveling (grab your level and double-check!)
- Test with multiple loads: Try 2-3 boxes at once (spaced evenly) to mimic real use. The track should handle them without sagging in the middle.
Still having issues? Don't panic—most problems are easy fixes. For example, if one wheel is sticking, a drop of lightweight machine oil (like 3-in-1) on the axle usually does the trick. Just wipe off excess oil to avoid attracting dust.
7
Add Finishing Touches: Side Guides & End Stops
Optional but super useful: side guides keep materials from sliding off the track, and end stops prevent them from rolling off the end.
- Side guides: Attach aluminum side guards (part of aluminum pipe accessories) to the edges of the track using small brackets. They should be tall enough to block your materials but not so tall that they scrape the sides.
- End stops: Screw a rubber or foam end stop to the end of the track. This cushions the impact when materials reach the end—no more dented boxes or damaged parts!
Maintenance: Keep Your Track Rolling Smoothly for Years
Your 40 Steel Wheel Roller Track is built tough, but a little love goes a long way. Follow this maintenance routine, and it'll outlast your next production line upgrade.
- Daily: Wipe down the track with a dry cloth to remove dust and debris. Check for loose bolts or connectors—tighten them before starting your shift.
- Weekly: Inspect wheels for signs of wear (cracks, flat spots). replace any damaged wheels immediately—they're cheap, and a failed wheel can cause big jams.
- Monthly: Lubricate wheel axles with a drop of machine oil. Avoid heavy grease—it attracts dirt. Also, check adjustable leveling feet—tighten if they've loosened from vibration.
- Quarterly: Re-level the track. Floors can shift over time, especially in busy factories. A quick level check takes 5 minutes and prevents big issues later.

FAQ: Answers to Common Setup Headaches
Q: My track is "bowing" in the middle when I put heavy loads on it. What's wrong?
A: You need more support brackets! Add a mounting bracket every 20-25cm instead of 30-40cm. If that doesn't help, check if your aluminum frame is strong enough—heavier loads may require thicker aluminum pipe (e.g., 3mm wall thickness instead of 2mm).
Q: The roller track connectors keep coming loose. How do I keep them tight?
A: After tightening the set screws, add a tiny drop of thread locker (like Loctite Blue) to the threads. This prevents vibration from loosening them. Just don't use too much—you'll need to remove them someday for maintenance!
Q: Can I cut the roller track sections to make them shorter?
A: Yes, but use a metal-cutting saw with a fine-tooth blade (to avoid bending the track). After cutting, file the edges smooth with a metal file—sharp edges can damage materials or cut hands.
Q: My track is making a loud "clacking" noise when materials roll over it. How do I quiet it down?
A: Noise usually comes from loose wheels or misaligned sections. Tighten all wheel axles and check that track sections are perfectly aligned. If it's still noisy, add rubber washers between the track and mounting brackets—they absorb vibration!
There you have it—your 40 Steel Wheel Roller Track is ready to roll (pun absolutely intended). With a little patience and this guide, you've built a system that'll keep your production line moving smoothly, your team happy, and your deadlines met. Remember, the key is in the details: tight connections, level tracks, and regular checks. Now go show that track what it's made of—your next big production run is waiting!