- Company Articles
- Products and Technology
- Installation And Maintenance
- Installation Guide: End Support for Roller Track Placon Mount with Wheel Step-by-Step

Installation Guide: End Support for Roller Track Placon Mount with Wheel Step-by-Step
Related Product
End Support for Roller Track Placon Mount with Wheel
End support for roller track placon mount with wheel,the special design with end wheel,make it with more flexible function for roller track and pipe connection and give more option for selection for building flow rack system.
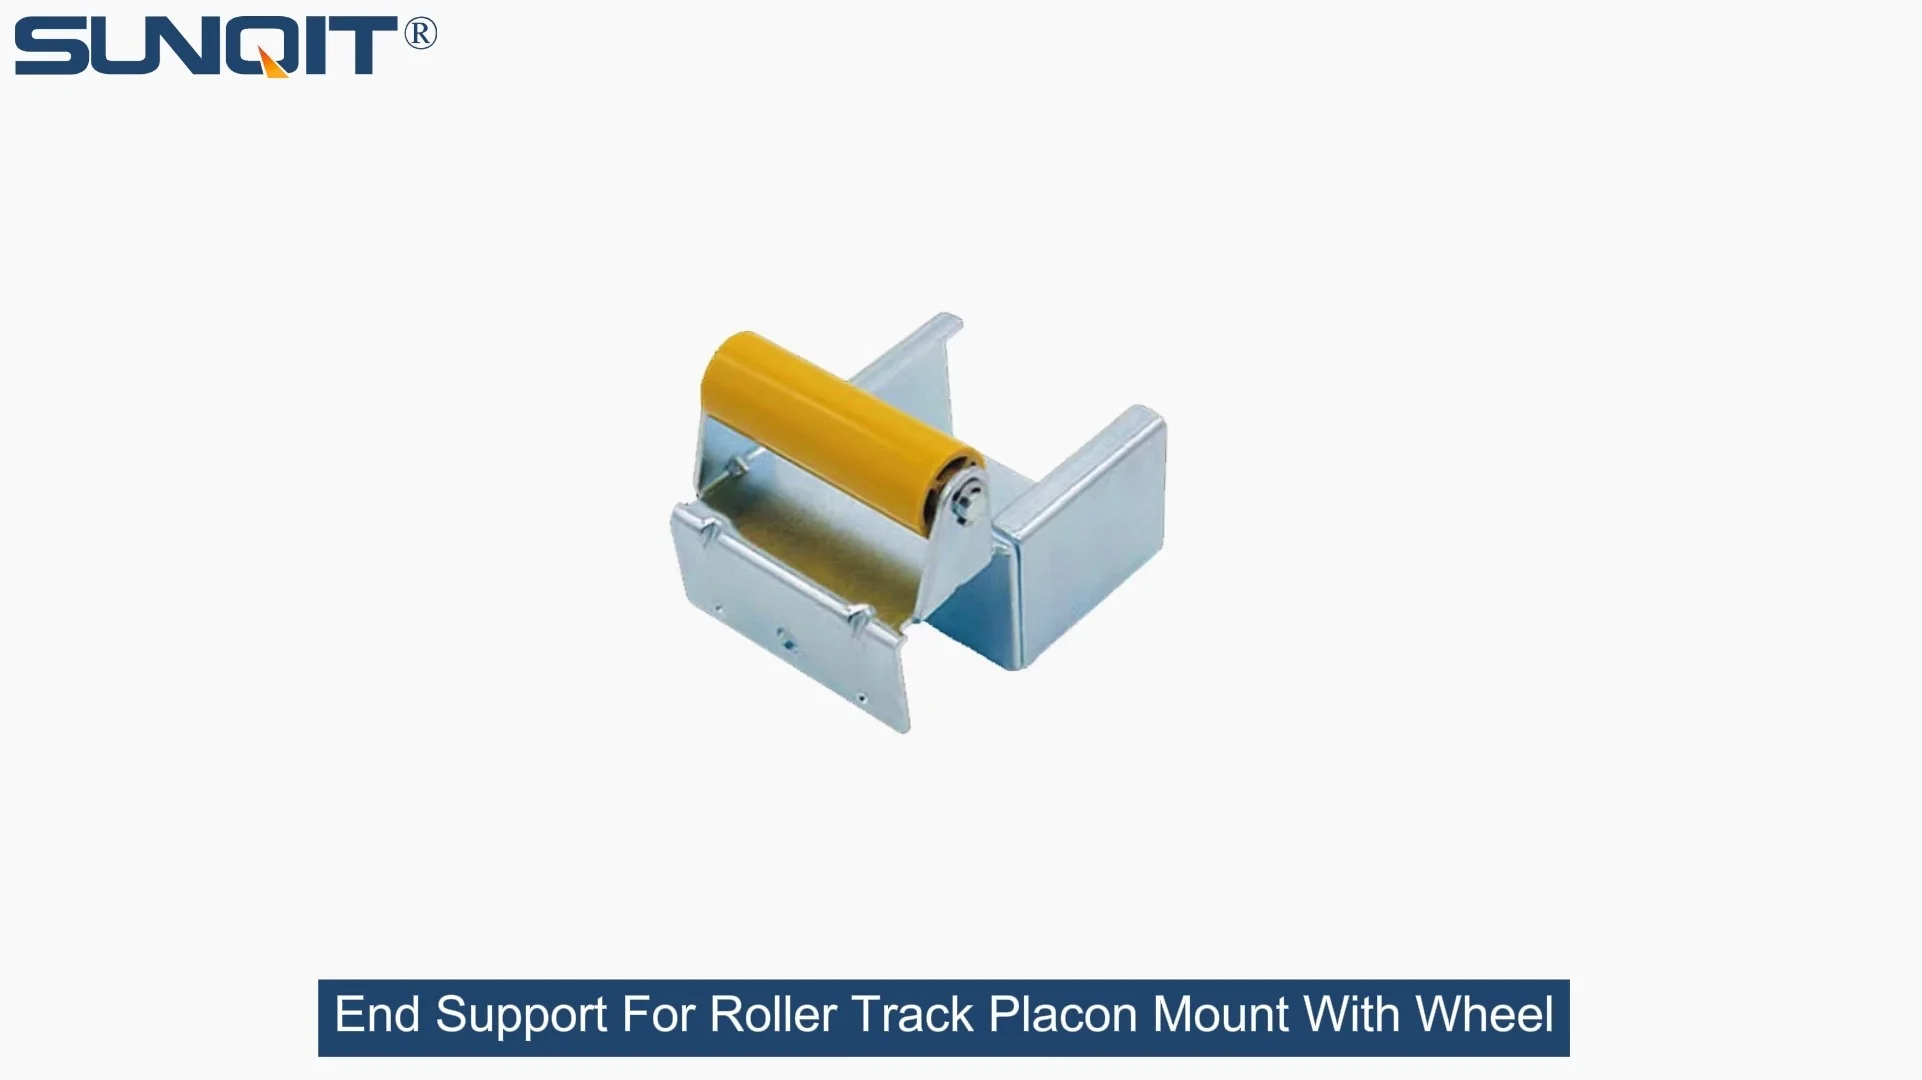
Setting up a smooth, reliable roller track system is key to keeping your workflow moving—whether you're assembling electronics on a lean system workbench, organizing parts in a warehouse, or streamlining production lines. The end support with wheel might seem like a small part, but it's the unsung hero that keeps your roller track stable, aligned, and ready to handle daily use. In this guide, we'll walk you through installing it step by step, using simple language and practical tips to make sure you get it right the first time. No confusing jargon, just clear instructions to help you build a roller track that works as hard as you do.
What You'll Need Before You Start
Before diving in, let's gather all the tools and parts. Having everything ready saves time and frustration—there's nothing worse than halfway through installation and realizing you're missing a screw!
| Tools | Parts Included (Check Your Package) |
|---|---|
| Phillips-head screwdriver (or electric driver with Phillips bit) | End Support for Roller Track Placon Mount with Wheel (main component) |
| Measuring tape or ruler | M4 or M5 screws (typically 4-6, depending on size) |
| Level (small bubble level works best) | Lock washers (1 per screw) |
| Rubber mallet (optional, for gentle adjustments) | Aluminum profile adapter (if needed for your track model) |
| Work gloves (to protect hands from sharp edges) | Wheel assembly (pre-attached or separate, check for smooth rotation) |
Pro Tip: If your roller track is part of a larger lean system (like a workbench or conveyor setup), double-check that the end support matches your aluminum profile size. Most systems use standard profiles, but it never hurts to confirm—mismatched parts can lead to wobbly tracks later!
Step-by-Step Installation
Now let's get to the fun part: putting it all together. Take your time with each step—rushing leads to mistakes, and a secure installation means less maintenance down the line.
1 Unpack and Inspect the Parts
Start by opening the package and laying out all the parts on a flat surface (a workbench or clean floor works great). Check the end support for any dents, cracks, or rough edges—small imperfections can cause big problems later. Spin the wheel by hand to make sure it turns smoothly without sticking; if it's stiff, a little dry lubricant (like WD-40) can help, but avoid oil-based products that might attract dust.
Also, count the screws and washers. Most packages include extras, but it's good to know you have exactly what you need before starting. If something looks missing or damaged, reach out to your supplier right away—better to wait a day for a replacement than install a faulty part.
2 Position the Roller Track on Your Aluminum Profile
Before attaching the end support, make sure your roller track is properly placed on the aluminum profile. This is where your measuring tape comes in! Decide where the end of the track will sit—usually flush with the edge of your workbench or conveyor frame. Mark the spot lightly with a pencil (erasable, just in case) so you know exactly where to attach the support.
For example, if you're building a flow rack for small parts, the end support should line up with the track's end to prevent items from sliding off prematurely. If it's part of a longer conveyor system, align it with the adjacent track sections to keep everything straight. Take a step back and eye it—does it look even? A quick check now prevents crooked tracks later.
3 Attach the End Support to the Aluminum Profile
Now, grab the end support and hold it up to the marked position on the aluminum profile. Look for the pre-drilled holes on both the support and the profile—they should line up perfectly. If they don't, double-check that you're using the right adapter (some systems need a flat or high placon mount bracket, depending on the profile type).
Take one screw and lock washer, and start threading it into the hole by hand—this avoids cross-threading (when the screw goes in at an angle and strips the threads). Once it's snug, add the remaining screws, spacing them evenly. Tighten them with your screwdriver or electric driver, but don't overdo it! Aluminum profiles are strong but can warp if screws are cranked too hard. A good rule: tighten until you feel resistance, then give it a tiny extra turn—just enough to hold firm.
4 Secure the Wheel Assembly (If Not Pre-Attached)
Some end supports come with the wheel already installed, but if yours doesn't, now's the time to add it. The wheel should have a small axle or bolt that fits through the bottom of the end support. Slide it through the hole, then attach the nut on the other side. Tighten the nut with pliers (or your fingers if it's hand-tightenable), but leave a little wiggle room—you want the wheel to spin freely, not be locked in place.
Give the wheel a spin to test it. It should turn smoothly without grinding or sticking. If it's stiff, check if the nut is too tight—loosen it a quarter-turn and try again. If it wobbles, make sure the axle is straight and the nut is centered.
5 Level and Adjust for Stability
Stability is everything! Place your level on top of the roller track—both side-to-side and front-to-back. If it's leaning, adjust the end support's position slightly. Most supports have slotted holes (long, narrow holes instead of round ones) to let you shift them a few millimeters left/right or up/down. Loosen the screws just enough to move the support, then retighten once it's level.
Next, push gently on the end of the track. It should feel solid—no rocking or creaking. If it moves, check the screws again—maybe one worked loose during adjustment. For extra security, you can add thread-locking fluid to the screw threads (a tiny drop goes a long way!) to prevent them from coming undone with vibration over time.
6 Test It Out with Real-World Use
The best way to know if it's installed right? Use it like you would in daily operations! Place a few items on the roller track—a small box, a parts bin, or even a tool—and slide them toward the end support. The wheel should roll smoothly, and the support should hold the track steady without bending. If items get stuck or the track dips, double-check the level and wheel alignment.
For example, if you're using this in a 3C assembly line, test with a phone case or small circuit board—lightweight but enough to mimic real use. In a warehouse, try a heavier bin (but not over the track's weight limit!) to ensure the support can handle the load. If everything works, congratulations—you've installed your end support like a pro!
Safety First! Always wear gloves when handling metal parts—aluminum edges can be sharp. If using an electric screwdriver, set it to a low torque setting to avoid stripping screws. And never stand on the roller track or use it for more weight than recommended by the supplier.

Common Questions & Troubleshooting
Q: The end support wobbles even after tightening all screws. What's wrong?
A: This usually means the aluminum profile isn't flat, or the support isn't aligned with the track. Try placing a shim (a small piece of cardboard or metal) under the support to level it, or check if the track itself is bent. If the profile is warped, contact your supplier for a replacement—using a damaged profile can throw off the entire system.
Q: The wheel doesn't spin—how can I fix it?
A: First, check if the axle nut is too tight—loosen it slightly. If that doesn't work, the wheel might have debris inside (dust, metal shavings from installation). Wipe it down with a dry cloth, then add a drop of silicone lubricant (avoid oil, which attracts dirt). Spin it a few times to distribute the lube, and it should move smoothly again.
Q: Can I use this end support with any roller track, or only specific models?
A: It depends on the track size and placon mount type. This support is designed for roller tracks with placon mounts, which are common in lean systems. Check the product specs—look for compatibility with your track's width (e.g., 40mm, 85mm) and aluminum profile series (e.g., 2020, 4040). If unsure, ask your supplier—they'll help you match the right support to your track.
Q: How often should I check or maintain the end support?
A: For high-use areas (like busy production lines), check screws monthly to make sure they're tight. Clean the wheel every 3 months to remove buildup. If you notice the track starting to sag or the wheel sticking, address it right away—small issues grow into big problems if ignored. A little maintenance goes a long way in keeping your lean system running smoothly!
Installing an end support might seem simple, but getting it right ensures your roller track works reliably for years—saving you time, reducing downtime, and keeping your workflow efficient. Whether you're building a new lean system or upgrading an existing one, these steps will help you create a setup that's sturdy, safe, and ready to handle whatever your day throws at it. Now go out there and keep that track rolling!