- Company Articles
- Products and Technology
- Installation And Maintenance
- Installation Guide: How to Properly Fit a Plastic Pipe Sleeve on Aluminum Lean Tubes

Installation Guide: How to Properly Fit a Plastic Pipe Sleeve on Aluminum Lean Tubes
Related Product
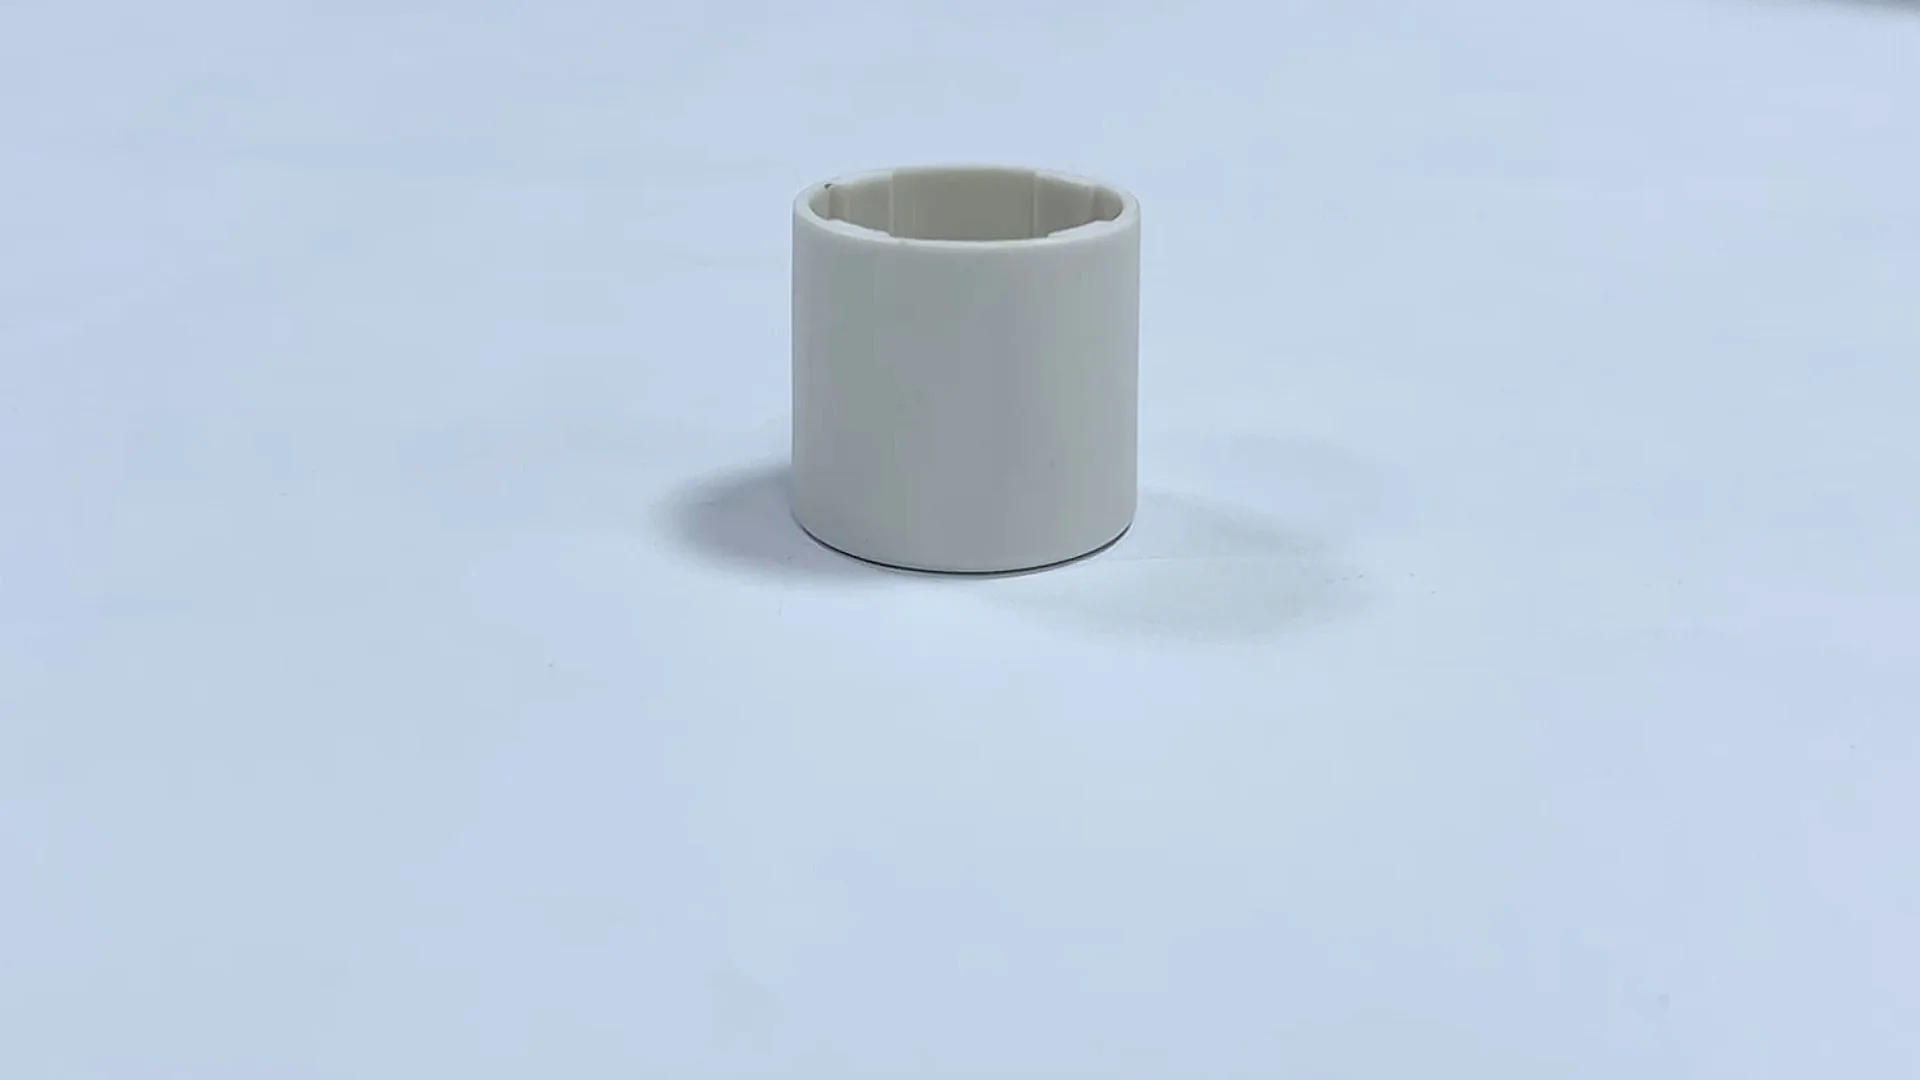
Plastic Pipe Sleeve
Plastic pipe sleeve to cover dia 28MM aluminum pipe end to contact with ground.
If you've ever walked through a busy production assemble line, you've probably noticed the backbone of efficient workflows: aluminum lean pipes. These versatile, lightweight structures form the basis of workbenches, flow racks, turnover trolleys, and more—all critical components of a lean system designed to minimize waste and maximize productivity. But even the sturdiest aluminum lean pipe needs a little protection and functionality boost, which is where plastic pipe sleeves come in. These simple yet essential accessories not only shield the aluminum from scratches, dents, and corrosion but also add grip, reduce noise, and even enhance aesthetics. In this guide, we'll walk you through the step-by-step process of fitting a plastic pipe sleeve onto an aluminum lean tube, ensuring a secure, long-lasting result that elevates your lean setup.
Understanding the Basics: Aluminum Lean Pipes and Plastic Pipe Sleeves
Before diving into the installation, let's take a moment to appreciate why this pairing matters. Aluminum lean pipes—often referred to as "lean tubes" in industry jargon—are made from high-grade aluminum, prized for its strength-to-weight ratio, resistance to rust, and sleek finish. They're designed to be modular, meaning you can connect them with aluminum pipe accessories like joints, clamps, and brackets to build custom structures. But aluminum, while durable, is still prone to wear from constant contact with tools, materials, or even human hands. That's where plastic pipe sleeves step up.
Plastic pipe sleeves are typically made from polyethylene (PE), polyvinyl chloride (PVC), or nylon—materials chosen for their flexibility, impact resistance, and ability to withstand the rigors of daily use. They slide over the aluminum tube, creating a protective barrier that absorbs shocks, reduces friction, and prevents metal-on-metal contact that could lead to noise or damage. Some sleeves even come in different colors, allowing you to color-code workstations or workflows for added organization. Whether you're building a workbench E (single deck-without caster) or a material rack B (3 row and 3 floor), properly fitted sleeves ensure your structure stays functional and professional-looking for years.
Tools and Materials You'll Need
Like any DIY project, having the right tools on hand makes all the difference. Here's a quick checklist to gather before you start:
| Tools | Materials | Optional Extras |
|---|---|---|
| Measuring tape (preferably with metric markings) | Aluminum lean pipe (cut to your desired length) | Rubbing alcohol or degreaser |
| Fine-tip marker or pencil | Plastic pipe sleeves (matching the diameter of your aluminum tube) | Heat gun or hair dryer (for tight sleeves) |
| Utility knife or pipe cutter (for trimming sleeves) | Clean microfiber cloths | Soapy water (as a lubricant for installation) |
| Rubber mallet (soft-faced, to avoid damaging the sleeve) | Aluminum pipe accessories (e.g., clips, adhesive strips, or end caps, if needed) | Deburring tool (to smooth rough edges on the aluminum tube) |
| Straightedge (for marking clean cuts) | Work gloves (to protect hands during cutting and installation) |
Pro tip: Always check that the plastic pipe sleeve's inner diameter matches the outer diameter of your aluminum lean pipe. A sleeve that's too loose will slip and fail to protect, while one that's too tight will be impossible to install without damaging either the sleeve or the tube. Most suppliers list these dimensions clearly, but when in doubt, test with a small section of sleeve and tube before committing to a full installation.

Step-by-Step Installation Guide
Step 1: Prepare the Aluminum Lean Tube
A clean, smooth surface is key to a successful sleeve fit. Start by inspecting the aluminum lean pipe for any imperfections. Look for burrs, dents, or rough spots—especially near the ends, which can occur during cutting. If you find any, gently sand them down with fine-grit sandpaper or use a deburring tool to smooth the edges. Even a tiny burr can catch on the plastic sleeve, causing it to tear or bunch up during installation.
Next, clean the tube thoroughly. Oils from your hands, dust, or residue from manufacturing can prevent the sleeve from adhering properly (if using an adhesive-backed sleeve) or create air pockets that lead to slippage. Wipe the entire length of the tube with a microfiber cloth dampened with rubbing alcohol or a mild degreaser. Let it dry completely—this usually takes just a minute or two—to ensure no moisture is trapped under the sleeve.
Warning:
Avoid using harsh chemicals like acetone, as they can damage the aluminum's protective coating. Stick to rubbing alcohol or a dedicated metal cleaner for best results.
Step 2: Measure and Cut the Plastic Pipe Sleeve (If Needed)
Most plastic pipe sleeves come in standard lengths (often 1-3 meters), but your aluminum lean tube might be shorter—especially if you're building a custom structure like a small workbench or a turnover trolley. In that case, you'll need to cut the sleeve to match the tube's length. Here's how:
First, measure the length of your aluminum tube with a measuring tape. Add a tiny buffer (about 1/8 inch) to account for any slight variations—you can always trim excess later, but it's harder to add length! Mark this measurement on the plastic sleeve using a fine-tip marker and a straightedge to ensure a straight line. Double-check the measurement before cutting—measure twice, cut once, as the saying goes.
To cut the sleeve, use a sharp utility knife or a pipe cutter designed for plastic. If using a utility knife, place the sleeve on a stable, flat surface (like a workbench) and hold the straightedge firmly along the marked line. Score the sleeve gently at first, then apply more pressure with each pass until you cut through. For a cleaner cut, rotate the sleeve as you score, keeping the knife perpendicular to the sleeve's axis. If the sleeve is thick or rigid, a pipe cutter with a plastic-friendly blade will make this easier and reduce the risk of uneven edges.
Pro Tip:
If the sleeve has a textured or colored outer surface, score lightly on that side first to avoid chipping the color. Flip it over to make the final cut through the inner layer for a smoother edge.
Step 3: Fit the Sleeve onto the Tube
Now comes the moment of truth: sliding the plastic pipe sleeve onto the aluminum lean tube. This step can be tricky if the sleeve is a tight fit, but with a few tricks, it's manageable. Here's how to do it without damaging either component:
Start by aligning one end of the sleeve with one end of the aluminum tube. If the sleeve is slightly larger than the tube, you might be able to push it on by hand. For a snug fit, try these techniques:
- Warm the sleeve slightly: Plastic becomes more flexible when warm. Hold the sleeve (not the tube!) under warm water for 30 seconds or use a hair dryer on low heat (keep it 6-8 inches away to avoid melting) to gently warm the opening. This expands the plastic temporarily, making it easier to slide over the tube. Note: This works best for PE or PVC sleeves—avoid excessive heat on nylon, which can warp.
- Use soapy water as a lubricant: Apply a thin layer of soapy water (a drop of dish soap in a cup of water) to the inside of the sleeve's opening and the outside of the aluminum tube. This reduces friction, allowing the sleeve to glide on smoothly. The water will dry quickly, leaving no residue.
- Twist as you push: Gently twist the sleeve back and forth while applying even pressure. This helps the sleeve "walk" over any slight irregularities in the tube's surface and prevents it from bunching up.
If the sleeve is still stubborn, tap it lightly with a rubber mallet. Place a scrap piece of wood or cardboard over the end of the sleeve to protect it from dents, then tap firmly but gently until the sleeve slides into place. Work your way along the tube, tapping a few inches from the end, then moving further down, to avoid uneven pressure.
Step 4: Secure the Sleeve (If Necessary)
In most cases, a well-fitted plastic pipe sleeve will stay in place on its own, thanks to friction and the slight compression of the plastic against the aluminum. However, if your application involves heavy use—like a flow rack where materials slide constantly, or a turnover trolley that's moved frequently—you might want to add extra security. This is where aluminum pipe accessories come into play.
Options include:
- Adhesive-backed sleeves: Some sleeves come with a peel-and-stick adhesive layer. If using these, ensure the aluminum tube is completely clean and dry (as in Step 1), then peel the backing and slide the sleeve on while pressing firmly to activate the adhesive.
- Clips or clamps: Small plastic or metal clips designed for aluminum lean pipes can be placed at the ends of the sleeve to hold it in place. These are especially useful if the sleeve is slightly loose or if you anticipate temperature changes that might cause expansion/contraction.
- End caps: Installing aluminum or plastic end caps on the tube (after the sleeve is in place) can prevent the sleeve from sliding off the ends. Many end caps are designed to snap or screw on, creating a secure barrier.
If you're using clips or clamps, position them about 1/2 inch from the sleeve's ends, ensuring they're tight enough to hold the sleeve but not so tight that they warp the plastic. For adhesive sleeves, apply even pressure along the entire length after installation to ensure the adhesive bonds properly—using a roller (like a paint roller) can help eliminate air bubbles.
Step 5: Inspect the Fit
Once the sleeve is on, take a moment to inspect your handiwork. Run your fingers along the length of the tube—there should be no gaps between the aluminum and the plastic, and the sleeve should feel snug but not stretched. Check the ends: they should align evenly with the tube (or be slightly recessed if using end caps). If you notice wrinkles, bulges, or areas where the sleeve is loose, gently pull it off (if possible) and repeat the installation process, paying extra attention to cleaning, lubrication, or cutting.
For adhesive-backed sleeves, wait 24 hours before putting the tube into use to allow the adhesive to fully cure. This ensures maximum bond strength, especially in humid environments.
Pro Tip:
Test the sleeve's grip by gently tugging on it. If it slides more than 1/4 inch, it's too loose—consider using clips or replacing it with a smaller diameter sleeve. If it's impossible to move even with moderate force, you're good to go!

Troubleshooting Common Issues
Even with careful preparation, you might run into a few hiccups during installation. Here's how to fix the most common problems:
Issue: The Sleeve Is Too Tight to Slide On
If the sleeve feels like it's fighting you every inch of the way, don't force it—you could tear the plastic or scratch the aluminum. Instead, try warming the sleeve (as mentioned in Step 3) for 30-60 seconds. The heat will expand the plastic slightly, making it easier to slide on. Alternatively, apply more soapy water as a lubricant, focusing on the leading edge of the sleeve. If all else fails, check if you bought the right size—double-check the inner diameter of the sleeve against the outer diameter of the tube. A mismatch here is the most likely culprit.
Issue: The Sleeve Is Too Loose and Slips
A loose sleeve is more than just annoying—it won't protect the tube or provide grip. If the sleeve slides freely, first try cleaning the tube again (maybe you missed some oil or dust). If that doesn't work, add a thin layer of double-sided tape between the tube and the sleeve (cut the tape to match the sleeve's length) for extra adhesion. For a more permanent fix, use small zip ties (tightened gently) at the ends, or invest in a smaller diameter sleeve. Remember: it's better to have a snug fit than to rely on quick fixes for a loose one.
Issue: Wrinkles or Bunching in the Sleeve
Wrinkles usually happen when the sleeve catches on a burr or is installed at an angle. If the wrinkles are minor, try gently stretching the sleeve while warming it with a hair dryer—this can smooth out small creases. For deeper wrinkles, remove the sleeve, trim off the wrinkled section (if there's enough length left), and reinstall. To prevent this, ensure the tube is perfectly smooth (Step 1) and align the sleeve straight before pushing it on.

Maintenance Tips for Long-Lasting Sleeves
Now that your plastic pipe sleeve is installed, a little maintenance will keep it looking and performing its best for years. Here's how:
- Clean regularly: Wipe the sleeve with a damp cloth to remove dust, grease, or debris. For stubborn stains, use mild soap and water—avoid abrasive cleaners that can scratch the plastic.
- replace when worn: Over time, sleeves can crack, fade, or lose their grip, especially in high-traffic areas. Inspect them monthly and replace any that show signs of damage to keep your lean system safe and efficient.
- Check for slippage: During routine maintenance, give each sleeve a gentle tug to ensure it's still secure. Tighten clips or reapply adhesive if needed.
- Protect from extreme temperatures: While most plastic sleeves are heat-resistant, prolonged exposure to direct sunlight or extreme cold can cause brittleness or warping. If possible, position structures with sleeved tubes away from radiators, air vents, or windows with intense sunlight.
Why This Matters for Your Lean System
You might be thinking, "It's just a plastic sleeve—does it really make that big of a difference?" In short: yes. A properly installed plastic pipe sleeve transforms an aluminum lean pipe from a basic component into a workhorse that contributes to a safer, more efficient workspace. Here's how:
Protection: Scratched or corroded aluminum weakens over time, leading to wobbly workbenches or unstable flow racks. Sleeves act as a barrier, extending the life of your lean system and reducing replacement costs.
Safety: Sleeves add grip, reducing the risk of tools or materials slipping off work surfaces. They also cushion impacts, lowering the chance of injury if someone bumps into the structure.
Noise reduction: Metal-on-metal contact in a busy production assemble line is loud. Plastic sleeves muffle the sound of sliding materials or moving trolleys, creating a quieter, less stressful environment.
Aesthetics: Clean, uniform sleeves give your lean system a polished, professional look—important for morale and even client impressions if your workspace is visible to visitors.
In the world of lean management, every detail counts. A well-fitted sleeve might seem small, but it's part of the bigger picture: creating a system that's efficient, durable, and designed with care for both your team and your bottom line.
Conclusion
Installing a plastic pipe sleeve on an aluminum lean tube might seem like a simple task, but doing it right requires patience, attention to detail, and the right techniques. By following the steps outlined here—preparing the tube, measuring and cutting carefully, fitting with care, and troubleshooting as needed—you'll ensure a secure, functional result that enhances your lean system. Remember, the best lean pipe and accessories are only as good as their installation; taking the time to do this step properly pays off in longevity, safety, and efficiency.
Whether you're a seasoned facility manager or a small business owner setting up your first production line, investing in quality aluminum lean pipes, plastic sleeves, and aluminum pipe accessories from a reliable supplier is key. After all, a lean system is built on trust—trust in your tools, your processes, and the little details that make big things happen.