- Company Articles
- Products and Technology
- Installation And Maintenance
- Installation Guide: Secure a Plastic Pipe Cover on Lean Tube Systems

Installation Guide: Secure a Plastic Pipe Cover on Lean Tube Systems
Related Product
Plastic Pipe Cover
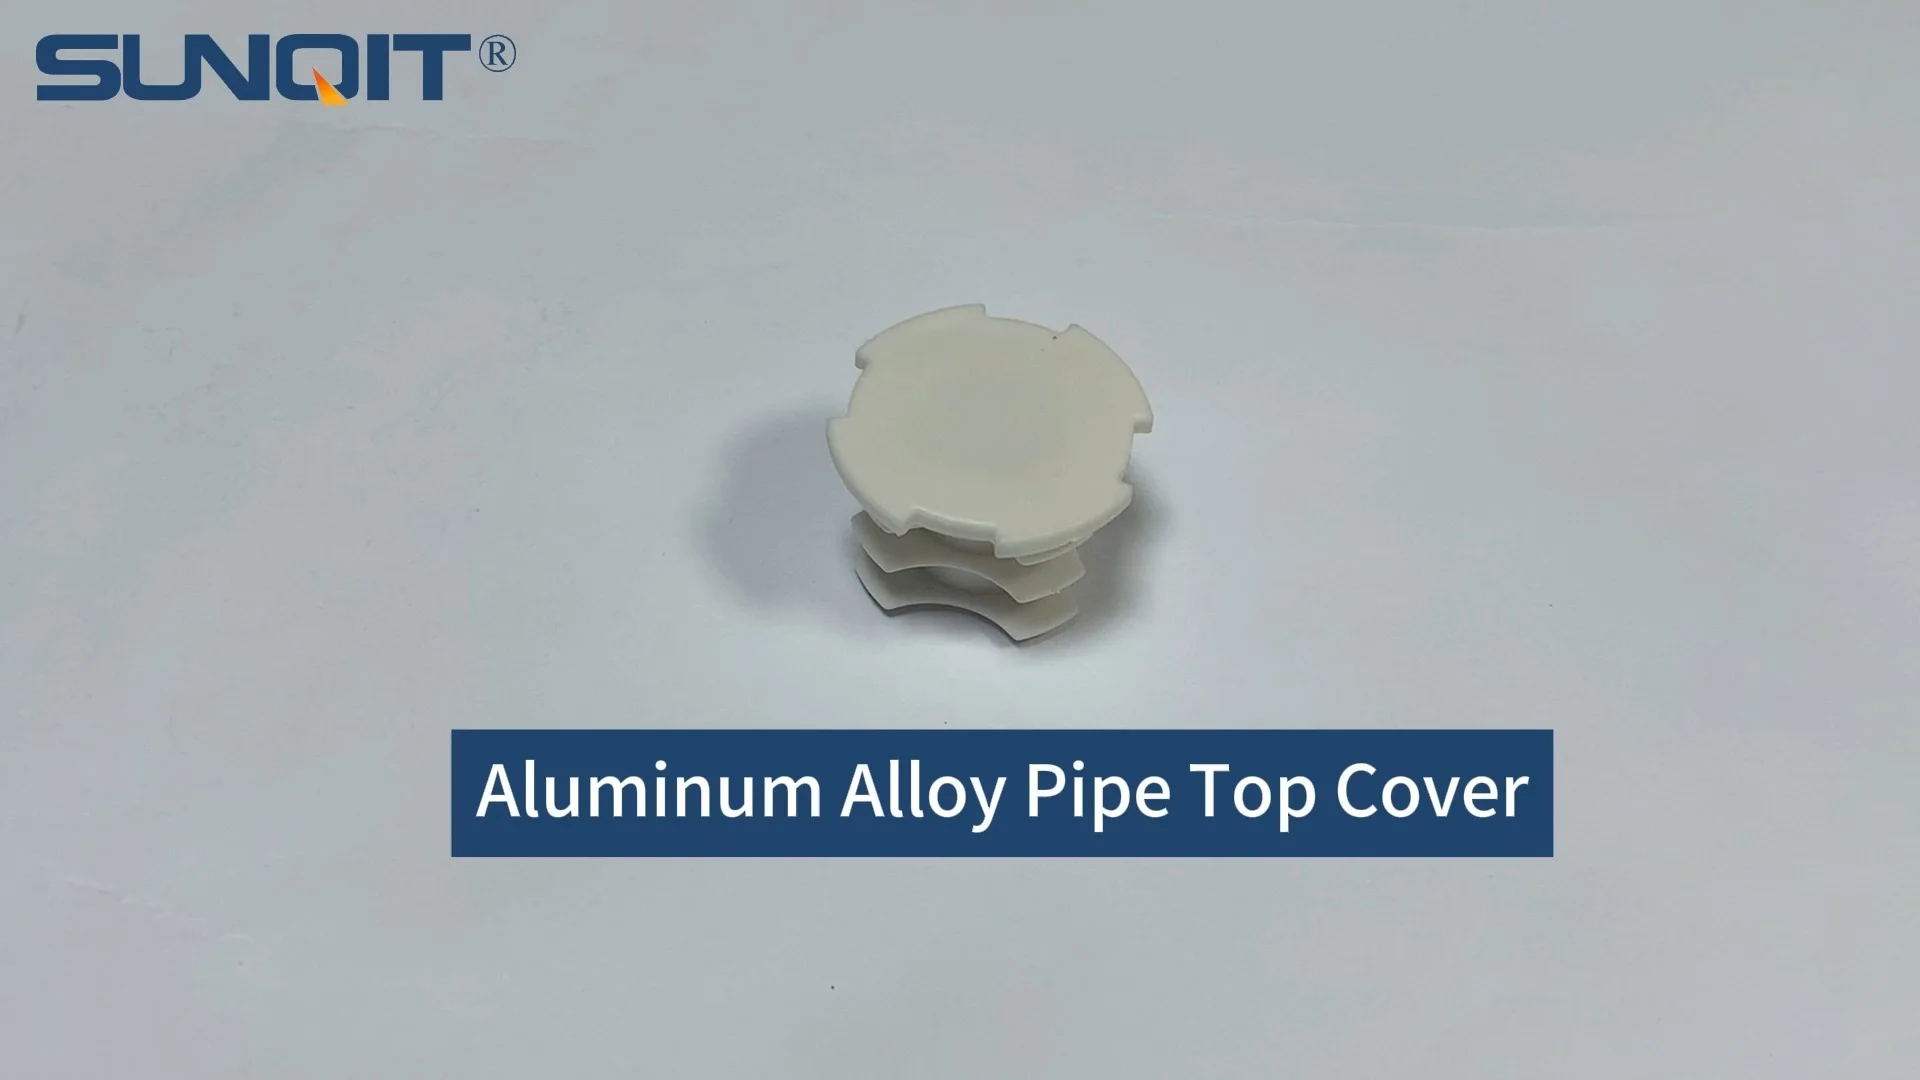
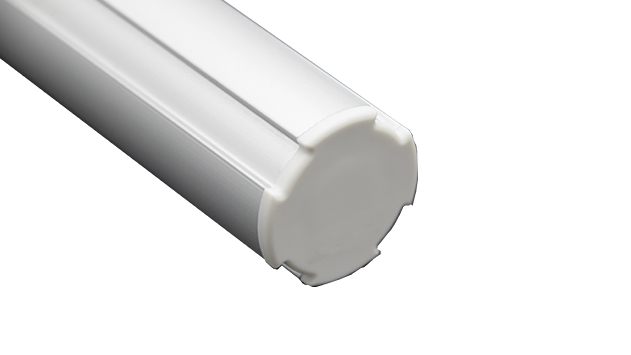
Plastic pipe cover to cover dia 28MM aluminum pipe end at workbench, flow rack, to prevent metal surface scratch material or worker.
Let's start with a familiar scenario: You're standing in your workshop, staring at a lean tube assembly—maybe part of your trusty workbench or a material rack—and notice something off. The plastic pipe cover that's supposed to protect the lean tube is peeling at the edges, or worse, it's completely slipped off, leaving the metal underneath exposed to scratches, dust, and the daily chaos of your workflow. Sound familiar? We've all been there. A loose or missing pipe cover might seem like a small annoyance, but in the world of lean manufacturing, where efficiency and precision matter, even the smallest details can throw off your rhythm. That's why taking the time to properly install a plastic pipe cover on your lean tube system isn't just about aesthetics—it's about protecting your equipment, streamlining your processes, and creating a workspace that feels intentional and reliable.
In this guide, we're going to walk through every step of securing a plastic pipe cover to your lean tube system, from understanding why it matters to troubleshooting those tricky moments when the cover just won't cooperate. Whether you're a seasoned facility manager who's installed a hundred covers or a small business owner setting up your first lean workspace, this isn't just a how-to—it's a reminder that the care you put into these small tasks is what builds a workspace that works with you, not against you. Let's dive in.
Why Plastic Pipe Covers on Lean Tube Systems Matter (Yes, Even the Small Stuff Counts)
Before we grab our tools, let's talk about why this task is worth your time. Lean tube systems—those versatile, modular structures made from lean tubes and lean pipe joints—are the backbone of many workshops, factories, and assembly lines. They're used to build workbenches, flow racks, turnover trolleys, and more because they're durable, customizable, and easy to reconfigure. But the lean tubes themselves? They're often made of steel or aluminum, and while tough, they're not impervious to damage. That's where plastic pipe covers come in.
First, protection. A plastic pipe cover acts as a buffer between your lean tube and the world around it. Think about all the times you slide a tool across your workbench, bump a trolley into a rack, or even just rest your arm on a tube—without a cover, those small impacts can scratch the tube's surface, leading to rust (if it's steel) or cosmetic damage that adds up over time. A well-fitted cover keeps the tube smooth and intact, extending its lifespan so you don't have to replace tubes prematurely.
Then there's safety. Exposed lean tube edges can be surprisingly sharp, especially if the tube has been cut or adjusted. A plastic cover softens those edges, reducing the risk of scrapes or cuts when you're working quickly. If you work with sensitive materials—like electronics that require ESD (electrostatic discharge) protection—some plastic covers are even ESD-safe, helping to dissipate static and protect your products. No one wants a tiny nick on their hand slowing them down, and no one wants a static charge ruining a day's work. The cover is your first line of defense here.
And let's not overlook the "vibe" factor. A workspace with mismatched, peeling, or missing covers looks chaotic—and chaos breeds inefficiency. When your lean tube system looks put-together, it sends a message to you and your team that this space is cared for, which can boost morale and focus. Ever walked into a workshop where everything is tidy and labeled versus one where tools are scattered and equipment looks neglected? Which one makes you want to work harder? Exactly. Your plastic pipe covers are part of that "tidy workspace" equation.
Understanding Your Materials: Lean Tubes, Plastic Covers, and the Joints That Hold It All Together
To install a plastic pipe cover properly, you need to know your materials. Let's break down the key players here: lean tubes, plastic pipe covers, and lean pipe joints. Each affects how the cover fits, so getting to know them will make the installation smoother.
Lean Tubes: The Foundation
Lean tubes (sometimes called "lean pipes") are the star of the show. They're typically 28mm in diameter (though sizes can vary) and made from either steel (often powder-coated or galvanized) or aluminum. Steel tubes are strong and cost-effective, while aluminum tubes are lighter and resistant to corrosion—great for humid environments. The material matters because it affects how the plastic cover adheres: steel tubes might have a slightly rougher texture than aluminum, which can help the cover grip, while aluminum is smoother, so you might need to take extra care to ensure a tight fit.
Plastic Pipe Covers: More Than Just a Sleeve
Plastic pipe covers are usually made from PVC or polyethylene, and they're designed to slide over the lean tube like a sleeve. They come in different lengths, colors (yellow, grey, and black are common), and thicknesses. Some are smooth, others have a textured finish for better grip, and as mentioned earlier, some are ESD-safe (look for "ESD" in the product name if that's a priority for your workspace). The most important feature? The inner diameter. It should match your lean tube's outer diameter—too loose, and the cover will slip; too tight, and you'll struggle to install it without tearing.
Lean Pipe Joints: The Hidden Hurdle
Here's a pro tip: lean pipe joints (the connectors that link lean tubes together) can make or break your cover installation. Joints come in all shapes—90-degree elbows, T-joints, crosses—and they often stick out slightly from the tube. If you're installing a cover on a tube that's connected to a joint, the cover has to fit around that joint without bunching or tearing. We'll tackle this later, but for now, just remember: joints add a layer of complexity, so take note of where they are on your tube before you start.
Tools You'll Need: No Fancy Gear Required
One of the best things about installing a plastic pipe cover is that you don't need a professional toolkit. Chances are, you already have most of these items in your workshop or garage. Let's gather them up:
| Tool/Item | Why You Need It | Pro Tip |
|---|---|---|
| Plastic pipe cover (cut to length, if needed) | The star of the show! Make sure it's the right diameter for your lean tube. | Buy a few extra covers—you never know when you might need a spare. |
| Measuring tape or ruler | To measure your lean tube length and cut the cover to size (if it's not pre-cut). | Measure twice, cut once—no one likes wasting a cover because of a bad measurement! |
| Utility knife or scissors | To trim the cover to the correct length (use scissors for thin covers, a utility knife for thicker ones). | Use a straightedge (like a ruler) to guide your cut for a clean edge. |
| Rubber mallet | For gently tapping the cover onto tight-fitting tubes (plastic mallets work too). | Wrap the mallet head in a cloth to avoid denting the cover. |
| Cleaning cloth (microfiber or lint-free) | To wipe down the lean tube before installation—dust and grease can prevent the cover from gripping. | Use rubbing alcohol on the cloth for extra cleaning power (test on a small area first if the tube has a finish). |
| Sandpaper (fine-grit, 220-grit or higher) | To smooth out any burrs or rough spots on the lean tube (especially if it's a new tube with sharp edges). | Sand in one direction, not back and forth, to avoid scratching the tube. |
| Optional: Adhesive (double-sided tape or PVC glue) | For extra security if the cover is loose (use sparingly—you might want to remove the cover later). | ESD-safe adhesive is best if you're working with sensitive electronics. |
| Optional: Clamps (spring clamps or C-clamps) | To hold the cover in place while adhesive dries (if using glue). | Cover the clamp jaws with cloth to avoid damaging the plastic cover. |
See? Nothing intimidating here. Now that we have our tools, let's prep the workspace.

Pre-Installation Prep: Set Yourself Up for Success
Ever tried to assemble furniture without reading the instructions first? Spoiler: It usually ends with extra screws and a headache. The same goes for installing a plastic pipe cover—taking 5 minutes to prep will save you from frustration later. Here's what to do:
Step 1: Measure Your Lean Tube (and the Cover)
Grab your measuring tape and measure the length of the lean tube where you'll install the cover. Write that number down. Now, check the length of your plastic pipe cover. If the cover is longer than the tube, you'll need to trim it. If it's shorter, you might need to use two covers (but try to avoid that if possible—seams can be a weak spot). For example, if your tube is 3 feet long and your cover is 4 feet, mark the cover at 3 feet with a pencil, then use your utility knife or scissors to cut it. Remember: straight, steady cuts are key—crooked edges will make the cover sit unevenly.
Step 2: Clean the Lean Tube
Grease, dust, and even fingerprints can prevent the plastic cover from gripping the tube properly. Take your cleaning cloth and wipe the tube from end to end. If there's stubborn grease (maybe from a previous adhesive or oil), dampen the cloth with rubbing alcohol and wipe again. Let the tube dry completely before moving on—you don't want moisture trapped under the cover, which could lead to mold or rust (especially on steel tubes).
Step 3: Check for Damage (and Fix It)
Run your hand along the lean tube—do you feel any burrs, dents, or sharp edges? These can tear the plastic cover or make it sit lopsided. Use fine-grit sandpaper to smooth out burrs or rough spots. For small dents, gently tap them out with your rubber mallet (support the tube from the inside if possible to avoid bending it further). If the tube is badly bent or rusted, you might need to replace it first—no cover will fix a damaged tube!
Step 4: Note the Lean Pipe Joints
Take a look at where the lean tube connects to other tubes via lean pipe joints. Are the joints flush with the tube, or do they stick out? If a joint is at the end of the tube, the cover will need to slide over it (more on that in Step 5). If there's a joint in the middle of the tube (like a T-joint), you'll need to install the cover up to the joint, then cut a separate piece for the other side. Jot down the positions of the joints so you don't forget—maybe even take a quick photo with your phone as a reference.

Step-by-Step Installation: Putting It All Together
Now, the moment we've been prepping for: installing the plastic pipe cover. Take a deep breath—this is easier than it looks, and we'll go slow. Let's break it into steps.
Step 1: Align the Cover with the Tube End
Hold the plastic pipe cover in one hand and the lean tube in the other (or, if the tube is part of a fixed structure like a workbench, position yourself so you can reach both ends). If the tube has a lean pipe joint at one end, start at the opposite end (the "free" end). Slide the cover over the tube end—gently push it with your hands first. If it's a tight fit, don't force it! Forcing can tear the cover or stretch it out, making it loose later.
Step 2: Work the Cover Onto the Tube (Hands First, Then Mallet)
Once the cover is on the end, use your hands to push it along the tube. Keep it straight—if it starts to twist, gently pull it back and realign. For most covers, you'll be able to push it with your hands for the first few inches. If it gets tight, here's a trick: warm the cover slightly with a hairdryer (on low heat!) for 10-15 seconds. The plastic will become more flexible, making it easier to slide. Just don't hold the dryer too close—you don't want to melt the cover!
If the cover still won't budge, grab your rubber mallet. Place the cover as far onto the tube as you can with your hands, then wrap a cloth around the end of the cover (to protect it) and tap the cloth gently with the mallet. Tap, then push with your hands—repeat until the cover moves. Go slow—hard taps can crack the plastic, especially in cold weather (plastic becomes brittle when cold, so if your workshop is chilly, warm the cover first).
Step 3: Navigating Lean Pipe Joints
Ah, the tricky part: joints. Let's say you're installing a cover on a tube that has a 90-degree lean pipe joint in the middle. Here's how to handle it:
1. Install the cover from one end up to the joint—stop when the cover is about ¼ inch away from the joint (you don't want to force it against the joint yet).
2. Use your utility knife to make a small slit in the cover at the joint's edge. The slit should be perpendicular to the tube (like a tiny "V" cut). This gives the cover room to bend around the joint.
3. Gently push the cover over the joint—if it's still tight, make the slit a little longer (but don't cut all the way through the cover!).
4. Once the cover is over the joint, smooth out any wrinkles or bunching. If the slit is visible, you can use a small dab of PVC glue to seal it (let it dry completely before using the tube).
For end joints (where the tube connects to another structure), slide the cover until it's flush with the joint. If the joint has a nut or bolt sticking out, you might need to notch the cover to fit around it—use your knife to carefully cut a small semicircle in the cover so it sits around the hardware.
Step 4: Securing the Cover (If Needed)
Most plastic pipe covers fit snugly enough on their own, but if yours is loose (maybe the tube is slightly smaller than the cover's inner diameter), you can add a little adhesive. Apply a thin line of double-sided tape to the tube before sliding on the cover, or use a small amount of PVC glue (apply it to the tube, not the cover, to avoid messy drips). If using glue, slide the cover into place and hold it for 30 seconds, then use clamps to keep it steady while it dries (check the glue bottle for drying time—usually 1-2 hours).
Step 5: Final Check
Once the cover is installed, give it a gentle tug—does it move? If it slides easily, you might need to add more adhesive or try a tighter cover. If it stays put, run your hand along it—are there any wrinkles, gaps, or sharp edges? Smooth out wrinkles with your fingers, and trim any excess plastic if needed. Stand back and admire your work—your lean tube now has a clean, protected cover that'll last for years.
Troubleshooting: When Things Go Wrong (And How to Fix Them)
Even with prep, sometimes things don't go as planned. Here are common issues and solutions:
Problem: The Cover Tears While Installing
Why it happens: The cover is too tight, you pulled too hard, or there was a sharp burr on the tube you missed.
Fix: If the tear is small (less than 1 inch), use PVC glue to seal it—apply glue to both sides of the tear, press them together, and hold for 30 seconds. If the tear is big, replace the cover (that's why we bought extras!).
Problem: The Cover Slips Off After Installation
Why it happens: The cover is too loose, the tube was greasy, or the cover stretched out during installation.
Fix: Clean the tube again, then try a new cover with a smaller inner diameter. If you can't get a smaller cover, wrap the tube in a thin layer of electrical tape (this adds thickness) before sliding on the cover—it'll grip better.
Problem: The Cover Won't Slide Over a Bent Tube
Why it happens: The tube has a kink or bend that's wider than the cover's diameter.
Fix: Straighten the tube if possible (use a pipe bender or gently tap it with a mallet). If you can't straighten it, cut the cover into two pieces and install them on either side of the bend—seal the seam with glue.
Maintaining Your Plastic Pipe Covers: Keep Them Looking (and Working) Great
You've installed the cover—now how do you keep it in good shape? A little maintenance goes a long way:
- Inspect regularly: Every few weeks, check your covers for cracks, tears, or looseness. Catch small issues before they become big problems.
- Clean gently: Wipe covers with a damp cloth to remove dust—avoid harsh cleaners (like bleach) that can fade or weaken the plastic.
- replace when needed: If a cover is cracked, torn, or stretched out, replace it. Old covers lose their protective power and can become a safety hazard (a cracked cover might have sharp edges).
- Adjust after reconfiguring: If you take apart or reconfigure your lean tube system, check the covers—they might shift or come loose during disassembly. Reinstall them properly before using the new setup.
Wrapping Up: Small Steps, Big Impact
Installing a plastic pipe cover on a lean tube system might seem like a tiny task, but it's a reflection of how you care for your workspace. When you take the time to measure carefully, clean thoroughly, and fix those tricky joints, you're not just protecting a tube—you're building a workspace that's efficient, safe, and a joy to work in. The next time you slide a tool across your workbench, bump a trolley into a rack, or just glance at your lean tube system, you'll see a cover that's secure, neat, and doing its job. And that? That's the kind of detail that makes all the difference.
So go ahead—grab your tools, pick a tube, and give it the cover it deserves. Your future self (and your lean tube system) will thank you.