- Company Articles
- Products and Technology
- Installation And Maintenance
- Installation Mistakes to Avoid with 60 Aluminum Roller Track Small Wheel

Installation Mistakes to Avoid with 60 Aluminum Roller Track Small Wheel
Related Product
60 Aluminum Roller Track Small Wheel
Modular system roller tracks aluminum gravity roller tracks are an excellent solution for transporting materials within industrial environments, warehouses and distribution centres.
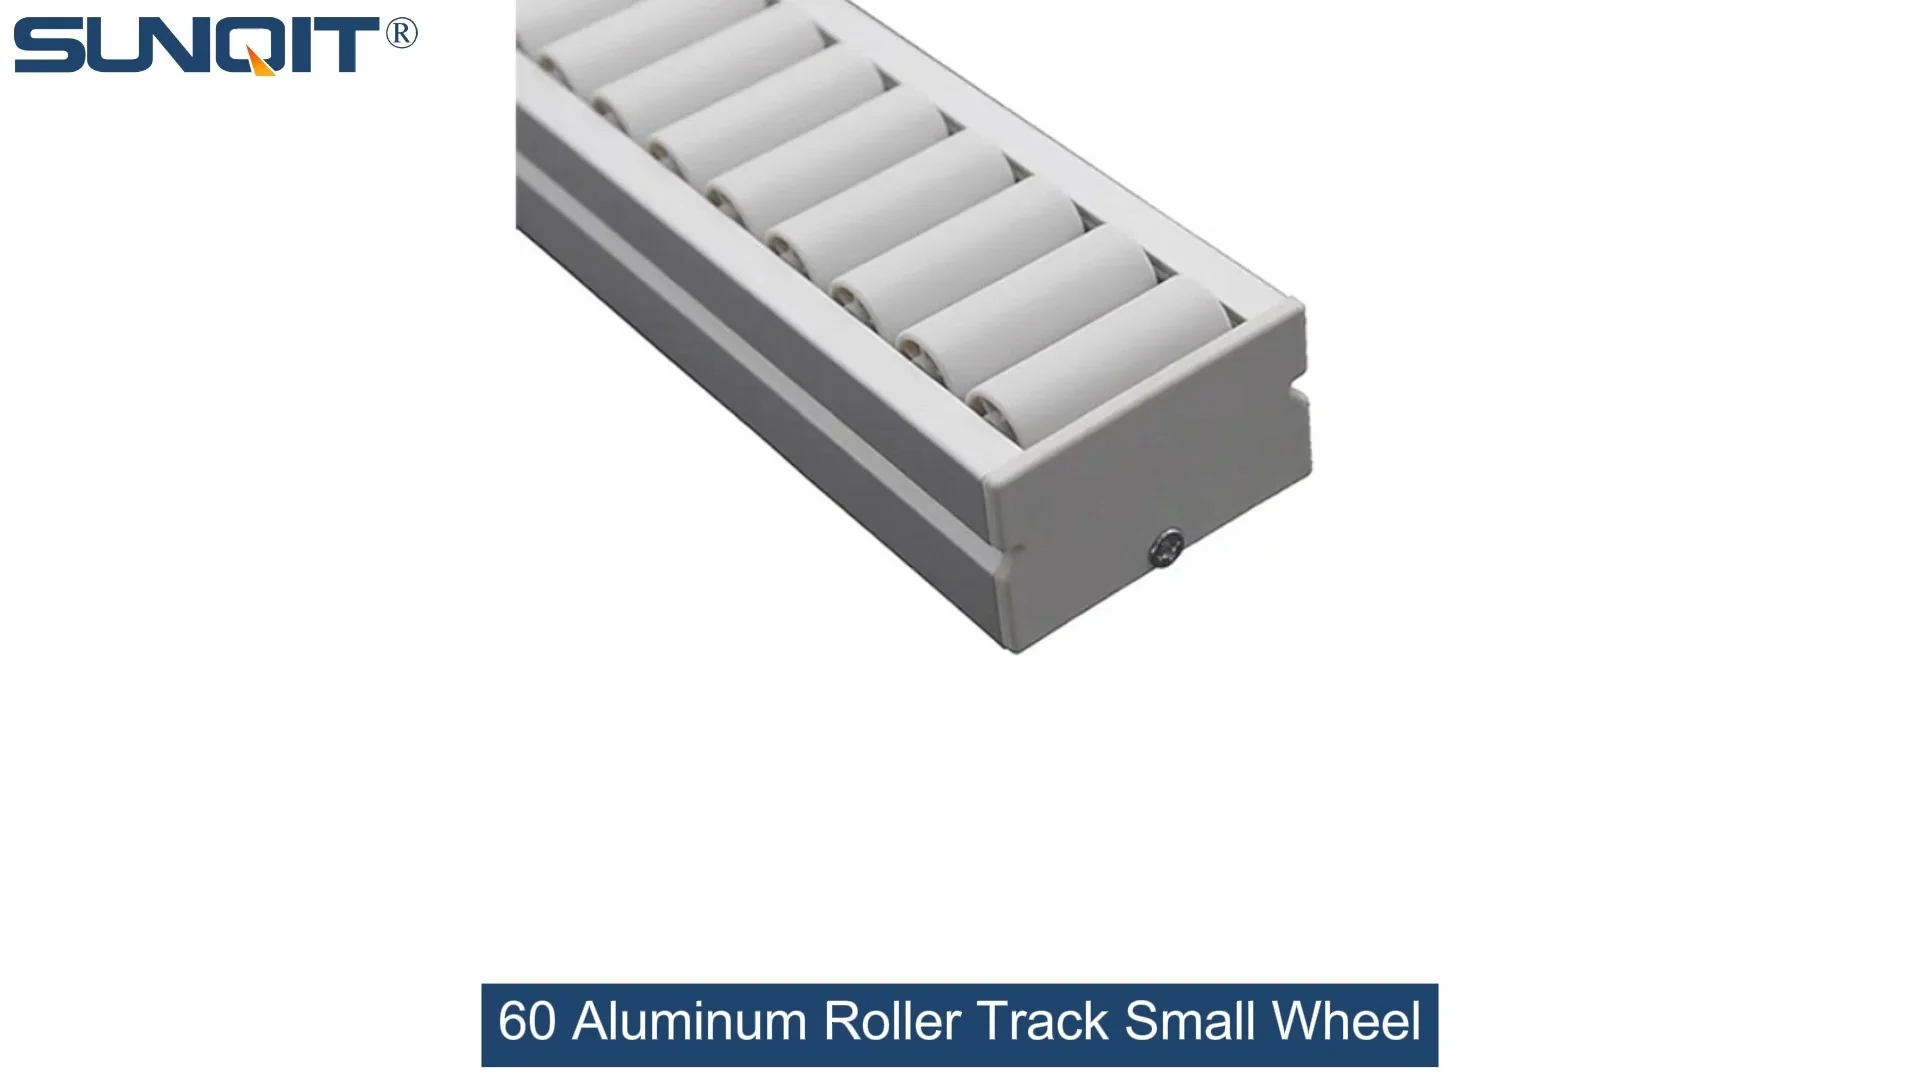
Roller tracks are the backbone of efficient material handling in factories, warehouses, and production lines. The 60 aluminum roller track small wheel, in particular, is a workhorse component found in flow racks, conveyors, and various lean solution setups. But even the most durable components can underperform or fail if installed incorrectly. Let's explore the most common installation mistakes and how to avoid them to keep your operations running smoothly and efficiently.
1. Incorrect Alignment of Roller Tracks
One of the easiest mistakes to make is not aligning roller tracks properly. A flow rack or conveyor with misaligned tracks will have items getting stuck halfway, slowing down unexpectedly, or even falling off the edge. This disruption doesn't just waste time—it also risks damaging products and creating safety hazards.
Impact: Misalignment leads to inconsistent material flow, increased downtime for unjamming, and potential product damage. Over time, it can also cause premature wear on the rollers as they bear uneven pressure. For example, if one track is slightly higher than the other, items will tilt and rub against the sides, wearing down both the rollers and the product packaging.
How to Avoid: Start by using a spirit level and measuring tape to mark the installation area clearly. Ensure tracks are parallel to each other and aligned with the direction of flow. After attaching the tracks to the aluminum profile base, test the flow with a sample item to catch any discrepancies early. If items veer to one side, adjust the track positions until the flow is smooth and straight.
2. Ignoring Load Capacity Limits
Every roller track has a specified load capacity, and exceeding it is a recipe for disaster. The 60 aluminum roller track small wheel is designed to handle a certain weight per linear foot, but many installers overlook this detail, leading to bent tracks, broken rollers, or even collapse.
Impact: Overloading poses significant safety risks to workers and can damage expensive equipment. It also shortens the lifespan of the roller tracks, forcing frequent replacements that eat into your budget. For instance, if a track rated for 50kg per meter is loaded with 100kg, it will bend under the weight, making it impossible for items to flow smoothly and increasing the risk of the track breaking.
How to Avoid: Always check the product specifications for the maximum load capacity before installation. Calculate the weight of the items you'll be moving and ensure it doesn't exceed the track's limit. Distribute the load evenly across the track to prevent concentrated pressure points. If you need to handle heavier items, consider using a thicker gauge track or adding additional support beams.

3. Poor Connection Between Tracks and Accessories
Using the wrong roller track connector or not securing them tightly is another common error. Aluminum profile accessories are designed to work with specific track models, so using incompatible parts can lead to loose connections and unstable tracks. Even if you use the right connectors, not tightening them properly can cause tracks to shift during operation.
Impact: Loose connectors cause tracks to move out of place, leading to jams and uneven flow. In extreme cases, tracks might detach from the base, creating a safety hazard for workers nearby. For example, if a connector is only hand-tightened, it will loosen over time due to vibration, causing the track to shift and items to jam.
How to Avoid: Use only compatible aluminum profile accessories and roller track connectors recommended by the manufacturer. Follow the tightening instructions carefully—over-tightening can strip threads, while under-tightening leaves connections loose. Consider using lock washers or thread-locking adhesive to keep connectors secure over time. After installation, double-check all connections to ensure they're tight and stable.

4. Neglecting Leveling and Stability
A roller track that's not level will never function properly. If the base is uneven, items will either move too fast down one side or get stuck on the higher side, disrupting the entire workflow. This is especially problematic in lean solution setups where consistent flow is critical for efficiency.
Impact: Uneven tracks lead to inconsistent material flow, increased noise, and premature wear on rollers. It also makes it harder to control the movement of items, increasing the risk of spills or damage. For instance, if a track is tilted slightly downward, items will slide too fast, potentially falling off the end or colliding with other items. If it's tilted upward, items will get stuck, requiring manual intervention.
How to Avoid: Use leveling feet on the base of your aluminum profile structure. Adjust each foot until the track is perfectly level, checking with a spirit level at multiple points along the track. Test the flow with different item weights to ensure stability. If the floor is uneven, consider using shims under the base to create a stable foundation.

5. Overlooking Maintenance and Wear Prevention
Installation doesn't end once the tracks are up and running. Many users forget that roller tracks need regular maintenance to stay in top shape. Dust, debris, and lack of lubrication can cause friction and wear, reducing efficiency and shortening the lifespan of the tracks.
Impact: Poor maintenance leads to increased friction, noisy operation, and a shorter lifespan for the roller tracks. It also means more frequent repairs and replacements, which cost time and money. For example, dust and debris can build up between rollers, causing items to jam and increasing friction. Without lubrication, moving parts will wear down faster, leading to costly replacements.
How to Avoid: Create a maintenance schedule that includes regular cleaning of the tracks to remove dust and debris. Use a soft brush or compressed air to clean between rollers. Lubricate moving parts like rollers and connectors every few months—check the manufacturer's recommendations for the right lubricant (avoid using oil-based lubricants on plastic rollers). Inspect the tracks periodically for signs of wear, such as bent rollers or loose connectors, and replace parts as needed.
Step-by-Step Correct Installation Guide
Follow these steps to ensure a smooth and successful installation of your 60 aluminum roller track small wheel:
- Prepare Tools and Materials: Gather all necessary tools (spirit level, measuring tape, wrench, screwdriver, pliers) and materials (60 aluminum roller tracks, aluminum profile base, roller track connectors, leveling feet, fasteners).
- Measure and Mark: Determine the installation area and mark the positions for the aluminum profile base using a measuring tape. Ensure the area is clean and free of debris.
- Install the Base: Attach the aluminum profile base to the floor or work surface using appropriate fasteners. Ensure it's stable and secure—if attaching to a concrete floor, use concrete anchors.
- Attach Roller Tracks: Use the correct roller track connectors to attach the 60 aluminum roller tracks to the base. Follow the manufacturer's instructions for spacing and alignment (typically 10-15cm between tracks).
- Align and Level: Use a spirit level to adjust the leveling feet until the tracks are perfectly level. Check alignment to ensure tracks are parallel—measure the distance between tracks at both ends to confirm.
- Test the Flow: Place sample items on the tracks to test the flow. Adjust alignment or leveling if needed. If items get stuck, check for debris or misalignment.
- Secure All Connections: Double-check all connectors and fasteners to ensure they're tight and secure. Use lock washers or thread-locking adhesive if necessary to prevent loosening over time.
Installation Checklist
| Task | Completed (Yes/No) |
|---|---|
| Tracks aligned parallel to each other | |
| Load capacity checked against product specifications | |
| Compatible roller track connectors used | |
| All connections tightened to manufacturer's specifications | |
| Tracks leveled using spirit level at multiple points | |
| Sample items tested for smooth flow | |
| Maintenance schedule created | |
| Base secured to floor/work surface with appropriate fasteners |
Troubleshooting Common Issues
- Items Jamming: Check for misalignment, loose connectors, or debris in the tracks. Clean the tracks with a soft brush and adjust alignment if necessary. Tighten any loose connectors.
- Uneven Flow: Ensure the tracks are level. Adjust leveling feet and recheck with a spirit level. If the floor is uneven, use shims under the base.
- Excessive Noise: Lubricate rollers and connectors with the recommended lubricant. Check for loose parts or worn rollers—replace any damaged components.
- Tracks Shifting: Tighten all connectors using a wrench. Use lock washers or thread-locking adhesive to prevent loosening over time.
- Items Falling Off: Check track alignment and ensure they're parallel. Adjust the track positions to keep items centered. If necessary, add side guides to the tracks.
Conclusion
Proper installation of the 60 aluminum roller track small wheel is critical for maintaining efficient material handling in flow racks, conveyors, and lean solution setups. By avoiding common mistakes like misalignment, overloading, poor connections, neglecting leveling, and skipping maintenance, you can ensure smooth operation, reduce downtime, and extend the lifespan of your equipment.
Remember, every step in the installation process matters. Taking the time to do it right will pay off in the long run with improved productivity, safer operations, and lower maintenance costs. So next time you install roller tracks, keep these tips in mind to get the most out of your investment and keep your lean operations running at peak efficiency.