- Company Articles
- Products and Technology
- Installation And Maintenance
- Installation Mistakes to Avoid with Roller Track Placon Mount Brackets

Installation Mistakes to Avoid with Roller Track Placon Mount Brackets
Related Product
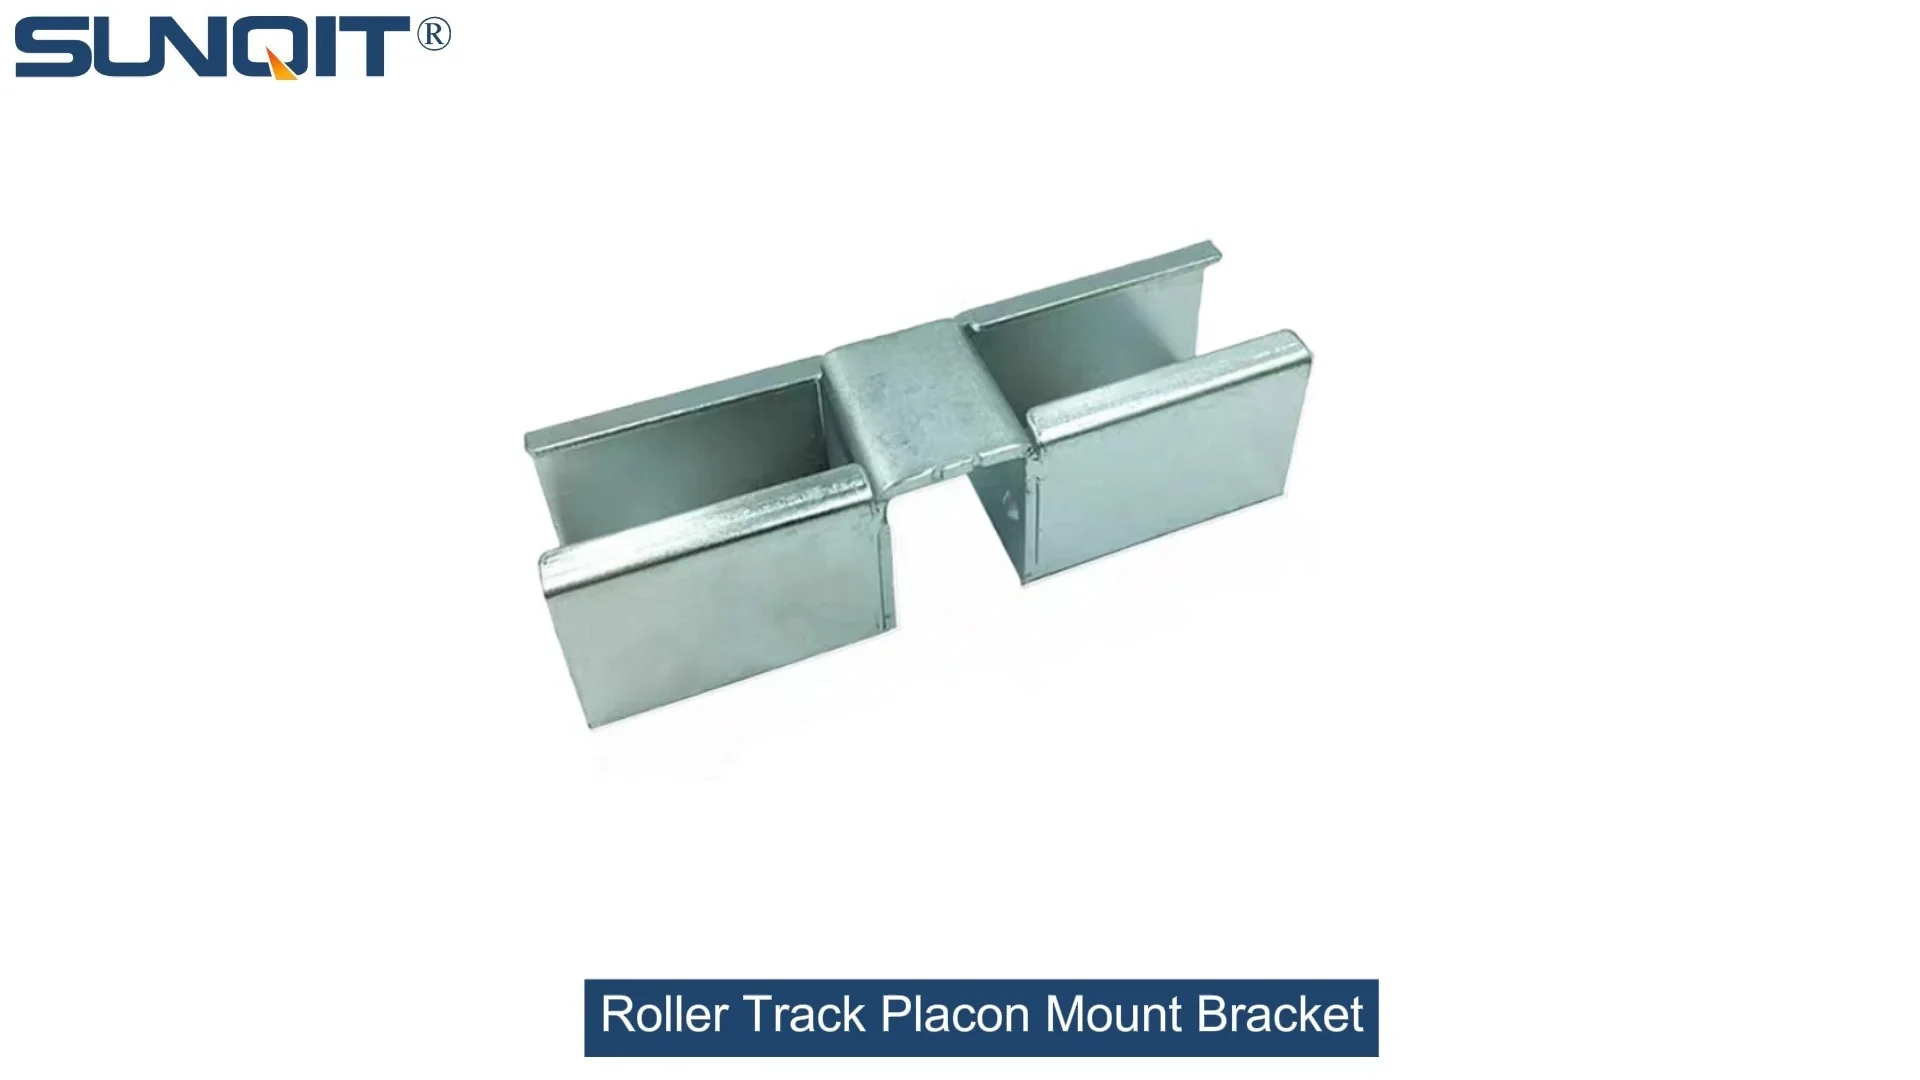
Roller Track Placon Mount Bracket
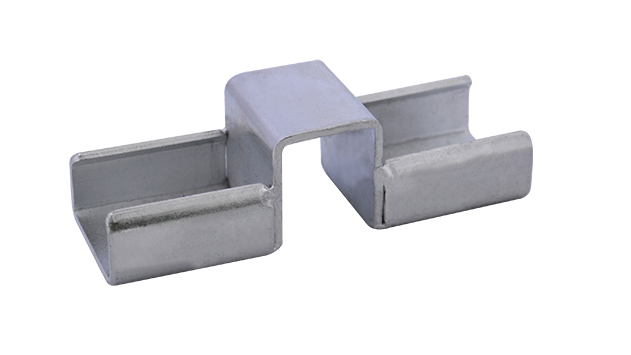
Roller track placon mount work as a connector for roller track and pipe or aluminum profile in rack syetem, it is a necessary parts in rack system which widely used in industrial plant and logistic,warehouse storage.
In the fast-paced world of manufacturing, every component on your production line plays a critical role in keeping operations smooth and efficient. When it comes to material handling—whether it's a busy 3C assembly line or a high-precision medical device workshop—the
roller track placon mount brackets
might seem like small players. But anyone who's worked on the floor knows: these unassuming brackets are the unsung heroes connecting your
roller track
to
aluminum profiles
, ensuring (materials) glide seamlessly from station to station.
We've visited countless factories where a simple installation misstep with these brackets led to frustrating delays: roller tracks tilting under load, profiles bending from uneven pressure, or worst of all, sudden jams that brought an entire
lean system
to a halt. The good news? Most of these issues are avoidable. Let's walk through the most common mistakes we've seen, why they happen, and how to fix them—so you can keep your line running like clockwork.
5 Critical Installation Mistakes (And How to Fix Them)
1. Choosing the Wrong Placon Mount Type
It's easy to grab the first placon mount bracket you see in the toolbox, but here's the thing: not all brackets are created equal. Our catalog alone includes options like roller track placon mount for aluminum profile high , flat , and center support bracket —each designed for specific scenarios.
Why it hurts: Using a "high" mount when you need a "flat" one? The bracket will sit too tall, tilting the roller track and causing materials to slide off-center. Conversely, a "flat" mount on a profile that needs extra height creates weak points, leading to bracket bending under heavy loads (we once saw a medical supply warehouse lose an entire batch of fragile components this way).
Do this instead:
Start by checking your aluminum profile specs. If you're mounting on a 4040 aluminum profile, a
40 roller track placon mount flat
is likely the right fit. For taller setups, like multi-level
flow racks
, opt for "high" mounts to maintain vertical stability. Always cross-reference the bracket model with your track type—for example,
85 staggered roller track
requires sturdier center support brackets than standard 40 steel roller track.
2. Over-Tightening (or Under-Tightening) Screws
We get it—when you're in a hurry, it's tempting to crank that wrench until the screw won't turn anymore. Or maybe you're worried about stripping threads, so you leave it loose "just in case." Both moves are risky.
Why it hurts: Over-tightening crushes the aluminum profile's T-slot, weakening the connection and making future adjustments impossible. Under-tightening? The bracket wobbles, and over time, vibration from moving materials will loosen it further—we've seen brackets literally shake free, sending roller tracks crashing onto the floor.
Do this instead:
Invest in a torque wrench (it's a small cost for big peace of mind). For aluminum profiles, aim for 4-6 Nm of torque—enough to secure the bracket without deforming the metal. If you're using
steel roller track
(heavier than aluminum), bump it up to 6-8 Nm. Pro tip: Apply a drop of thread-locking fluid to the screw threads to prevent loosening from vibration, especially on
conveyor systems
that run 24/7.
3. Skipping the Level Check
You've aligned the brackets, tightened the screws, and stepped back to admire your work—looks straight, right? But "looks" can be deceiving, especially over long stretches of roller track.
Why it hurts: Even a 1-degree tilt over 3 meters of track can turn smooth material flow into a disaster. In one electronics factory, a slightly unlevel track caused circuit boards to slide into the guide rails, scratching sensitive components and costing thousands in rework. For ESD workstations , uneven tracks can also create static buildup hotspots—risking damage to electrostatic-sensitive parts.
Do this instead:
Use a 2-foot spirit level as you install each bracket. Place it across the bracket and the adjacent track section to ensure they're perfectly horizontal. For longer tracks, snap a chalk line along the aluminum profiles first—this gives you a visual guide to keep brackets aligned. If your floor isn't level (common in older facilities), use
adjustable leveling feet
under the profile bases to compensate before mounting brackets.
4. Ignoring Load Capacity Limits
That stack of heavy components needs to move from Point A to B—surely these brackets can handle it, right? Maybe, but assuming "strong enough" without checking specs is a gamble.
Why it hurts: Every bracket has a rated load capacity. Our roller track placon mount bracket , for example, is tested to hold up to 80kg per linear meter when paired with 40 steel roller track. Exceed that, and you'll see cracks in the bracket welds or bending in the aluminum joint—we once helped a car parts manufacturer replace 20+ brackets after they tried running 150kg engine blocks on a setup meant for smaller components.
Do this instead:
Calculate your maximum load first. If you're moving 50kg cartons on a 4-meter track, that's 200kg total—so you'll need brackets spaced no more than 50cm apart to distribute weight evenly. For extra-heavy loads, upgrade to reinforced brackets like our
roller track placon mount center support bracket
or pair with
aluminum guide rail B
for added stability. When in doubt, ask your
lean solution
provider for a load test report—reputable suppliers (like us!) will have this data on hand.
5. Forgetting Anti-Slip and Anti-Rattle Measures
You've aligned, tightened, and leveled—job done? Not quite. Even perfectly mounted brackets can cause issues if you skip the final "details" that prevent slipping and noise.
Why it hurts: Metal-on-metal contact between brackets and profiles creates annoying rattling noise over time—not great for worker comfort. Worse, without anti-slip measures, thermal expansion (common in factories with fluctuating temperatures) can cause brackets to shift, throwing off track alignment. We visited a 3C factory where this led to daily 15-minute line stops just to realign tracks!
Do this instead:
Add a thin layer of
plastic roller track guide rail grey
(or yellow, for visibility) between the bracket and profile—this reduces noise and friction. For outdoor or high-moisture environments (like some warehouse areas), use
stainless steel pipe series
brackets to prevent rust that can seize moving parts. Finally, secure the bracket with a
roller track placon mount connector
at the ends to lock everything in place—this simple step cuts down on 90% of alignment issues we see.
Your Pre-Installation Checklist
Print this out and keep it in your toolbox—it'll save you from costly mistakes:
| Check Before You Start | Action Step | Tool/Resource Needed |
|---|---|---|
| Verify bracket type matches profile and track | Compare part numbers (e.g., "flat" vs "high" mount) | Product manual or supplier spec sheet |
| Inspect bracket for defects | Check for cracks, bent edges, or missing hardware | Flashlight (for hard-to-see welds) |
| Prepare torque settings | Set wrench to 4-6 Nm (aluminum) or 6-8 Nm (steel) | Torque wrench |
| Mark level lines on profiles | Snap chalk line or use laser level for straight alignment | Spirit level or laser level |
| Assemble anti-slip components | Pre-cut plastic guide rails or rubber strips | Scissors, measuring tape |
How to Make Installation Easier (Pro Tips)
Even with the best checklist, installation goes smoother with the right approach. Here are a few tricks we've learned from working with hundreds of factories:
Pre-assemble offline:
Build small sections of track + brackets on a workbench first, then mount them to the main profile. This avoids awkward overhead work and lets you test alignment before final installation.
Train your team on specs:
Hold a 10-minute session to review bracket types and torque settings—investing in training now prevents rework later. Use samples (like a
mini aluminum roller track
) to show the difference between "high" and "flat" mounts.
Partner with your supplier:
Reputable
lean pipe supplier
teams (again, like us!) offer free installation guides and even on-site support for big projects. Don't hesitate to ask—we'd rather help you get it right the first time than fix mistakes later.
At the end of the day, avoiding these mistakes isn't just about saving time or money—it's about honoring the
lean (lean philosophy)
that drives modern manufacturing:
continuous improvement, attention to detail, and respect for the process
. When your roller track placon mount brackets are installed correctly, they don't just hold up a track—they support the entire rhythm of your operation, from the first component to the final product.
Whether you're building a new flexible workstation or upgrading an existing flow rack , remember: the smallest components often make the biggest difference. And if you ever need a hand—whether it's choosing the right aluminum pipe accessories or troubleshooting a tricky installation—we're here. After all, your success is our success.
Whether you're building a new flexible workstation or upgrading an existing flow rack , remember: the smallest components often make the biggest difference. And if you ever need a hand—whether it's choosing the right aluminum pipe accessories or troubleshooting a tricky installation—we're here. After all, your success is our success.