- Company Articles
- Products and Technology
- Installation And Maintenance
- Installation Steps for Roller Track Placon Mount Joints: A Step-by-Step Guide

Installation Steps for Roller Track Placon Mount Joints: A Step-by-Step Guide
Related Product
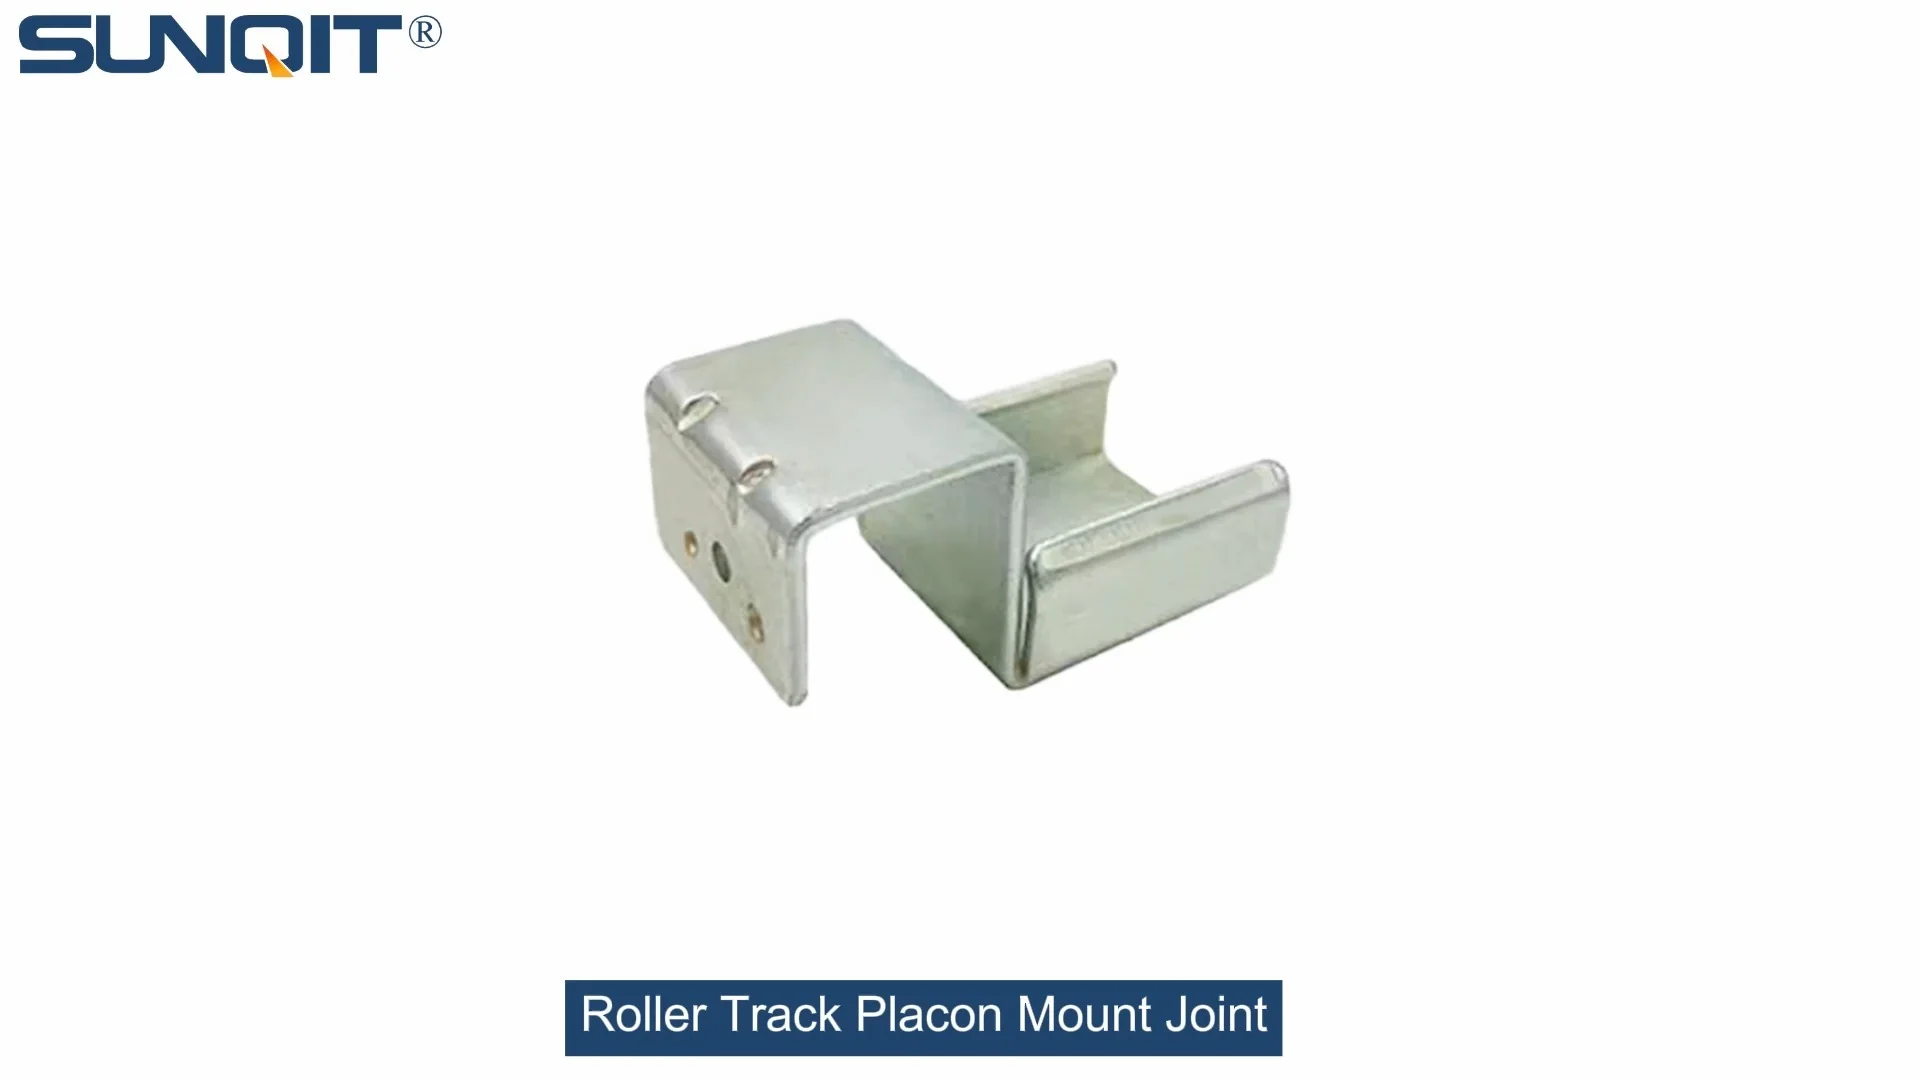
Roller Track Placon Mount Joint
Roller track placon mount work as a connector for roller track and pipe or aluminum profile in rack syetem, it is a necessary parts in rack system which widely used in industrial plant and logistic,warehouse storage.
On a busy factory floor, where materials need to glide from station to station without a hitch, the little components often make the biggest difference. Take roller track placon mount joints—those unassuming connectors that link roller tracks to aluminum profiles, ensuring your flow racks, conveyors, and workstations run smoothly. Installing them right isn't just about following a checklist; it's about building a foundation for efficiency. A wobbly joint can slow down production, a misaligned connection might cause jams, and a loose fit could even risk workplace safety. That's why we've put together this guide—part how-to, part troubleshooting, and entirely focused on making your installation process as seamless as the roller tracks themselves.
Whether you're setting up a new lean system, upgrading an existing flow rack, or customizing a workstation for your 3C assembly line, these steps will walk you through everything from unboxing the parts to testing the final setup. We'll throw in pro tips from our team of engineers who've seen it all—from tight spaces in medical device facilities to high-speed lines in consumer electronics plants. Let's dive in.
Before You Start: Gather Your Tools & Materials
Nothing derails an installation faster than hunting for a missing hex key halfway through. Here's what you'll need to have handy before you begin. (Pro tip: Lay everything out on a clean workbench to avoid small parts rolling away!)
| Tools | Why You Need Them | Pro Tip |
|---|---|---|
| Hex key set (metric, 2-6mm) | Most placon mount joints use hex screws for secure fitting. | Magnetic hex keys save time—no fumbling with screws! |
| Measuring tape & level | Ensures joints are aligned straight and level. | A digital level app on your phone works in a pinch, but a physical level is more reliable. |
| Rubber mallet | Gently taps joints into place without damaging aluminum profiles. | Never use a metal hammer—it can scratch or dent the aluminum. |
| Thread locker (medium-strength) | Prevents screws from loosening due to vibration (critical for conveyor systems). | Apply a tiny drop—too much can make future adjustments tough. |
| Deburring tool | Smooths sharp edges on aluminum profiles (safety first!) | Run it along cut edges of profiles before installation to avoid snags. |
And don't forget the parts! You'll need your roller track placon mount joints (check the part number to match your roller track—e.g., "roller track placon mount for aluminum profile flat" or "40 roller track placon mount drop high"), the corresponding aluminum profile (like 4040 or 3030 EU standard), and any additional hardware that came with your order (usually included, but double-check the packaging).
Step 1: Inspect Components for Damage or Defects
First things first: Take a minute to look over your roller track placon mount joints and aluminum profiles. Even the sturdiest parts can get banged around during shipping, and catching a defect early saves frustration later.
- Check the joint body: Look for cracks, bent metal, or warped plastic (if there are plastic components). A cracked joint won't hold torque and could fail under load.
- Examine the mounting holes: Are they clean and free of debris? Dirt or metal shavings in the holes can throw off alignment. Use a small brush or compressed air to clean them out.
- Inspect the aluminum profile: Check for dents along the T-slot (where the joint connects). A dented slot might prevent the screw from seating properly. If you spot one, gently tap it out with your rubber mallet—just be careful not to widen the slot.
If something looks off—like a misthreaded hole or a bent connector—stop and reach out to your supplier. Using damaged parts isn't worth the risk, especially in high-traffic areas like conveyor lines.

Step 2: Mark Your Mounting Positions on the Aluminum Profile
Alignment is everything here. A joint that's even 1mm off-center can cause roller tracks to tilt, leading to materials getting stuck or sliding unevenly. Here's how to get your marks right:
- Measure the distance between joints based on your design. For most flow racks, joints are spaced 30-40cm apart (but check your blueprint—custom setups might vary!).
- Use a pencil to mark the center of each mounting hole on the aluminum profile's T-slot. Hold the joint up to the profile to double-check the hole positions—this "dry fit" step prevents mistakes.
- For longer tracks (like those in a 40 steel roller track system), snap a chalk line along the profile to keep all marks straight. Trust us, your future self will thank you when the roller track glides perfectly.
Working with an ESD workstation? Mark positions with a non-conductive pencil to avoid static buildup—small details like this keep sensitive electronics safe during assembly.

Step 3: Attach the Roller Track Placon Mount Joint to the Aluminum Profile
Now it's time to secure the joint. This is where your hex key and steady hand come into play. Follow these steps for a tight, durable fit:
- insert the T-slot nut into the aluminum profile: Slide the nut into the T-slot until it lines up with your marked hole. Twist it 90° to lock it in place—you'll feel it click.
- Place the joint over the nut: Align the joint's mounting hole with the T-slot nut. If the joint has a "flat" or "drop high" design (like the 40 roller track placon mount flat vs. drop high), make sure it's oriented correctly for your track angle.
- Start the screw by hand: Screw it in clockwise until it's snug—this prevents cross-threading. For most joints, a M5 or M6 screw works, but check the part specs to be sure.
- Tighten with the hex key: Turn the key until the screw is firm, but don't overtighten! Aluminum profiles are strong, but stripping the threads is easy. A good rule: Stop when you feel resistance, then give it a 1/4 turn more.
Repeat this for all joints along the profile. If you're installing multiple joints (like for a 85 staggered roller track), tighten them in a "star pattern" (skip every other joint) to keep the profile from warping.

Step 4: Connect the Roller Track to the Joint
With the joints secured to the aluminum profile, it's time to attach the roller track itself. This step varies slightly depending on your track type (steel vs. aluminum, 40mm vs. 85mm), but the basics apply across the board:
- Slide the roller track into the placon mount joint's track slot. For plastic roller track guide rails (yellow or grey), you might need to gently press until it clicks into place.
- Check the fit: The track should move slightly but not wobble. If it's too loose, tighten the joint's side screw (if equipped). If it's too tight, loosen the screw a hair—you want smooth movement, not a rigid lock.
- For roller tracks with wheels (like the 40 steel roller track yellow wheel), spin a few wheels by hand to ensure they rotate freely. A stuck wheel now means jams later!
We once helped a 3C assembly plant where a single misaligned roller track was causing phone cases to get stuck during production. Turns out, the placon mount joint was tilted 2°—after adjusting it with a level, their line speed increased by 15%. Small tweaks, big results.
Step 5: Test Stability & Make Adjustments
Installation isn't done until you've tested the system under real conditions. Here's how to ensure your joints (and the entire roller track setup) are ready for action:
- Shake test: Gently shake the aluminum profile—there should be no movement in the joints. If they rattle, tighten the screws (but again, don't overdo it).
- Load test: Place a typical load on the roller track (e.g., a bin of components for your lean pipe workbench). Push it along the track—does it glide smoothly? If it catches, check for misaligned joints or debris in the wheels.
- Level check: Use your level on the roller track itself. It should be flat horizontally and sloped slightly (1-2°) for gravity-fed flow racks—this ensures materials move without manual pushing.
Need to adjust? Loosen the joint's main screw, realign, and retighten. It's better to spend 5 extra minutes now than to have a technician fixing jams during a production rush.
Step 6: Integrate into Your Lean System (And Celebrate!)
Your roller track placon mount joints are installed, tested, and ready to work. Now it's time to connect them to the rest of your setup—whether that's a flow rack, conveyor, or custom workstation. Here are a few final tips to tie it all together:
- Connect multiple sections: Use roller track placon mount connectors to link track sections. For a seamless flow, align the ends so there's no gap between tracks—even 1mm can catch a box or part.
- Add end supports: If your track is long (over 2m), use end supports with stops (like the end support for roller track placon mount with stop) to prevent materials from sliding off the end.
- Label for future reference: Mark joints with their position (e.g., "Flow Rack B, Row 3") so maintenance is easier down the line. This is a lean manufacturing best practice—small habits that keep systems running smoothly for years.
Take a step back and admire your work. That roller track isn't just metal and plastic—it's a tool that will help your team move faster, reduce errors, and focus on what matters: building great products. And when you need more joints, tracks, or custom solutions (for 3C assembly, medical facilities, or beyond), remember—we're here to help you build systems that grow with your business.
Installing roller track placon mount joints might seem like a small part of your lean system, but it's the foundation of efficiency. By taking the time to align carefully, tighten properly, and test thoroughly, you're not just building a track—you're building a workplace that works for your team. And isn't that what lean manufacturing is all about? Making work easier, smarter, and more sustainable—one joint at a time.