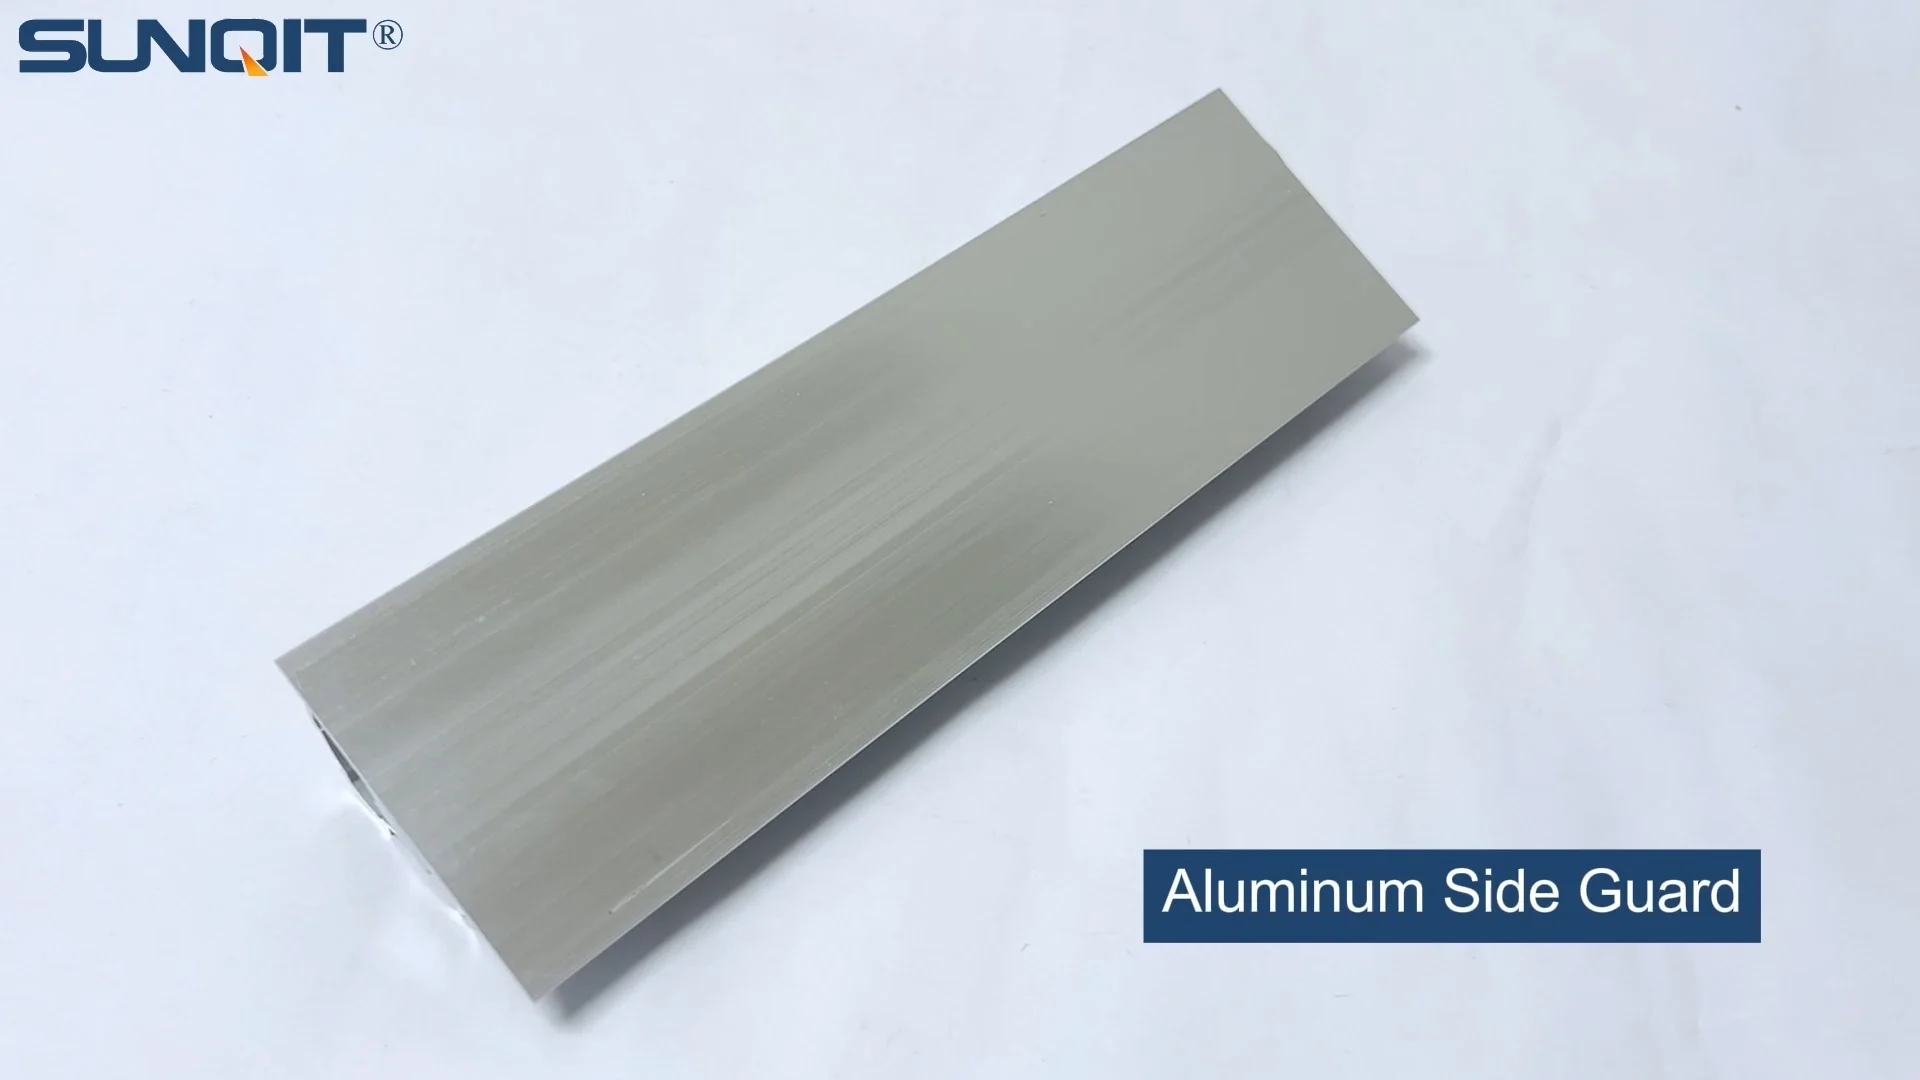
Now that you're prepped, let's walk through the installation process. We'll break it down into easy-to-follow steps, with tips to avoid common mistakes.
Step 1: Mark Bracket Positions on the Flow Rack Frame
Start by determining where the side guard brackets will attach to the flow rack. Most flow racks have vertical uprights (often made of aluminum profile or steel) that run the length of the rack. These uprights are your anchor points.
Measure the height of the roller track from the bottom of the rack. The side guards should sit just above the top of the rollers—high enough to keep materials from sliding off, but low enough that they don't block the flow. A good rule of thumb is 1-2 inches above the roller track. Mark this height on each upright using your pencil and level (to ensure the line is straight across all uprights).
Next, space the brackets. For most setups, brackets every 24-36 inches work well. Closer spacing (24 inches) is better for longer rails or heavier materials, as it prevents the aluminum guide rail from sagging. Mark these positions on the height line you just drew. Pro tip: Use a piece of scrap wood as a spacer to mark bracket positions quickly and evenly—no more measuring each one individually.
Step 2: Attach Brackets to the Flow Rack Uprights
With your marks in place, it's time to mount the brackets. Most aluminum side guard kits come with L-shaped brackets that have pre-drilled holes. Align the bracket's holes with your marks on the upright, then use the provided screws (or ones that fit the upright's threading) to secure it. If the uprights are aluminum profile, you might need T-slot nuts—these slide into the profile's grooves and lock in place when you tighten the screw.
Use your level here! Place the level against the bracket to make sure it's not tilted forward or backward. A tilted bracket will lead to a tilted rail, which means materials might catch or slide off at an angle. Tighten the screws snugly, but don't overtighten—aluminum can strip easily. A good test: once the screw is tight, give it a quarter-turn more. That's enough to hold it without damaging the threads.
Repeat this for all brackets. Once they're all on, do a quick check: run your hand along the top of the brackets to feel for any that are higher or lower than others. Adjust as needed before moving on—fixing this now is easier than after the rail is attached.
Step 3: Cut Aluminum Guide Rail to Length (If Needed)
Unless your flow rack is an exact standard length, you'll probably need to cut the aluminum guide rail to fit. Measure the distance between the first and last bracket (this is your rail length), then add 1/8 inch—this extra space allows for expansion in warm temperatures (aluminum expands and contracts with heat). Mark the rail with your pencil, then use a miter saw with a metal-cutting blade to make the cut. If you don't have a miter saw, a hacksaw with a fine-tooth blade works, but it will take longer and require steady hands to keep the cut straight.
After cutting, use your deburring tool or sandpaper to smooth the edges. Even a small burr can catch on boxes or parts as they flow down the roller track, causing jams. Take your time here—it's a small step that makes a big difference in performance.
Step 4: Mount the Aluminum Guide Rail to the Brackets
Now for the main event: attaching the rail to the brackets. Lift the aluminum guide rail (get a helper for longer rails—aluminum is light, but awkward to hold alone) and rest it on top of the brackets. Align the rail so it's flush with the front of the brackets (or centered, depending on your setup). Most rails have pre-drilled holes that line up with holes on the brackets, but if not, you'll need to drill them. Use a drill bit slightly smaller than the screw diameter to prevent cracking the rail.
Start by securing the rail at the end brackets first—this holds it in place while you work on the middle ones. Then, move to the brackets in between, tightening each screw just enough to hold the rail steady. Once all screws are in, go back and tighten them fully (again, snug but not stripped). Use your level along the top of the rail to check for straightness—if it's bowed, loosen the middle brackets and gently push or pull the rail until it's level, then retighten.
For extra stability, especially on longer rails, add a center support bracket. These attach to the flow rack's crossbars (between uprights) and prop up the rail in the middle, preventing sagging. They're cheap insurance against future issues.
Step 5: Test the System (Don't Skip This!)
You're almost done, but the job isn't finished until you test it. Grab a sample of the materials that will actually flow down the roller track—whether it's boxes, bins, or parts—and send them down the rack. Watch closely: Do they stay centered, or do they drift toward the side guard? Do they catch on any brackets or rough edges? If materials drift, check if the rail is level or if the brackets are spaced unevenly. If they catch, look for burrs on the rail or brackets that need smoothing.
Push the materials firmly to simulate a full load—does the rail bend or flex? If it does, add more brackets or a center support. Finally, give the rail a gentle shake. It should feel solid, with no wobbling or loose screws. If something moves, tighten it up before considering the job done.