- Company Articles
- Products and Technology
- Installation And Maintenance
- Installation Tutorial: 40 Roller Track Placon Mount Flat for Flexible Production

Installation Tutorial: 40 Roller Track Placon Mount Flat for Flexible Production
Related Product
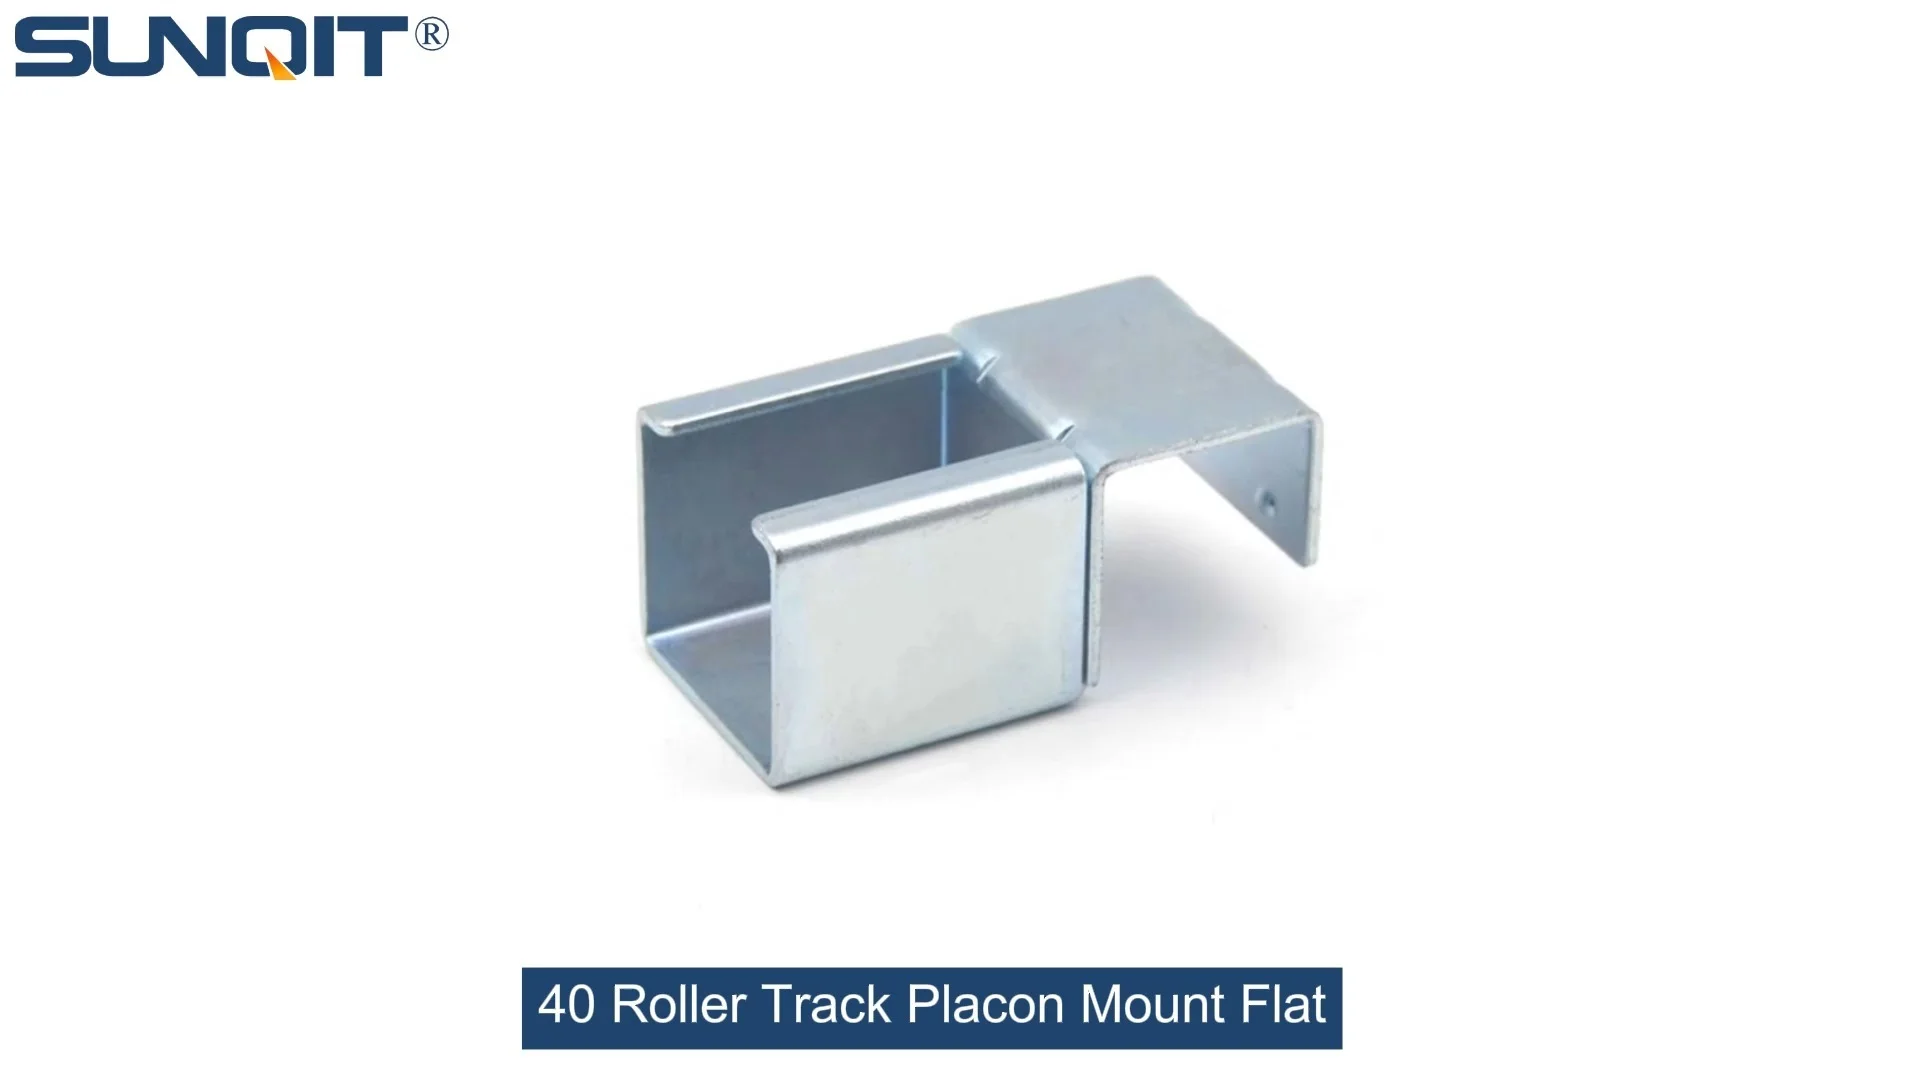
40 Roller Track Placon Mount Flat
Roller track placon mount work as a connector for roller track and pipe or aluminum profile in rack syetem, it is a necessary parts in rack system which widely used in industrial plant and logistic,warehouse storage.
If you've ever walked through a busy manufacturing floor, you know how crucial smooth material flow is to keeping production lines humming. Bottlenecks, janky conveyor systems, and wobbly workbenches can turn even the most well-planned workflow into a frustrating slowdown. That's where the 40 Roller Track Placon Mount Flat comes in—a but powerful component that's about to become your team's new favorite tool for building efficient, flexible production setups. Whether you're part of a 3C assembly line churning out smartphones, a medical device workshop prioritizing precision, or a warehouse logistics team moving goods around the clock, this roller track is designed to make your daily operations smoother, faster, and less of a headache. Let's dive into how to install it right the first time, so you can get back to what matters: keeping your production on track.
Before You Start: Gather Your Tools & Stay Safe
Nothing kills momentum like realizing halfway through installation that you're missing a screwdriver or a key part. Let's get prepared to avoid those "oops" moments. First, check that your workspace is clean and well-lit—you don't want to fumble with small parts in the dark! Then, grab these tools (we've even made a handy table to keep you organized):
| Tool/Item | Why You Need It | Pro Tip |
| Hex key set (3mm & 5mm) | Tightening placon mounts and brackets | Magnetic hex keys save time—no chasing dropped keys! |
| Rubber mallet | Gently tapping parts into place without damaging aluminum | Avoid metal hammers—they can scratch the track surface. |
| Level (2ft or longer) | Ensuring the track is perfectly horizontal for smooth rolling | Digital levels are great, but a bubble level works too—old school wins here. |
| Work gloves | Protecting hands from sharp edges on aluminum profiles | Go for nitrile gloves—grip better than latex when handling metal parts. |
| Measuring tape | Double-checking spacing between brackets | Mark measurements with a pencil first—no permanent marks! |
Safety First! Aluminum parts can have sharp corners, so those gloves aren't optional. Also, if you're installing the track at waist height or higher, use a stable ladder—no standing on chairs like we've all been tempted to do. Your knees (and productivity) will thank you.
Step-by-Step Installation: Let's Get This Track Rolling
Now that you're prepped, let's break down the installation into simple, stress-free steps. We've tested this process with teams of all skill levels—even if you're new to assembling lean system components, you've got this. Just take it one step at a time.
Step 1: Unpack & Inspect All Parts
Open the box and lay out all components on a flat surface (a clean workbench works perfectly here—see, we told you workbenches are essential!). You should have: the 40mm roller track placon mount flat itself, end supports, center support brackets, screws, and any connecting plates specified in your order. Why this matters: Catching a missing part now means you can reach out for a replacement before you've drilled holes or spent 20 minutes aligning brackets. Trust us, we've seen teams waste hours because they skipped this check.
Step 2: Align the Placon Mounts with Your Aluminum Profile
If you're mounting this track to an existing aluminum profile (like the 4040 or 3030 EU standard profiles common in lean pipe systems), start by sliding the placon mounts into the T-slots of the profile. Position them according to your layout—typically, we recommend a support bracket every 60cm for optimal weight distribution. Use your measuring tape to mark the spots, then slide the mounts into place. Pro move: Temporarily tighten the screws just enough to hold the mounts in place—you'll want to adjust them later, so don't crank them down yet.
Step 3: Attach the Roller Track to the Placon Mounts
Lift the roller track (get a friend to help if it's long—no strained backs!) and align the pre-drilled holes on the track with the holes on the placon mounts. insert the screws provided (usually M5 or M6, depending on your order) and hand-tighten them first. This ensures everything lines up before you fully secure it. Common mistake to avoid: Don't overtighten yet! Aluminum can warp if you crank screws too hard too soon—we'll finalize the tightness after leveling.
Step 4: Level the Track & Secure All Fasteners
Place your level along the length of the roller track. If it's not perfectly horizontal, loosen the placon mount screws slightly and adjust the position until the bubble is centered. Once level, use your hex key to fully tighten all screws—snug, but not so tight that the metal bends. Then, attach the end supports (with or without stops, depending on whether you need materials to halt at the end or roll through). Test it out: Give the track a gentle shake—there should be no wobbling. If it moves, double-check the bracket spacing or tighten the screws a bit more.
Step 5: Install End Caps & Test Rollability
Snap on the plastic end caps (if included) to cover sharp edges—this is a small detail, but it prevents scratches on materials and keeps workers safe from cuts. Now, the fun part: grab a test item (like a small box or a workpiece similar to what you'll be moving) and roll it along the track. It should glide smoothly with minimal effort. If it sticks or jolts, check for debris in the rollers or misaligned brackets—adjust as needed. Celebrate small wins: That smooth roll? That's the sound of your production line getting more efficient. Nice work!

Post-Installation Check: Make Sure It's Built to Last
You're almost done, but let's make sure this track can handle the daily grind. Do a quick "stress test" by placing a weighted object (up to the track's rated capacity—check your product specs!) on it and rolling it back and forth. No sagging? No creaking? Great. Then, inspect all connections one more time—screws should be tight, brackets secure, and rollers free of obstructions. Final thought: A little extra time here means fewer breakdowns later. Your future self (and your maintenance team) will appreciate it.

Where Does This Roller Track Shine? Real-World Scenarios
This 40 Roller Track Placon Mount Flat isn't just a "one-trick pony"—it's part of a complete lean solution that adapts to your unique workflow. Here are a few ways teams are using it to level up their operations:
- 3C Assembly Lines: In smartphone or laptop production, tiny components (screws, circuit boards) need to move quickly between workstations. This track, paired with an ESD workstation, keeps parts flowing without static damage—critical for sensitive electronics.
- Medical Device Manufacturing: Sterile environments demand tools that are easy to clean and don't harbor bacteria. The smooth aluminum surface of this track wipes down in seconds, making it a favorite in labs assembling surgical tools.
- Warehouse Logistics: When paired with conveyors and flow racks, this track becomes part of a gravity-fed system that moves boxes from picking stations to packing areas—no electricity needed, saving on energy costs.

Keep It Rolling: Maintenance Tips for Longevity
Your roller track is built to be durable (that's the beauty of aluminum!), but a little care goes a long way. Here's how to keep it performing like new for years:
| Task | Frequency | How to Do It |
| Clean rollers | Weekly | Wipe with a dry cloth to remove dust; for sticky residue, use a mild soap and water solution (avoid harsh chemicals that damage plastic rollers). |
| Check screws | Monthly | Give each screw a gentle tighten—vibration from daily use can loosen them over time. |
| Lubricate moving parts | Quarterly | Apply a small amount of silicone-based lubricant to roller axles (avoid oil-based lubes—they attract dust). |
| Inspect for damage | After heavy use | Look for bent rollers or cracked brackets—replace damaged parts ASAP to prevent jams. |
Got Questions? We've Got Answers
Even the best tutorials leave room for "what if?" Here are the most common questions we get from teams installing this roller track:
Q: Can I cut the roller track to a custom length?
A: Absolutely! Use a hacksaw with a metal-cutting blade or a miter saw. Just be sure to deburr the edges with a file afterward to avoid sharp corners.
Q: What's the maximum weight this track can handle?
A: With proper support (brackets every 60cm), it typically handles up to 50kg per linear meter. For heavier loads, add more support brackets or upgrade to our heavy-duty steel wheel roller track.
Q: Can I use this outdoors?
A: We don't recommend it for prolonged outdoor use—aluminum resists rust, but plastic rollers can degrade in direct sunlight or extreme temperatures. Stick to indoor or covered areas.
You're Ready to Build a Smoother Production Line
Installing the 40 Roller Track Placon Mount Flat might seem like a small task, but it's these small, intentional upgrades that add up to big improvements in efficiency. Whether you're streamlining a single workstation or overhauling an entire production floor, this track is more than just a piece of hardware—it's a step toward the lean, flexible workflow your team deserves. And remember, this is just one part of a complete lean solution—pair it with our lean pipe workbenches, conveyors, or custom-designed systems to truly transform how you work. Now go roll with it (pun absolutely intended)!