- Company Articles
- Products and Technology
- Installation And Maintenance
- Installing 3060 Aluminum Angle Yards: Step-by-Step Guide for Factories

Installing 3060 Aluminum Angle Yards: Step-by-Step Guide for Factories
Related Product
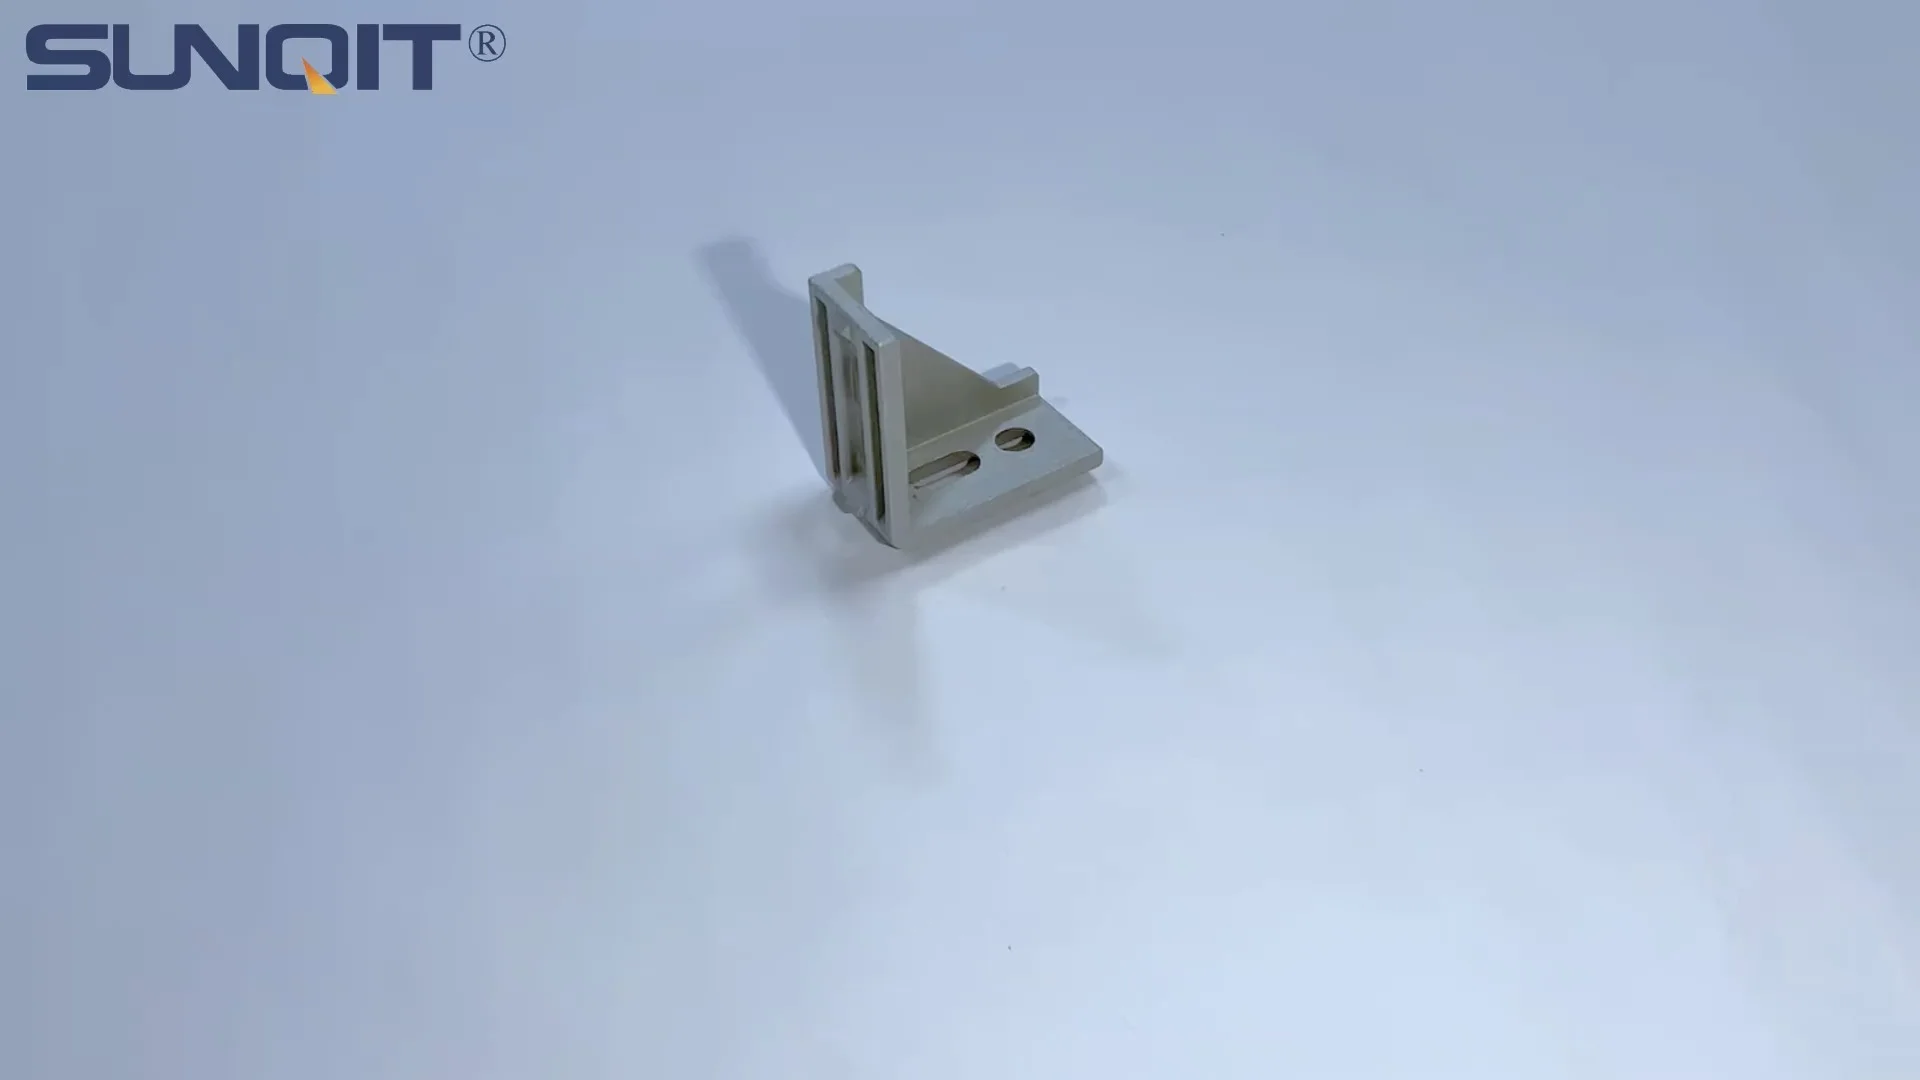
3060 Aluminum Angle Yards
It used for 90° flat connection for 20 series aluminum profile.
Walk into any modern factory, and you'll notice a silent hero keeping operations running smoothly: aluminum profiles. These lightweight yet sturdy structures form the backbone of workbenches, material racks, assembly lines, and more. Among them, 3060 aluminum angle yards stand out as a workhorse—their 30mm x 60mm cross-section strikes the perfect balance between strength and versatility, making them ideal for everything from supporting heavy machinery to organizing tools. If you're a factory manager, maintenance lead, or even a hands-on team member tasked with upgrading your workspace, installing 3060 aluminum angle yards might seem daunting at first. But with the right tools, a clear plan, and a few pro tips, it's a project that can transform your facility's efficiency. In this guide, we'll break down the process step by step, from pre-installation prep to final checks, so you can build durable, modular structures that grow with your needs.
Why 3060 Aluminum Angle Yards Matter in Factory Setups
Before diving into the "how," let's talk about the "why." Aluminum profiles have revolutionized factory design, and 3060 angle yards are a prime example of why. Unlike traditional steel, aluminum is corrosion-resistant, so it holds up in busy environments where spills, humidity, or chemicals are common. It's also lightweight—about a third the weight of steel—making it easier to handle during installation without sacrificing strength. But what really sets 3060 apart is its modularity. Thanks to T-slot grooves running along its length, you can attach aluminum profile accessories like brackets, shelves, and connectors in seconds, no welding required. This flexibility is a game-changer for lean system setups, where adaptability is key. Need to reconfigure a workbench next month? Just loosen a few bolts, adjust the angle yards, and you're done. No need for a complete overhaul.
Common uses for 3060 aluminum angle yards include building heavy-duty workbenches (think assembly stations for electronics or automotive parts), material racks for storing raw materials, and even safety barriers around machinery. Their angular design adds stability, so they're less likely to warp under load compared to flat profiles. Plus, they pair seamlessly with other aluminum extrusion profiles, letting you mix and match to create custom solutions. For factories aiming to boost productivity, reduce waste, and keep workflows smooth, 3060 angle yards aren't just a part; they're a foundation.
Pre-Installation Prep: Tools, Materials, and Safety First
Like any project, installing 3060 aluminum angle yards starts with preparation. Rushing into it without the right tools or a clear workspace is a recipe for frustration (and maybe a few bent profiles). Let's start with the essentials.
Tools You'll Need
Having the right tools on hand will cut installation time in half. Here's a quick checklist:
| Tool | Purpose |
|---|---|
| Tape measure (25ft or longer) | For accurate length and alignment measurements |
| Speed square or framing square | To ensure 90° angles when joining profiles |
| Cordless drill with hex bits | To drive T-slot bolts and screws (18V or higher recommended for metal) |
| Hack saw or miter saw with aluminum blade | To cut profiles to custom lengths (if needed) |
| Deburring tool or sandpaper (120-grit) | To smooth rough edges after cutting |
| Level (2ft or longer) | To ensure structures are straight and even |
| Rubber mallet | For gently tapping profiles into place without damaging them |
| Marker or pencil | To mark cut lines and bolt positions |
Materials to Gather
Beyond the 3060 aluminum angle yards themselves, you'll need a few aluminum profile accessories to bring your structure to life. Stock up on these before starting:
- T-slot bolts and nuts: These slide into the grooves of the angle yards to attach brackets, shelves, or other profiles. Choose M5 or M6 size for most factory applications—they're strong enough for heavy loads without being overkill.
- Angle brackets: Use these to connect two angle yards at 90° angles (common for corners of workbenches or racks).
- End caps: Plastic or rubber caps that snap onto the ends of profiles to cover sharp edges and prevent dust buildup.
- Mounting plates: If you're attaching the structure to the floor or wall, these distribute weight and add stability.
- Thread locker (optional): A small drop on bolts prevents them from loosening over time, especially in high-vibration areas like near machinery.
Pro Tip:
Sort your aluminum profile accessories into small bins or trays before starting. Nothing slows down installation like digging through a jumble of bolts and brackets to find the right size mid-project!
Safety First: Don't Skip This Step
Factories are busy places, but taking 5 minutes to prioritize safety prevents costly accidents. Here's what to do:
- Wear PPE: Safety glasses to protect against flying metal shavings (especially when cutting), work gloves to grip profiles without slipping, and closed-toe shoes—aluminum might be light, but dropping a 10ft length on your foot still hurts!
- Clear the workspace: Move tools, debris, or loose materials out of the way. You'll need room to lay out profiles and maneuver without tripping.
- Check for sharp edges: New aluminum profiles sometimes have burrs from manufacturing. Run your hand along the length (wearing gloves!) and deburr any rough spots with sandpaper before handling.
- Use a stable surface: If cutting profiles, clamp them to a workbench or sawhorse—never hold them in your hand. A wobbly cut can ruin a profile or cause the saw to slip.

Step-by-Step Installation: Building Your Structure
Now that you're prepped, let's get to the fun part: building! For this guide, we'll focus on a common scenario: installing 3060 aluminum angle yards to build a sturdy material rack (think 3 rows, 3 floors—perfect for storing boxes of components or tools). The process is similar for workbenches or other structures, so you can adapt these steps to your needs.
Step 1: Measure Twice, Cut Once (If Needed)
Start by confirming the dimensions of your project. For our 3-row, 3-floor material rack, let's say we need:
- 4 vertical posts (height: 180cm)
- 6 horizontal beams (length: 120cm, to form the sides of each "floor")
- 6 cross beams (length: 80cm, to connect the horizontal beams and support shelves)
If your 3060 angle yards come pre-cut to these lengths, great! If not, measure and mark the cut lines with a marker. Use a speed square to draw straight lines—crooked cuts will make assembly a nightmare. When cutting, go slow with your saw to avoid bending the profile. After cutting, use a deburring tool or sandpaper to smooth the edges.
Step 2: Lay Out the Base Frame
Start with the bottom frame—it's the foundation, so getting it square is critical. Lay two 120cm horizontal beams parallel to each other on the floor, spaced 80cm apart (the length of your cross beams). Then place two 80cm cross beams between them to form a rectangle. Now, check if the corners are 90° using your framing square. If a corner is off, gently tap the beams into place with a rubber mallet.
Once the rectangle is square, attach the cross beams to the horizontal beams using angle brackets and T-slot bolts. Slide the bolts into the T-slots of the horizontal beams, align the bracket holes, and tighten the nuts with your drill. Don't overtighten yet—you'll want a little wiggle room to adjust later.
Step 3: Add Vertical Posts
Next, attach the 180cm vertical posts to each corner of the base frame. Stand a post upright at one corner, aligning its T-slot with the edge of the horizontal beam. Use an angle bracket to connect them—one side of the bracket attaches to the post, the other to the horizontal beam. Repeat for all four posts.
Now, grab your level. Place it vertically against one post—if it's leaning, adjust the bracket until the bubble is centered. Tighten the bolts once it's straight, then check the opposite post to ensure they're parallel. This step is crucial: wobbly vertical posts will make the entire rack unstable, so take your time here.
Step 4: Install Middle and Top Frames
With the vertical posts secure, it's time to add the middle and top frames (the "floors" of the rack). These will mirror the base frame but at 60cm and 120cm heights (for a 3-floor setup). Measure up 60cm from the base frame on one post and mark it—this is where the middle frame will go. Do the same on the opposite post, then connect them with horizontal beams (120cm) and cross beams (80cm), using angle brackets as before.
Pro tip: Use a string line stretched between the posts to ensure the middle and top frames are level with the base. If one side is higher, loosen the brackets and adjust until the string is tight and straight. Once all frames are in place, go around and fully tighten all bolts—this is when a little thread locker on the nuts can save you from future loosening.
Step 5: Add Shelves and Finishing Touches
Now that the frame is up, it's time to add shelves. For a material rack, plywood or metal sheets work well—cut them to fit the 120cm x 80cm frame and lay them on top of the cross beams. Secure the shelves to the beams using T-slot bolts (slide bolts into the cross beams, drill holes in the shelf, and bolt them down). Finally, snap on end caps to cover the open ends of the angle yards—this keeps out dust and prevents scratches on workers or materials.
Quick Check:
Give the rack a gentle shake. It should feel solid—no wobbling or creaking. If it moves, double-check the level of vertical posts and tighten any loose bolts. A stable structure is a safe structure!

Troubleshooting Common Issues
Even with careful planning, you might hit a snag. Here's how to fix the most common problems:
Problem: Profiles Don't Align
If your horizontal and vertical beams won't line up, the issue is usually uneven cutting or a warped profile. First, check if the cut ends are square—use a framing square to confirm. If they're off, recut with a steady hand. If the profile itself is warped (rare, but possible with cheap materials), replace it. A warped beam will never align properly, and it weakens the structure.
Problem: Bolts Won't Tighten
Stripped T-slots or bolts are a hassle, but fixable. If the bolt spins without tightening, it might be stripped—replace it with a new one. If the T-slot is damaged (common if you over-tightened a previous bolt), try shifting the bolt to a new position in the slot. For stubborn cases, use a larger bolt (e.g., M6 instead of M5) or add a washer to grip better.
Problem: Structure Wobbles
Wobbling usually means the frame isn't square or the vertical posts aren't plumb. Grab your level and check each post—if one leans, loosen the base bracket and tap it straight with a rubber mallet. For extra stability, add diagonal braces (using shorter 3060 angle yards) between the top and bottom frames—this "triangulates" the structure and prevents side-to-side movement.

Maintenance: Keeping Your Angle Yards in Top Shape
Installing 3060 aluminum angle yards is an investment—with a little care, they'll last for years. Here's how to maintain them:
- Inspect monthly: Walk around the structure and check for loose bolts, especially in high-vibration areas. Tighten any that wiggle—this takes 5 minutes and prevents bigger issues.
- Clean regularly: Wipe down profiles with a damp cloth to remove dust, oil, or chemicals. Avoid harsh cleaners like bleach—mild soap and water work best. For stubborn grime, use a soft-bristle brush.
- replace worn parts: If end caps crack or brackets bend, swap them out ASAP. Aluminum profile accessories are cheap and easy to replace, and a small fix now avoids a broken structure later.
- Adjust as needed: One of the best things about aluminum profiles is their flexibility. If your needs change—say, you need a taller rack or a wider shelf—loosen the bolts, reconfigure, and tighten. No need to start from scratch!
Conclusion: Building a Leaner, Stronger Factory
Installing 3060 aluminum angle yards isn't just about putting up a structure—it's about building a more efficient, adaptable factory. These unassuming aluminum profiles, paired with the right accessories, let you create custom solutions that grow with your business. Whether you're building a workbench for assembly, a material rack for storage, or even a modular conveyor support, the steps here will guide you through the process. Remember: measure carefully, prioritize safety, and don't rush the details. With a little patience, you'll have a sturdy, long-lasting structure that keeps your team productive and your operations running smoothly.
And if you ever hit a wall? Reach out to your aluminum profile supplier—they're experts in these products and can offer tips or replacement parts. After all, a well-installed 3060 aluminum angle yard isn't just a piece of metal; it's a foundation for success.