- Company Articles
- Products and Technology
- Installation And Maintenance
- Installing a Heavy Duty Split Foot Seat on Workbench E: Step-by-Step

Installing a Heavy Duty Split Foot Seat on Workbench E: Step-by-Step
Related Product
Heavy Duty Split Foot Seat
M10 aluminum heavy duty split foot deat with foot adjuster for workbench and flow rack.
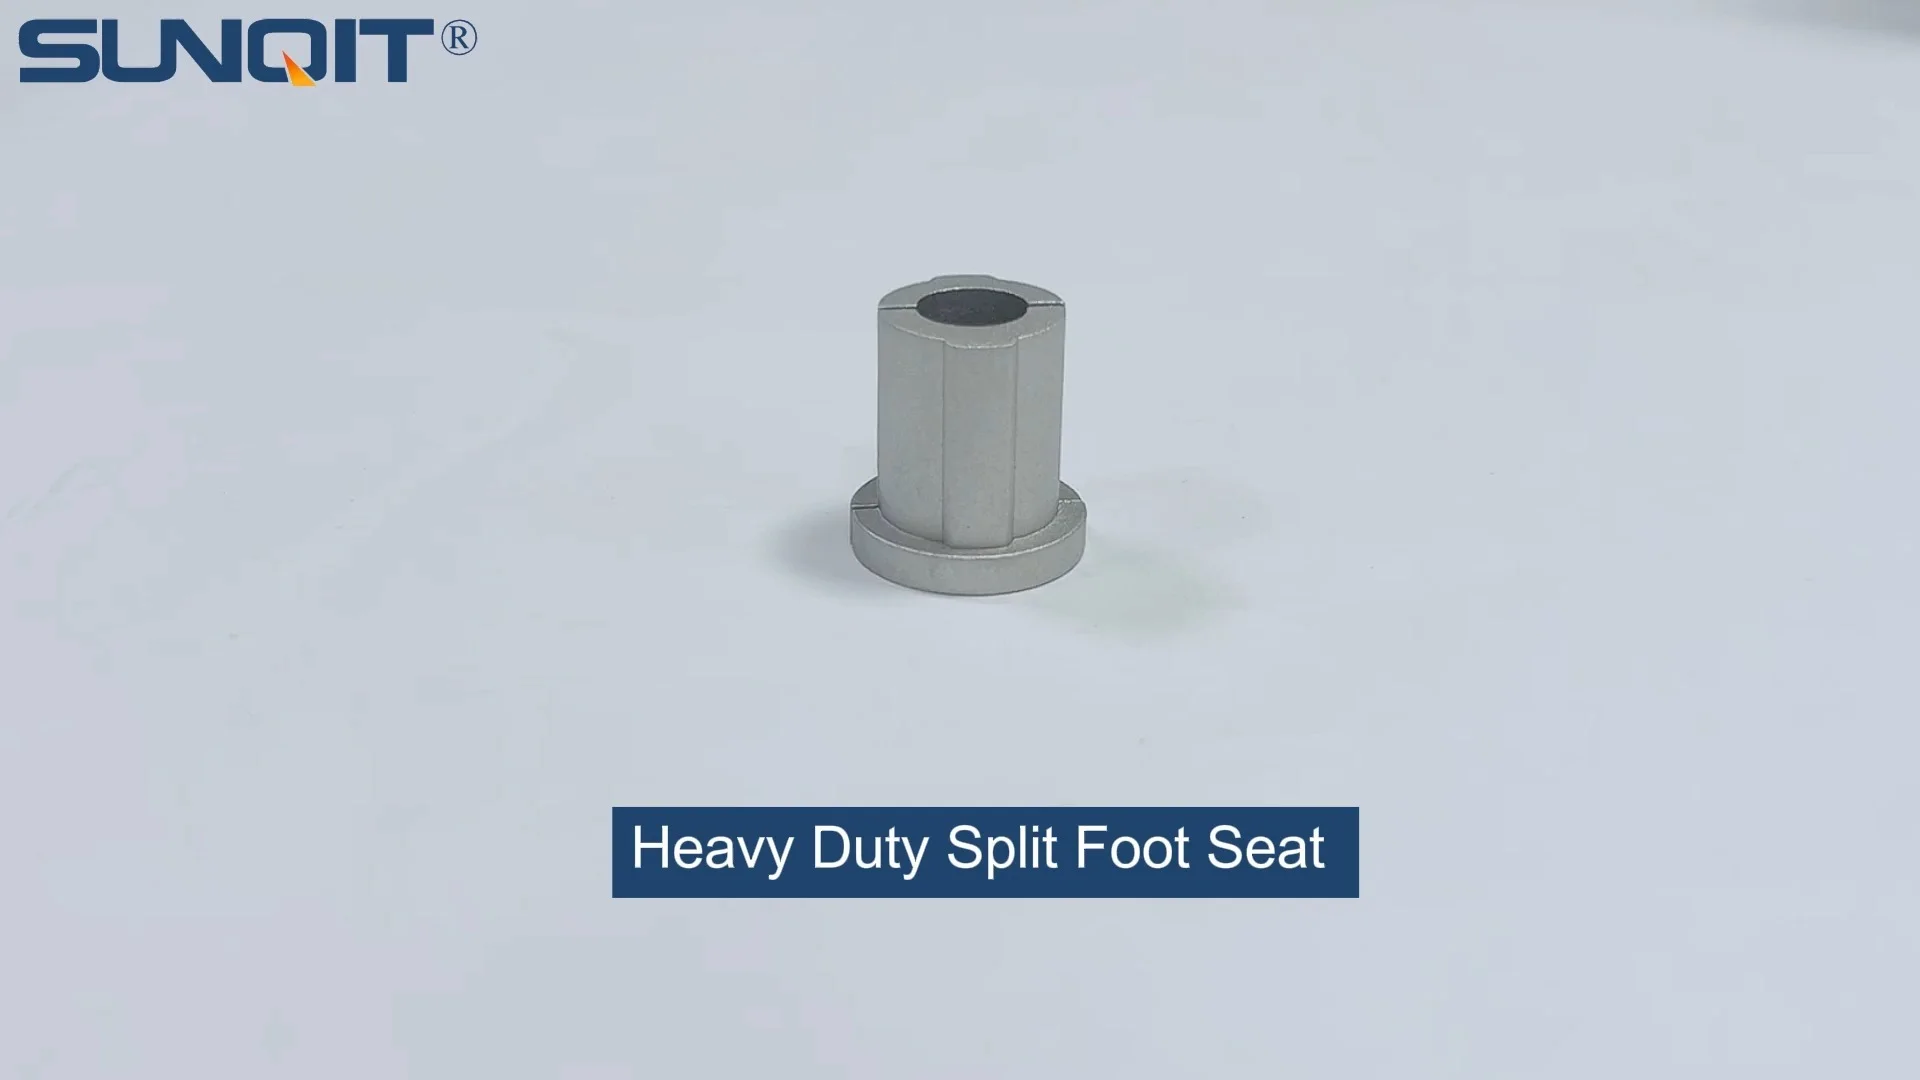
If you've recently unboxed your Workbench E (single deck-without caster) , you're probably eager to get it set up and ready for action—whether that's assembling electronics, packing orders, or tackling DIY projects in your workshop. But before you dive into using it, there's one crucial upgrade that can make a world of difference in stability and durability: installing a Heavy Duty Split Foot Seat. This unassuming component might seem small, but it's the foundation (literally) of a workbench that can handle heavy loads, resist wobbling, and protect your floors from scratches. Let's walk through the process together, step by step, so you can get your workbench standing strong in no time.
Why Bother with a Heavy Duty Split Foot Seat?
First, let's talk about why this matters. Workbench E is designed as a single-deck, stationary work surface—no casters, which means all its weight (and whatever you put on it) rests directly on its base. Without proper foot support, even a slight unevenness in your floor can make the bench wobble. Over time, that wobble can loosen joints, damage the aluminum profile frame, or even lead to accidents if tools or materials slide off. The Heavy Duty Split Foot Seat solves this by distributing weight evenly, adjusting for minor floor irregularities, and adding a layer of protection between the bench and your floor.
Think of it like shoes for your workbench: flimsy flip-flops might work for a quick trip to the fridge, but if you're standing all day, you need sturdy boots. This foot seat is the "sturdy boot" for your Workbench E, especially if you plan to use it for heavy-duty tasks like assembling machinery or storing bulk materials.
Tools and Materials You'll Need
Before we get started, let's gather everything you'll need. Most of these tools are standard in any workshop, but double-check to avoid mid-project trips to the hardware store. Here's your checklist:
| Item | Quantity/Notes |
|---|---|
| Heavy Duty Split Foot Seats | 4 (one for each corner of Workbench E) |
| Mounting bolts (M8 x 20mm recommended) | 8 (2 per foot seat; check your seat's hole size) |
| Washers (flat and lock washers) | 8 flat, 8 lock (to prevent bolts from loosening) |
| Hex wrench (Allen key) | Size matching your bolts (usually 5mm or 6mm) |
| Socket wrench or adjustable wrench | To hold nuts while tightening bolts (if using nuts) |
| Spirit level (24-inch or longer) | To check for levelness during installation |
| Measuring tape or ruler | For aligning foot seats evenly |
| Pencil or marker | To mark drill points (if needed) |
| Cordless drill with drill bits | Only if your Workbench E doesn't have pre-drilled holes for feet |
| Rubber mallet | For gently tapping foot seats into place (optional) |
| Thread locker (blue, removable type) | To keep bolts secure long-term (optional but recommended) |
Pro Tip:
If your Workbench E came with pre-drilled holes in the base rails (the bottom of the
aluminum profile
frame), skip the drill—you're ready to go. If not, you'll need to drill 8mm holes (or match your bolt size) to mount the foot seats. Measure twice, drill once!

Step 1: Prep Your Workbench and Workspace
First, clear the area around your workbench. You'll need enough space to flip the bench onto its side (or even upside down) to access the bottom rails. If your bench is already assembled, remove any accessories like shelves or tool hooks to lighten it up—this will make maneuvering easier and prevent damage.
Next, inspect the bottom of the bench. Workbench E's frame is made of sturdy aluminum profile , which is lightweight but strong. Look for the base rails—these are the horizontal bars running along the bottom of the four legs (or the perimeter of the frame, depending on the design). These rails are where we'll mount the foot seats. Wipe them clean with a dry cloth to remove dust or debris; this ensures the bolts will seat tightly and prevents rust later on.
If your workspace floor is uneven, now's a good time to note the "high spots." Place the spirit level on the workbench's top surface (before moving it) to see which corners might need extra adjustment. Jotting this down will save time later when leveling the bench.

Step 2: Position the Heavy Duty Split Foot Seats
Now, carefully flip the workbench onto its side or upside down. If you're working alone, lean it against a wall for support—safety first! You should now see the bottom rails clearly. Each Heavy Duty Split Foot Seat has two mounting holes; these will align with holes in the base rail.
Take one foot seat and hold it against the base rail, near the corner of the bench. The "split" part of the seat should face downward (this is the part that touches the floor). The goal is to position each seat so that it's centered on the rail and as close to the corner as possible without overlapping with the leg. Use your measuring tape to ensure consistency: measure the distance from the end of the rail to the first mounting hole on each seat—aim for 5-7cm (2-3 inches) from the corner. This ensures even weight distribution.
Once you're happy with the position, mark the mounting holes with a pencil. If your bench has pre-drilled holes, align the seat's holes with these marks. If not, use the seat as a template: hold it steady and mark through the holes onto the rail. Repeat this for all four corners.
Pro Tip:
If you're mounting multiple seats, use a piece of tape to mark the distance from the corner on one rail, then use that tape as a guide for the others. Consistency here prevents the bench from leaning to one side.

Step 3: Drill Holes (If Needed)
If your Workbench E doesn't have pre-drilled holes, it's time to drill. Use a 8mm drill bit (or the size that matches your bolts) and a cordless drill. Clamp the rail lightly to a work surface if possible to prevent it from moving while drilling—this keeps the hole straight and clean.
Drill slowly at first to avoid slipping, then increase speed once the bit catches. Once all holes are drilled, deburr the edges with a file or sandpaper—sharp metal edges can cut your hands later or damage the bolts. Wipe away metal shavings with a cloth to keep them from getting stuck in the threads.
If your bench does have pre-drilled holes, skip to Step 4—you're ahead of the game!
Step 4: Attach the Foot Seats to the Base Rail
Now comes the fun part: securing the foot seats. Grab your bolts, washers, and hex wrench. For each foot seat, insert a bolt through a flat washer, then through the foot seat's mounting hole, then through the rail's hole. On the other side of the rail, add a lock washer and a nut (if the rail is hollow) or tighten the bolt directly into a threaded hole (if the rail has pre-tapped threads).
Hand-tighten the bolts first—this lets you adjust the seat's position if needed. Once all four seats are loosely attached, double-check their alignment: are they all the same distance from the corners? Do the split parts face downward? If everything looks good, grab the hex wrench and start tightening. Turn each bolt a quarter-turn at a time, alternating between the two bolts on each seat (like tightening lug nuts on a car wheel). This ensures even pressure and prevents the seat from warping.
If you're using thread locker, apply a small drop to the bolt threads before tightening—this keeps them from loosening over time, especially if the bench vibrates during use. Tighten until the bolt head is snug against the washer, but don't overdo it—stripping the threads in the aluminum rail is easy, and aluminum doesn't "heal" like steel. A good rule: tighten until you feel resistance, then give it a gentle extra twist.
Step 5: Flip the Bench and Level It
With all four foot seats attached, carefully flip the workbench back onto its feet. Enlist a helper if the bench is heavy—aluminum is lighter than steel, but Workbench E still isn't a feather! Once it's upright, place the spirit level on the top surface, both front-to-back and side-to-side. What do you see?
If the bubble is centered, great—you're done with leveling! If not, the Heavy Duty Split Foot Seat has a trick up its sleeve: most models have an adjustable base (the "split" part) that can be (fine-tuned) by turning a small screw or nut. Use a wrench to turn the adjustment on the low corners—this raises that side of the bench until the bubble centers. Go slowly here; a little adjustment goes a long way.
Once level, press down firmly on each corner of the bench. It should feel solid, with no rocking. If it still wobbles, check if the bolts are tight or if the foot seats are sitting flat on the floor. Sometimes, a small pebble or dust ball under a seat can cause issues—wipe the floor under each seat to ensure a clean contact point.
Step 6: Test It Out (The Fun Part!)
Now for the moment of truth: load testing. Grab a heavy object—a toolbox, a stack of metal sheets, or even a few bricks—and place it on the bench. Start in the center, then move it to each corner. The bench should stay steady, no creaking or shifting. If it does shift, double-check the bolts and leveling. Remember, Workbench E is designed for daily use, so this test ensures it can handle your typical workload.
While you're at it, slide a piece of paper under each foot seat. If it slides easily, the seat is sitting flat; if it catches, the seat might be tilted. A quick tweak to the adjustment screw should fix that. You want the paper to slide smoothly—this means the seat is evenly distributing weight.
Troubleshooting Common Issues
Even with careful prep, things can go sideways. Here are a few common hiccups and how to fix them:
Issue: The foot seat won't align with the rail holes.
Solution: If the pre-drilled holes are off, or you marked the wrong spots, don't panic. Fill small misaligned holes with aluminum filler (available at hardware stores), let it dry, and re-drill. For larger mistakes, use a slightly larger drill bit (e.g., 9mm) and add a washer to cover the gap—just make sure the bolt still tightens securely.
Issue: The bench still wobbles after leveling.
Solution: Check if the floor itself is severely uneven (more than 5mm). If so, you might need shims under the foot seats. Cut small pieces of rubber or metal (1-2mm thick) and place them under the low corners. Avoid wood shims—they can compress over time. Alternatively, upgrade to adjustable leveling feet (compatible with the split foot seats) for more range.
Issue: The bolts keep loosening.
Solution: This is where thread locker shines—apply a medium-strength (blue) formula to the bolts. If you already used thread locker, check if the lock washers are seated correctly (they should be "crushed" slightly when tightened). If all else fails, replace the bolts with longer ones that can reach a nut on the other side of the rail—double nuts (two nuts tightened against each other) also prevent loosening.
Maintaining Your Heavy Duty Split Foot Seats
Installing the foot seats is just the first step—keeping them in good shape ensures your workbench stays stable for years. Here's how to maintain them:
- Monthly Check: Tighten the bolts slightly with a hex wrench—vibration from daily use can loosen them over time.
- Clean Regularly: Wipe the foot seats with a damp cloth to remove dust, oil, or debris. If they're metal, a light coat of WD-40 prevents rust (avoid getting oil on the floor contact surface, as it can make the bench slippery).
- replace When Worn: The split rubber or plastic part of the seat can wear down after heavy use. If you notice cracks or the bench starts to wobble again despite tight bolts, replace the seats—they're affordable and easy to swap out.
Wrapping Up: Your Workbench, Now Built to Last
Congratulations! You've successfully installed Heavy Duty Split Foot Seats on your Workbench E (single deck-without caster) . What started as a simple upgrade is now the backbone of a workbench that can handle whatever you throw at it—from heavy tools to long hours of use. By taking the time to align, secure, and level these seats, you've invested in the longevity of your workspace and the safety of your projects.
Next time you're standing at your workbench, take a second to appreciate those little foot seats. They might not be the flashiest part of your setup, but they're working hard to keep everything steady, secure, and ready for action. Now go out there and make something great—your workbench is ready!