- Company Articles
- Products and Technology
- Installation And Maintenance
- Installing Adjustable Leveling Feet on Lean Pipe Mobile Carts – Step-by-Step Guide

Installing Adjustable Leveling Feet on Lean Pipe Mobile Carts – Step-by-Step Guide
Related Product
Adjustable Leveling Feet
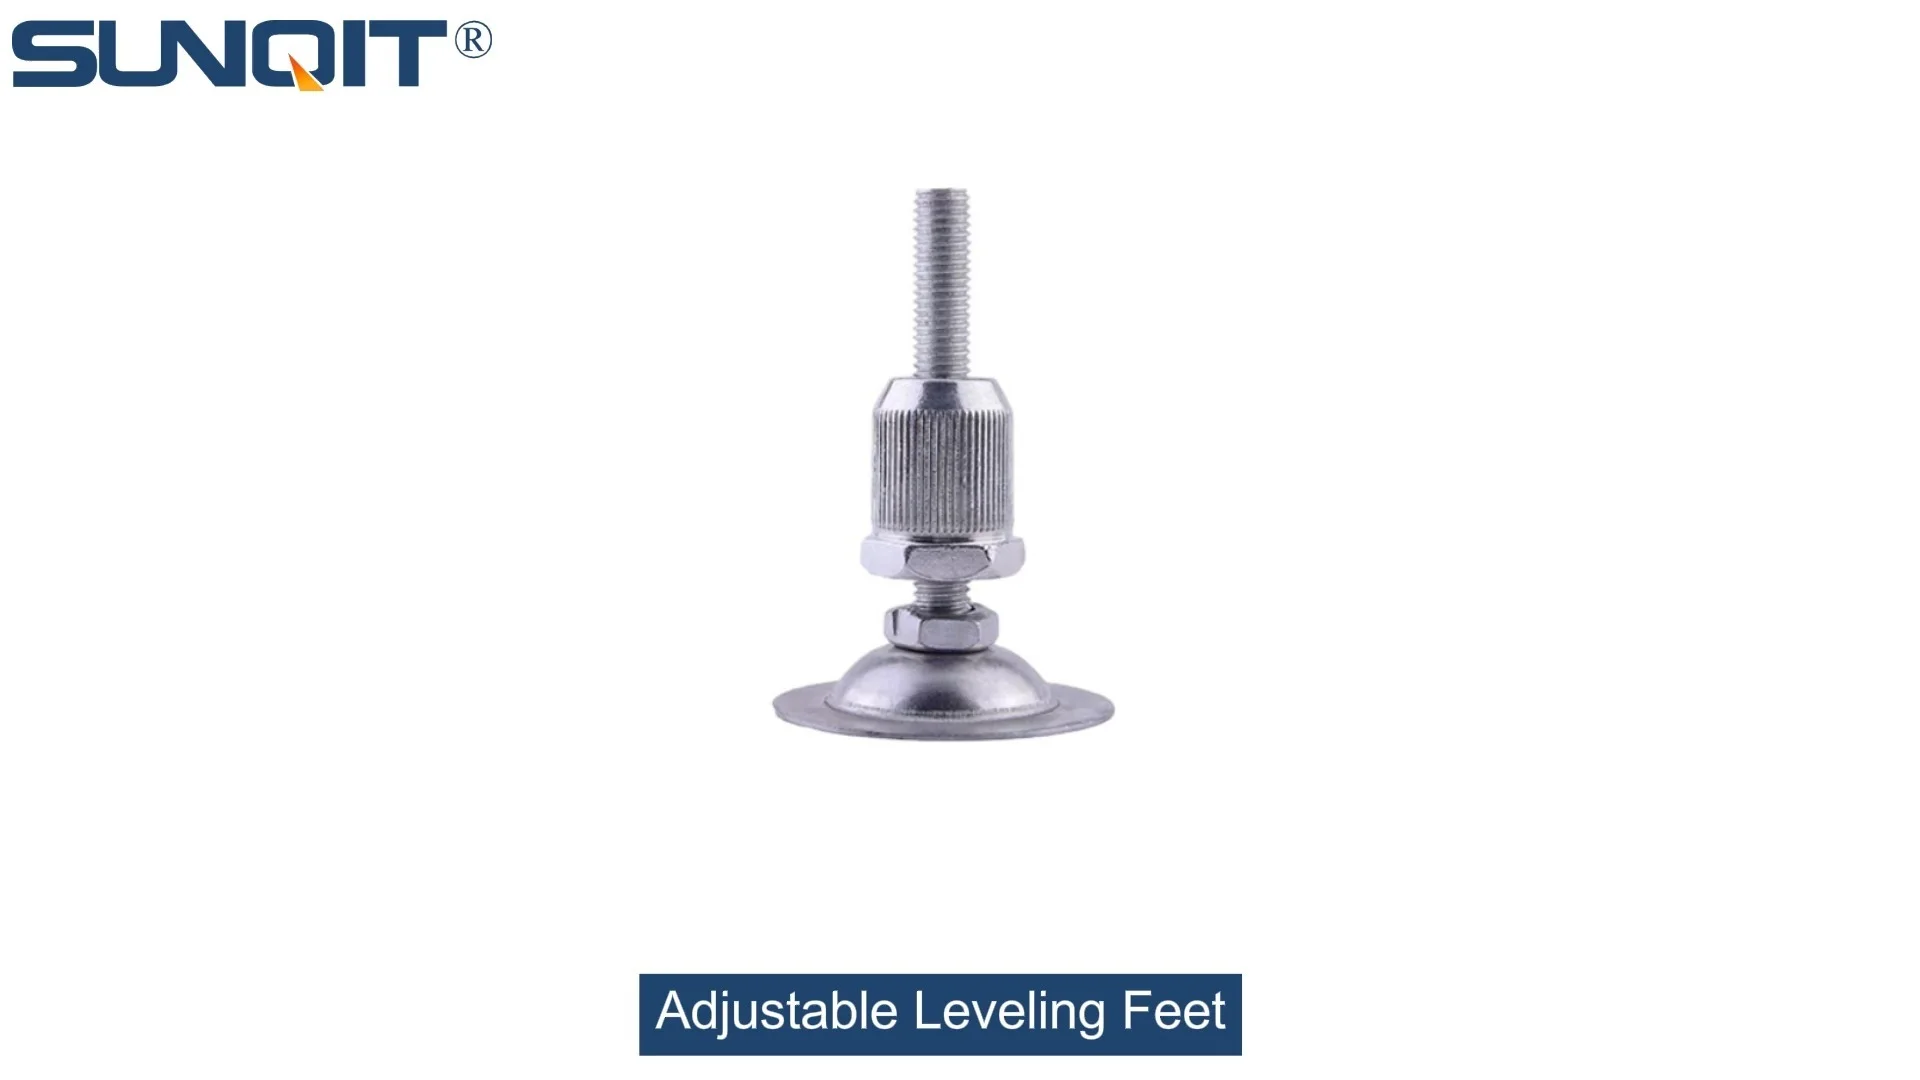
Adjustable leveling feet are designed to keep machines level when placed on uneven or sloped ground. Otherwise known as adjustable equipment feet, they are available to order in a wide variety of size and load capacity combinations.
In the fast-paced world of manufacturing, warehousing, and logistics, efficiency isn't just a buzzword—it's the backbone of daily operations. Lean pipe mobile carts, with their modular design and versatility, have become indispensable tools for streamlining workflows. These carts, built from lightweight yet durable lean pipe and connected by lean pipe joint, glide across floors to transport materials, tools, and finished products with ease. But what happens when the very tool that's supposed to boost efficiency becomes a source of frustration? Uneven floors, wobbly carts, and shifting loads can turn a smooth process into a clunky, time-consuming hassle. That's where adjustable leveling feet come in. These small but mighty components are the unsung heroes of stability, ensuring your lean pipe mobile cart stays steady, your items stay secure, and your team stays productive. In this guide, we'll walk you through everything you need to know to install adjustable leveling feet on your cart—step by step, with clear explanations and pro tips to make the process a breeze.
Why Adjustable Leveling Feet Matter for Your Lean Pipe Mobile Cart
Before diving into the installation process, let's take a moment to understand why adjustable leveling feet are worth the effort. Imagine pushing a cart loaded with delicate electronic components across a warehouse floor that dips near the loading dock. Without proper stability, the cart wobbles, items slide, and you're constantly readjusting your grip to avoid spills. Over time, this not only slows down work but also increases the risk of damaged goods or workplace injuries. Adjustable leveling feet solve this by allowing you to fine-tune the cart's height and balance, even on the most uneven surfaces.
But their benefits don't stop there. These feet also protect your floors: the soft, non-slip base (often made of rubber or nylon) prevents scratches and scuffs, which is especially important in facilities with polished concrete or vinyl flooring. They also extend the life of your cart by reducing stress on the lean pipe frame and caster wheel—no more uneven weight distribution causing joints to loosen or wheels to wear prematurely. Whether you're using the cart for assembly line work, order picking, or material storage, adjustable leveling feet transform it from a "good" tool into a "great" one.
Tools and Materials You'll Need
Like any DIY project, installing adjustable leveling feet starts with gathering the right tools and materials. Having everything on hand before you begin will save you trips to the toolbox and keep the process flowing smoothly. Here's a breakdown of what you'll need:
| Tool/Material | Purpose |
|---|---|
| Adjustable Leveling Feet (4-6, depending on cart size) | To stabilize the cart and adjust height; choose feet with a load capacity matching your cart's typical weight. |
| Socket Wrench or Adjustable Wrench | To tighten nuts and bolts on the leveling feet. |
| Phillips or Flathead Screwdriver | For securing screws if your leveling feet attach with screws instead of bolts. |
| Spirit Level (24-inch or longer) | To check if the cart is level after installation. |
| Tape Measure | To measure and mark consistent placement of leveling feet. |
| Pencil or Marker | To mark drilling or mounting points on the cart's frame. |
| Wire Brush or Cloth | To clean the installation area, removing dirt, grease, or rust for a secure fit. |
| Optional: Drill and Drill Bits | For creating pilot holes if your cart's frame requires drilling (check the frame material first!) |
| Optional: Washers | To distribute weight evenly and prevent bolts from pulling through the frame. |
Pro Tip: When selecting adjustable leveling feet, pay attention to the thread size and base diameter. Most lean pipe carts use 1/4-inch or 5/16-inch threads, and a base diameter of 1.5–2 inches provides the best stability without being too bulky.

Preparing Your Lean Pipe Mobile Cart for Installation
Preparation is key to a successful installation. Rushing through this step can lead to misaligned feet, loose connections, or even damage to your cart. Follow these steps to get your cart ready:
Step 1: Empty and Inspect the Cart
Start by removing all items from the cart. Even a light load can make the cart heavy and unwieldy when flipped upside down, so clear it completely. Next, take a few minutes to inspect the cart's frame. Look for loose lean pipe joint, bent pipes, or rust—these issues should be fixed before installing leveling feet. Tighten any loose joints with a wrench, and straighten minor bends using pliers (for severe damage, consider replacing the affected pipe section).
Step 2: Clean the Installation Area
The part of the cart where you'll mount the leveling feet (usually the bottom of the frame rails) needs to be clean and dry. Use a wire brush to scrub away rust or caked-on dirt, then wipe the area with a damp cloth to remove dust. This ensures the leveling feet sit flush against the frame, preventing wobbling later on.
Step 3: Decide Where to Place the Leveling Feet
Most lean pipe mobile carts have a rectangular frame with four corners—this is where the leveling feet should go. Placing them at the corners distributes the cart's weight evenly, which is crucial for stability. If your cart is longer than 4 feet or carries heavy loads (over 200 lbs), consider adding a fifth or sixth foot along the middle rails for extra support.
To mark the positions, measure the distance from the end of each frame rail to the desired mounting point. For a standard 4-foot cart, placing the feet 2–3 inches from each corner works well. Use a pencil to mark these spots on both sides of the rail—this ensures the feet are aligned straight.
Important: Avoid mounting feet too close to the caster wheel if your cart still has wheels (some carts use a combination of casters and leveling feet). Leave at least 6 inches of space between a caster and a leveling foot to prevent interference when moving the cart.

Step-by-Step Installation Guide
Now that your cart is prepped and your tools are ready, it's time to install the adjustable leveling feet. Follow these steps carefully, and don't hesitate to pause and double-check your work—precision here pays off in stability later.
Step 1: Flip the Cart Upside Down (Safely!)
This step might seem obvious, but it's important to do it safely to avoid damaging the cart or hurting yourself. Enlist a helper if the cart is heavy—lean pipe is lightweight, but a fully assembled cart can still weigh 30–50 lbs. Place a soft blanket or cardboard on the floor to protect the cart's top surface (the part that usually holds items) from scratches. Slowly flip the cart so the bottom of the frame is facing up.
Step 2: Align the Leveling Feet with Your Marks
Take one adjustable leveling foot and hold it against the frame rail at one of your marked positions. The foot's mounting plate (the flat part that attaches to the cart) should line up with the marks you made earlier. If the foot has pre-drilled holes, check if they align with existing holes in the frame (some carts have pre-drilled mounting points for accessories). If not, you'll need to drill pilot holes—use a drill bit slightly smaller than the diameter of your screws or bolts to prevent splitting the frame.
For carts with round lean pipe rails (the most common type), you may need a mounting bracket or clamp designed to fit around the pipe. These brackets wrap around the rail and secure with screws, providing a stable base for the leveling foot. Slide the bracket over the rail, align it with your marks, and tighten the clamp screws just enough to hold it in place (you'll fully tighten later).
Step 3: Secure the Leveling Feet to the Frame
Once the foot is aligned, it's time to secure it. If using screws, insert them through the foot's mounting plate (or bracket) and into the pilot holes. Use a screwdriver to tighten them until they're snug—be careful not to over-tighten, as this can strip the holes or crack the frame. For bolts, thread a washer onto the bolt, insert it through the mounting plate, and secure with a nut on the other side. Use a wrench to tighten the nut until it's firm, but leave a little room to adjust the foot's height later.
Repeat this process for all remaining leveling feet, making sure each one is aligned with its marks. Take a moment to visually inspect the feet—they should all be facing the same direction, and their mounting plates should be flush against the frame (no gaps!).
Step 4: Flip the Cart Right Side Up
With all feet installed, it's time to flip the cart back over. Again, get help if needed—even with the feet added, the cart is still awkward to handle alone. Place it gently on the floor, making sure all four feet touch the ground. If one foot is off the floor, don't panic—this is normal and will be fixed in the next step.
Step 5: Level the Cart Using the Adjustable Feet
Now for the fun part: adjusting the feet to level the cart. Grab your spirit level and place it across the cart's top surface, front to back. Look at the bubble in the level—if it's off-center, the cart is tilted. To fix this, locate the adjustable leveling foot on the lower side (the side where the bubble is leaning) and turn its top clockwise. This raises the foot, lifting that side of the cart. Keep turning until the bubble is centered. Repeat this process side to side, placing the level across the width of the cart. Once the bubble stays centered in both directions, the cart is level!
For extra precision, check the level at a few different points on the cart (e.g., near the front, middle, and back). Floors can have subtle slopes, so this ensures the cart is stable across its entire surface. If you notice the cart still wobbles slightly, try adjusting one foot by a quarter-turn at a time—small tweaks make a big difference.
Step 6: Test the Stability and Make Final Adjustments
The last step is to test the cart's stability. Gently push on each corner—if it rocks, that foot needs to be raised a bit. You can also place a few heavy items on the cart (simulating a typical load) and check again—weight can compress the feet slightly, so this ensures stability under real-world conditions. If everything feels solid, give each foot's locking nut (if it has one) a final tighten with your wrench to prevent them from loosening over time.

Troubleshooting Common Issues
Even with careful installation, you might run into a few hiccups. Here's how to solve the most common problems:
Issue 1: The Cart Still Wobbles After Leveling
If the cart rocks back and forth, the culprit is usually uneven weight distribution or feet that aren't all making contact with the floor. Try placing the level on the cart's bottom frame (near the feet) to see if the frame itself is bent. If it is, gently bend it back into shape using pliers (for minor bends) or a rubber mallet (for larger ones). If the frame is straight, check if any feet are stuck in the "up" position—turn them counterclockwise to lower them until they touch the floor.
Issue 2: Screws Keep Stripping or Pulling Through the Frame
Stripped screws are often caused by using the wrong size or over-tightening. Switch to a larger screw (if the frame can handle it) or add a washer under the screw head to distribute pressure. For soft lean pipe (like plastic-coated steel), pre-drilling a pilot hole slightly smaller than the screw's diameter prevents splitting.
Issue 3: Leveling Feet Won't Stay Adjusted
If the feet slowly lower over time, the locking nut (if present) isn't tight enough. Give it an extra quarter-turn with your wrench. If your feet don't have locking nuts, apply a small amount of thread locker (like Loctite) to the threads—this keeps them from loosening due to vibration.
Maintaining Your Adjustable Leveling Feet
Installing the feet is just the first step—regular maintenance ensures they keep working well for years. Here's how to care for them:
- Clean them monthly: Wipe the feet with a damp cloth to remove dirt and debris, which can clog the adjustment mechanism.
- Lubricate the threads: Every 3–6 months, apply a drop of machine oil to the threads to keep them turning smoothly.
- Check tightness: Once a month, give the locking nuts a quick tighten with a wrench—vibration from moving the cart can loosen them.
- replace worn bases: If the rubber/nylon base starts to crack or lose its grip, replace the foot. Most suppliers sell replacement bases separately, so you don't need to buy a whole new foot.
Final Thoughts: Stability = Productivity
Installing adjustable leveling feet on your lean pipe mobile cart might seem like a small task, but its impact is huge. A stable cart means fewer spills, less time wasted on readjusting loads, and a safer workplace for your team. Plus, with the right tools and a little patience, it's a DIY project anyone can tackle in an afternoon.
Remember, the key to success is preparation: take the time to clean the frame, measure carefully, and align the feet properly. And don't forget to maintain them—regular checks will keep your cart stable for years to come. Whether you're using your cart in a factory, warehouse, or workshop, these simple feet will transform it into a tool that works with you, not against you. Here's to smoother workflows, steadier loads, and a little less frustration in your day!