- Company Articles
- Products and Technology
- Installation And Maintenance
- Internal Straight Aluminum Joint Installation Mistakes to Avoid

Internal Straight Aluminum Joint Installation Mistakes to Avoid
Related Product
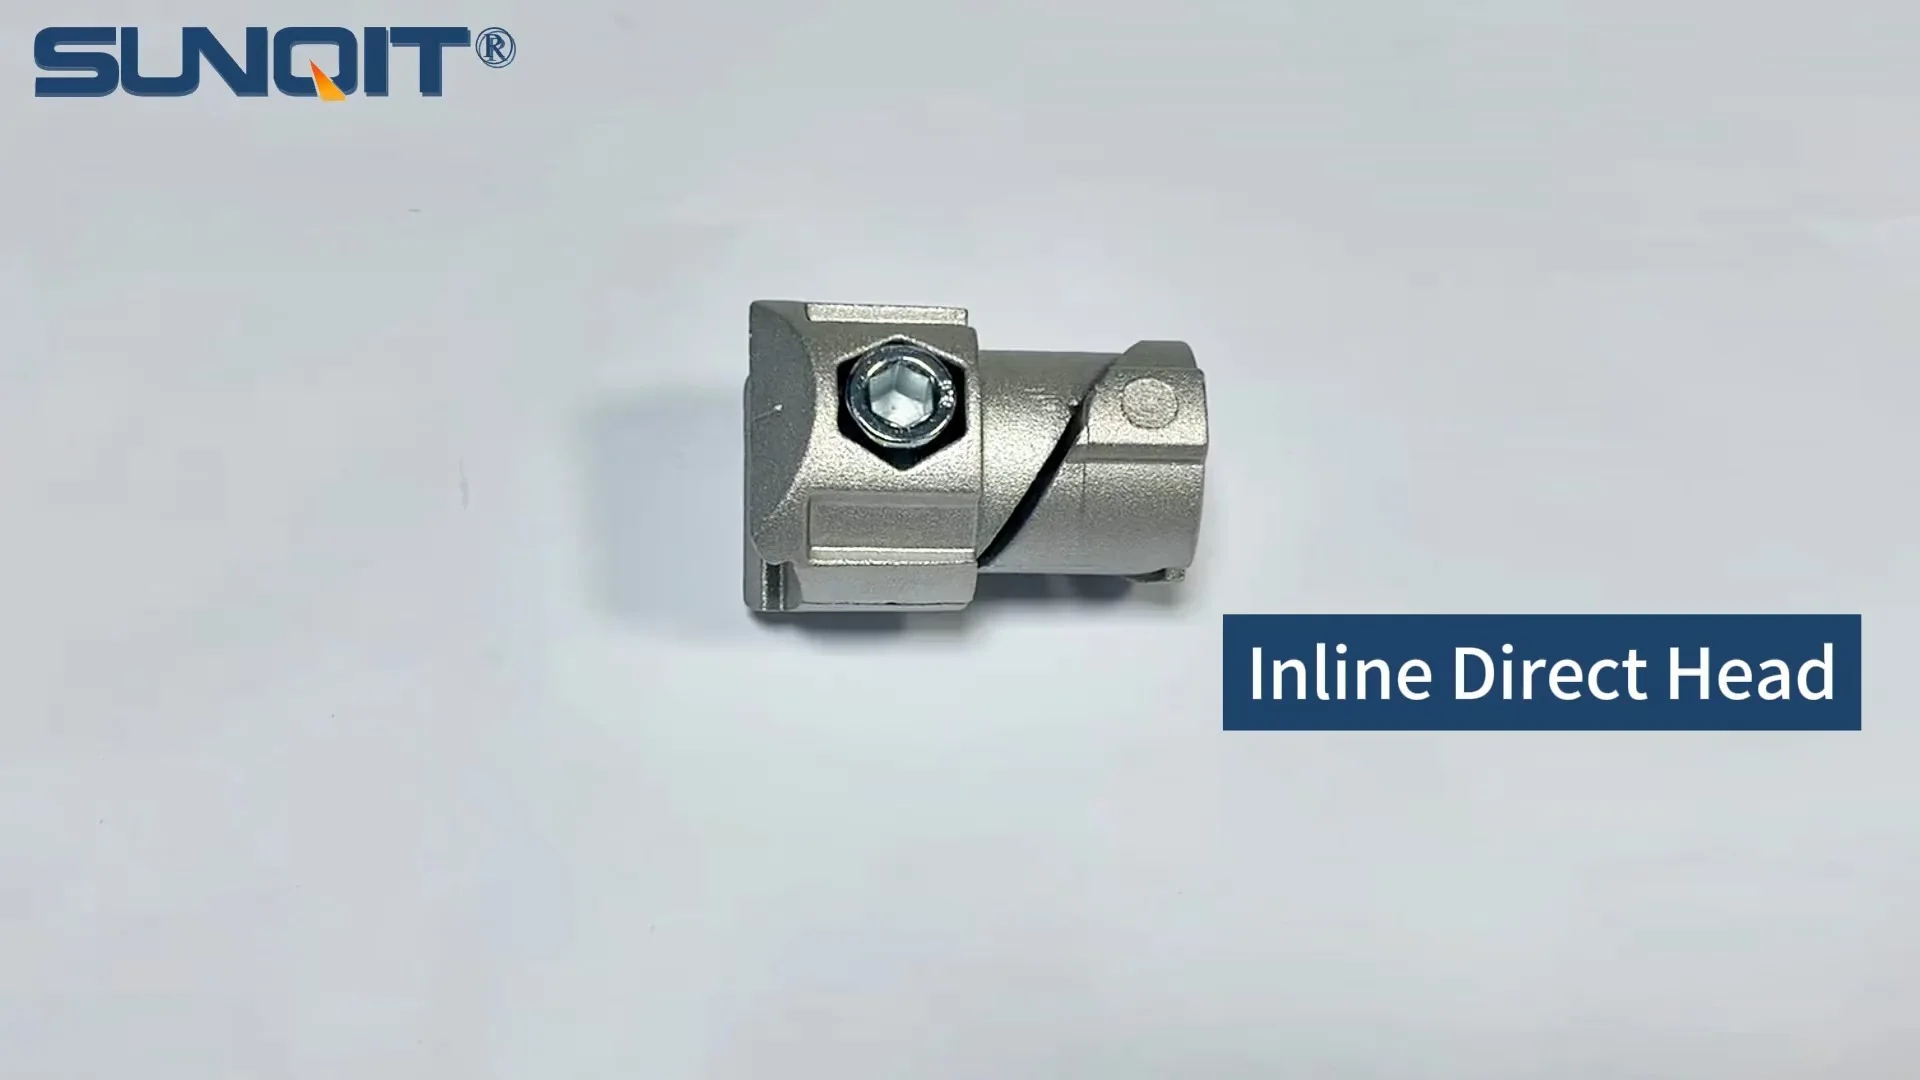
Internal straight aluminum joint
Aluminum pipe joint inside connection used for two pcs 28pcs aluminum pipe connection in straight angle,it connects two pcs pipe from inside.
Walk into any modern manufacturing workshop, warehouse, or assembly line, and you'll likely spot the sleek, modular structures of aluminum lean pipe systems. These setups—whether they're workbenches, material racks, or conveyor supports—are beloved for their flexibility, durability, and ability to adapt to shifting production needs. At the heart of these systems lie but critical components: internal straight aluminum joints. These small connectors hold everything together, ensuring stability, load-bearing capacity, and long-term reliability. But here's the thing: even the highest-quality aluminum profile and aluminum lean pipe won't perform well if their joints are installed incorrectly.
Over the years, I've talked to countless workshop managers, maintenance techs, and production supervisors who've dealt with the aftermath of shoddy joint installation. I've heard stories of wobbly workbenches that throw off assembly precision, material racks that sag under weight, and even conveyor systems that jam because a misaligned joint caused a bottleneck. The costs add up fast: downtime for repairs, replacement parts, and the constant frustration of knowing a preventable mistake is slowing down operations.
That's why today, we're diving into the five most common installation mistakes with internal straight aluminum joints—and how to steer clear of them. Whether you're setting up a new lean system or upgrading an existing one, these insights will save you time, money, and headaches. Let's get started.
Mistake #1: Skipping Sizing and Compatibility Checks
Let's start with the basics: not all aluminum profiles and internal straight aluminum joints are created equal. Aluminum profiles come in standard sizes—think 2020, 3030, 4040, or 3060 national standard profile A—and each requires a joint specifically designed to fit its dimensions. A 20mm-wide profile, for example, needs a joint with a 20mm inner diameter; using a 30mm joint here is like trying to fit a square peg in a round hole. Yet, time and again, teams rush to installation without verifying that the joint size matches the profile, or that the joint is compatible with the aluminum pipe accessories they're using.
Take the case of a small electronics manufacturer I worked with last year. They ordered a batch of 3030 national standard profile A for their new assembly workbenches but accidentally paired them with internal straight aluminum joints meant for 2020 profiles. The joints were too loose, so they tried to "fix" the problem by cranking down the bolts extra tight (spoiler: that only made things worse, which we'll get to later). Within a week, the workbenches were wobbling so badly that workers complained about misaligned circuit board placements. By the time they realized the issue, they'd wasted hours of labor and had to reorder the correct joints—delaying production start by two days.
How to Avoid It
First, always cross-check the product specs. Most reputable suppliers list the compatible profile sizes for each internal straight aluminum joint (e.g., "Fits 3030 and 3060 aluminum profiles"). If you're unsure, grab a caliper and measure the outer width of your aluminum profile—this will tell you the minimum inner diameter your joint needs. Second, don't mix and match brands unless you're certain they follow the same standards. Some manufacturers tweak dimensions slightly, so a "30mm joint" from Brand X might not fit Brand Y's 30mm profile perfectly. Finally, lay out all components before installation: line up the profile, joint, and any bolts or washers to ensure they seat together smoothly. If something feels forced, stop—you're probably using the wrong part.
Mistake #2: Ignoring Surface Preparation
Aluminum is a champion at resisting corrosion, but it's not immune to dirt, oxidation, or debris. When you unbox a new aluminum profile or internal straight aluminum joint, it might look clean—but chances are, there's a thin layer of factory grease, dust, or even oxidation (that dull, powdery film) on the surface. Ignore this, and you're setting yourself up for failure. Why? Because these contaminants act as a barrier between the joint and the profile, preventing a tight, friction-based fit. Over time, even small amounts of debris can cause the joint to slip, loosen, or fail under load.
I once visited a automotive parts plant where the maintenance team prided themselves on "efficiency." They skipped cleaning the aluminum lean pipe and joints before assembling a new material rack, figuring, "Why waste time wiping down parts that look clean?" Three months later, the rack started leaning to one side. When we disassembled it, we found a layer of grit trapped between the joints and profiles—enough to create microscopic gaps that widened with each load of heavy engine components. The fix? Disassembling the entire rack, cleaning each part, and reassembling with fresh joints. The "efficient" shortcut ended up costing them 10x more in labor.
How to Avoid It
Surface preparation is simple, but it's non-negotiable. Start by wiping down the inside of the internal straight aluminum joint and the outer surface of the aluminum profile with a lint-free cloth dampened with isopropyl alcohol or a mild degreaser. Avoid harsh chemicals like acetone, which can damage some aluminum finishes. For oxidation, use a fine-grit wire brush (nylon, not steel—steel can scratch the aluminum) to gently scrub away the powdery layer. Once clean, let the parts air-dry completely—moisture can cause new oxidation to form. Pro tip: Wear gloves during this process to avoid transferring oils from your hands onto the clean surfaces.

Mistake #3: Over-Tightening (or Under-Tightening) Fasteners
Let's talk about bolts—the unsung heroes that lock internal straight aluminum joints onto profiles. Tightening them seems straightforward: turn until they're "snug," right? Wrong. Over-tightening or under-tightening is one of the most common mistakes, and it's equally destructive in both directions.
Over-tightening is often a result of the "more is better" mindset. You notice a tiny bit of play in the joint, so you grab a wrench and crank the bolt until it won't turn anymore. But aluminum is a relatively soft metal compared to steel. Cranking too hard can strip the threads in the joint, deform the aluminum profile, or even crack the joint itself. I saw this happen at a food packaging facility where a tech over-tightened the bolts on a conveyor support joint. The bolt head snapped off, leaving the broken end stuck in the joint—requiring a drill and extractor tool to remove. The conveyor was down for four hours.
Under-tightening is just as problematic. A bolt that's too loose won't create enough friction to hold the joint in place, leading to slippage, vibration, and eventual failure. A furniture manufacturer I consulted with had this issue with their turnover trolleys. The bolts on the internal straight aluminum joints were only hand-tightened, so after a few trips across the warehouse floor (bumping into walls and other trolleys), the joints loosened. One trolley even dumped a load of wooden panels, costing them $500 in damaged inventory.
How to Avoid It
The solution here is precision: use a torque wrench. Most internal straight aluminum joints come with recommended torque values from the manufacturer—typically between 8 and 12 Nm for M5 or M6 bolts. If the manufacturer doesn't specify, a good rule of thumb is to tighten until the bolt is snug, then give it a 1/4-turn more. For hand-tightening (when a torque wrench isn't available), use the "two-finger rule": grip the wrench with your thumb and index finger, and tighten until you feel resistance. If you need to use your whole hand to keep turning, you're overdoing it.
Another pro move: use lock washers or thread-locking fluid (like Loctite) on critical joints, especially those in high-vibration areas (think near conveyor motors or heavy machinery). Lock washers prevent loosening due to vibration, while thread-locking fluid adds a extra layer of security without the risk of over-tightening.

Mistake #4: Forgetting About Load Distribution
Internal straight aluminum joints aren't just connectors—they're load distributors. When you mount a shelf, workbench top, or conveyor track to an aluminum lean pipe system, the weight doesn't just rest on the profiles; it travels through the joints to the base. Installing joints without considering where the load will sit is like building a house with studs only in the corners—sooner or later, the middle will sag.
Consider a material rack b (3 row and 3 floor) setup. If you space internal straight aluminum joints too far apart on the vertical supports, the horizontal beams will bow under the weight of boxes or parts. I saw this at a logistics company that stacked heavy toolboxes on the top shelf of their rack. The vertical supports had joints only at the top and bottom, so the middle beam started to bend after a month. The bending put extra stress on the top joint, which eventually cracked.,,.
It's not just about vertical load, either. Horizontal forces—like a worker pushing a loaded turnover trolley into a rack, or a conveyor belt pulling against its supports—can strain joints if they're not positioned to counteract that force. A joint placed too close to the end of a profile, for example, might twist or pull out when lateral pressure is applied.
How to Avoid It
Start by mapping out your load. Ask: What's the maximum weight this structure will hold? Where will the weight be concentrated? For a workbench, the load is likely centered on the top surface; for a material rack, it might be spread across multiple shelves. Once you know the load points, position internal straight aluminum joints to "carry" that weight to the ground. As a general rule, joints should be placed no more than 50cm apart on horizontal beams for heavy loads, and within 30cm of any vertical support connection.
If you're unsure, use a simple trick: draw a sketch of the structure and mark where the weight will sit. Then draw lines from those points down to the base—those lines are your "load paths." Place joints along these paths to ensure the weight flows smoothly to the ground. And when in doubt, add extra joints. It's better to have a few extra connectors than to risk a collapse.
Mistake #5: Skipping Pre-Installation Testing
You've checked the sizes, cleaned the surfaces, tightened the bolts just right, and positioned the joints for perfect load distribution. Now it's time to fire up the system, right? Not so fast. Skipping pre-installation testing is like baking a cake without checking if the oven is preheated—you might think everything is ready, but there could be hidden issues waiting to ruin the result.
Pre-installation testing doesn't have to be complicated. It can be as simple as giving the structure a gentle shake to check for wobbling, applying light pressure to load points to see if joints shift, or sliding a level across surfaces to ensure everything is aligned. Yet, many teams skip this step in their eagerness to get the system up and running. I recently worked with a medical device manufacturer that assembled a new production line over a weekend. They skipped testing, and on Monday morning, the first shift noticed the conveyor track was slightly tilted—because one internal straight aluminum joint had been installed at a 2-degree angle. The tilt caused small parts to slide off the track, jamming the line and requiring a two-hour shutdown to realign the joint.
How to Avoid It
Build your structure in stages, and test each stage before moving on. For example: assemble the vertical supports first, then check if they're plumb (vertical) with a level. Add the horizontal beams next, test for wobbling, then add shelves or workbench tops and test load capacity with dummy weights (sandbags or empty boxes work well). For conveyor systems, manually roll a test part along the track to check for snags or misalignment.
Pay attention to "play" in the joints. A small amount of movement is normal, but if a joint shifts more than 1-2mm when you push on it, something is wrong—either the fit is loose, the bolt is under-tightened, or the joint is damaged. Address these issues before fully assembling the system; fixing them later will require disassembling parts you've already put together.
Troubleshooting Common Joint Issues
Even with careful installation, problems can pop up. Here's a quick reference table to help you diagnose and fix common internal straight aluminum joint issues:
| Symptom | Likely Cause | Fix |
|---|---|---|
| Joint slips or rotates under load | Under-tightened bolt, dirty surfaces, or mismatched size | Clean surfaces, check size compatibility, retighten bolt to specs |
| Profile cracks near the joint | Over-tightened bolt or joint placed too close to profile end | replace cracked profile, use a torque wrench, reposition joint farther from the end |
| Structure wobbles horizontally | Joints spaced too far apart or missing diagonal bracing | Add additional joints or diagonal supports to stabilize |
| Bolt won't tighten (spins freely) | Stripped threads in the joint | replace the joint—stripped threads can't be repaired |
| Joint feels "gritty" when moving | Dirt or debris trapped between joint and profile | Disassemble, clean both parts thoroughly, reassemble with fresh bolts |
Final Thoughts: Invest in the "Small Stuff"
Internal straight aluminum joints might seem like minor components in the grand scheme of your lean system, but as we've seen, they have a huge impact on performance and reliability. By avoiding these five mistakes—skipping sizing checks, ignoring surface prep, over/under-tightening, forgetting load distribution, and skipping testing—you'll build a system that's stable, durable, and ready to keep up with your production demands.
Remember, the goal of a lean system is to eliminate waste—and nothing wastes more time than fixing preventable joint failures. Take the extra 10 minutes to check sizes, clean surfaces, and test the structure before going live. Your team, your budget, and your sanity will thank you.
And if you're ever in doubt, don't hesitate to reach out to your aluminum pipe supplier or lean system supplier. Reputable suppliers are happy to provide installation guides, torque specs, and load capacity charts to help you get it right the first time. After all, their success depends on your system working as well as it should.
Here's to stronger, more reliable aluminum lean pipe systems—one well-installed joint at a time.