- Company Articles
- Products and Technology
- Product knowledge
- Joining 1.2mm Stainless Steel Pipe: Effective Methods for Modular Workbenches

Joining 1.2mm Stainless Steel Pipe: Effective Methods for Modular Workbenches
Related Product
1.2mm Stainless Steel Pipe
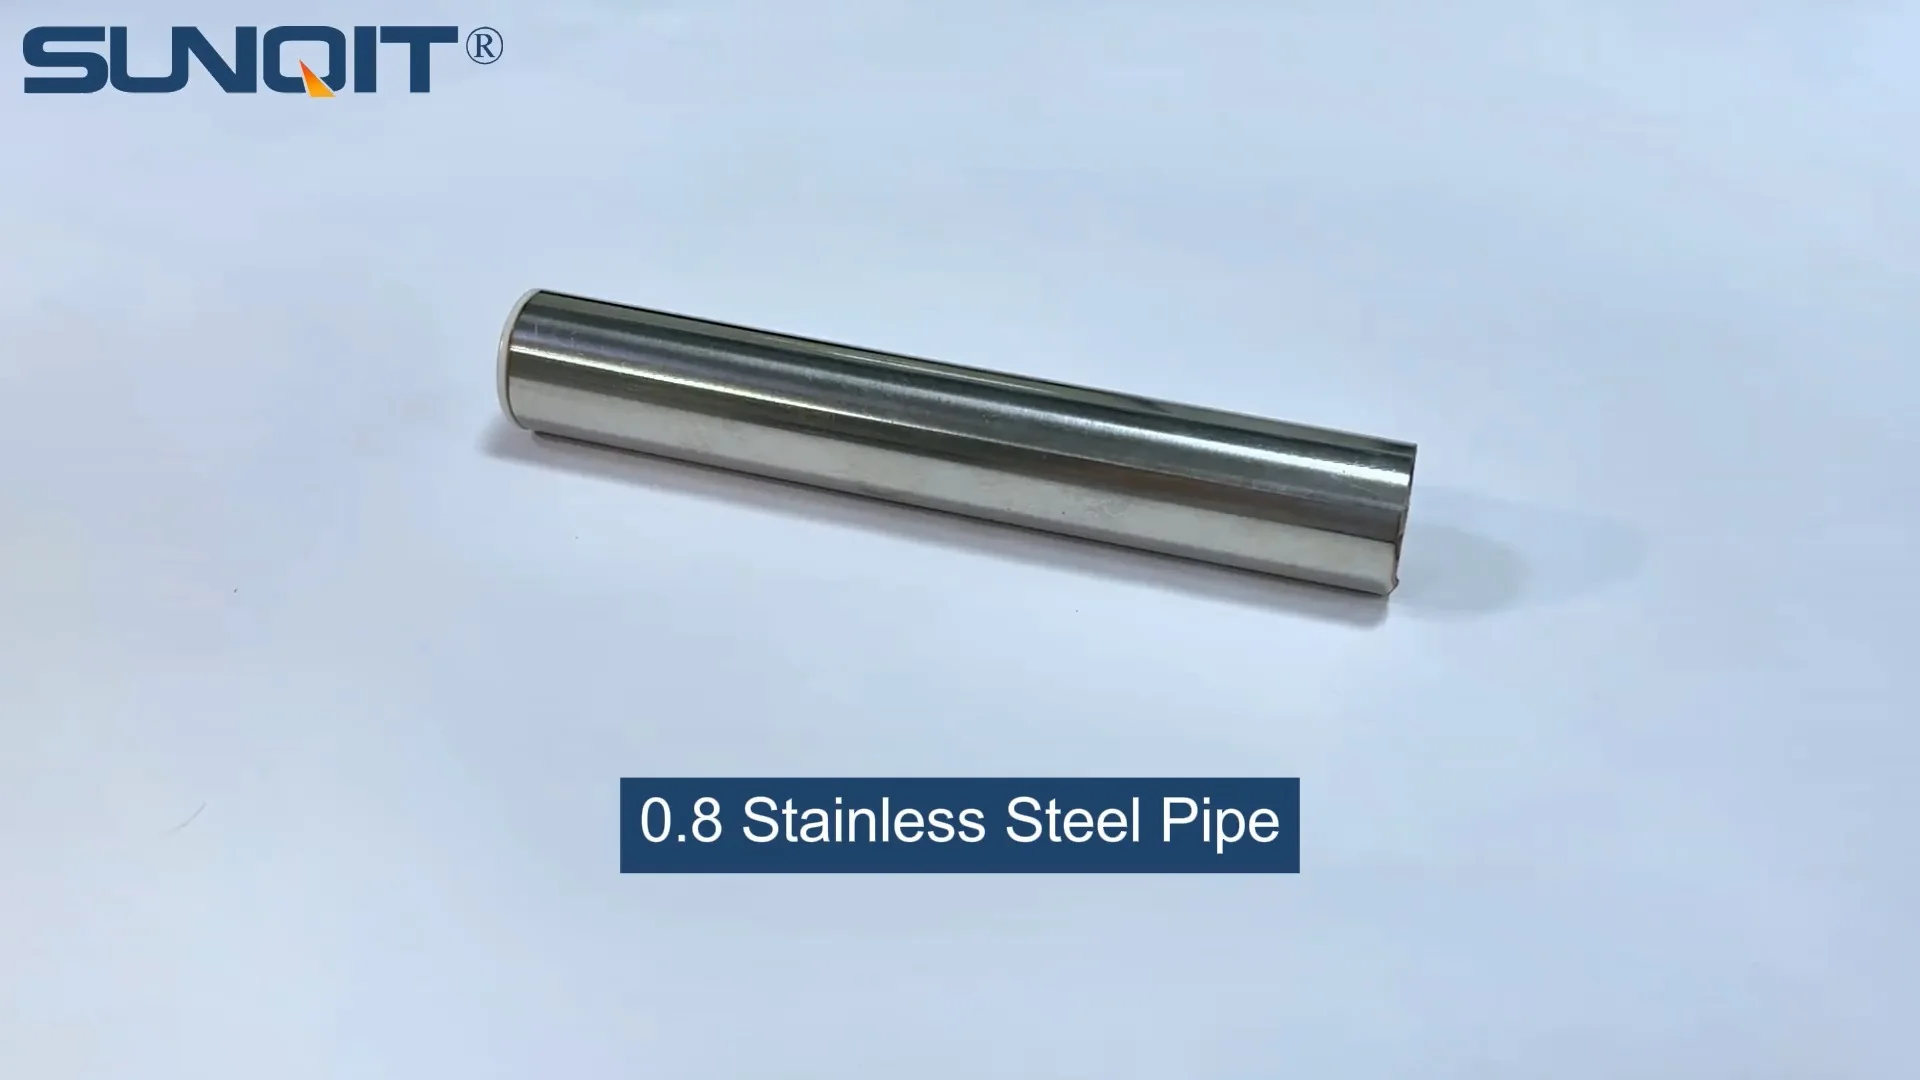
Stainless steel pipe, lean pipe, diameter is 28mm, material is SS201 or SS304, SS201 is normally used in the market. It knows a KARAKURI, KAIZEN material for industrial plant to improve efficiency, save labor cost, standard management.
If you've ever walked through a well-organized workshop, a bustling manufacturing plant, or even a sleek lab, you've probably noticed the unsung heroes holding everything together: modular workbenches. These versatile setups are the backbone of efficient workflows, and at their core lies a critical component: the materials used to build them. Among the most reliable choices in the stainless steel pipe series is the 1.2mm stainless steel pipe. Its unique balance of strength, flexibility, and corrosion resistance makes it a go-to for anyone looking to build durable, long-lasting modular workbenches. But here's the thing: even the best materials fall short if you don't join them correctly. That's why today, we're diving deep into the art and science of joining 1.2mm stainless steel pipes—so you can create workbenches that not only stand the test of time but also adapt to your evolving needs.
Why 1.2mm? The Sweet Spot in Stainless Steel Pipes
Before we jump into joining methods, let's take a second to appreciate why 1.2mm stainless steel pipe is such a popular choice. When it comes to modular workbenches, you need a material that's strong enough to support tools, parts, and daily use, but not so heavy that it's impossible to assemble or reconfigure. 1.2mm hits that sweet spot perfectly. Thinner pipes (like 0.8mm) might save on cost, but they can bend under heavy loads, while thicker ones (2.0mm or more) add unnecessary weight, making your workbench harder to move or adjust if needed.
Stainless steel itself is a star here, too. Unlike regular steel, it resists rust and corrosion, which is a big deal if your workspace deals with moisture, chemicals, or even just daily spills. And because it's part of the stainless steel pipe series , you'll find a wide range of compatible components—from brackets to connectors—that make building and customizing your workbench a breeze. Whether you're setting up a small home workshop or outfitting a large production line, 1.2mm stainless steel pipe offers the kind of reliability that keeps operations running smoothly, day in and day out.
The Toolkit: Effective Methods for Joining 1.2mm Stainless Steel Pipe
Now, let's get to the heart of the matter: how do you actually join these pipes? The good news is there's no one-size-fits-all approach—you've got options, and the best choice depends on your project's needs, tools available, and whether you need to take the workbench apart later. Let's break down the most effective methods, starting with the simplest and moving to the more advanced.
1. Lean Pipe Joints: The Quick and Flexible Option
If you're new to pipe joining or need a setup that's easy to assemble and disassemble, lean pipe joints are your best friend. These handy connectors are designed specifically for modular systems, and they work like a charm with 1.2mm stainless steel pipes. Think of them as the building blocks of your workbench—no welding, no glue, just simple mechanical connection. Most lean pipe joints are made of durable plastic or metal and come in various angles (90°, 45°, 180°, etc.) to help you create corners, straight runs, or even complex structures.
Using a lean pipe joint is straightforward. First, cut your 1.2mm stainless steel pipe to the desired length. Then, slide the joint onto the end of one pipe, align it with the second pipe, and tighten the set screws (usually with a hex key or screwdriver). That's it! The beauty here is adjustability—if you realize your workbench needs a taller shelf or a wider surface, you can loosen the joints, reposition the pipes, and tighten them back up. This makes lean pipe joints ideal for small workshops or startups where needs change frequently.
But wait, are they strong enough? Absolutely—when tightened properly, a good quality lean pipe joint can hold significant weight. Just keep in mind that they're best for static loads (like a shelf holding tools) rather than constant movement or extreme stress. For most modular workbenches, though, they're more than up to the task.
2. TIG Welding: For Permanent, Rock-Solid Connections
If you need a joint that's going to last through years of heavy use and you don't plan on moving your workbench anytime soon, TIG welding is the way to go. TIG (Tungsten Inert Gas) welding uses a non-consumable tungsten electrode to create a precise arc, melting the stainless steel pipes together and forming a bond that's as strong as the pipe itself. It's a bit more technical than using lean pipe joints, but the results are unmatched in terms of durability.
Here's what you'll need: a TIG welder, tungsten electrodes, a shielding gas (usually argon), and some practice. Stainless steel can be tricky to weld because it's prone to warping if you overheat it, so taking the time to learn proper technique is key. Start by cleaning the pipe ends thoroughly—any oil, dirt, or debris will weaken the weld. Then, hold the electrode at a slight angle, strike the arc, and move steadily along the joint, adding filler metal (matching the stainless steel grade) as needed to fill the gap.
The downside? TIG welding is permanent. Once those pipes are welded, you're not repositioning them without cutting them apart. It's also more time-consuming and requires specialized equipment, which might be overkill if you're building a simple workbench for occasional use. But for industrial settings or workbenches that support heavy machinery, the investment in welding skills and tools pays off in spades.
3. Threaded Connections: When You Need Detachable Strength
Another option for joining 1.2mm stainless steel pipes is threaded connections. This method involves cutting threads into the ends of the pipes and screwing them together with threaded fittings (like elbows, tees, or couplings). It's a classic approach that balances strength and detachability—stronger than lean pipe joints but easier to take apart than welded connections.
To use threaded connections, you'll need a pipe threading tool (a die set) to cut the threads into the pipe ends. Stainless steel is harder than regular steel, so you'll want to use sharp, high-quality dies and apply cutting oil to keep things smooth. Once the threads are cut, simply screw on the fitting and tighten it with a pipe wrench. For extra security, you can add thread sealant (like Teflon tape or pipe dope) to prevent leaks—though in workbench applications, leaks aren't usually a concern, but sealant can help keep the joint from loosening over time.
The downside? Threaded connections require more effort to assemble than lean pipe joints, and cutting threads into 1.2mm pipe demands precision—cutting too deep can weaken the pipe. But for workbenches that need to be disassembled for transport or semi-permanent setups, they're a solid choice.
4. Adhesive Bonding: For Light-Duty, No-Tool Assembly
Let's say you're on a tight budget, don't have access to tools, or need a quick fix for a temporary workbench. Adhesive bonding might be the solution. There are specialized adhesives (like epoxy or polyurethane-based glues) designed to bond stainless steel, creating a strong, invisible joint. Just apply the adhesive to the pipe ends, fit them together, and clamp them until the glue cures (which can take anywhere from a few hours to overnight, depending on the product).
But a word of caution: adhesive bonding is not for heavy loads. While modern adhesives are strong, they can fail under stress, heat, or repeated movement. Think of it as a temporary solution—maybe for a project workbench that you'll use for a few months, or a lightweight setup for holding small parts. If you go this route, make sure to clean the pipe ends with rubbing alcohol first to remove any oils, and follow the adhesive manufacturer's instructions to the letter.

Gearing Up: Essential Tools for the Job
No matter which joining method you choose, having the right tools on hand will make the process smoother and safer. Let's run through the basics:
- Pipe Cutter: A good pipe cutter (manual or electric) will give you clean, straight cuts on 1.2mm stainless steel pipe. Avoid using a hacksaw unless you're really patient—you'll end up with uneven ends that make joining harder.
- Deburring Tool: After cutting, the pipe ends will have sharp burrs. A deburring tool smooths these out, preventing cuts and ensuring a tight fit with joints or welds.
- Measuring Tape and Square: Precision matters! You don't want a lopsided workbench, so measure twice, cut once, and use a square to ensure 90° angles when joining pipes.
- Hex Keys/Screwdrivers: For tightening lean pipe joints —most come with set screws that require a hex key (Allen wrench) or Phillips-head screwdriver.
- Safety Gear: Don't skip this! Safety glasses, work gloves, and (if welding) a welding helmet, flame-resistant jacket, and gloves. Stainless steel dust and sparks can be dangerous, so protect yourself.

Let's Build: Step-by-Step with Lean Pipe Joints
Since lean pipe joints are the most accessible and flexible option for most DIYers and small businesses, let's walk through a quick tutorial on building a basic modular workbench using 1.2mm stainless steel pipe and lean pipe joints . We'll keep it simple: a single-deck workbench (similar to the workbench E (single deck-without caster) design) that's sturdy enough for tools and parts.
- Plan Your Design: Start by sketching your workbench dimensions. Let's say we want a tabletop 120cm long, 60cm deep, and 80cm tall. You'll need four vertical legs (80cm each), four horizontal pipes for the top frame (120cm and 60cm), and optional cross-braces for stability.
- Cut the Pipes: Using your pipe cutter, cut the stainless steel pipes to the lengths above. Remember to deburr each end with a deburring tool—no sharp edges allowed!
- Assemble the Frame: Start with the vertical legs. Take four 90° lean pipe joints and attach them to the top of each leg. Then, connect the 120cm horizontal pipes to the joints to form the long sides of the top frame, followed by the 60cm pipes for the short sides. Tighten the set screws just enough to hold the frame in place—you can tweak the alignment later.
- Add Cross-Braces: To prevent the legs from wobbling, attach two 60cm cross-braces between the legs, about halfway up. Use 45° lean pipe joints for a diagonal brace, or 90° joints for a horizontal one—either works, but diagonal braces add more stability.
- Level and Tighten: Stand the frame upright and check if it's level (use a spirit level on the top frame). If one leg is shorter, loosen the joint and adjust the pipe length slightly. Once everything is straight, go around and tighten all the set screws firmly—you want them snug, but don't over-tighten and strip the threads.
- Add the Tabletop: Finally, place a plywood, MDF, or metal tabletop on the frame. You can secure it with screws through the top pipes, or use clamps if you want to keep it removable. And voilà—your modular workbench is ready!
The best part? If you later decide you need a shelf, just cut a few more pipes, grab some extra lean pipe joints, and bolt them onto the legs. Want to add roller track and accessories for sliding parts bins? Attach the roller track to the side of the workbench using L-brackets and more lean pipe joints. The possibilities are endless!
Method Showdown: Which Joining Technique is Right for You?
Still undecided? Let's compare the most popular methods side by side to help you choose:
| Joining Method | Tools Required | Assembly Time | Strength (1-5) | Disassemble? | Best For |
|---|---|---|---|---|---|
| Lean Pipe Joints | Hex keys, pipe cutter, deburring tool | 30-60 minutes (basic workbench) | 4/5 | Yes (easily) | Small workshops, startups, DIY projects |
| TIG Welding | TIG welder, gas, electrodes, pipe cutter | 2-4 hours (plus setup/cleanup) | 5/5 | No (permanent) | Industrial workbenches, heavy loads |
| Threaded Connections | Threading die set, pipe wrench, cutter | 1-2 hours | 4.5/5 | Yes (with effort) | Semi-permanent setups, transportable workbenches |
| Adhesive Bonding | Adhesive, clamps, pipe cutter | 1 hour (plus curing time) | 2/5 | Not easily (messy) | Temporary projects, lightweight use |
Troubleshooting Common Issues
Even the pros run into problems sometimes. Here's how to fix the most common issues you might encounter:
Loose Lean Pipe Joints: If your workbench wobbles, check the set screws—they might have loosened over time. Tighten them with a hex key, and consider adding a drop of thread-locking fluid to keep them from coming loose again.
Welds Cracking: TIG welds can crack if the metal was too cold, or if you used the wrong filler metal. Grind out the cracked section, clean the area, and re-weld with a slower, steadier arc.
Threaded Connections Seizing: If the threads get stuck, apply heat (gently!) with a torch to expand the metal, then use a pipe wrench to loosen. Avoid over-tightening in the first place to prevent seizing.
Maintenance Tips for Longevity
Your modular workbench is built—now how do you keep it in top shape? With a little regular maintenance, your 1.2mm stainless steel pipe joints will last for years:
- Clean Regularly: Wipe down the stainless steel pipes with a damp cloth to remove dust and grime. For stubborn stains, use a mild detergent—avoid abrasive cleaners that scratch the surface.
- Inspect Joints: Every few months, check lean pipe joints, welds, and threaded connections for signs of wear. Tighten loose screws, repair cracks in welds, and replace corroded parts if needed.
- Prevent Corrosion: While stainless steel resists rust, it's not immune. If your workbench gets wet, dry it off promptly. You can also apply a thin coat of stainless steel polish to protect the surface.
- Lubricate Moving Parts: If you've added roller track and accessories , keep the rollers lubricated with a silicone spray to ensure smooth movement. Wipe off excess lubricant to avoid attracting dust.
Final Thoughts: Build Smart, Build Flexible
Joining 1.2mm stainless steel pipe might seem like a small detail, but it's the difference between a wobbly workbench that lasts a year and a sturdy, adaptable setup that grows with your business. Whether you opt for the flexibility of lean pipe joints , the permanence of TIG welding, or something in between, the key is to match the method to your needs. Remember, modular workbenches are all about adaptability—so don't be afraid to start simple and add on later. After all, the best workbench is one that works for you .
So grab your tools, pick your method, and start building. Your future self (and your workflow) will thank you.