- Company Articles
- Products and Technology
- Application Cases
- Lean Pipe Clamp B for Educational Workshops: Teaching Lean Principles Practically

Lean Pipe Clamp B for Educational Workshops: Teaching Lean Principles Practically
Related Product
Lean Pipe Clamp
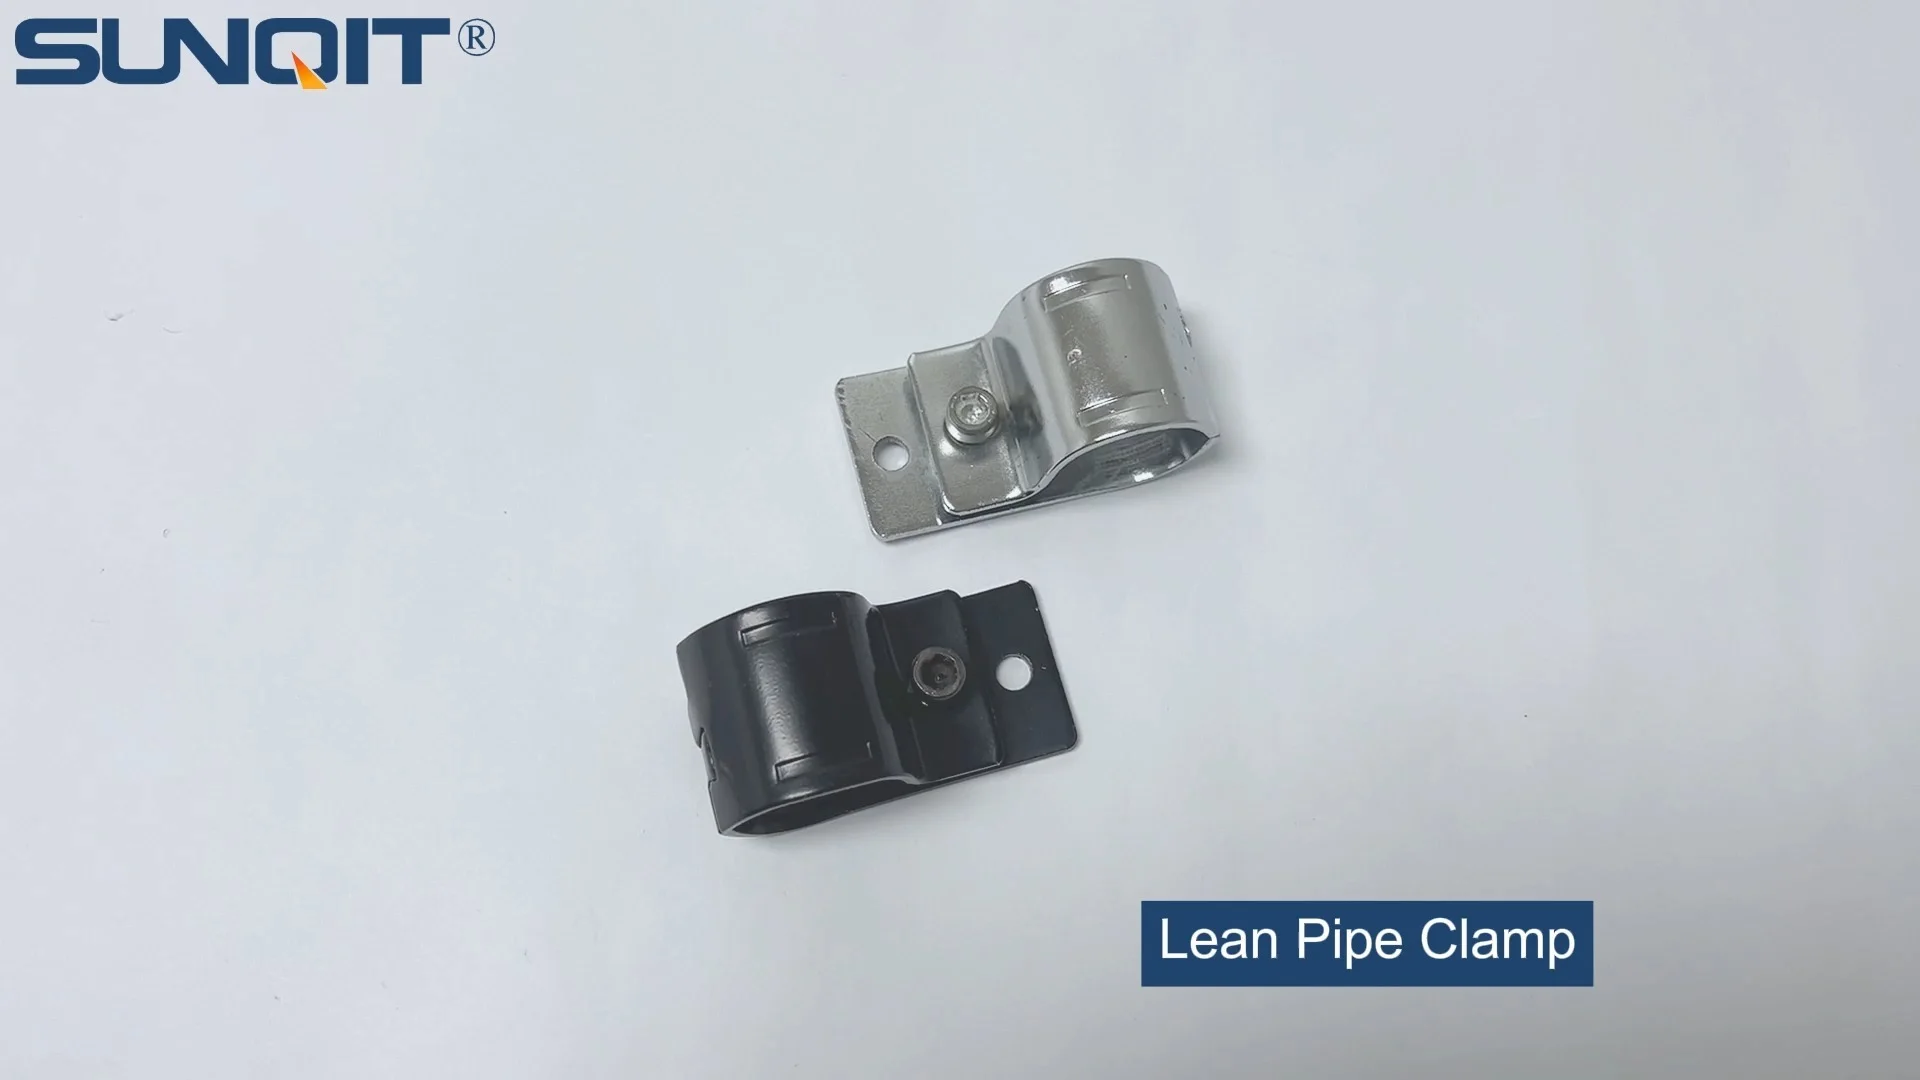
Lean pipe clamp is used for rack system hang monitor or other panel for workbenck, flowrack in production daily use.
Walk into any manufacturing plant or logistics hub today, and you'll likely hear the term "lean" thrown around. From reducing waste to streamlining workflows, lean principles have become the backbone of efficient operations. But here's the problem: too often, lean education stops at textbooks and PowerPoint slides. Students and new professionals memorize terms like "kaizen" and "5S" but struggle to apply them when faced with real-world chaos. That's where hands-on tools come in—and few tools bridge the gap between theory and practice like the Lean Pipe Clamp B .
In educational workshops, the goal isn't just to teach students what lean is, but to make them feel it. It's about letting them build, break, and rebuild systems so they understand why waste matters, how flexibility drives efficiency, and why every component in a workflow has a purpose. And that's exactly what makes Lean Pipe Clamp B such a game-changer. This unassuming little connector—paired with aluminum profile , roller track , and other modular components—turns abstract concepts into tangible, tweakable projects. Let's dive into how it works, why it matters, and how it's transforming lean education one workshop at a time.
Why Hands-On Learning Beats Theory in Lean Education
Lean isn't a set of rules—it's a mindset. And mindsets are built through experience, not lectures. Think about it: Would you learn to ride a bike by reading a manual? Of course not. You'd get on the bike, wobble, fall, and adjust until you found your balance. Lean works the same way. Students need to experience the frustration of a clunky workflow, the satisfaction of simplifying a process, and the "aha!" moment when a small change cuts waste in half.
Traditional teaching tools often fail here. Fixed workbenches or pre-built conveyor systems don't allow for experimentation. Students can observe, but they can't tinker. That's where modular systems shine. Tools like Lean Pipe Clamp B are designed to be reconfigurable. They're lightweight, easy to assemble, and affordable enough that even a classroom with limited budget can stock them. This means students aren't just passive learners—they're active problem-solvers. They don't just talk about reducing lead times; they build a workbench with a roller track and see how adjusting the angle of the track speeds up material flow. They don't just discuss flexibility; they take apart a structure and rebuild it in 10 minutes to a new task.
Educators have noticed the difference. At technical colleges and corporate training centers alike, workshops using Lean Pipe Clamp B report higher engagement, better retention of lean concepts, and more confident students. As one instructor put it: "You can explain 'continuous improvement' for an hour, or you can hand a student a clamp and say, 'Make this workbench better.' The latter sticks."
What Is Lean Pipe Clamp B, Anyway?
Before we jump into how it's used in workshops, let's get familiar with the star of the show: Lean Pipe Clamp B. At first glance, it might look like a simple metal or plastic connector, but its design is deceptively clever. Unlike rigid, one-size-fits-all fasteners, Lean Pipe Clamp B is engineered for adaptability . It's typically made from durable materials like reinforced plastic or aluminum, with a spring-loaded or screw-tightened mechanism that grips pipes (often aluminum or steel) securely. What makes it special? It lets users connect pipes at various angles—90 degrees, 45 degrees, even custom angles—without welding, drilling, or specialized tools. Just slide the pipe into the clamp, tighten the screw, and you're good to go. Need to reposition? Loosen the screw, adjust, and retighten. It's that easy.
But Lean Pipe Clamp B isn't a solo act. It's part of a larger ecosystem of modular components: aluminum profile (lightweight, strong bars with T-slots for easy mounting), roller track (smooth rails for sliding materials), casters (for mobility), and workbench tops (wood, metal, or plastic surfaces). Together, these parts form a "lean construction kit" that can build anything from simple storage racks to complex assembly lines. And because every component is standardized, students don't waste time figuring out if parts fit—they spend time designing how they should fit.
Let's break down why this matters for education: In a workshop, time is limited. You don't want students struggling with tools or waiting for parts to be cut. Lean Pipe Clamp B eliminates those barriers. It's intuitive enough for a first-year student to use within minutes, yet robust enough to withstand the inevitable "oops, I put that on backwards" moments. And because it's reusable, workshops can run multiple sessions with the same set of parts—no need to buy new materials for every project.

Building a Lean Workbench: A Workshop Case Study
To see Lean Pipe Clamp B in action, let's walk through a typical workshop project: building a lean pipe workbench with integrated roller track. The goal? Teach students how to design a workstation that minimizes motion waste, maximizes flexibility, and adapts to changing tasks. Here's how it unfolds, step by step—and how every step reinforces a core lean principle.
| Workshop Step | Tools Used | Lean Principle Taught |
|---|---|---|
| 1. Mapping the "ideal" workflow | Whiteboard, sticky notes | Value Stream Mapping (VSM): Identifying what adds value vs. waste |
| 2. Sketching the workbench design | Pencil, paper, measuring tape | Design Thinking: Balancing user needs with efficiency |
| 3. Assembling the frame with Lean Pipe Clamp B | Lean Pipe Clamp B, aluminum profile, hex key | Flexibility: Adjusting height/width to fit user ergonomics |
| 4. Adding roller track for material flow | Roller track, plastic guide rails, connectors | Flow: Ensuring materials move smoothly with minimal effort |
| 5. Testing and iterating (e.g., adjusting track angle) | Protractor, stopwatch, feedback forms | Kaizen (Continuous Improvement): Tweaking for better performance |
Step 1: Mapping the workflow – Before anyone touches a clamp, the class starts by discussing who will use the workbench. Is it for assembling small electronics? Packaging products? Each scenario has different needs. Students list tasks: "picking parts from bins," "using a screwdriver," "placing finished items on a shelf." Then they map the current (hypothetical) workflow, marking where waste occurs: "reaching across the table for tools" (motion waste), "waiting for parts to slide down a messy track" (waiting waste), "struggling to adjust the bench height" (non-value-added time). This isn't just busywork—it's value stream mapping in action. Students learn to see the gap between "what is" and "what could be."
Step 2: Sketching the design – Now it's time to brainstorm solutions. One student suggests a lower shelf for tools to reduce reaching; another proposes adding a roller track so parts glide to the worker instead of the worker fetching them. They debate: Should the roller track slope at 5 degrees or 10? Will casters make the bench too wobbly, or just mobile enough to reposition for different tasks? This is where design thinking meets lean. It's not about perfection—it's about making deliberate choices based on user needs and efficiency.
Step 3: Assembling the frame – Here's where Lean Pipe Clamp B takes center stage. Students start with four aluminum profile legs. They attach crossbars using the clamps, adjusting the height to match the average elbow height of the "user" (they measure each other to make it realistic). One group tightens the clamps too much, bending the pipe slightly; another forgets to align the crossbars, making the frame wobbly. But that's the point! The instructor doesn't just fix the mistakes—they ask, "What happens if the bench is wobbly during assembly? How does that create waste?" Students quickly realize: a wobbly bench leads to dropped parts, slower work, and frustration. Suddenly, "ergonomics" isn't just a buzzword—it's why they're double-checking their clamp tightness.
Step 4: Adding the roller track – Next, they mount the roller track to the back of the bench using T-slot connectors on the aluminum profile. They test it by sliding a plastic bin down the track. At first, the bin gets stuck—turns out, they forgot to angle the track. They loosen the roller track connectors, tilt the track slightly, and test again. Success! The bin glides smoothly. "That's flow ," the instructor says. "When materials move to you instead of you moving to them, you cut motion waste. But what if the bin is too heavy? Or the track gets dusty?" Cue a discussion about maintenance (a key part of 5S) and designing for real-world conditions.
Step 5: Testing and iterating – Now comes the fun part: chaos. The instructor throws a curveball: "Your workbench now needs to handle two workers instead of one. Go." Students scramble. They realize the roller track is too short; they need to extend it. Using extra aluminum profile and Lean Pipe Clamp B, they add a side branch to the track. But wait—the new branch is at a weird angle, causing bins to jam. They adjust the clamp positions, reangle the track, and test again. This is kaizen (continuous improvement) in microcosm. It's messy, iterative, and deeply memorable. By the end, students aren't just proud of their workbench—they're proud of the process that got them there.

Why Lean Pipe Clamp B Stands Out in Educational Settings
You might be thinking: "Can't you teach lean with Legos or other building blocks?" Sure—but Lean Pipe Clamp B offers something those toys don't: scalability and realism . Legos are great for small-scale models, but they don't mimic the weight, durability, or functionality of industrial tools. A workbench built with Lean Pipe Clamp B and aluminum profile can actually hold tools, slide parts, and withstand daily use—just like the ones in factories. That realism matters because it bridges the gap between "school project" and "job-ready skill."
Another advantage? Cost. Educational budgets are tight, and tools that break or need constant replacement aren't feasible. Lean Pipe Clamp B is built to last. Even with students experimenting (read: dropping, over-tightening, and reconfiguring daily), these clamps hold up. And because the components are modular, you can mix and match: a roller track from one project can become part of a storage rack in the next. It's sustainable, both financially and environmentally—two more lean principles (eliminating waste includes material waste, after all).
Perhaps most importantly, Lean Pipe Clamp B teaches resilience . In the real world, lean isn't about getting it right the first time—it's about getting better every time. Students who build with these tools learn to embrace mistakes. They see that a misaligned roller track or a loose clamp isn't a failure; it's data. It tells them what to fix, what to adjust, and how to make the system stronger. That mindset—of seeing problems as opportunities—is the heart of lean, and it's something no textbook can teach.

Beyond the Workbench: Other Workshop Projects with Lean Pipe Clamp B
While the lean pipe workbench is a classic project, Lean Pipe Clamp B's versatility means workshops can tackle endless scenarios. Here are a few examples:
Assembly Line Simulation : Students build a mini assembly line using roller track, conveyor sections, and workstations connected with Lean Pipe Clamp B. They simulate assembling a product (like a simple puzzle or a small electronics kit) and measure cycle time. Then, they're challenged to reduce waste: Maybe they reposition the roller track to cut down on handoffs, or add a second track to separate defective vs. good parts. Suddenly, "bottlenecks" and "takt time" make sense because they're watching the line slow down when one station is overloaded.
5S Storage System : Using aluminum profile, clamps, and bins, students design a storage rack that follows the 5S principles (Sort, Set in Order, Shine, Standardize, Sustain). They label bins, color-code tools, and design the rack so frequently used items are at eye level. Then, the instructor "messes it up" (moves bins, mislabels tools) and challenges the class to restore order using 5S. This drives home why "Set in Order" and "Standardize" matter—chaos wastes time, and a well-organized space is self-sustaining.
Mobile Workstation for Just-In-Time Delivery : Students add casters to a small workbench frame, creating a mobile cart. They stock it with tools and parts needed for a specific task (e.g., "inspecting circuit boards") and practice moving it to the production line only when needed. This teaches just-in-time (JIT) principles: instead of keeping tools scattered across the floor or stockpiling parts, you deliver exactly what's needed, exactly when it's needed. The casters (another modular component) make the workstation adaptable—perfect for environments where tasks change daily.
The Future of Lean Education: More Clamps, Less Lectures
As industries evolve, so too must education. The next generation of lean practitioners won't just need to understand theory—they'll need to be makers . They'll need to walk into a factory, look at a messy workflow, and think, "I can fix this with a few clamps, some aluminum profile, and a better roller track angle." That's the power of hands-on learning with tools like Lean Pipe Clamp B.
Educators are catching on. Technical schools are adding modular lean labs, and corporations are investing in workshop kits for new hires. Even online courses are incorporating "build-along" projects, sending students basic clamp and pipe sets so they can follow along at home. The message is clear: lean isn't learned—it's lived .
So, the next time you're in a workshop, take a closer look at that unassuming little clamp holding the aluminum profile together. It's not just connecting pipes—it's connecting students to the principles that will make them better problem-solvers, more innovative thinkers, and yes, leaner operators. And in a world that's always looking for ways to do more with less, that's a connection worth building.
After all, lean isn't about perfection. It's about progress. And progress starts with picking up a clamp, building something, and realizing: "I get it now."