- Company Articles
- Products and Technology
- Installation And Maintenance
- Lean Pipe Clamp B Tightening Torque: Recommended Settings for Optimal Grip

Lean Pipe Clamp B Tightening Torque: Recommended Settings for Optimal Grip
Related Product
Lean Pipe Clamp
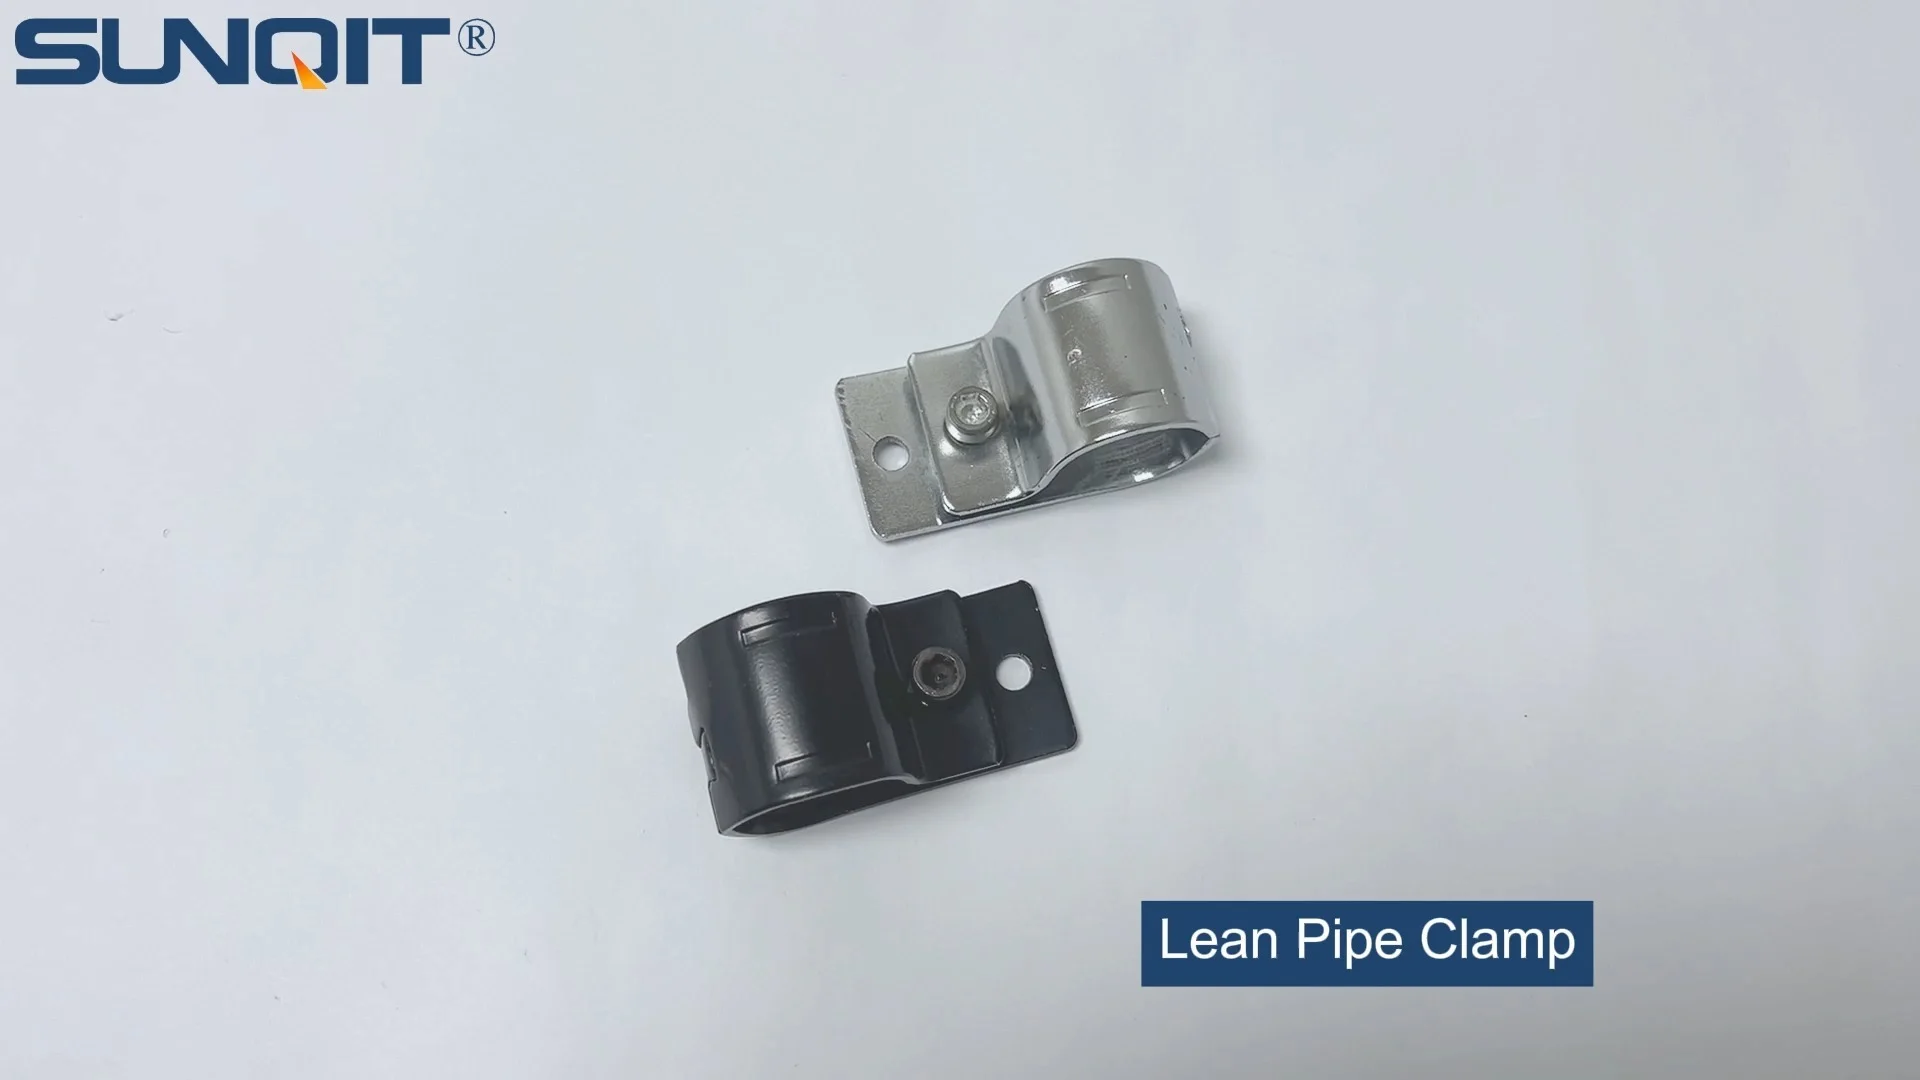
Lean pipe clamp is used for rack system hang monitor or other panel for workbenck, flowrack in production daily use.
Walk into any manufacturing plant, warehouse, or assembly line, and you'll likely spot them: sturdy workbenches where operators assemble components, flow racks gliding with materials, and turnover trolleys zipping between stations. These workhorses of productivity are often built with lean pipe systems—modular, flexible structures that adapt to evolving workflows. But what holds these systems together? Behind the scenes, it's components like the Lean Pipe Clamp B, a unassuming yet critical piece that ensures pipes and joints stay locked in place. But here's the catch: even the highest-quality clamp can fail if you don't tighten it just right. Too loose, and your workbench wobbles; too tight, and you risk cracking the pipe or stripping threads. Today, we're diving into the world of Lean Pipe Clamp B tightening torque—why it matters, how to calculate it, and the recommended settings that will keep your lean systems stable, safe, and efficient for years to come.
What Is Lean Pipe Clamp B, Anyway?
Before we talk torque, let's get to know the star of the show: Lean Pipe Clamp B. If lean pipe systems are the skeleton of your workspace, clamps are the ligaments—connecting the bones (lean pipes) and joints to form strong, flexible structures. Clamp B is a popular choice for its versatility: it's designed to fasten pipes (think lean pipe, PE coated lean pipe, or aluminum lean pipe) to joints, creating rigid connections that can support tools, materials, or entire workbenches. Unlike some one-size-fits-all clamps, Clamp B is engineered with adjustability in mind, making it ideal for the modular nature of lean systems—where you might reconfigure a flow rack one month and build a new workstation the next.
Made from durable steel (often zinc-plated for corrosion resistance), Clamp B features a U-shaped design that wraps around the pipe, with a bolt that tightens against the joint. Its simplicity is part of its appeal: no complicated tools required for basic installation, but getting that bolt tight enough (without overdoing it) is where the magic—and the science—happens. Whether you're building a single-deck workbench (like Workbench E, sans casters) or a multi-level material rack (Material Rack B, with 3 rows and 3 floors), Clamp B is likely holding it all together. And that's why getting its torque right is non-negotiable.
Why Tightening Torque Matters More Than You Think
Torque is the rotational force you apply when tightening a bolt—in this case, the bolt on Lean Pipe Clamp B. Think of it as the "sweet spot" between too little and too much. Apply too little torque, and the clamp might loosen over time, especially in high-vibration environments (like near conveyor belts or heavy machinery). A loose clamp can turn a stable workbench into a wobbly hazard, risking dropped tools, damaged materials, or even worker injuries. On the flip side, cranking the bolt with all your might (over-tightening) can spell disaster too: stripped threads on the clamp or joint, cracked PE coatings on lean pipes (a common issue with 1.2mm or 1.5mm PE coated lean pipe), or even bent aluminum pipes (which are softer than steel). Over-tightened clamps also make reconfiguration a nightmare—good luck disassembling that flow rack when you need to adjust it for a new product line.
But torque isn't just about preventing damage; it's about
optimal grip
. The right torque creates enough friction between the clamp, pipe, and joint to lock everything in place, even under load. For example, a workbench holding 50kg of tools needs clamps that can withstand that weight without slipping. A flow rack with rolling components (like swivel roller balls or roller tracks) relies on stable connections to keep materials moving smoothly. In short, torque is the unsung hero that turns a pile of pipes and clamps into a reliable, productive lean system.

Factors That Influence Torque Settings
So, what determines the "right" torque for Lean Pipe Clamp B? It's not a one-size-fits-all number. Several factors come into play, and ignoring them can lead to less-than-optimal results. Let's break them down:
1. Pipe Material
: The pipe you're using makes a big difference. PE coated lean pipe, for example, has a plastic outer layer that's more delicate than bare stainless steel. Tightening too much can crack the coating, exposing the metal underneath to rust. Aluminum lean pipe is another soft material—over-torque here can deform the pipe itself. Stainless steel, on the other hand, is tough and can handle higher torque without damage.
2. Pipe Thickness
: A 2.0mm stainless steel pipe is sturdier than a 1.0mm PE coated pipe, so it can handle more torque. Thinner pipes flex more, so you'll need to dial back the force to avoid bending or collapsing.
3. Joint Type
: Are you using a standard lean pipe joint, a heavy-duty internal rotary aluminum joint, or a parallel aluminum joint? Joints with more contact points (like 90° crossing joints) might require slightly higher torque to ensure all surfaces grip, while simpler straight joints may need less.
4. Environmental Conditions
: Humidity, temperature, and even oil or grease on the pipe can affect friction. In a damp warehouse, metal parts might corrode over time, so you may need to check torque more frequently. Greasy pipes? They'll slip more easily, so you might need a tiny torque boost (but be careful not to overdo it).

Recommended Torque Settings for Lean Pipe Clamp B
Now, the part you've been waiting for: actual torque numbers. After consulting with lean pipe suppliers and testing in real-world assembly environments, we've compiled recommended torque ranges for the most common pipe and joint combinations. Remember, these are guidelines—always test with a small sample first, especially if you're using non-standard materials!
| Pipe Type | Pipe Thickness | Joint Type | Recommended Torque (Nm) | Key Notes |
|---|---|---|---|---|
| PE Coated Lean Pipe | 1.0mm – 1.2mm | Standard Lean Pipe Joint | 10 – 12 Nm | PE coating is delicate! Never exceed 12 Nm—you'll crack the plastic. |
| PE Coated Lean Pipe | 1.5mm – 2.0mm | Heavy-Duty Lean Pipe Joint | 13 – 15 Nm | Thicker coating can handle more torque, but still avoid over-tightening. |
| Stainless Steel Pipe | 1.2mm – 1.5mm | Stainless Steel Swivel Joint | 15 – 18 Nm | Metal-on-metal grip needs more force; check for thread stripping at 18 Nm. |
| Aluminum Lean Pipe | 1.5mm – 2.0mm | Aluminum Internal Rotary Joint | 8 – 11 Nm | Aluminum is soft—high torque will dent or bend the pipe. |
| Stainless Steel Pipe | 2.0mm+ | 90° Crossing Lean Pipe Joint | 20 – 22 Nm | Thick steel + multi-point joint = maximum torque, but use a calibrated wrench! |
Nm = Newton-meters, the standard unit for torque. If your wrench uses ft-lbs, convert using 1 Nm ≈ 0.737 ft-lbs (e.g., 12 Nm ≈ 8.8 ft-lbs).

Tools of the Trade: How to Measure Torque Accurately
You wouldn't use a sledgehammer to hang a picture, right? The same logic applies here: to get precise torque, you need the right tool. Forget using a regular wrench and "eyeballing it"—that's how you end up with either a loose clamp or a cracked pipe. Here's what you need:
Click-Type Torque Wrench
: The most common (and affordable) option. Set the desired torque, then tighten the clamp until you hear a "click"—that's your cue to stop. Perfect for beginners.
Digital Torque Wrench
: More precise, with a digital display that shows real-time torque. Great for critical applications, like workbenches that hold heavy machinery.
Calibration Matters
: Torque wrenches lose accuracy over time, especially if dropped or misused. Have yours calibrated annually (or after a rough fall) to ensure readings are spot-on. Most hardware stores or industrial tool shops offer this service for a small fee.
Pro tip: Always hand-tighten the clamp first to seat it properly, then use the torque wrench. This ensures the bolt threads align correctly and prevents cross-threading (a common rookie mistake that ruins clamps and joints!).
Best Practices for Tightening Lean Pipe Clamp B
Torque numbers are just the start—follow these best practices to ensure your clamps stay tight and your lean system stays strong:
- Clean the Surfaces First : Wipe pipes and joints with a dry cloth to remove dirt, oil, or rust. Greasy pipes slip, so friction is your friend here.
- Align Pipes and Joints Perfectly : A misaligned pipe will put extra stress on the clamp, leading to uneven tightening. Use a level if building a workbench—crooked = wobbly!
- Tighten in a "Star" Pattern (For Multi-Clamp Setups) : If a joint uses 2+ clamps (like a 4-way straight joint), tighten them in a star pattern (e.g., top, bottom, left, right) to distribute force evenly. This prevents warping the joint.
- Re-Check Torque After 24 Hours : Pipes and joints "settle" after assembly—metal compresses slightly, and plastic coatings adjust. Tighten again the next day to ensure they're still within range.
- Inspect Regularly : In high-traffic areas (like near roller tracks or conveyor belts), vibration loosens clamps over time. Check torque monthly, and after any major impact (e.g., a trolley slamming into a rack).
Real-World Win: How One Factory Fixed Wobbly Workstations with Torque
A mid-sized electronics manufacturer was struggling with workbenches that wobbled so badly, operators complained about misaligned circuit board assemblies. Their initial fix? Tightening the clamps "as much as possible" with a regular wrench. Big mistake: they cracked the PE coating on their 1.2mm lean pipes, leading to rust and even more instability. After consulting a lean pipe supplier, they switched to a click-type torque wrench set to 11 Nm. Within a week, workbench wobble dropped by 70%, and assembly errors decreased by 15%. Plus, clamp replacements fell by 40%—no more cracked pipes! The takeaway? Torque isn't just a number; it's a cost-saver.
Troubleshooting Common Torque Issues
Even with the best intentions, things can go wrong. Here's how to fix common torque-related problems:
Problem: Clamps keep loosening, even after tightening to spec.
Solution: Check for oil or grease on the pipe—clean with isopropyl alcohol. If that doesn't work, the joint threads might be stripped (replace the joint). In high-vibration areas, add a drop of thread-locking fluid (blue, not red—red is permanent!).
Solution: Check for oil or grease on the pipe—clean with isopropyl alcohol. If that doesn't work, the joint threads might be stripped (replace the joint). In high-vibration areas, add a drop of thread-locking fluid (blue, not red—red is permanent!).
Problem: Pipe is bent or dented after tightening.
Solution: You over-torqued! Use a pipe straightener to fix minor bends, and reduce torque by 2–3 Nm on future clamps. If the pipe is kinked, replace it—bent pipes weaken the entire system.
Solution: You over-torqued! Use a pipe straightener to fix minor bends, and reduce torque by 2–3 Nm on future clamps. If the pipe is kinked, replace it—bent pipes weaken the entire system.
Problem: PE coating is cracked or peeling.
Solution: Torque was too high. Sand the cracked area lightly and apply a plastic repair compound to prevent rust. Next time, stay below 12 Nm for 1.2mm PE pipes.
Solution: Torque was too high. Sand the cracked area lightly and apply a plastic repair compound to prevent rust. Next time, stay below 12 Nm for 1.2mm PE pipes.
Final Thoughts: Torque = Trust in Your Lean System
At the end of the day, Lean Pipe Clamp B tightening torque is about trust. Trust that your workbench won't collapse mid-assembly, trust that your flow rack will glide smoothly, and trust that your lean system will adapt without breaking the bank. By taking the time to measure torque, using the right tools, and following these guidelines, you're not just building structures—you're building a more efficient, safer, and more productive workspace. And isn't that what lean manufacturing is all about?
So, grab that torque wrench, dial in the numbers, and get clamping. Your lean system (and your operators) will thank you.