- Company Articles
- Products and Technology
- Installation And Maintenance
- Lean Pipe Clamps for Material Rack B: Installation & Safety Tips

Lean Pipe Clamps for Material Rack B: Installation & Safety Tips
Related Product
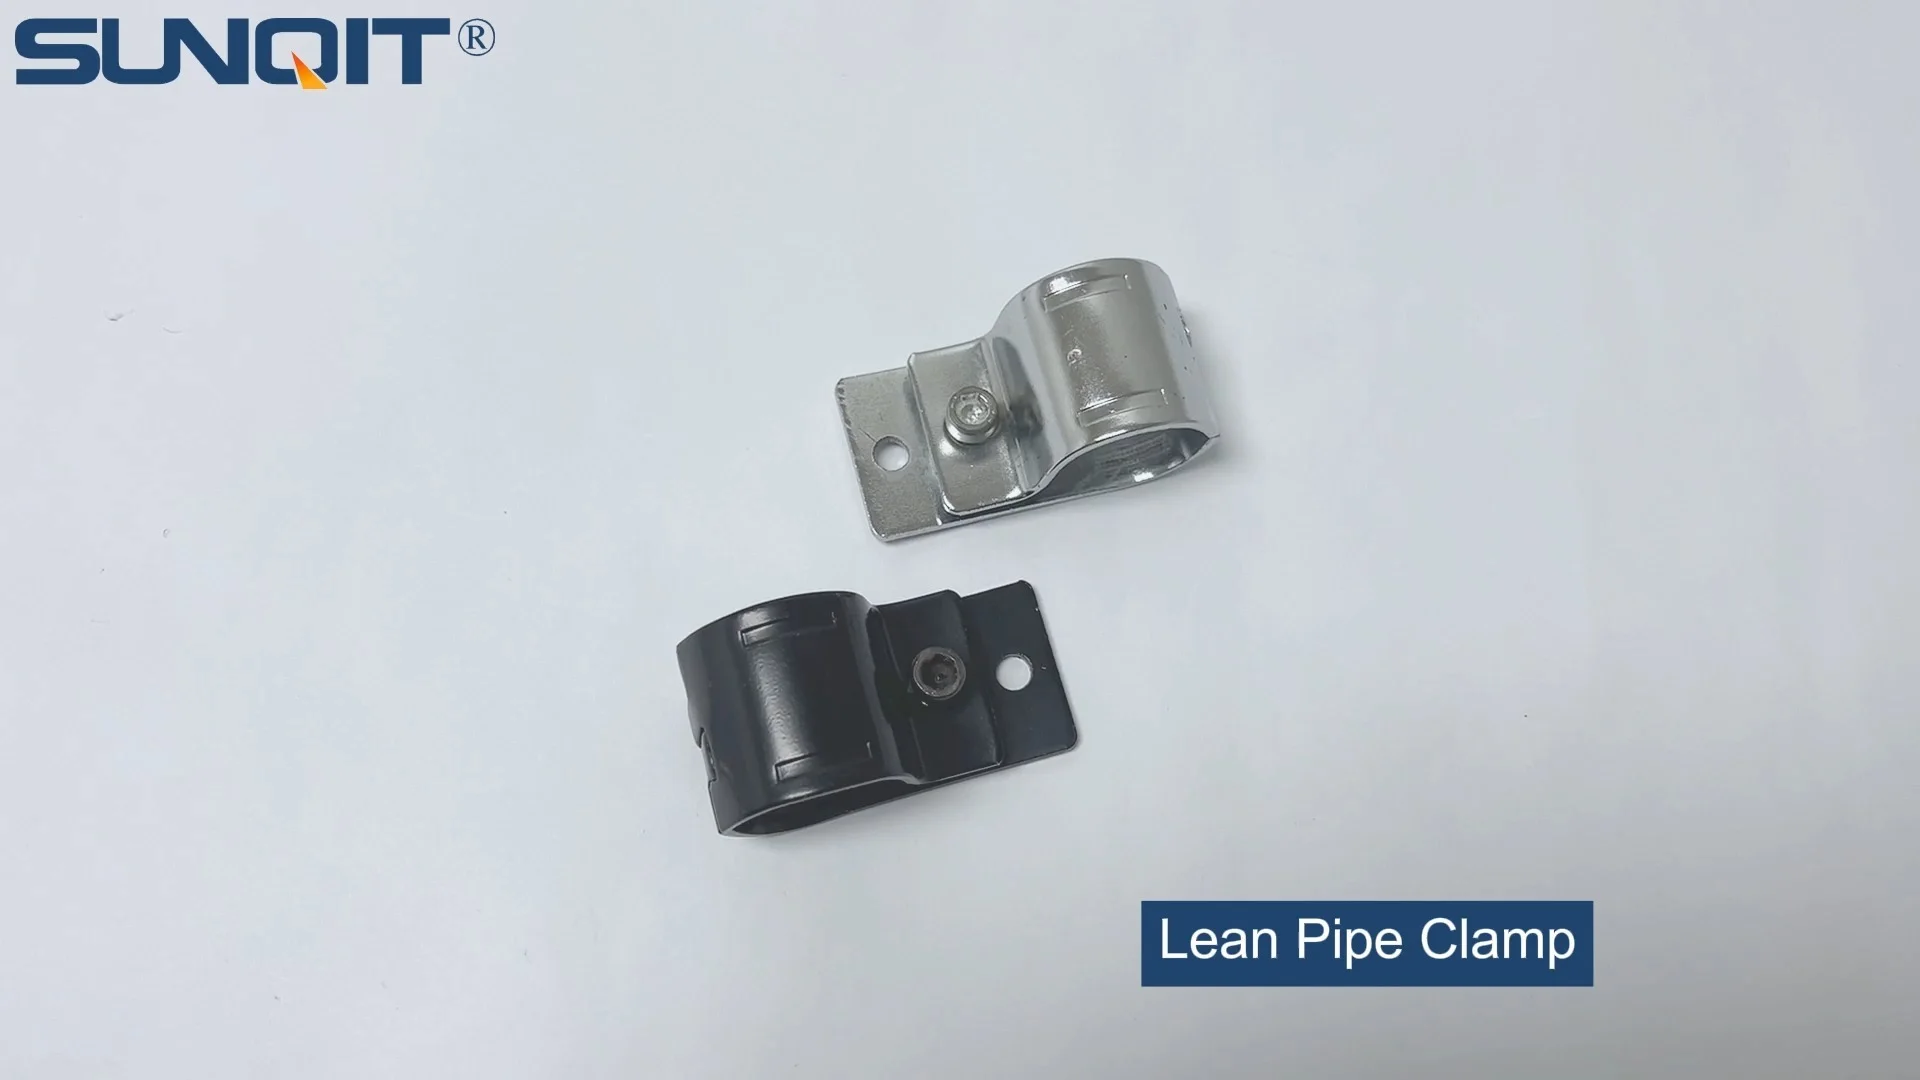
Lean Pipe Clamp
Lean pipe clamp is used for rack system hang monitor or other panel for workbenck, flowrack in production daily use.
If you've ever stepped into a busy warehouse or manufacturing floor, you've probably noticed the unsung heroes keeping everything organized: material racks. And among those, the material rack b (3 row and 3 floor) stands out as a workhorse—sturdy, versatile, and built to handle the daily grind of moving parts, tools, and products. But here's the thing: even the best rack is only as reliable as the components holding it together. That's where lean pipe clamps come in. These small but mighty pieces are the glue (literally, in a mechanical sense) that keeps your rack stable, your materials secure, and your team safe. In this guide, we're diving deep into everything you need to know about installing and maintaining lean pipe clamps on your Material Rack B, with a focus on safety, durability, and avoiding the common pitfalls that can turn a simple setup into a costly headache.
Why Lean Pipe Clamps Matter More Than You Think
Let's start with the basics: what even is a lean pipe clamp? At its core, it's a fastening device designed to connect lean pipe and accessories —think pipes, joints, and shelves—into a rigid structure. For Material Rack B (3 row and 3 floor), which typically holds multiple levels of materials (often heavy ones), these clamps aren't just "nice to have"; they're critical. A loose clamp can mean a wobbly shelf, which can lead to materials sliding off, damaged inventory, or worse, injuries. I've seen it happen: a team skimped on proper clamp installation, and a few months later, a shelf full of metal parts collapsed during a routine restock. The cleanup took hours, the parts were ruined, and someone nearly got hurt. All because of a few overlooked clamps.
But it's not just about avoiding disasters. Well-installed lean pipe clamps also make your workflow smoother. When your rack is stable, you don't have to tiptoe around it or worry about shelves shifting when you pull a box. You can load and unload with confidence, which speeds up tasks and reduces frustration. Plus, since Material Rack B (3 row and 3 floor) is often used in lean manufacturing setups—where efficiency is king—having a secure, well-built rack aligns perfectly with the goal of minimizing waste (time, effort, and materials).
Another reason these clamps matter? Versatility. Lean pipe systems are popular because they're modular—you can reconfigure your rack as needs change. But that flexibility relies on clamps that can be adjusted, tightened, and repositioned without losing their grip. A cheap or poorly installed clamp might work at first, but after a few adjustments, it'll start to slip, turning your "modular" rack into a wobbly mess. So, whether you're setting up a new rack or upgrading an old one, taking the time to get your lean pipe clamps right is an investment that pays off in spades.
Getting to Know Your Tools: What You'll Need Before You Start
Before you dive into installing lean pipe clamps on your Material Rack B (3 row and 3 floor), let's talk tools. You wouldn't bake a cake without a mixer, right? The same logic applies here: having the right gear makes the job easier, faster, and safer. Below is a breakdown of the essential tools and materials you'll need, along with why each one matters.
| Tool/Material | Purpose | Pro Tip |
|---|---|---|
| Lean Pipe Clamps (Assorted Sizes) | To fasten pipes to the rack frame and secure shelves. | Always check that the clamp size matches your pipe diameter—too loose, and it'll slip; too tight, and you risk damaging the pipe. |
| Hex Wrench Set | To tighten clamp bolts (most lean pipe clamps use hex-head bolts). | Invest in a set with both long and short handles—long handles give more leverage for tight spots, short ones work in cramped areas. |
| Measuring Tape | To ensure proper spacing between clamps and alignment of shelves. | Use a tape with a locking mechanism to avoid re-measuring the same spot five times (we've all been there). |
| Level (2-foot or Longer) | To make sure shelves are straight and the rack is upright. | A bubble level is fine, but a laser level can save time when aligning multiple shelves. |
| Wire Brush | To clean dirt, rust, or debris from pipe surfaces before clamping. | Even a little grime can prevent the clamp from gripping properly—spend 30 seconds here to save hours later. |
| Lean Pipe Joints | To connect pipes at corners or T-junctions (often used with clamps for extra stability). | Pair with clamps at stress points, like where vertical and horizontal pipes meet—this reduces strain on the clamp alone. |
| Gloves (Work or Mechanic's) | To protect hands from sharp edges on pipes or clamps. | Look for gloves with a non-slip grip—you don't want your wrench slipping mid-tighten. |
Pro tip: Lay out all your tools and materials on a clean, flat surface before you start. There's nothing more frustrating than getting halfway through installation and realizing you left the hex wrench in the toolbox across the shop. Trust me, I've made that mistake, and it turns a 2-hour job into a 3-hour one (not to mention the extra steps back and forth).

Step-by-Step Installation: How to Install Lean Pipe Clamps on Material Rack B
Now, let's get to the meat of the matter: installing those lean pipe clamps. I'm going to walk you through this step by step, with plenty of notes on what to watch for and how to avoid common mistakes. Remember, patience here pays off—rushing through installation is how clamps end up loose, shelves end up crooked, and safety risks go up.
Step 1: Prep the Rack and Workspace
First things first: clear the area around your Material Rack B (3 row and 3 floor). You need space to move, kneel, and reach all sides of the rack. If the rack is already assembled (even partially), empty any shelves and double-check that the base is stable—you don't want it tipping over while you're working. If it's a new rack, lay out the frame on a flat surface (like the floor) to make assembly easier. Next, inspect the pipes and clamps for any defects: bent pipes, cracked clamp bodies, or stripped threads. It's tempting to use that "slightly damaged" clamp because you don't want to wait for a replacement, but trust me—you'll regret it when it fails. Toss it and grab a new one.
Step 2: Measure and Mark Your Clamp Positions
Material Rack B (3 row and 3 floor) has a specific design: three rows (horizontal) and three floors (vertical shelves). Each shelf needs clamps to attach to the vertical support pipes. Start by measuring the height of each shelf—most standard racks have evenly spaced floors, but double-check your specs (they should be in the manual, or you can measure from the bottom up). Let's say your shelves are 18 inches apart. Use your measuring tape to mark the vertical pipes at 18 inches, 36 inches, and 54 inches from the base (adjust based on your rack's actual dimensions). These marks will be where your clamps go.
For horizontal pipes (the ones that form the shelf frames), you'll need clamps at each end where they connect to the vertical pipes. Measure the distance between the vertical pipes (the width of the rack) and mark the horizontal pipes at both ends—this ensures the clamps align perfectly with the vertical supports. Pro move: Use a pencil to make light marks—they'll wipe off later, and you won't end up with permanent marker stains if you need to adjust.
Step 3: Clean the Pipe Surfaces
This is the step I see most teams skip, and it's a big mistake. Even brand-new pipes can have a layer of dust, oil, or factory residue, and used pipes often have rust or grime. Grab your wire brush and scrub the areas where the clamps will attach—both on the vertical supports and horizontal shelf pipes. The goal is to get a clean, dry surface so the clamp can grip tightly. If there's heavy rust, you might need a bit of sandpaper, but for most cases, a wire brush works. Wipe the area with a dry cloth afterward to remove any loose debris.
Step 4: Position the Clamps and Attach to Vertical Pipes
Now, it's time to start clamping. Take a lean pipe clamp and position it on the vertical support pipe at one of your marked heights. Most clamps have a "jaw" that opens to fit around the pipe—make sure the jaw is fully open before sliding it on. Once it's at the mark, close the jaw and hand-tighten the bolt (using the hex wrench) just enough to hold it in place—don't fully tighten yet. Repeat this for all four vertical supports at the same height (since Material Rack B has three floors, you'll do this three times total, once per shelf level).
Here's a key point: alignment. After hand-tightening the clamps on one shelf level, take your level and check that all four clamps are at the same height. If one is an inch higher than the others, your shelf will slope, and materials will slide off. Adjust as needed, then move to the next shelf level. This might feel tedious, but spending 5 minutes here saves hours of rework later.
Step 5: Attach Horizontal Pipes to Clamps
With the vertical clamps in place, it's time to add the horizontal shelf pipes. Take a horizontal pipe and slide its end into the clamp on one vertical support. The clamp should have a second jaw (or a slot) for the horizontal pipe—align it with the mark you made earlier (the end of the horizontal pipe should hit the mark, ensuring it's centered). Once it's in place, hand-tighten the clamp's second bolt (the one that secures the horizontal pipe). Repeat this for the other end of the horizontal pipe, attaching it to the opposite vertical support. Do this for all horizontal pipes on the shelf (Material Rack B has three rows, so you'll have three horizontal pipes per shelf: front, middle, and back).
Now, here's where lean pipe joints come into play. At the corners where horizontal and vertical pipes meet, adding a lean pipe joint (like a 90-degree elbow joint) can add extra stability. Slide the joint over the intersection of the horizontal and vertical pipes, then tighten its bolts. The joint works with the clamp to distribute weight more evenly, reducing stress on the clamp alone. It's an extra step, but for heavy shelves, it's worth it.
Step 6: Fully Tighten All Clamps (But Don't Overdo It)
Once all clamps and joints are in place (for one shelf), it's time to fully tighten the bolts. Grab your hex wrench and start with the vertical clamp bolts, then move to the horizontal ones. Tighten until you feel resistance—about 20-25 foot-pounds of torque (if you have a torque wrench, use it; if not, a good rule is "snug but not stripped"). Here's the danger: over-tightening. Lean pipes are often made of aluminum or steel, and over-tightening can bend the pipe, crack the clamp, or strip the threads. If you hear a "creaking" sound or see the pipe start to deform, stop—you've gone too far. Back off slightly and try again.
After tightening, give the shelf a gentle shake. It should feel solid—no wobbling, no movement in the clamps. If it shifts, check the bolts—you might have missed one or not tightened enough. Repeat this process for all three shelves, then move on to the next step: testing the entire rack.
Step 7: Test the Rack's Stability
You're almost done, but don't skip the test! Once all clamps are installed, push gently on each shelf from different angles—front, side, top. The rack should stay firm. Next, add some weight to the shelves (use empty boxes or light materials first) and check again. If a shelf sags or the clamps start to slip, you need to re-tighten or reposition them. For Material Rack B (3 row and 3 floor), the top shelf is often the most wobbly, so pay extra attention there—gravity works against you, and loose clamps up top can cause the whole rack to lean over time.

Safety First: Critical Tips to Avoid Accidents
Installing lean pipe clamps is about more than just building a rack—it's about keeping your team safe. Every year, thousands of workplace injuries happen because of unstable storage structures, and many of those trace back to improperly installed fasteners like clamps. Let's go over the safety tips that'll keep your team (and your materials) out of harm's way.
Safety Note: Always wear gloves when handling lean pipe clamps and pipes. The edges can be sharp, and metal-on-metal contact can cause cuts. Safety glasses are also a must when tightening bolts—flying debris (like a loose piece of rust) can injure your eyes.
Never Overload the Shelves
Material Rack B (3 row and 3 floor) has a weight limit—check the manufacturer's specs! Let's say the maximum load per shelf is 200 pounds. That means each of the three floors can hold 200 pounds, not 200 pounds total. Overloading a shelf puts extra stress on the lean pipe clamps, causing them to stretch, loosen, or even snap. I once saw a team stack 300 pounds of metal parts on a 200-pound shelf; within a week, the clamps on one side gave way, and the shelf collapsed. Luckily, no one was hurt, but the parts were ruined, and the rack needed repairs. Post the weight limits on the rack (use a label or sign) so everyone knows—out of sight, out of mind is how accidents happen.
Inspect Clamps Regularly (Yes, Regularly)
Installation isn't a "set it and forget it" job. Lean pipe clamps loosen over time—vibration from forklifts, repeated loading/unloading, and even temperature changes can cause bolts to back off. Schedule weekly inspections: walk around the rack, check each clamp for tightness (give the bolt a gentle tug with your hex wrench—if it turns, tighten it), and look for signs of wear: cracks in the clamp body, rust on the bolts, or bent pipes. For high-traffic racks (ones used multiple times a day), do a quick check every morning—two minutes can save a lot of trouble.
During inspections, also check the lean pipe joints . These can loosen too, and since they work with clamps to stabilize the rack, a loose joint means more stress on the clamps. Tighten any loose joint bolts and replace any joints that look damaged (cracks, stripped threads, etc.).
Train Your Team on Proper Use
Even the best-installed clamps can fail if your team doesn't use the rack correctly. Train everyone on: how to load materials (evenly distribute weight—don't pile everything on one side), how to unload (lift straight up, don't yank or pull sideways), and what to do if they notice a loose clamp (stop using the shelf, report it, and don't try to fix it unless they're trained). New hires should get a demo, and it's a good idea to do a refresher training every quarter—people forget, and habits slip.
replace Worn Clamps Immediately
Clamps don't last forever. Over time, the bolts can strip, the jaws can wear down, and the metal can fatigue. If during an inspection you find a clamp that's cracked, bent, or won't tighten (even after cleaning the pipe), replace it right away. It's tempting to "make do" with a worn clamp, but that's a safety risk. Keep a stock of spare lean pipe clamps and lean pipe and accessories in your tool room so you're not waiting for a shipment when you need a replacement.

Troubleshooting Common Clamp Issues
Even with careful installation, things can go wrong. Let's walk through the most common problems I've seen with lean pipe clamps on Material Rack B (3 row and 3 floor), and how to fix them.
Problem: Clamps Keep Loosening
If you tighten a clamp, but it's loose again a week later, there are a few possible causes. First, check if the pipe surface was clean—remember that grime we talked about? If there's oil or dust, the clamp can slip. Clean the area again with a degreaser (like rubbing alcohol) and re-tighten. If that doesn't work, the clamp might be the wrong size—measure your pipe diameter and compare it to the clamp's specs. A clamp that's too big won't grip, even if you tighten it all the way. Finally, the bolt might be stripped—replace the clamp if the bolt spins without tightening.
Problem: Shelves Are Crooked
Crooked shelves are usually a alignment issue. If the shelf slopes to one side, check the clamp positions on the vertical pipes—one side might be higher than the other. Loosen the clamps, adjust the height using your level, and re-tighten. If the shelf is twisted (one corner higher than the opposite), the horizontal pipes might be misaligned. Measure the distance between the vertical pipes on both ends—they should be the same. If not, loosen the horizontal clamps, realign the pipes, and tighten again.
Problem: Clamp Jaws Won't Close All the Way
This is often due to debris stuck in the clamp mechanism. Open the jaws as wide as possible and use a small brush (like a toothbrush) to clean out any dirt or rust. If the jaws are bent (from dropping the clamp or over-tightening), you'll need to replace the clamp—bent jaws can't grip evenly, which leads to instability.
Maintaining Your Clamps for Longevity
Installing clamps is just the start—maintaining them ensures your Material Rack B (3 row and 3 floor) stays reliable for years. Here's a quick maintenance routine to follow:
- Monthly: Wipe down clamps and pipes with a dry cloth to remove dust. Check for rust and treat with a rust inhibitor if needed (especially in humid environments).
- Quarterly: Apply a small amount of lubricant (like WD-40) to clamp bolts to prevent them from seizing. Wipe off excess to avoid attracting dirt.
- Annually: Disassemble one clamp per shelf (don't do all at once—keep the rack stable) to inspect the internal parts. Look for wear on the jaws and threads. replace any clamps that show significant wear.
Remember, lean pipe and accessories are designed to be durable, but they need a little care to perform their best. A few minutes of maintenance each month beats spending a day replacing a collapsed rack.
Wrapping Up: Your Rack Deserves the Best Clamps
At the end of the day, your Material Rack B (3 row and 3 floor) is more than just a storage unit—it's a critical part of your operation. And lean pipe clamps are the unsung heroes that keep it all together. By taking the time to install them properly, follow safety guidelines, and maintain them regularly, you're not just protecting your materials—you're protecting your team, your workflow, and your bottom line. So grab your tools, measure twice, tighten carefully, and rest easy knowing your rack is built to last.
And if you ever find yourself second-guessing a clamp or a joint, remember: it's better to take an extra 10 minutes to fix it now than to deal with the consequences later. Your future self (and your team) will thank you.